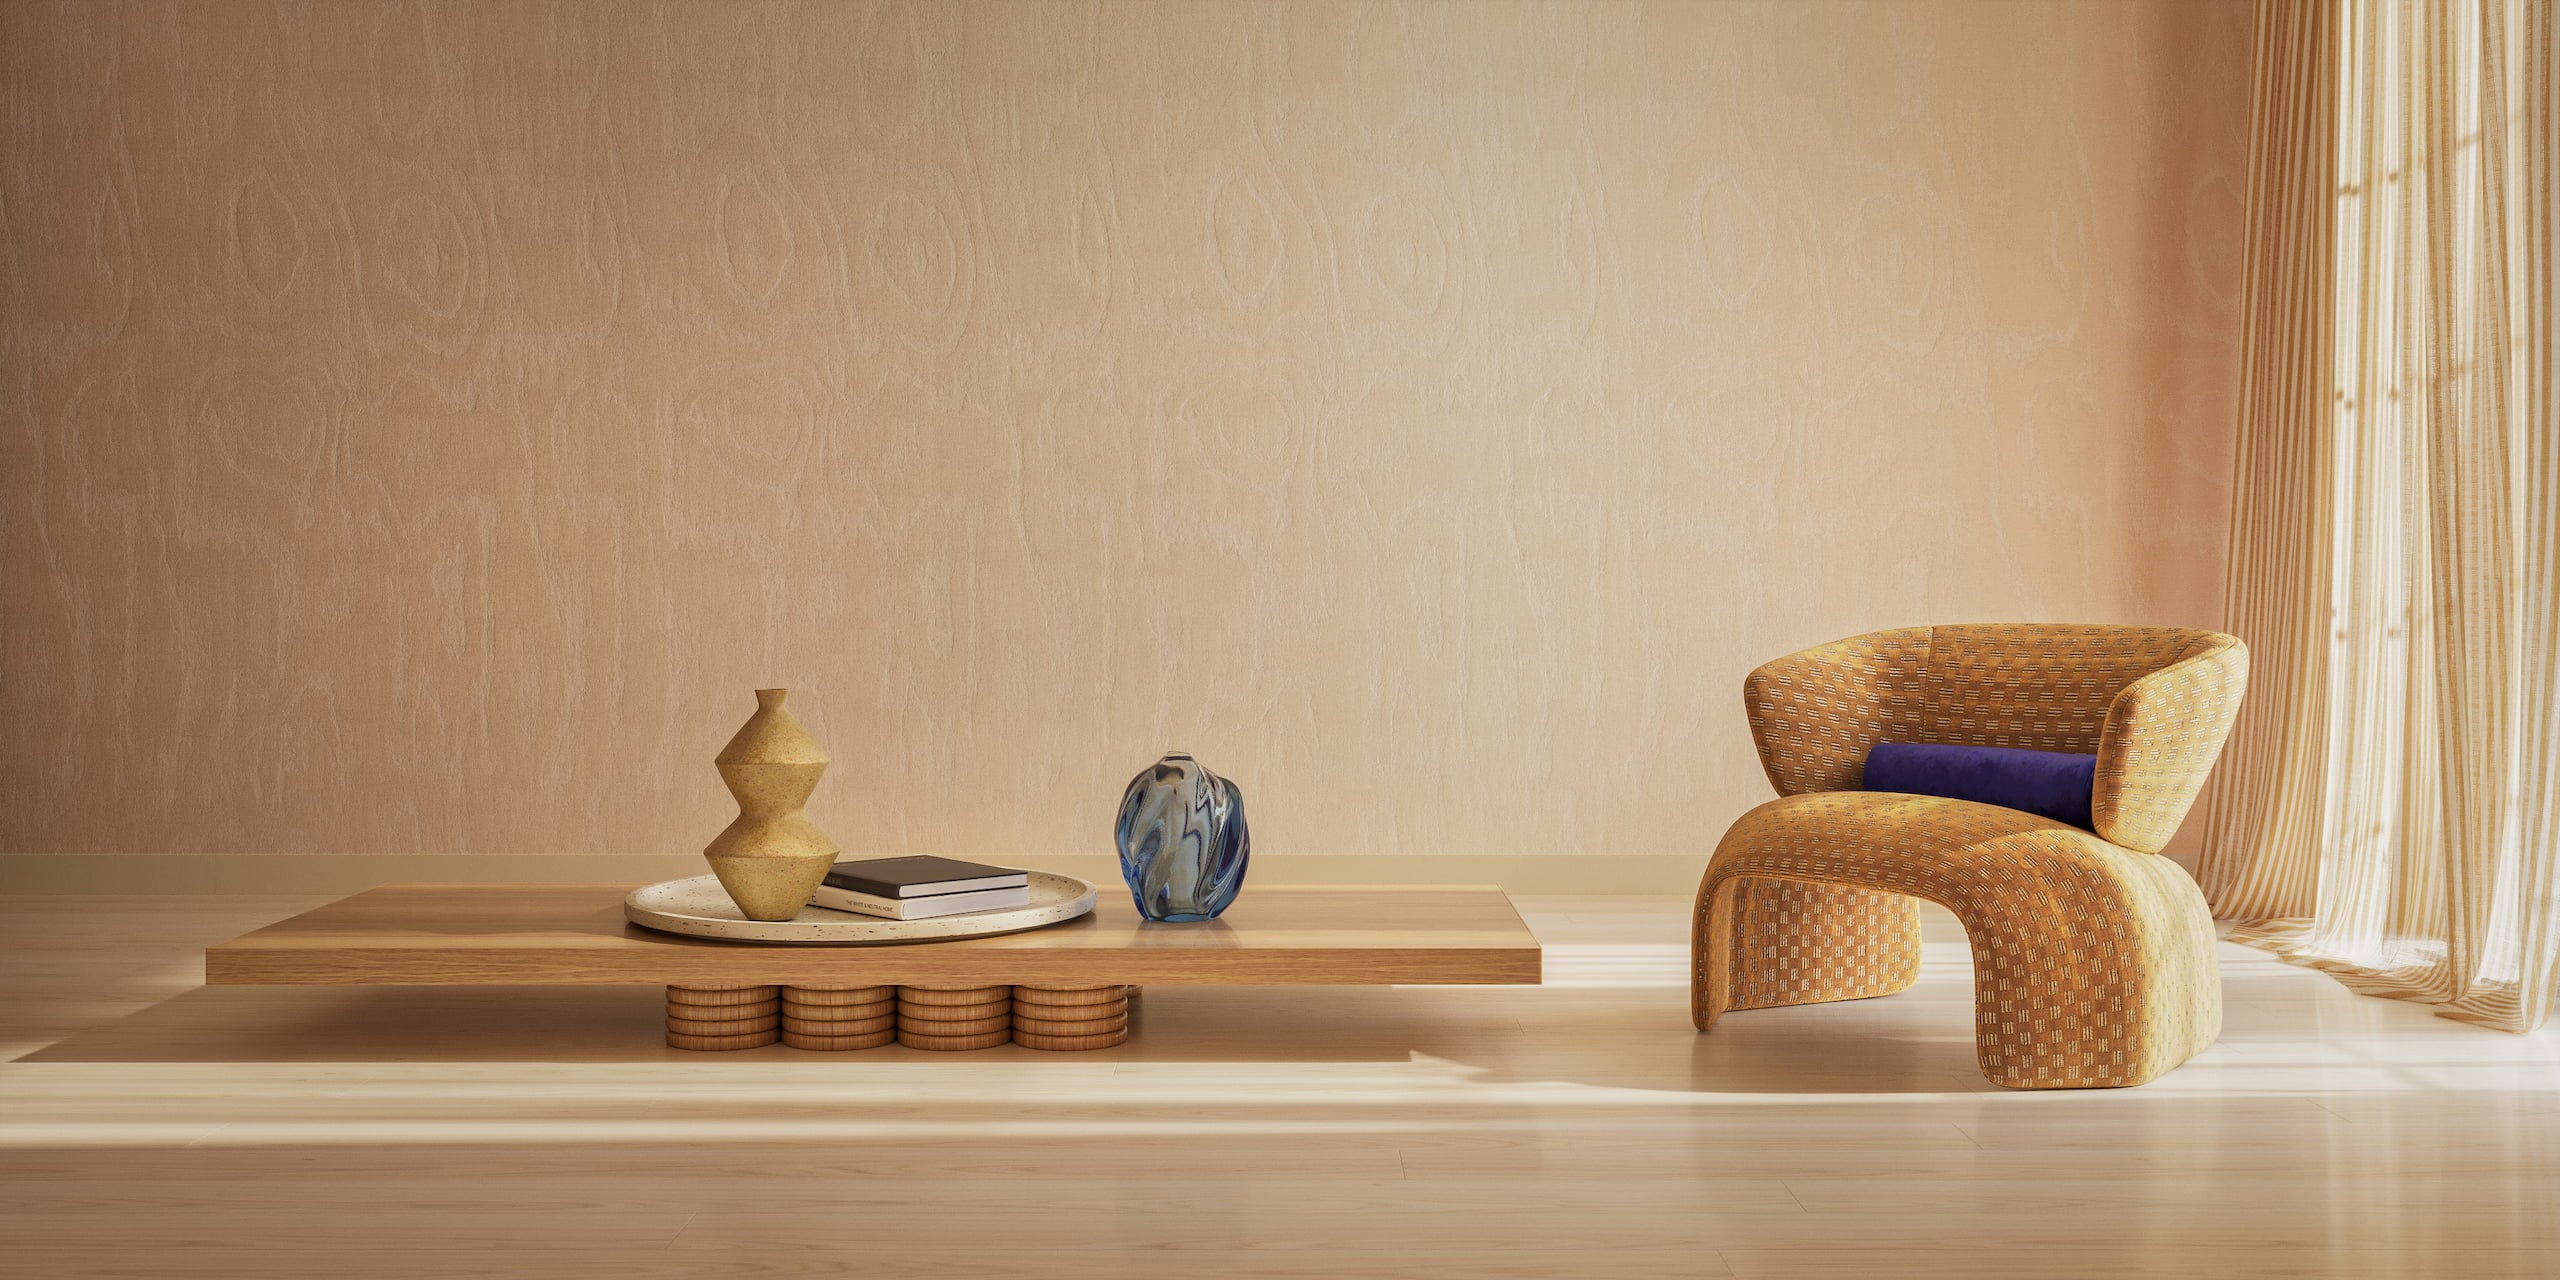
A 3D product model is a digital copy of a physical product, built in specialized software from CAD files, technical drawings, reference photos or 3D scans. It holds the product’s geometry, proportions, surface structure and material information. From that one asset, a team can make catalog renders, AR experiences, a web configurator, an animation, or every colorway in a single production run. If you need models built for your catalog, see our 3D product modeling services.
Modeling also fits into product development. Before manufacturing starts, a virtual prototype built from design files lets the team review form, check design intent and approve finishes without ordering physical samples. Stakeholders can sign off on the look at the concept stage, long before production. After launch, the same model feeds product pages, trade show materials, digital catalogs and AR, and nobody rebuilds it. Furniture makers use the same files for rapid prototyping in furniture production. Over time, that asset can grow into one of the digital twins in product development that teams share across departments.
Here’s the short version. Design and CAD files go in. The 3D product model that comes out serves every visual channel: rendering, AR, interactive content, sales materials and reusable digital assets. It’s a visual model, and it isn’t a manufacturing CAD file. Each new use makes the original modeling cost go further. In practice, the model becomes a single source of truth for product content.
The same model can then feed AR 3D models for in-room views and GLB 3D models for marketplaces and web viewers.
What Is 3D Product Modeling?
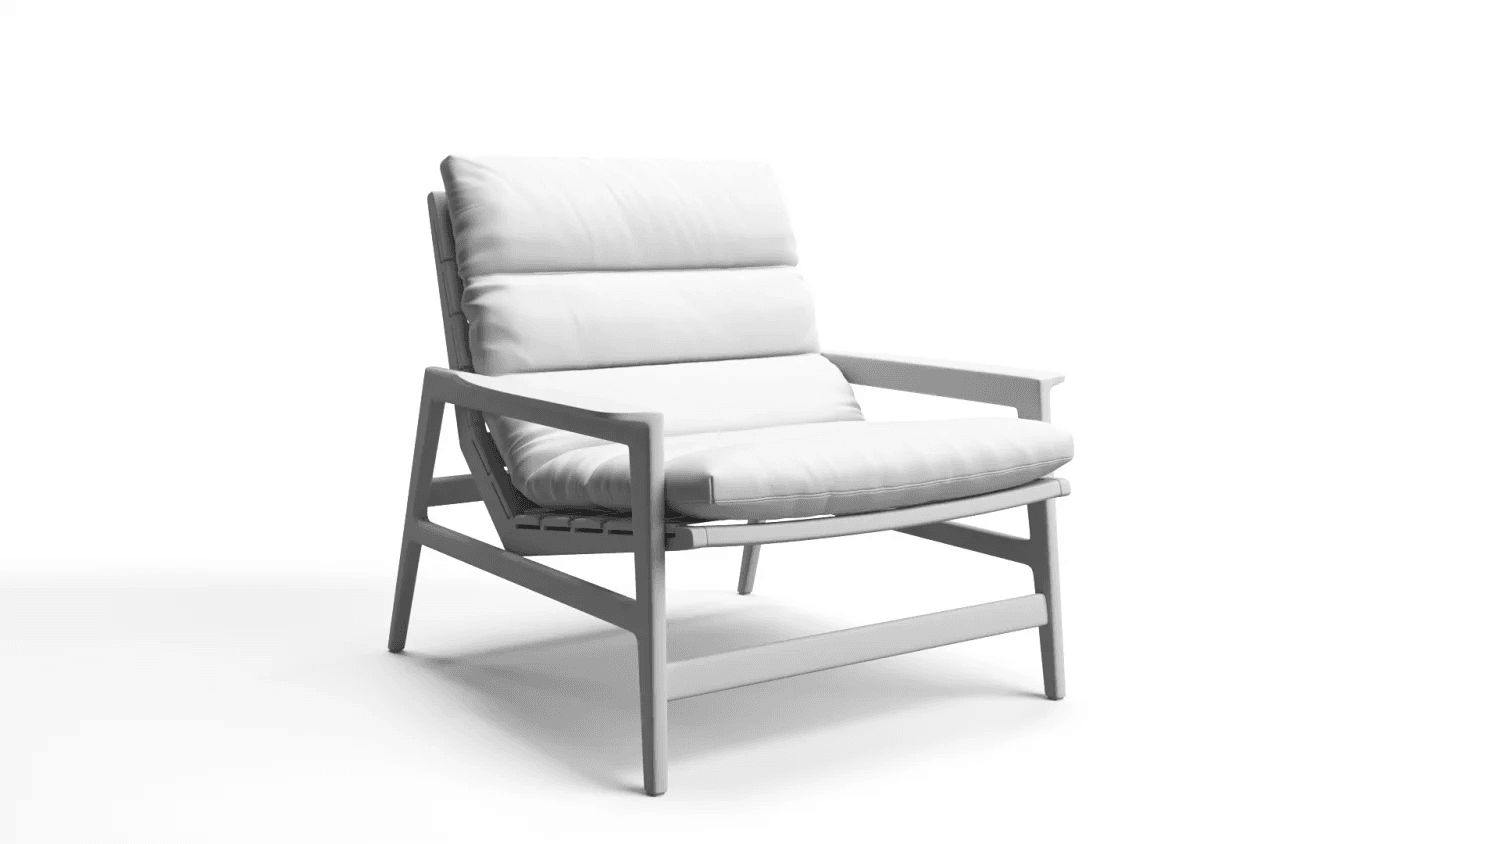
3D product modeling means building a digital object that matches a physical product: its shape, scale, construction and surface. You end up with a mesh-based geometry file with UV mapping, so materials can be assigned, textures render correctly and the asset works in many output pipelines. Add materials, options and metadata, and it becomes a product digital twin, the one source every render, configurator and AR experience comes from.
It’s worth sorting out three things people often mix it up with.
Product design vs. 3D product modeling. Product design decides what gets made: the function, the form, the intent. 3D product modeling turns that intent into a reusable digital asset that’s ready for visuals. Design answers what the product is, and modeling produces the file your commercial pipelines can use. Our article on 3D modeling in product design shows how the two work together during design reviews.
CAD vs. 3D product modeling. CAD defines exact dimensions, tolerances and how parts fit, all for manufacturing. CAD files are precise but not ready to render. They’re usually too dense, their mesh topology doesn’t suit CG rendering, and they have no UV maps or materials. 3D product modeling turns that engineering geometry into a clean polygon mesh, keeping the original dimensions while rebuilding the surface the way rendering engines need it. The building blocks of that mesh are polygons in 3D modeling, and their layout decides how the surface shades.
3D modeling vs. 3D rendering. Modeling creates the digital object. Rendering makes an image from it once lighting, materials and a camera angle are set. One comes after the other, so without a model there’s no render. Our guide to 3D product rendering covers the second stage in detail.
Finally, it’s not a straight swap for product photography either. A photo captures something that already exists. A model can produce images before manufacturing is finished, and it keeps producing them for every variant, update and channel for as long as the product sells. That’s the big advantage of digital modeling over a camera-based workflow.
Table 1: 3D Product Modeling vs. 3D Rendering vs. CAD vs. Product Photography
| Factor | 3D Product Modeling | 3D Rendering | CAD | Product Photography |
|---|---|---|---|---|
| What it is | Building a digital product object – geometry, proportions, surface structure | Generating a photorealistic image from a 3D model with materials and lighting applied | Engineering geometry defining exact dimensions and part relationships for manufacturing | Capturing a physical product with a camera in a controlled or natural setting |
| Main purpose | Creating a reusable digital asset for rendering, AR, configurators, animation, and sales enablement | Producing photorealistic imagery for e-commerce, marketing, and catalog content | Precise design documentation and manufacturing specification | Documenting the physical product as-is with real-world material and context |
| Typical output | OBJ, FBX, native 3D scene files, GLB/USDZ | JPG, PNG, EXR image files | STEP, IGES, SolidWorks, Fusion 360 files | JPG, TIFF, RAW image files |
| Key strengths | One asset → many outputs; no physical sample required | Photorealistic imagery from digital files alone | Exact dimensions; engineering-grade accuracy; part assembly logic | Real-world authenticity; natural imperfection; human context |
| Limitations | Requires skilled modeling; quality depends on input references | Quality depends entirely on the underlying model | Not render-ready without conversion and topology cleanup | A physical sample must exist; a separate session is needed per variant |
| When brands use it | Before any rendering, AR, animation, or configurator work begins | E-commerce imagery, campaign creative, catalog content | Engineering review, manufacturing prep, technical documentation | Brand campaigns and lifestyle shoots requiring real people or live-action texture |
Why Businesses Use 3D Product Modeling
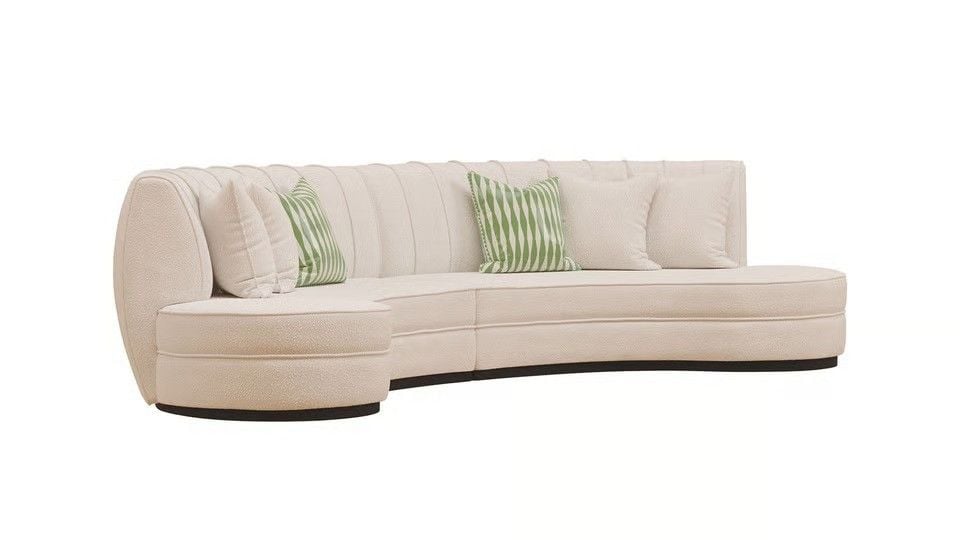
It starts with reuse. One good model gives you white-background silo renders, lifestyle scenes, 360 spins, AR files, configurator assets and animations. Material and colorway variants are just re-renders from the same geometry. Each output after the first lowers the cost per asset, and a model built today keeps paying back across campaigns, seasonal updates and channel formats. That’s what we mean by one 3D model for every marketing asset.
Then there’s speed. Pre-launch content, like ad creative, trade show visuals and pre-order pages, can be made while the factory is still working. Design changes and approvals happen in the file, with no physical prototype. Marketing doesn’t have to wait months for samples, which is a big part of the case for 3D modeling for furniture business.
And consistency. When every image in a catalog comes from the same model, the product looks identical on the product page, the marketplace listing, the print catalog and the ad. Shoppers trust that, and it’s hard to keep up with photography once you have hundreds of SKUs. It’s one reason 3D modeling for ecommerce scales better than repeated photo shoots.
Where One Model Goes: Online Stores, Showrooms and Sales Training
Reuse is easier to plan when you know where the model will end up. Most brands use it in three places.
For web and AR, the model is exported as a GLB file for browsers and Android, or a USDZ file for iPhone, and the same files can power a 3D product configurator.
Online Sales
Online, the model answers what a shopper would check in a showroom. How big is it? What does the fabric look like up close? How does it work?
- Scale renders that show true dimensions next to familiar objects.
- Lifestyle renders that place the product in a real-looking room.
- Close-ups of fabric, stitching, wood grain and finishes.
- Feature images that call out storage, modular parts or adjustable mechanisms.
- AR files that let buyers place the product in their own home. See how brands use augmented reality in the furniture industry.
Showrooms and Print
A showroom can’t hold every model, size and finish, and the 3D model fills the gap. It can power an in-store digital catalog the consultant searches by SKU, a variant switcher for upholstery and wood tones, a modular configurator for sofas and storage, and a printed catalog for people who want to compare the range away from a screen. You can see this on catalog imagery in our projects for Sklum and Oxford Garden. Making every finish at once relies on batch rendering from one model.
Sales Training
Sales teams learn a product faster from visuals than from spec sheets. One model gives them launch decks, one-page sheets with every finish, sequences that show how a mechanism works, cutaways of what’s inside the frame, and side-by-side comparisons that explain why one tier costs more. Hilti used 3D visuals like this for product training. Those feature sequences are a kind of product animation.
Main Types of 3D Product Modeling
Which method do you use? That depends on the product, the detail you need and what the asset has to do. Each method gives a different kind of geometry, and that decides which outputs it suits.
Primitive Modeling
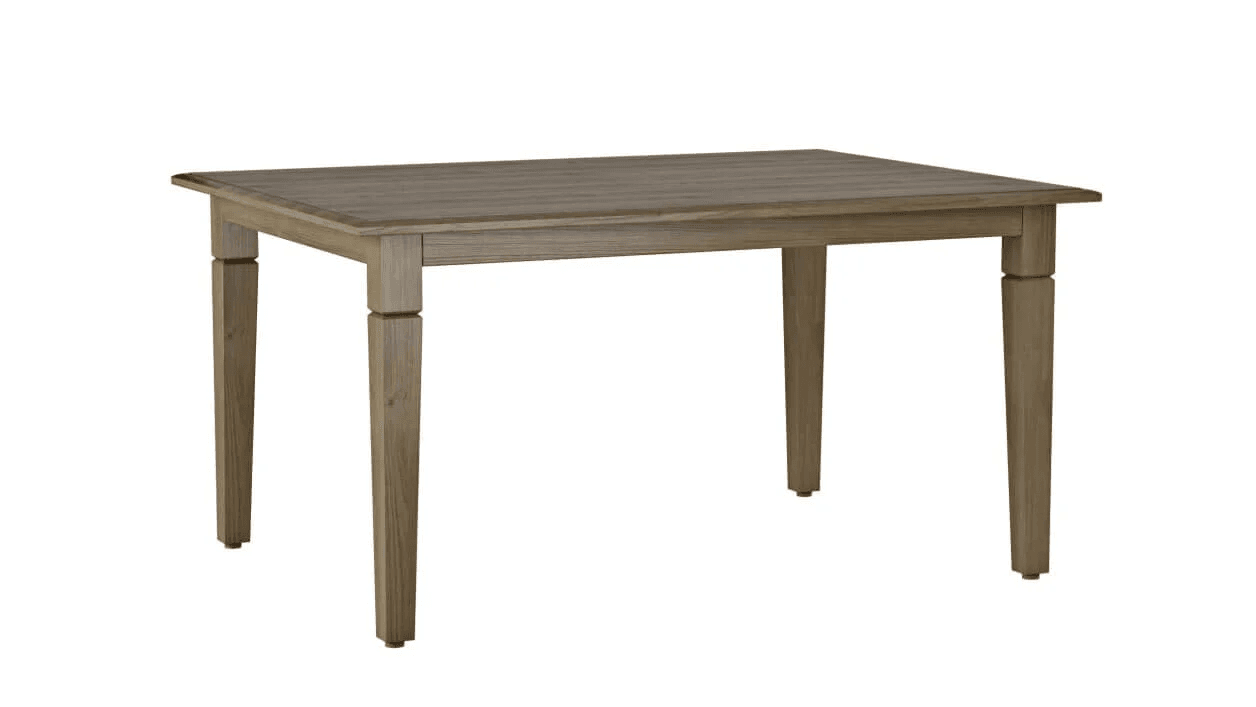
Here, products are built from basic shapes like cubes, cylinders and spheres. It’s fast and fine for simple products without fine detail. In commercial work it’s mostly a starting point for blocking out shape and proportions early, before more detailed modeling, and rarely the final deliverable.
Polygonal Modeling – High-Poly
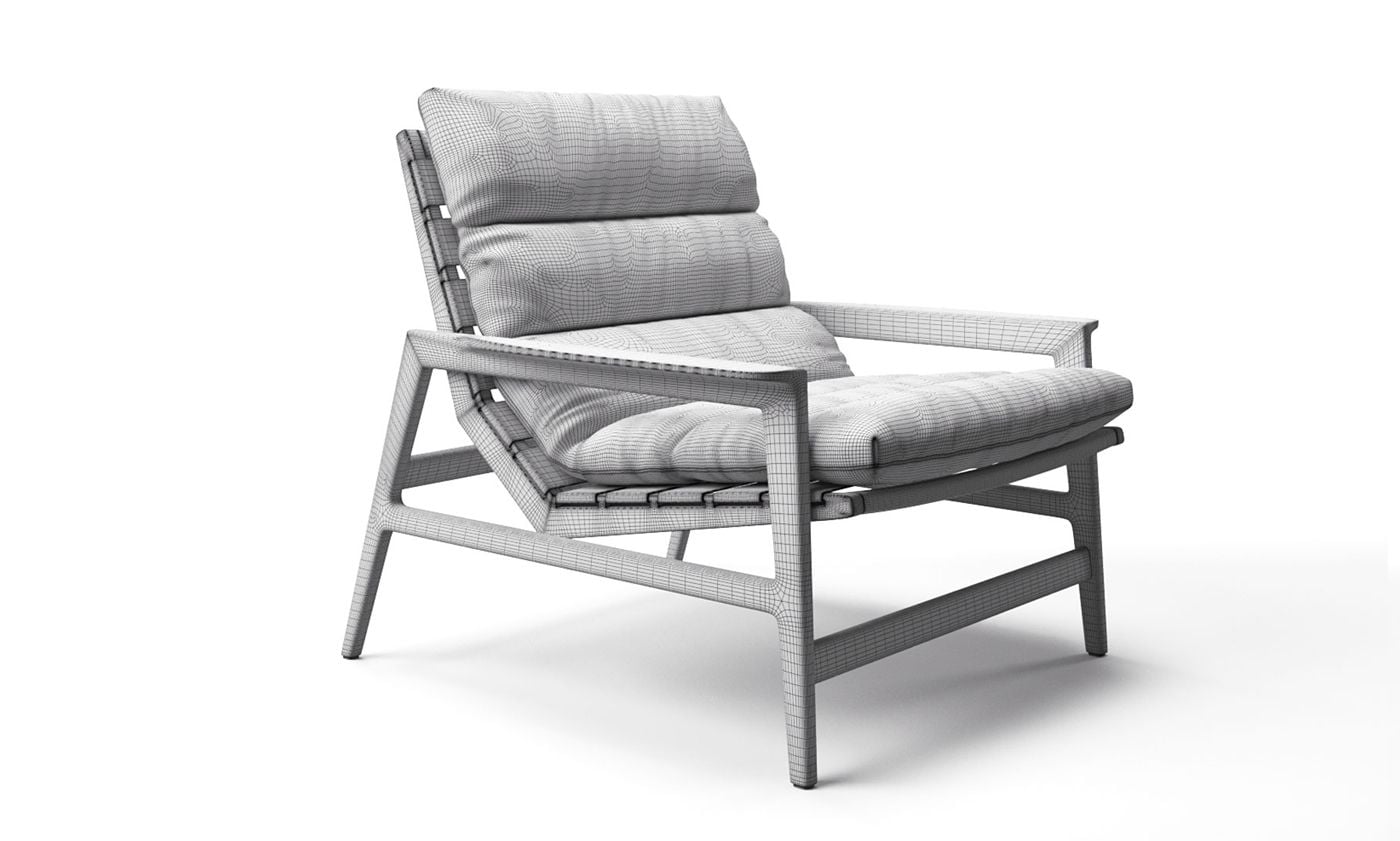
This is the main method for photorealistic product visualization. A dense polygon mesh supports subdivision, displacement and fine surface detail, and it’s the geometry behind close-up PDP shots, catalog heroes and ad creative. The quality here decides how convincing the render looks: every chamfer, seam and material transition you see up close lives in the polygons. Our comparison of high poly vs low poly models explains when each one fits.
Polygonal Modeling – Low-Poly
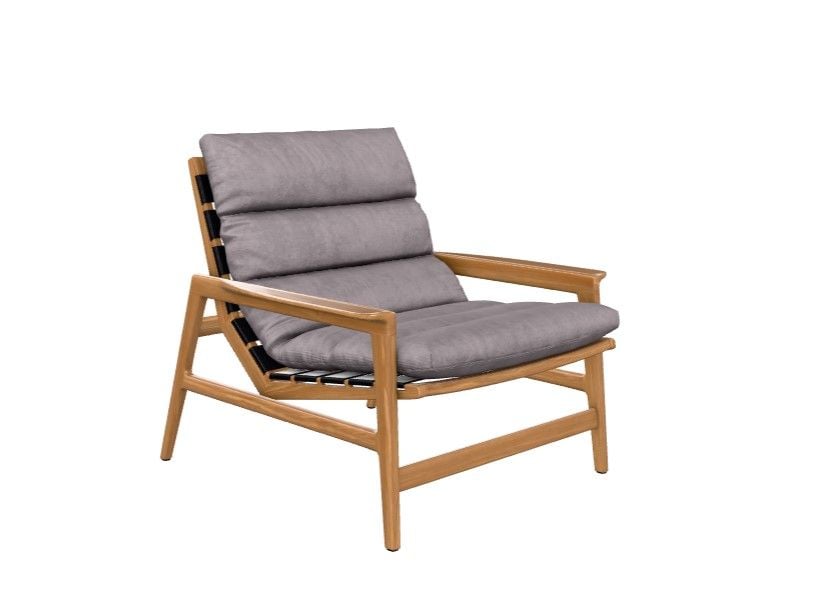
Same method, built for real-time speed instead of detail. A low polygon count loads fast in browsers, runs smoothly on phones, and is the standard for AR placement apps, 360 viewers and web configurators. Texture maps carry the surface detail. Keep in mind that a high-poly render model can’t go into an AR app until it’s turned into a low-poly version. They’re two outputs made from the same source.
Wireframe Modeling
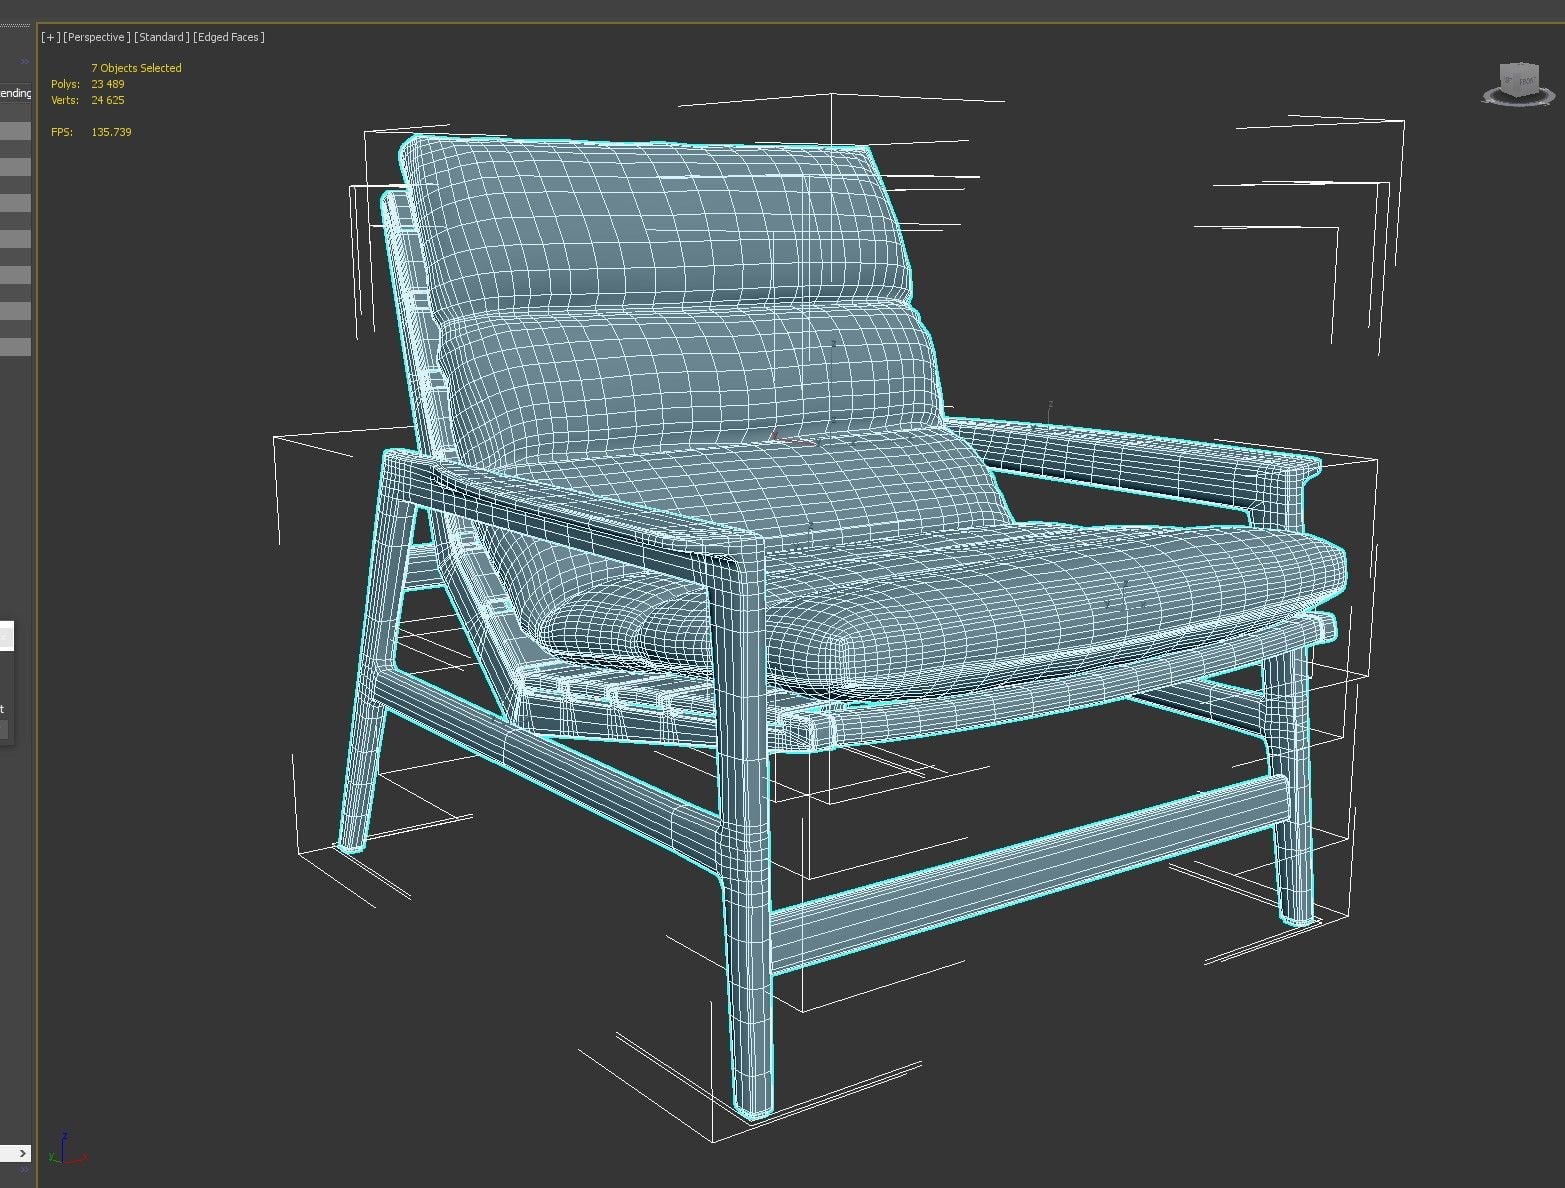
This is the skeleton: edges and vertices, with no filled surfaces. You won’t deliver it as a final asset. It’s useful in concept work, assembly review and technical communication, to show how the geometry is organized, how parts relate and how the product is built before surface detail goes on.
Sculpting
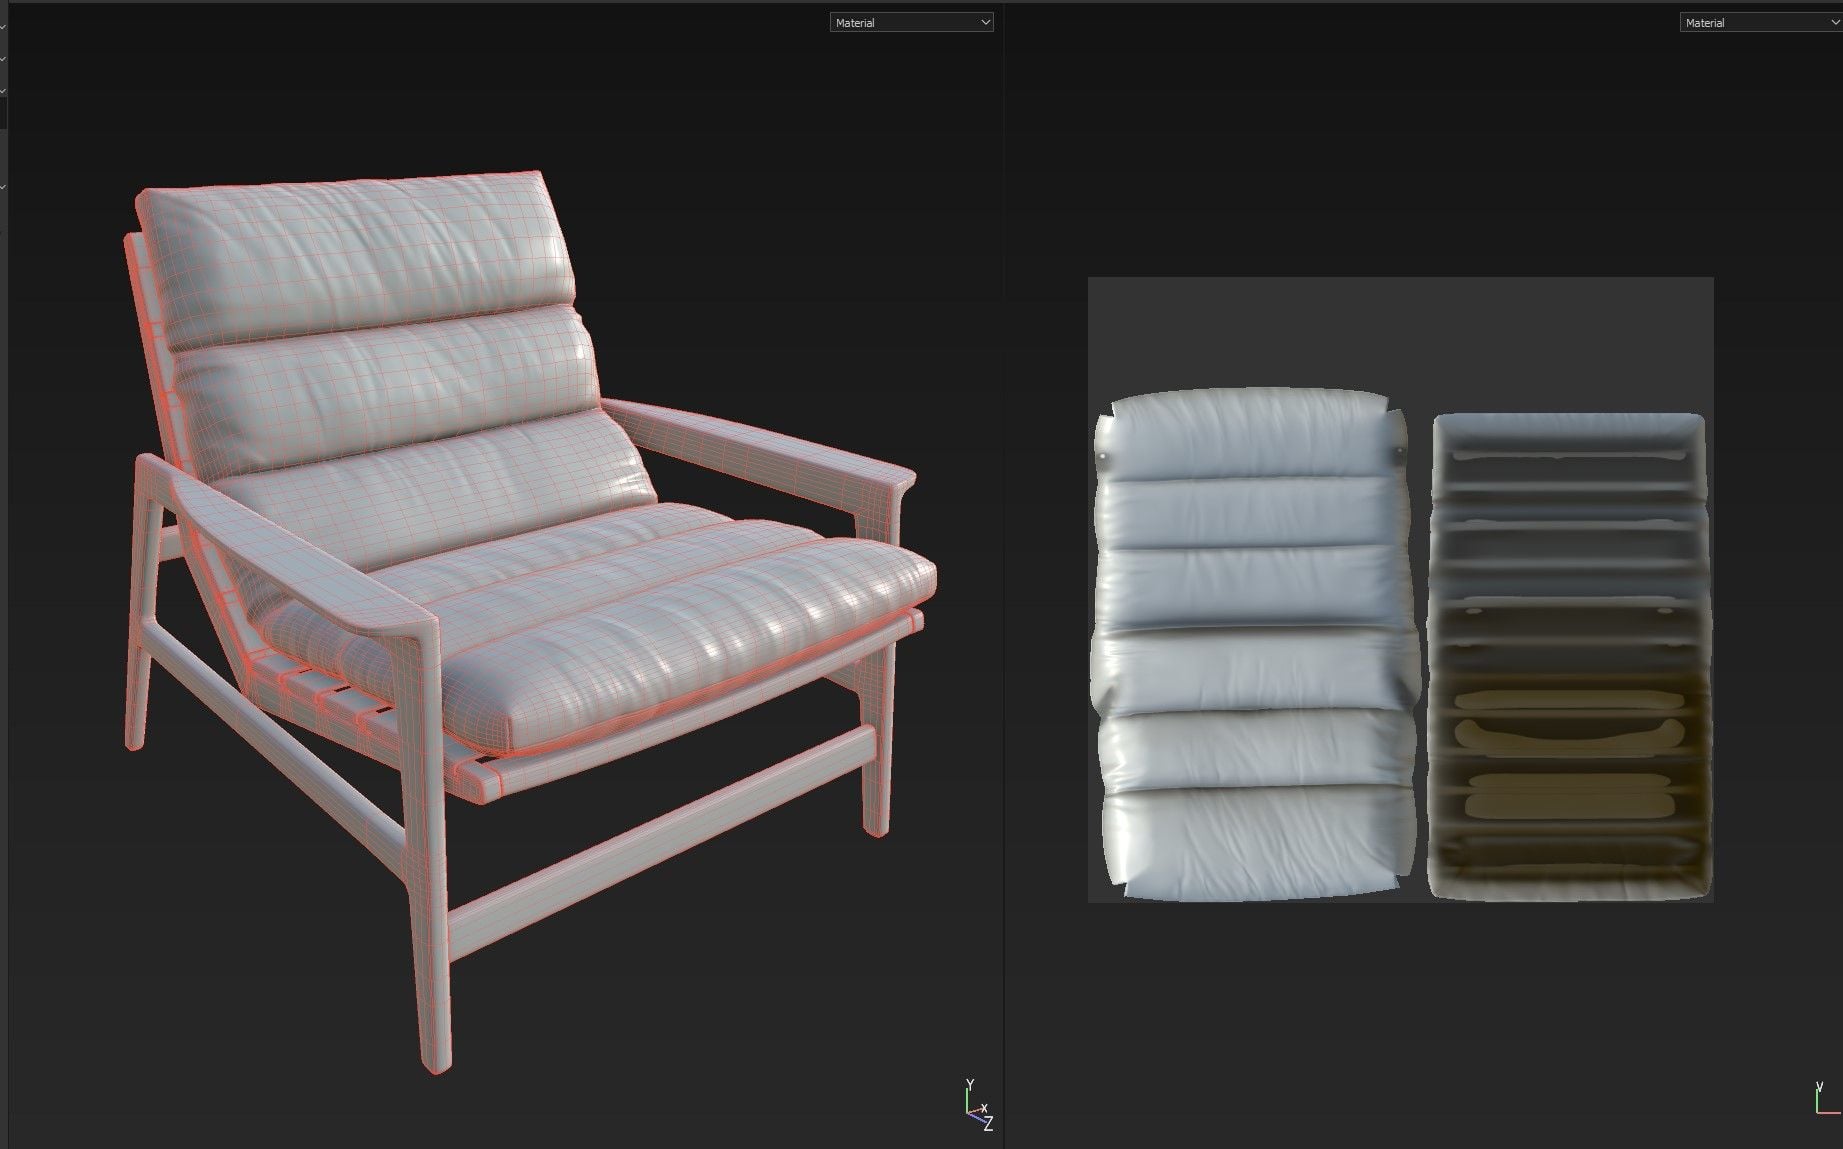
In ZBrush, artists shape a high-resolution surface like clay. It’s the right tool when the feel of the material drives the look: upholstered furniture with natural fabric drape, cushions that deform realistically, organic decor. Sculpted models have huge polygon counts and need retopology before rendering or real-time use. Sculpting adds the detail, and retopology comes next. The full 3D sculpting workflow runs in five steps.
Retopology
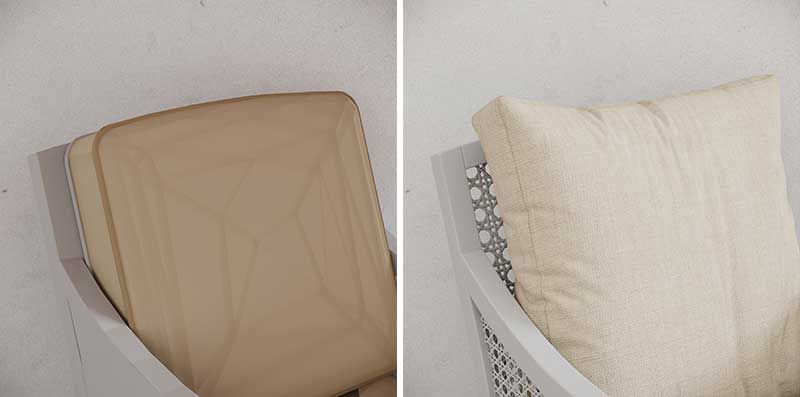
Retopology isn’t a modeling method on its own. It’s a process for existing geometry whose polygon structure doesn’t suit the output. Dense CAD imports, sculpted meshes and raw scans usually need it. The artist rebuilds the mesh with clean topology: logical edge loops, the right density and a structure that unwraps well. The form stays and the geometry gets rebuilt for where it’s going. The same question comes up with AI-generated 3D models for products, which we tested on real furniture.
Reverse Engineering and Scan-Based Modeling

No CAD file? Then the product has to be rebuilt from the physical object, and 3D scanning gives you a start. A scan captures the surface as a point cloud or raw mesh, accurate in shape but unusable for rendering until it’s cleaned up. The data is processed, holes are filled and the geometry is retopologized into a production-ready model. It works well for legacy products, complex organic shapes and heritage pieces with no engineering drawings. With neither a scan nor CAD, artists can still create a 3D model from photos.
Table 2: Modeling Methods – Geometry Type, Best Output, and Commercial Use
| Method | Geometry Type | Best Output | Strengths | Limitations | Commercial Use |
|---|---|---|---|---|---|
| Primitive modeling | Basic shapes (cubes, cylinders, spheres) | Early-stage mockups, simple catalog renders | Fast; minimal overhead | No surface detail | Simple products, concept blocking |
| Polygonal – high-poly | Dense mesh with subdivision support | Photoreal rendering → PDP, catalog, advertising | Maximum detail; supports displacement | Heavy; unsuitable for real-time without optimization | E-commerce hero images, campaign creative |
| Polygonal – low-poly | Minimal mesh for real-time performance | Real-time delivery → AR, 3D viewer, configurator | Fast loading; runs on mobile and web | Limited detail for close-up rendering | AR apps, web configurators, and 360 viewers |
| Wireframe | Edge-and-vertex skeletal structure | Structural / conceptual communication | Shows construction logic clearly | Not a finished commercial deliverable | Design review, assembly review, geometry planning |
| CAD / NURBS / solid | Mathematically precise surfaces and solid bodies | Technical visualization, manufacturing communication | Exact dimensions; engineering-grade accuracy | Needs conversion before rendering | Appliances, hardware, lighting, radiators, mechanisms |
| Sculpting | Very high-res organic mesh | Organic / soft-form rendering → upholstered furniture, decor | Free-form surface control; natural, tactile result | Extremely dense; requires retopology | Sofas, cushions, decorative objects |
| Retopology | Rebuilt clean mesh from dense source | Production-ready asset from CAD, sculpt, or scan | Reduces poly count while preserving form | Extra production stage adds time | AR, configurators, animation |
| Scan-based / reverse engineering | Point cloud or raw scan mesh | Model reconstruction without CAD | Captures physical reality directly | Raw data needs cleanup and retopology | Legacy products, organic shapes, heritage items |
3D Modeling by Product Type
Decorative and Organic Items
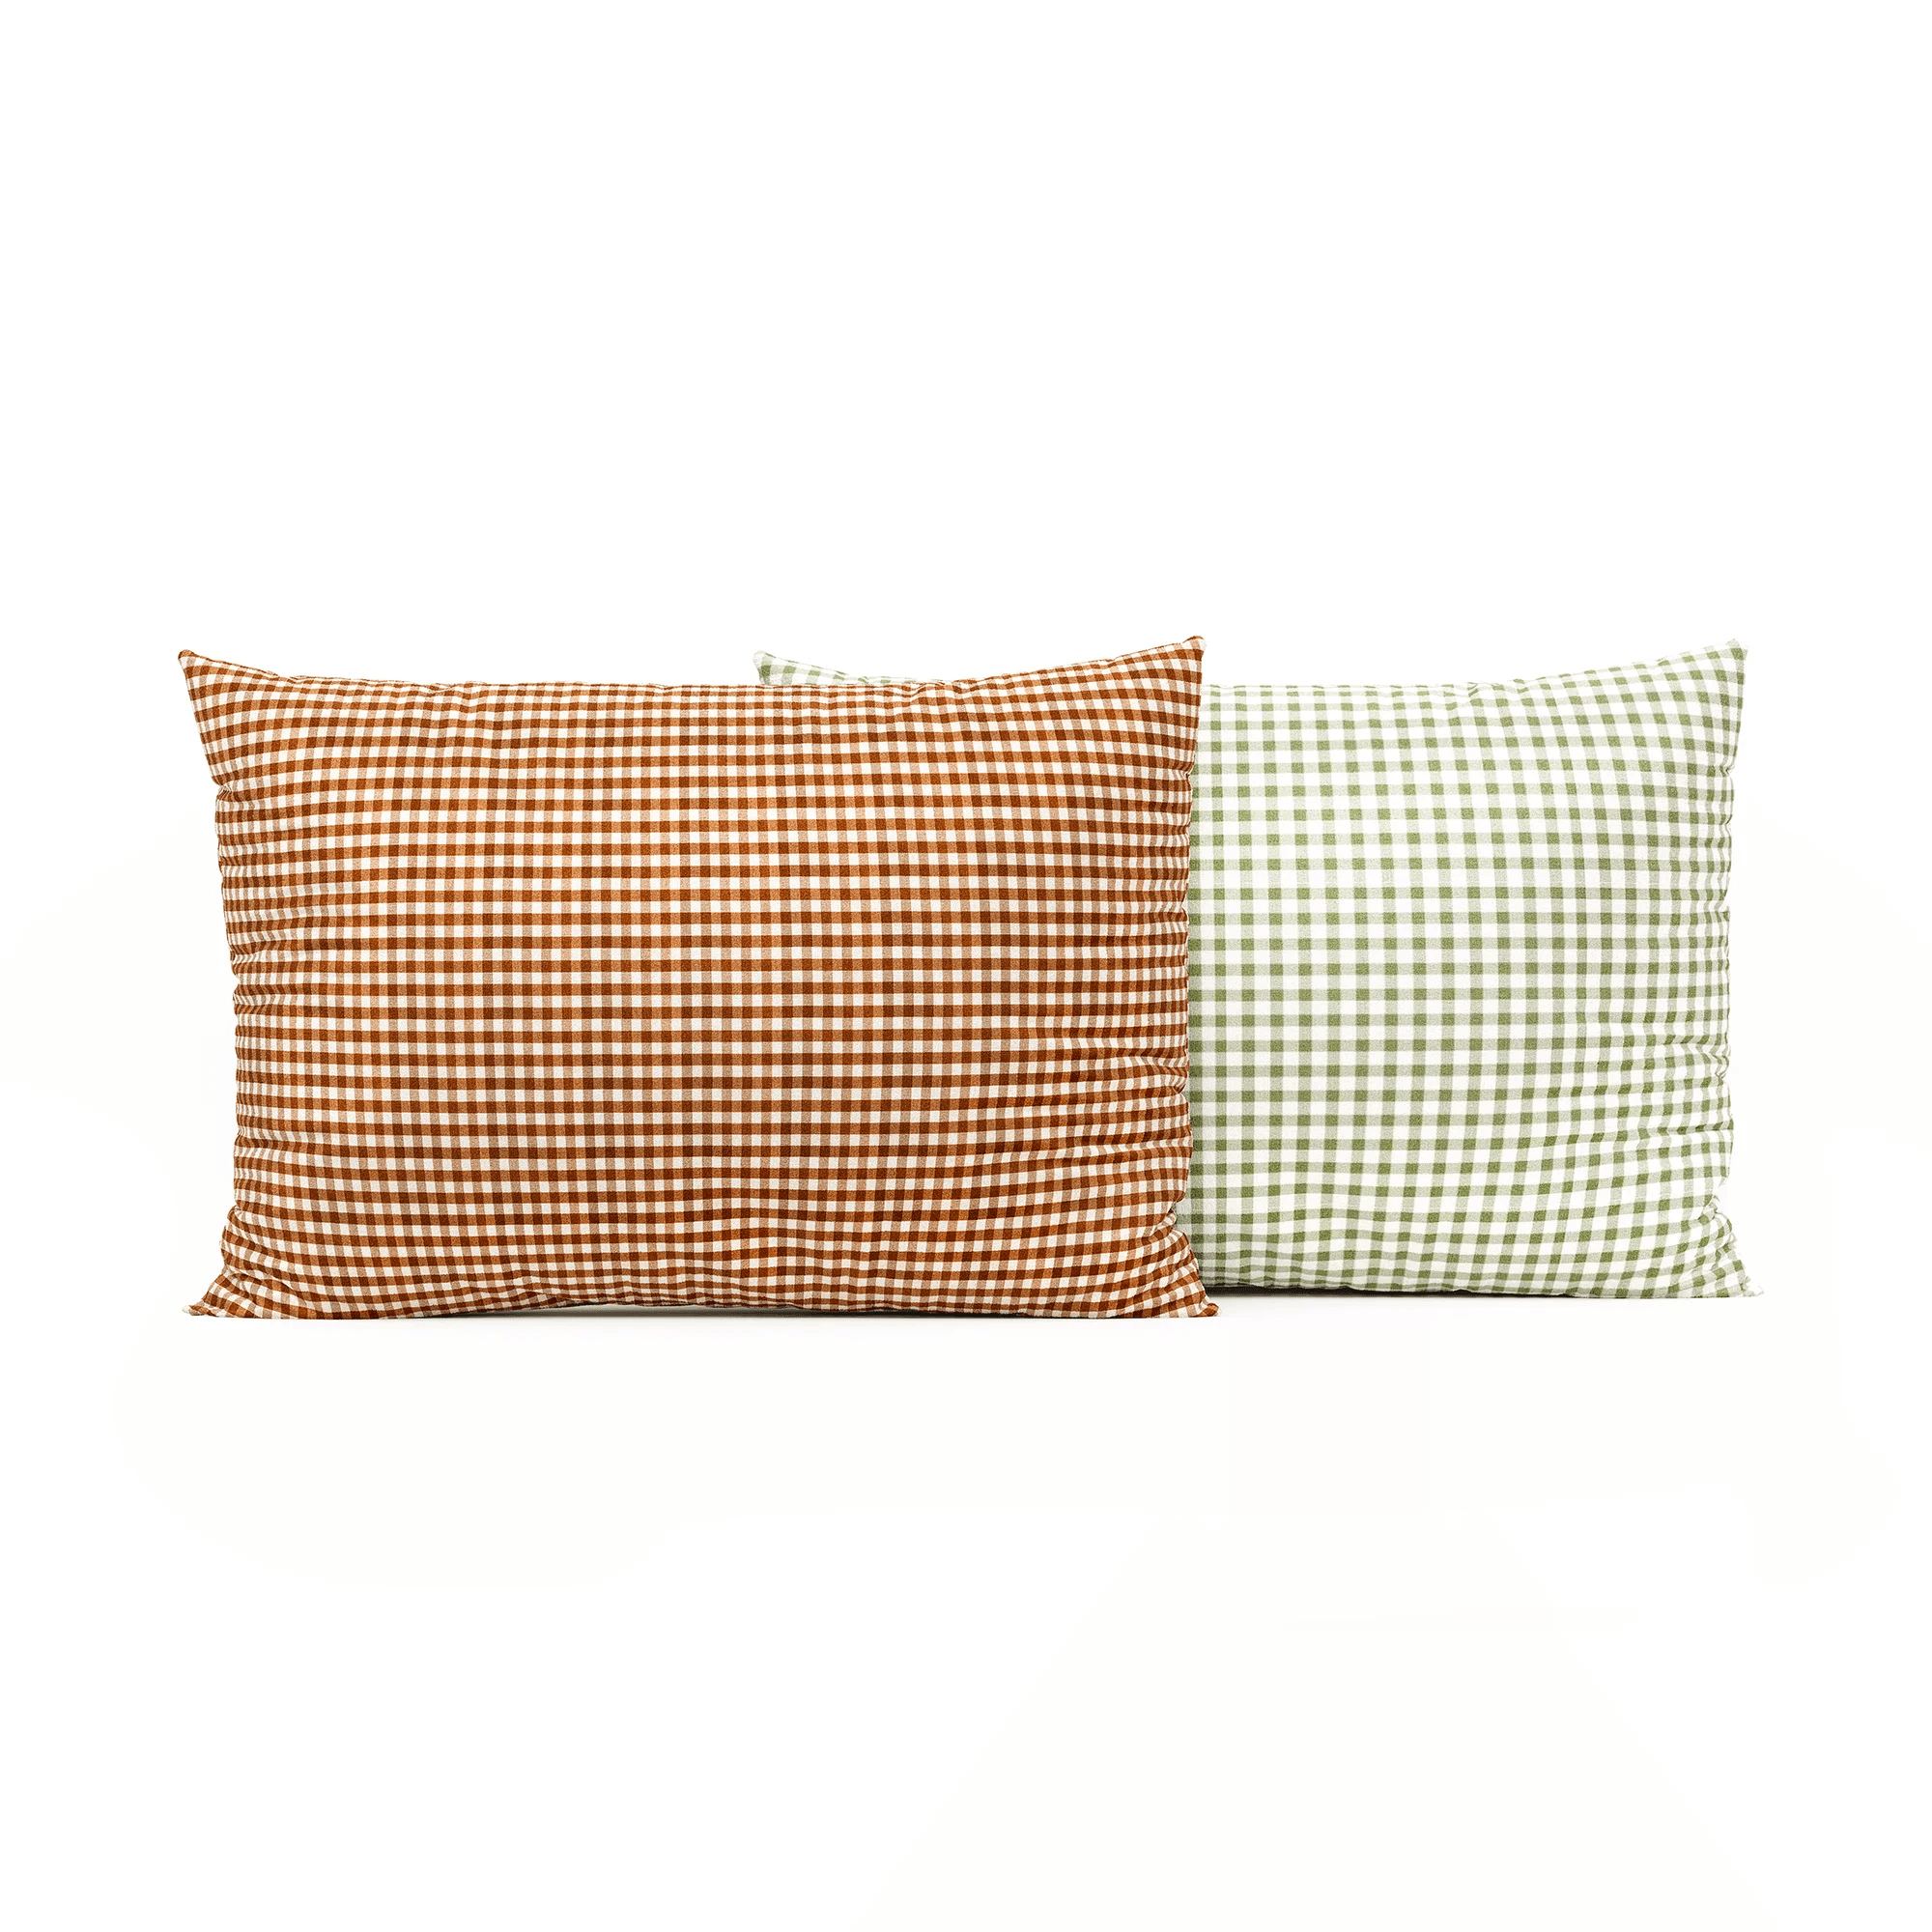
Examples: vases, bowls, organic shapes.
- Complex curves. Smooth, flowing shapes need care, or you get odd shadows and lose the outline from some angles.
- Glass and ceramics. Reflection, a bit of translucency and a sense of thickness all have to be just right. That’s what makes them look real and expensive.
- Imperfections for realism. Perfect isn’t the goal. Little flaws, uneven surfaces and tiny dents make an object look handmade.
Technical / Industrial Items
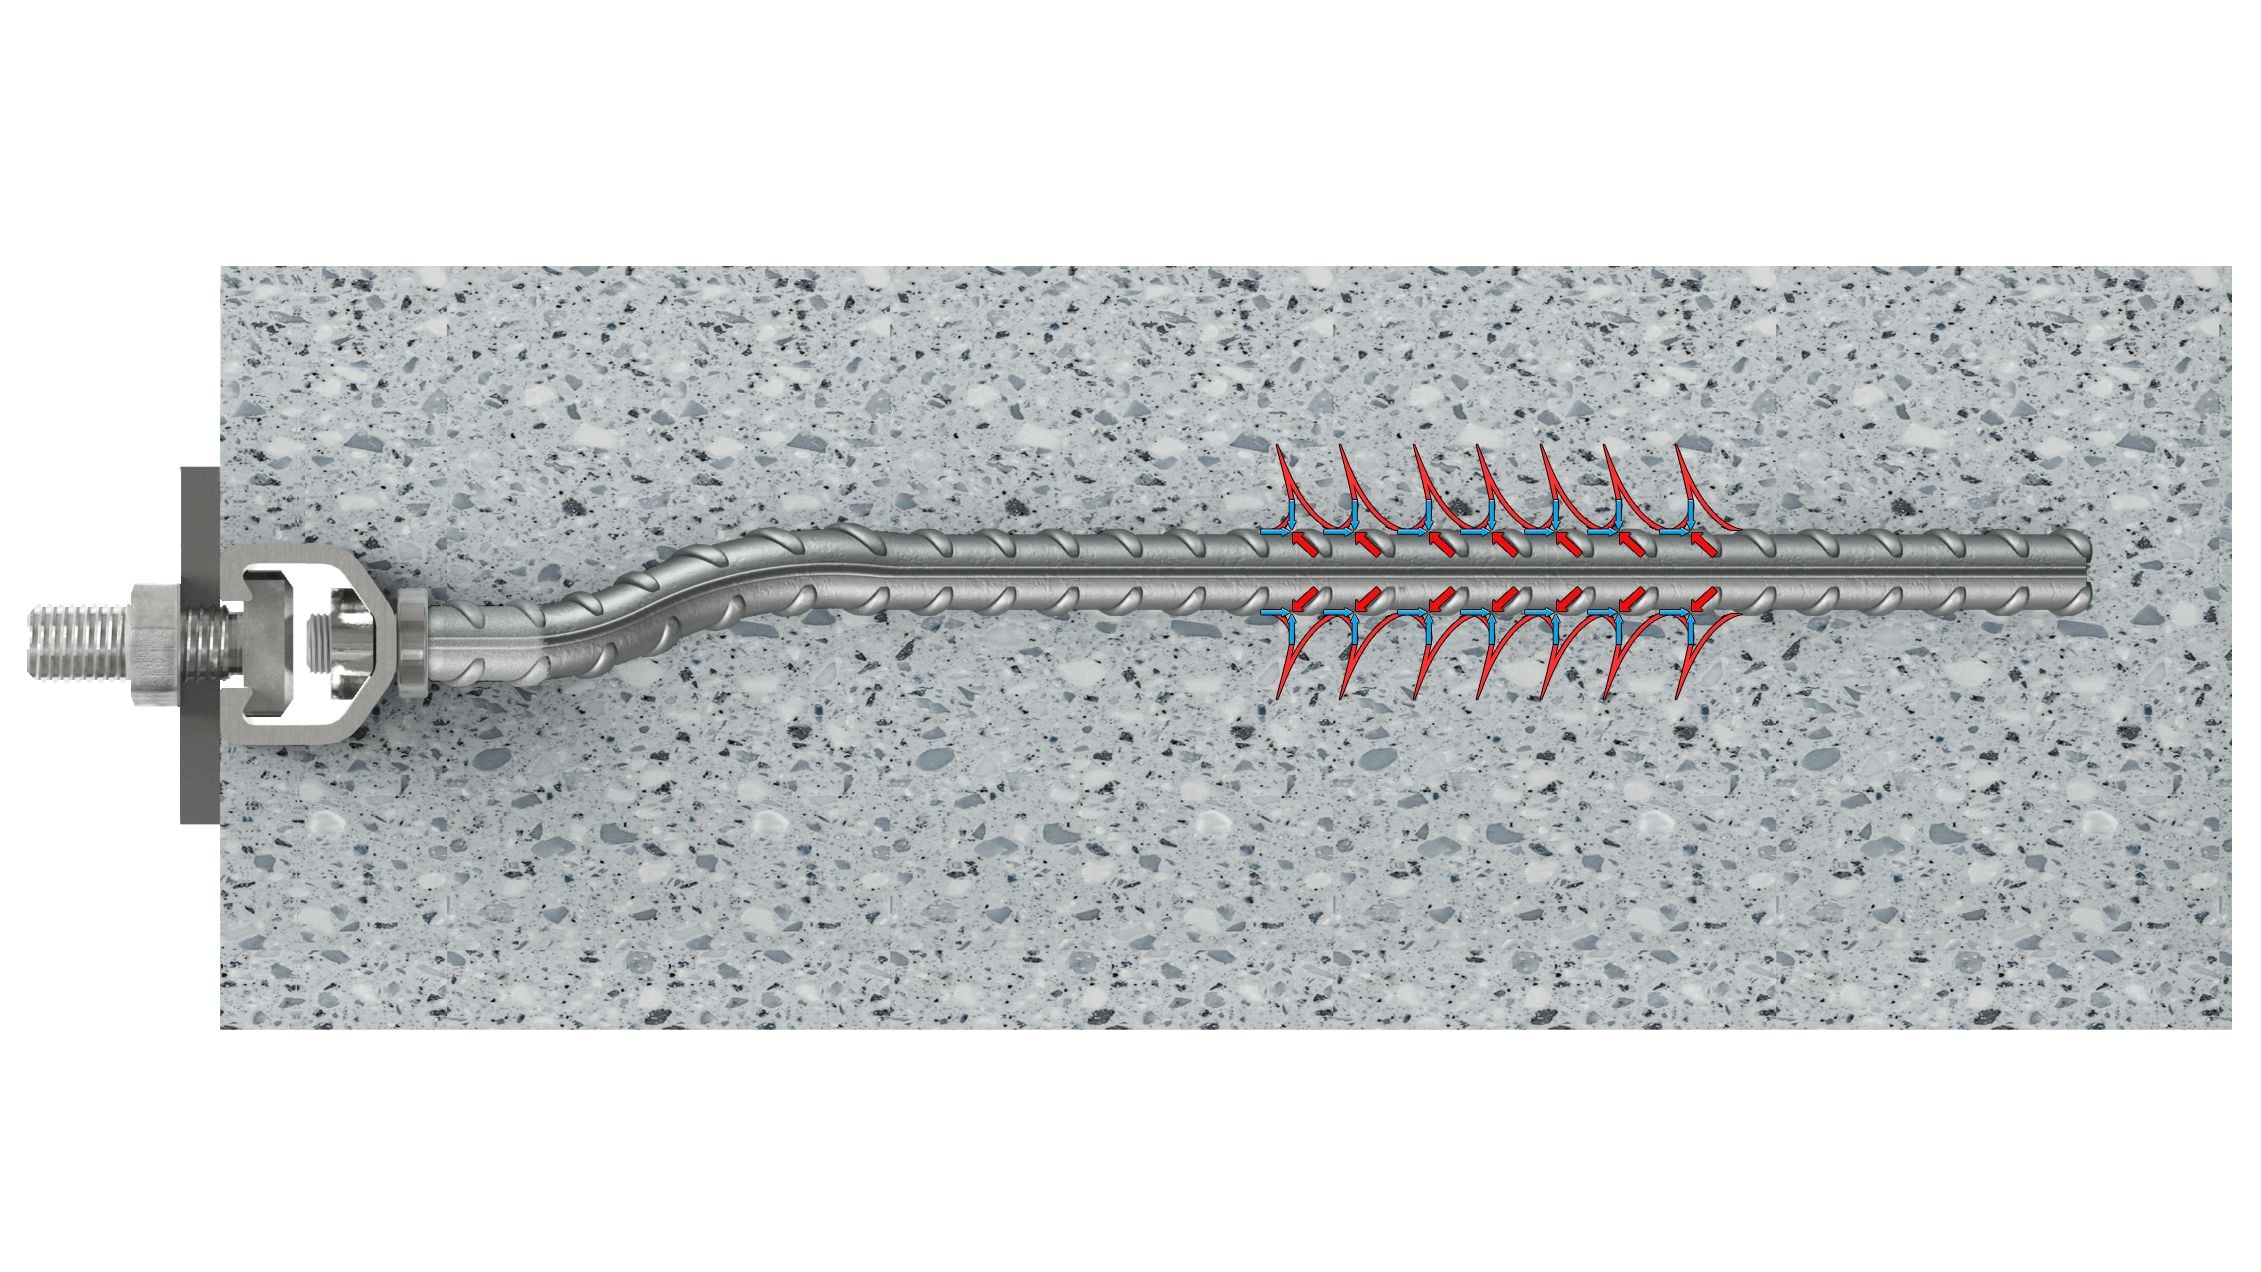
Examples: fasteners, connectors, fittings.
- Engineering geometry means technical shapes and exact measurements, so every part fits.
- High precision matters here. Tolerances stay tight and dimensions exact, which technical visuals and manufacturing projects depend on.
- The small stuff counts, too – screws, joints, connectors, little grooves. You model these carefully because they’re the details that make everything function and feel real.
Outdoor Furniture
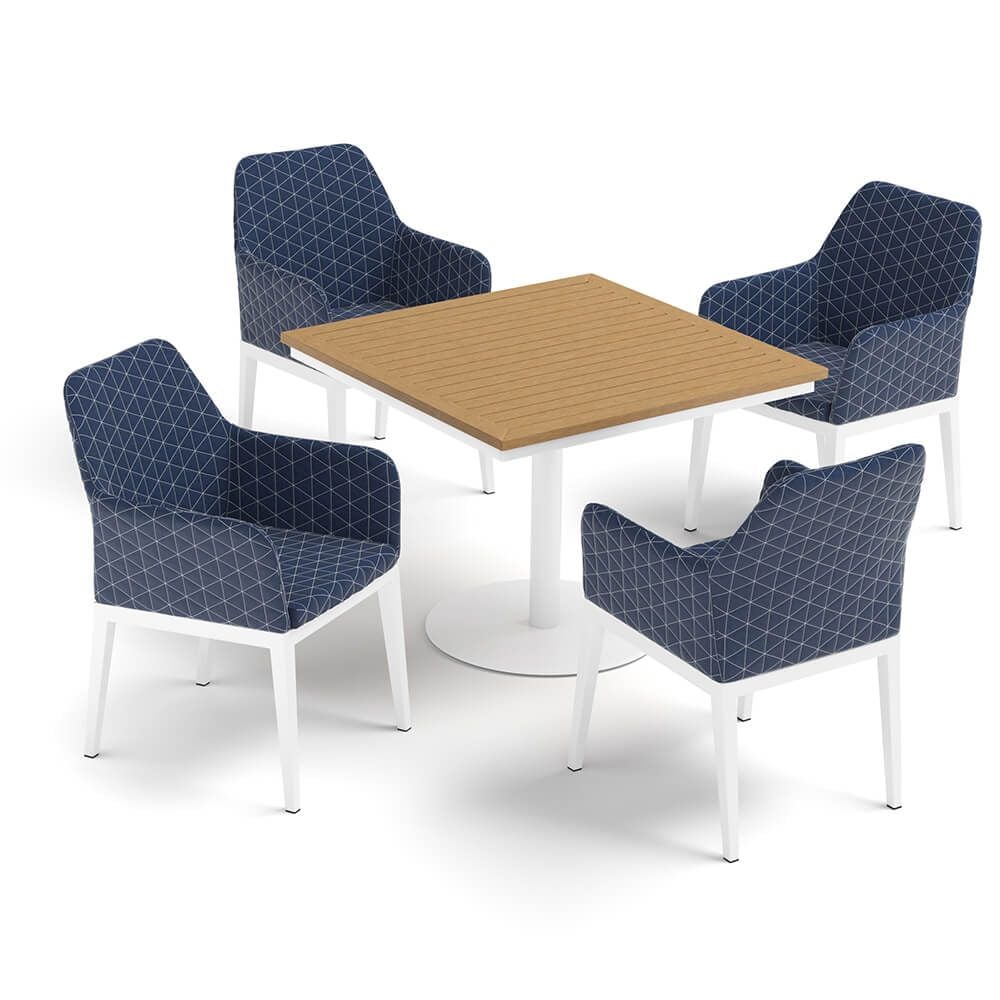
Examples: wicker items, metal frames, stone tops.
- Natural material variation. Color, texture and roughness shift a little across the surface, the way real materials do after time outdoors.
- Non-perfect shapes. You’ll notice a little warping, uneven edges and small organic quirks that keep it from looking fake.
- Weathering effects. Marks from sun, moisture, dirt and wear make the pieces look like they really live outside.
Appliances

Examples: kettles, microwaves, ovens. Our guide to home appliance 3D modeling covers these products in depth.
- Plastic and metal meet at visible seams. Get those seams and reflections right, and give each texture its own feel.
- LED indicators need to glow like the real thing, spill a little light onto nearby surfaces and look transparent where they should.
- Glossy surfaces and tight tolerances mean smooth finishes, sharp reflections and crisp edges, the details that say the product is well made.
Levels of 3D Product Modeling Complexity
Here are the four complexity levels for furniture 3D modeling we use at CGIFurniture. Knowing them helps you pick the right model type and plan your CGI budget. Our article on types of 3D models explains each level with more examples. At every level, materials only look right when the model has clean UV mapping.
1. Simple Models
What they are: Simple models have minimal geometry and very few details. They’re built from basic shapes like cubes, spheres and cylinders, and suit straightforward pieces such as basic chairs, tables, benches or simple shelves.
Characteristics:
- No seams, stitches, or fittings
- No complex texturing
- Often created from ready-made geometry and standard texture maps Ready-made assets usually come from websites to download 3D models.
- Fastest and easiest to produce
- Typical production time: ~1 working day
- Price range: $60 at volume ($130 for a one-off order)
- When to choose this level: Minimalist products with clean geometry and no ornament. Good for quick prototypes or basic catalog images.
2. Medium Complexity Models
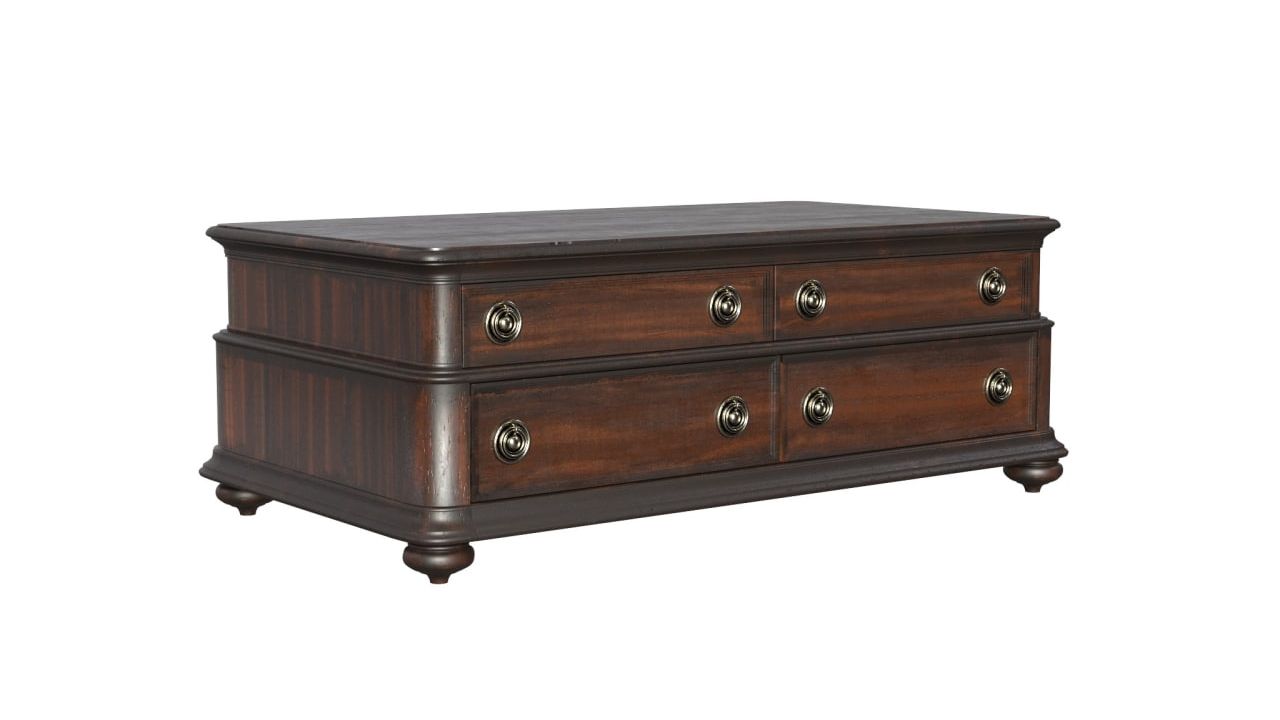
What they are: Still fairly simple, but with more parts and more visible detail.
Examples: Sideboards, bedside tables, TV consoles, chests of drawers, and similar cabinet pieces.
Characteristics:
- Moderate amount of decorative elements
- Simple fittings
- Common and uncomplicated textures
- Suitable for minimalistic or modern designs
- Typical production time: ~1 working day
- Price range: $120 at volume ($330 for a one-off order)
- When to choose this level: Furniture with clean lines and a bit more structure. This level covers most catalog models.
3. Complex Models
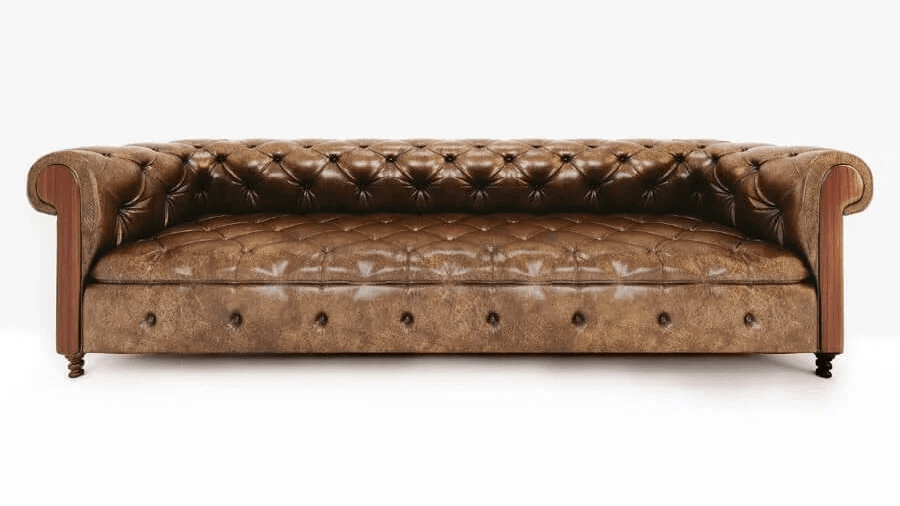
What they are: Furniture with intricate geometry, rich textures and precise detail.
Examples: Chesterfield sofas, upholstered armchairs, refined cabinetry, or furniture made of premium materials.
Characteristics:
- Detailed stitching, quilting, and fittings
- Challenging textures (leather, silk, unique woods, stone patterns)
- May require retopology in 3ds Max to optimize geometry for smooth performance
- Suitable for real-time rendering, AR/VR, configurators, and 360° viewers (if requested)
- Typical production time: ~2 working days
- Price range: $300 at volume ($780 for a one-off order) When to choose this level: When the product has elaborate detail, or when the model has to run in interactive experiences.
4. Highly Complex Models
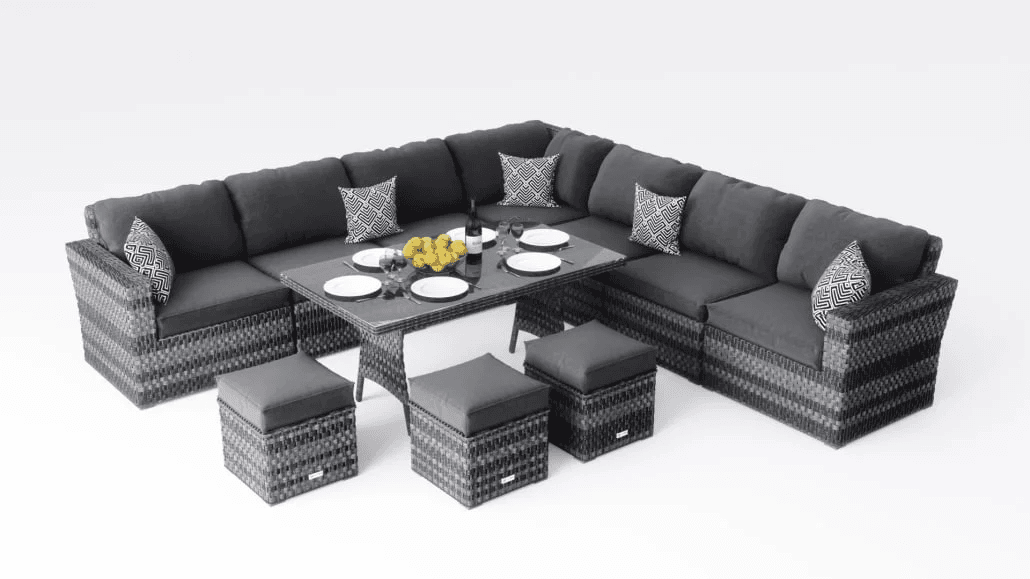
What they are: Furniture sets, multi-part compositions and the most sophisticated designs.
Examples: Intricate furniture collections, items with carving, weaving, ornate materials, or many small components.
Characteristics:
- Large number of individual parts
- Extensive custom texturing and material creation
- Often requires retopology
- Each element is built with a fully customized approach
- Most time-consuming and detail-heavy modeling process
- Typical production time: ~2 working days (sometimes more, depending on set size)
- Price range: $500 at volume ($970 for a one-off order)
- When to choose this level: Luxury brands, high-end marketing, or any product where realism and material accuracy come first.
Factors Affecting Complexity
- Availability of CAD files or dimensions – the more accurate the references, the faster the workflow.
- Reference gaps – missing angles or low-quality photos increase complexity.
- Rigging requirements – hinges, openings, sliding parts, mechanisms.
- Material complexity – intricate textures, fabrics, patterns.
Reference Requirements
To create an accurate model, ideal references include:
- 360° video walkarounds
- Exact dimensions (height, width, depth)
- Close-ups of materials and details
- Finish options (colorways, hardware variations)
- Technical drawings or CAD if available
Accurate data reduces revisions and ensures scale precision. Follow these tips on reference photos for 3D modeling before a shoot.
Output
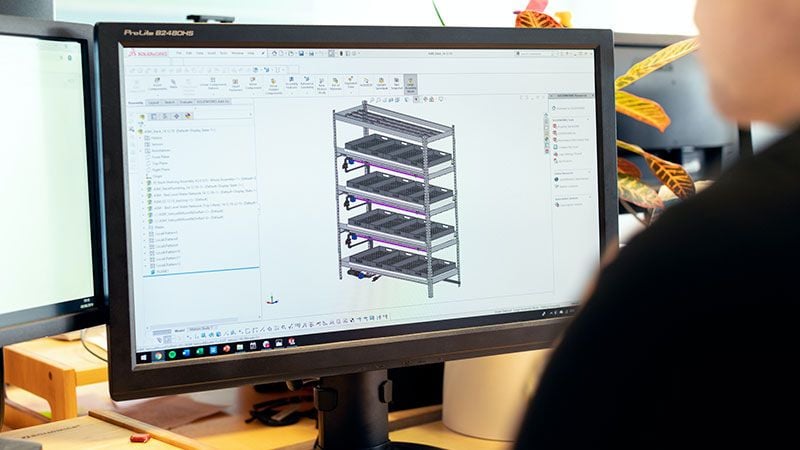
CGIFurniture provides models suitable for all pipelines:
High-poly (V-Ray / Corona)
These are for photorealistic rendering in V-Ray and Corona. They carry the most detail: fine geometry, displacement and the small surface imperfections you need in close-ups.
Mid-poly (Unreal / Unity)
Mid-poly models are built for real time in Unreal Engine and Unity. They keep enough detail for configurators and animations and still run smoothly.
Low-poly (AR / GLB / USDZ)
Low-poly models are for AR and formats like GLB or USDZ. They load fast on phones and the web and stay clear while people interact with them. Here is how GLB models for ecommerce are prepared and used.
UV Mapping
You need UV mapping whenever realistic materials are involved. Proper unwrapping puts textures in the right place, and every PBR texturing workflow depends on it.
STEM-ready geometry
These models are precise enough for manufacturing and technical visualization, with clean topology, accurate dimensions and a consistent structure for engineering work.
Before You Order a 3D Model
Four decisions made up front save the most revisions later. They also apply when you outsource 3D modeling to an external studio.
- Intended use. A model for close-up catalog renders, a model for AR and a model for a configurator are built differently. List every output you plan, including next year’s, so the geometry is planned for all of them.
- References. Dimensions, close-ups of materials and hardware, finish options, and CAD files or technical drawings if they exist (see Reference Requirements above).
- Budget and timeline. Cost follows the complexity level, the number of finishes and the number of views you need rendered. Urgent deadlines usually cost extra because they need overtime. See typical 3D furniture modeling cost by complexity tier.
- File formats and ownership. Ask for the native scene file plus the exchange formats you need: OBJ or FBX for other studios, GLB or USDZ for web and AR. Keeping the source file is what lets you add a colorway or an AR version later without rebuilding the model. Our overview of 3D file formats compares the common types.
How a 3D Model Is Made
Let’s look at the 3D modeling workflow based on CGIFurniture’s pipeline. For the longer version, see the 3D modeling process in ten stages.
Step 1: Studying the Assignment
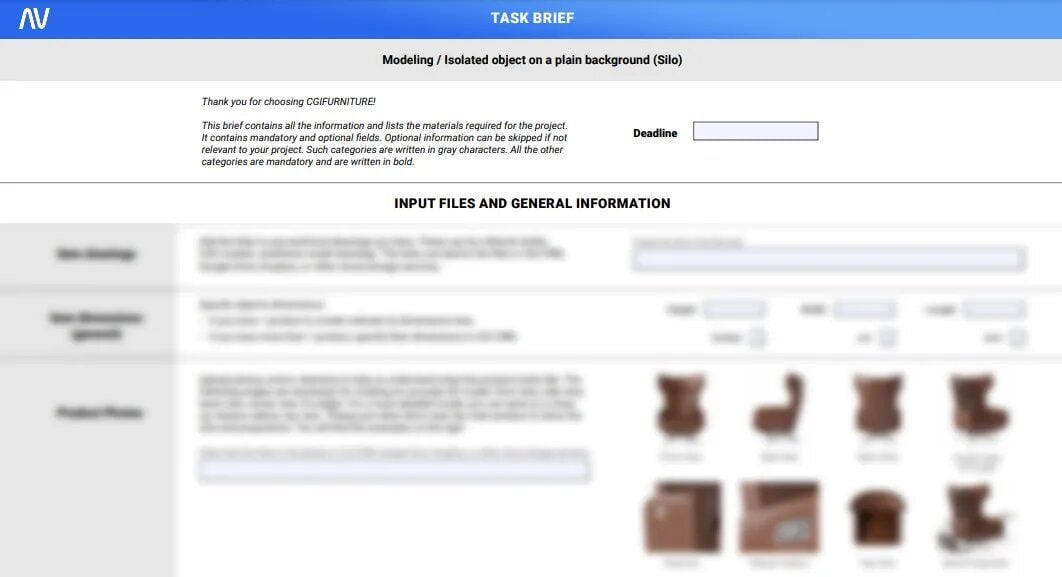
First, the team goes through every reference, from photos and CAD files to videos and scans, to understand the object. Anything missing or unclear gets flagged early. The team also sets the model’s complexity and output requirements and reviews materials and color options.
Step 2: Building Geometry
Artists build the base shapes with a high-poly or low-poly approach, depending on the goal, and check proportions against the dimensions. You get a gray clay model for early review. Once the main form is approved, secondary and tertiary details go on.
Step 3: Applying Textures and Materials
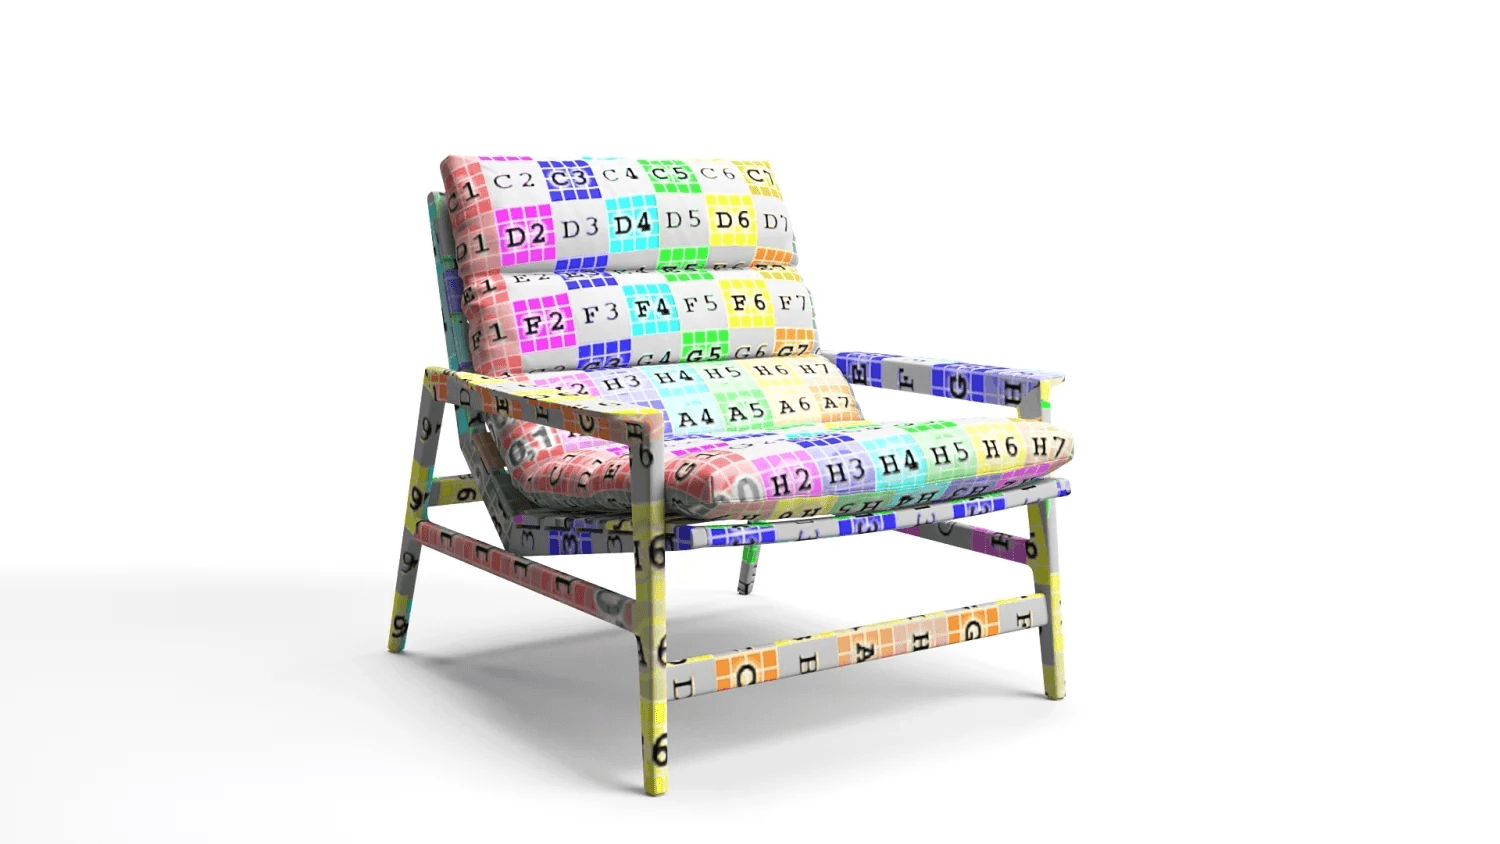
Now artists apply materials in a PBR workflow, with albedo, roughness, normal and displacement maps. Fabrics, metals, wood and plastics are matched to the references, and texture samples get adjusted until they match the intended look and finish. Our luxury watch 3D modeling case shows this stage on metal, leather and glass.
Step 4: Rendering the 3D Model on White Background
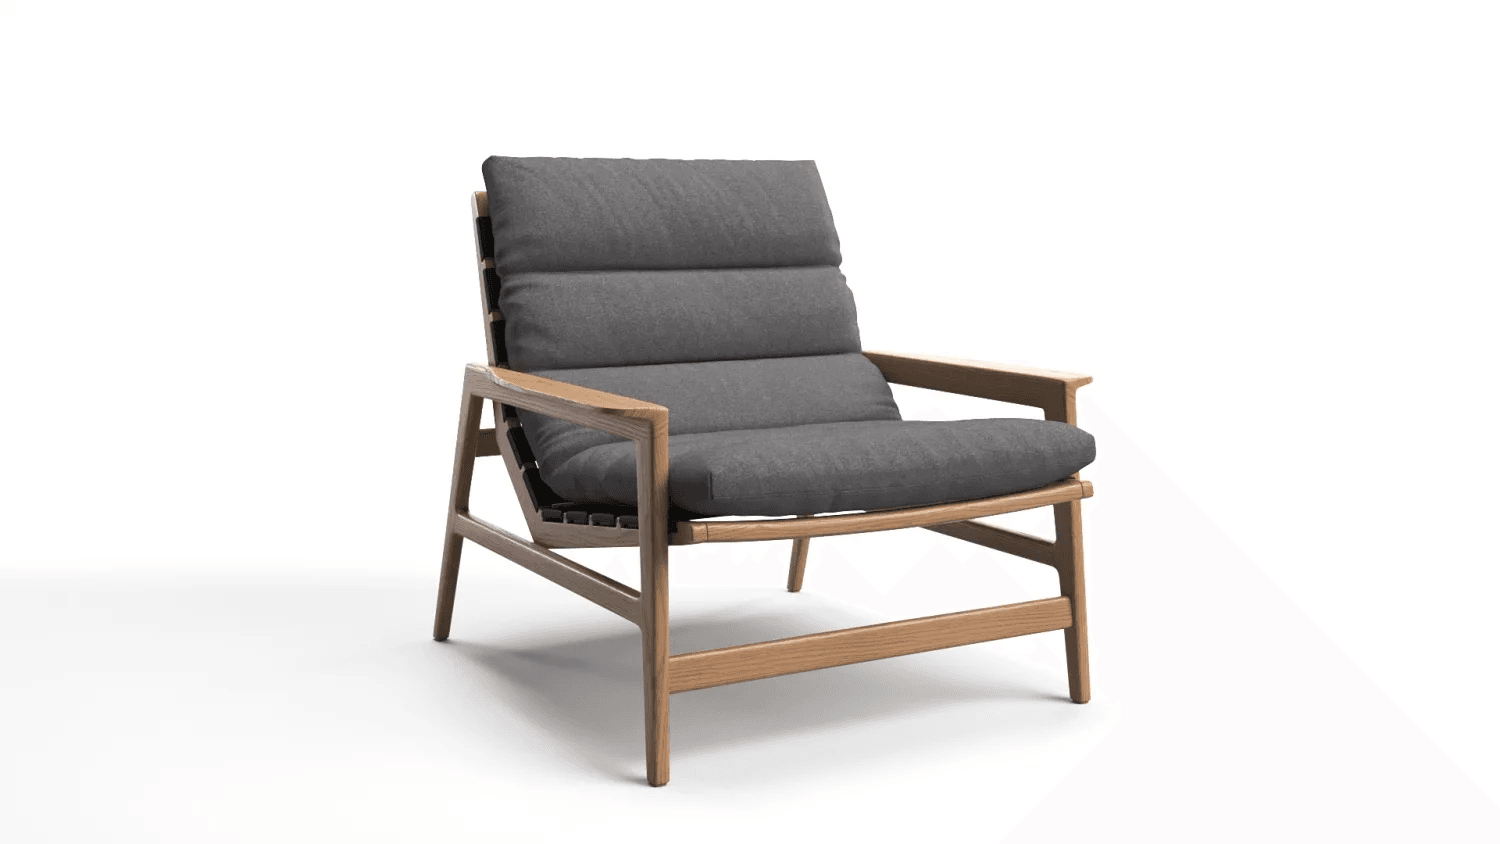
Test renders check the geometry and the overall build. The lighting is set up to expose any flaws, and scale and proportions get reviewed in Silo 3D visualization.
Step 5: Post-production
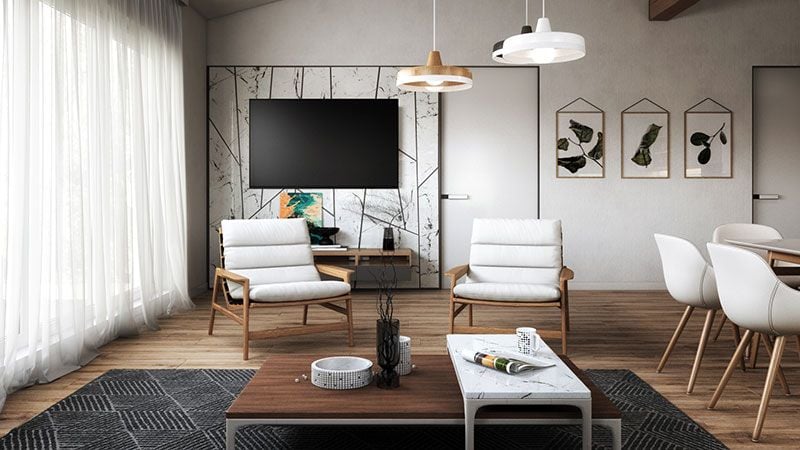
Last, any leftover artifacts are fixed and colors corrected. The model gets a final scale check, and the files are exported as the deliverables.
3D Modeling Software
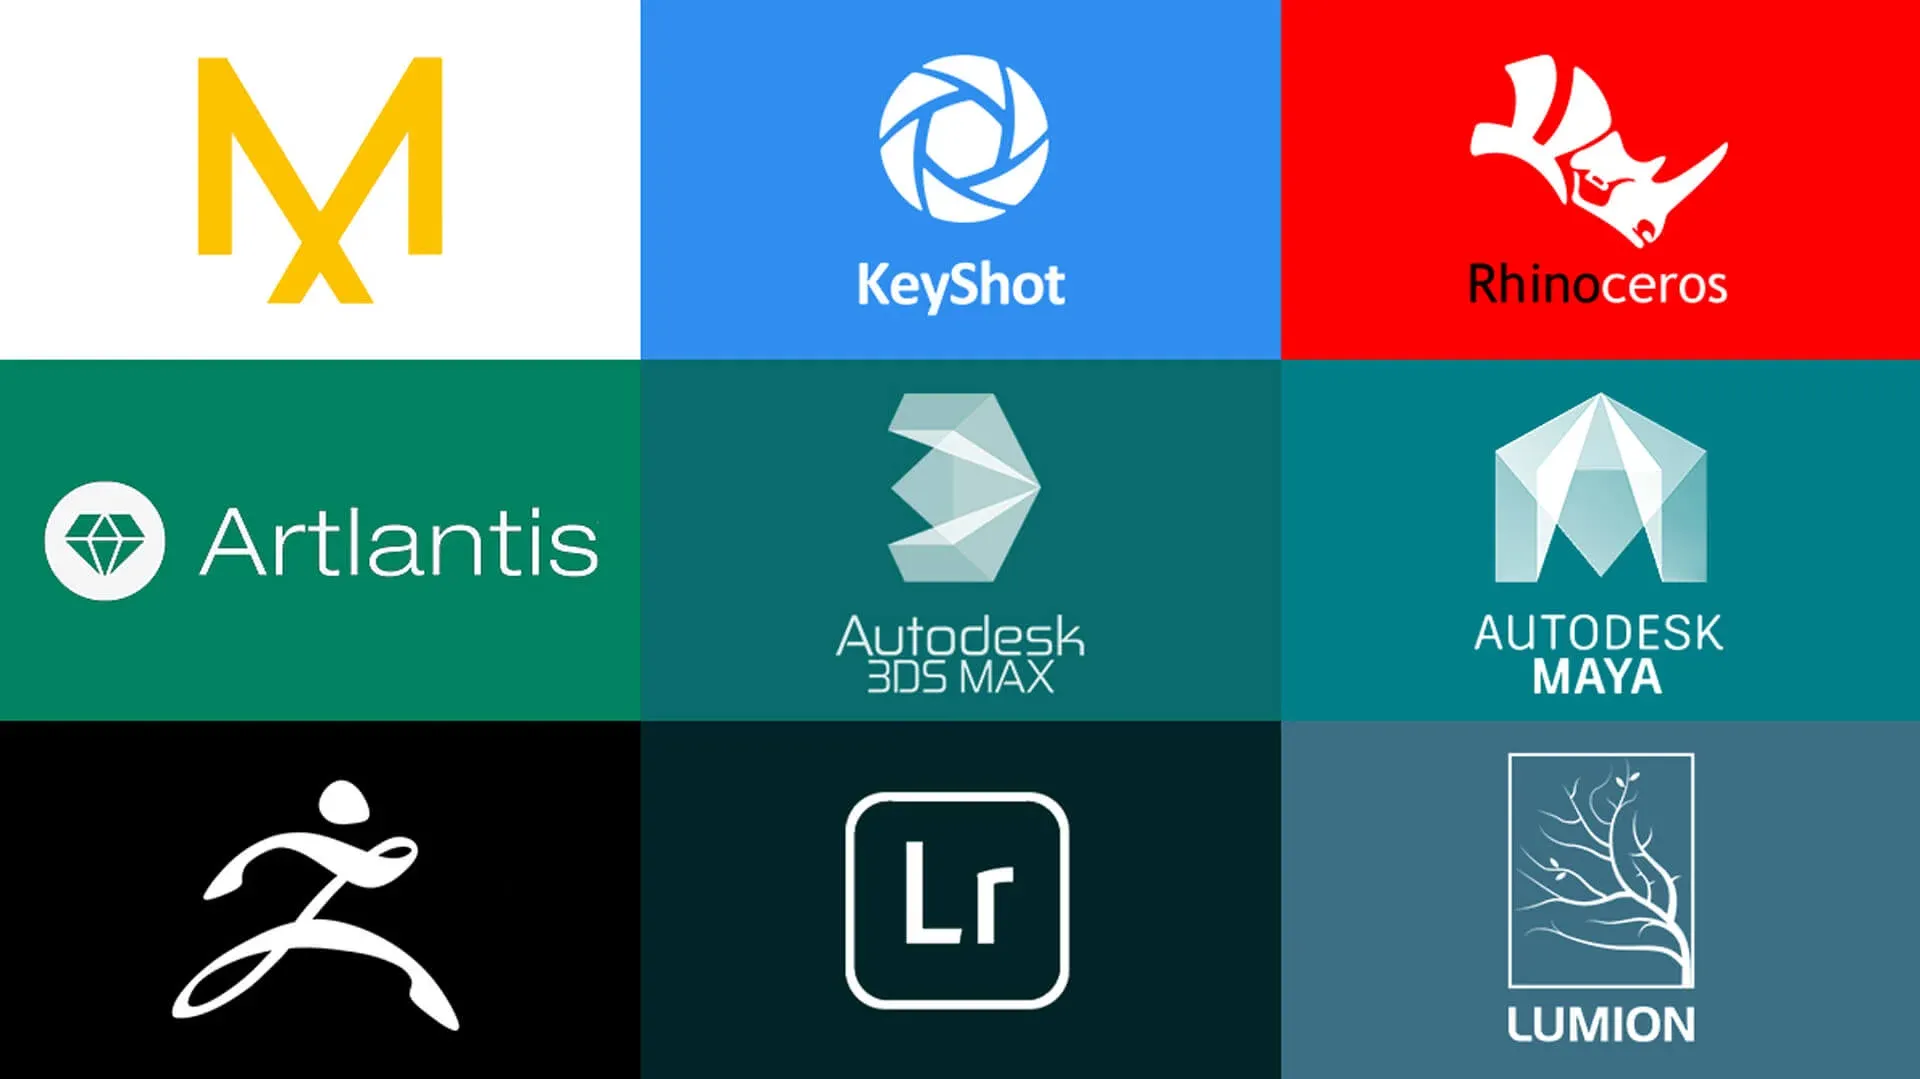
Different tools are used for different tasks and object types. For furniture specifically, compare the leading 3D modeling software for furniture.
A. Hard-Surface / Product Modeling
3ds Max
Industry standard for product visualization.
Blender
Versatile: modeling + retopology + unwrapping.
Fusion 360
Great for mechanical and engineered shapes.
SolidWorks / Rhino
Used for CAD and highly accurate industrial forms.
B. Organic and Fabric Modeling
ZBrush
Best for sculpting and complex decorative shapes.
Marvelous Designer
Realistic cloth and upholstery simulation.
Houdini
Procedural modeling; ideal for complex forms and fabric logic.
C. Models for Production / 3D Printing
• SolidWorks • Onshape • Inventor • CATIA Used when exact dimensions and NURBS geometry are required.
D. Real-Time, AR, Low-Poly Pipelines
• Blender • 3ds Max retopology tools • Instant Meshes • Simplygon Real-time models require polygon optimization, clean UVs, and lightweight topology.
Social Media Playbook for Your Brand
Templates and examples for reels, carousels, and 3D motion, tailored to your brand
Download Social Media GuideWhy software choice matters
- Different tools for different geometry Hard-surface and organic modeling work in very different ways. The software decides how well you can build sharp edges, chamfers and mechanical parts, or soft forms, fabrics and natural deformation.
- CAD models require visualization adaptation Engineering CAD files are precise but heavy and won’t render well as they are. With the right software, you can retopologize, clean up and optimize CAD geometry so it works in CGI without shading or performance problems.
- Topology affects lighting and realism Clean topology gives you correct lighting, reflections and shadows. Messy geometry causes artifacts, however good the textures and render engine are.
- Output type defines the pipeline Static renders, animations, AR and real-time configurators each have their own technical needs. The right software lets the model balance detail, performance and compatibility for where it ends up.
Conclusion
Professional 3D modeling services make production faster and cheaper and keep you flexible. You can change a design, material or color without reshooting photos or building new prototypes. And when models look real and the details are right, customers understand what they’re buying, so they trust you before they even click “buy.”
A 3D product model isn’t a one-off visual. It’s an asset that stays with you. Get the details right, keep the model clean and know what you need from it, and it’ll carry your product from the first sketch through engineering, sales, marketing and whatever comes next.