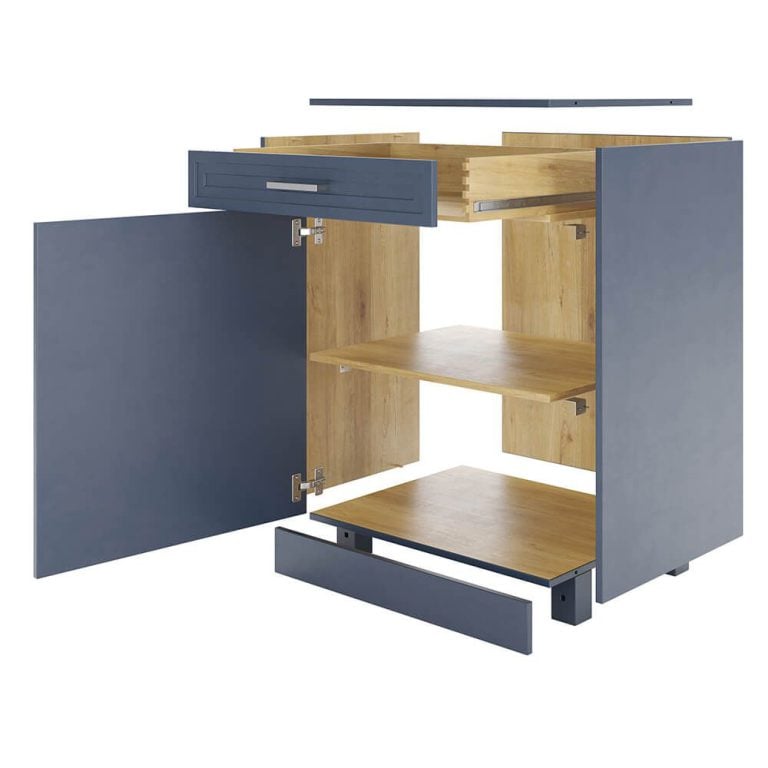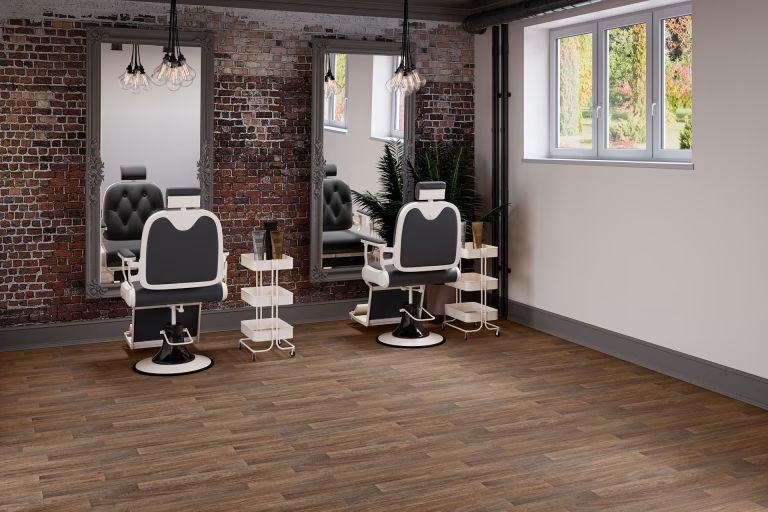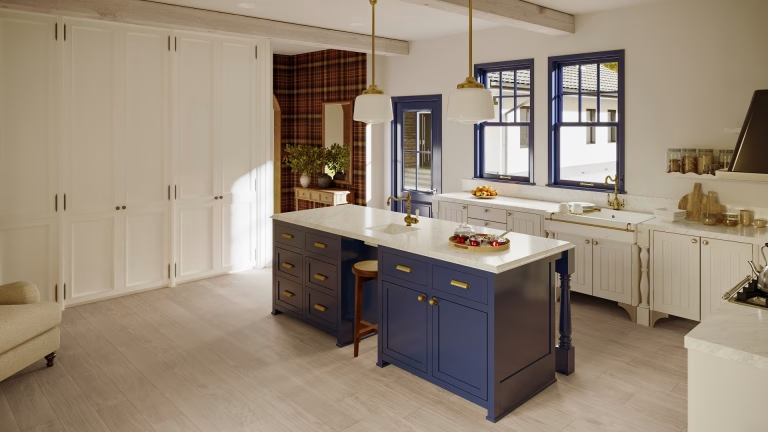
UV mapping is the step that flattens the surface of a 3D model into a 2D layout, called a UV map, so that a flat image can be wrapped back onto the model without stretching. U and V are simply the names of the two axes of that flat image; the letters X, Y and Z are already taken by the 3D model. Texture mapping is what happens next: the textures are painted or placed on the UV map and appear on the model.
This guide explains how UV mapping and texture mapping work, which texture maps a photoreal product needs, and why clean UVs decide whether a fabric, a wood grain or a stripe looks right in the final image.
What Is UV Mapping?
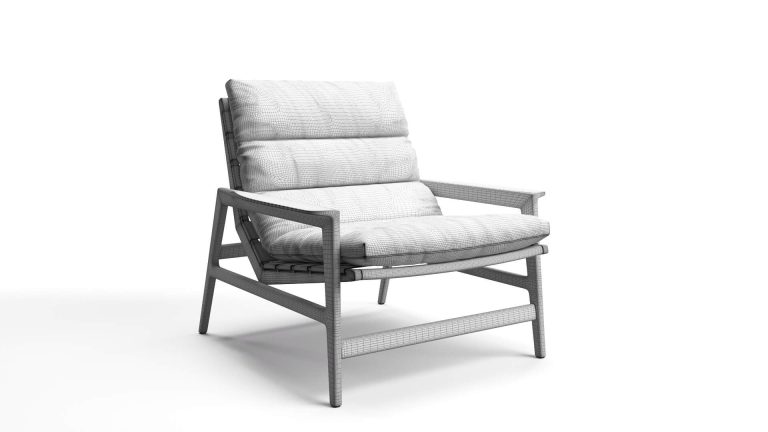
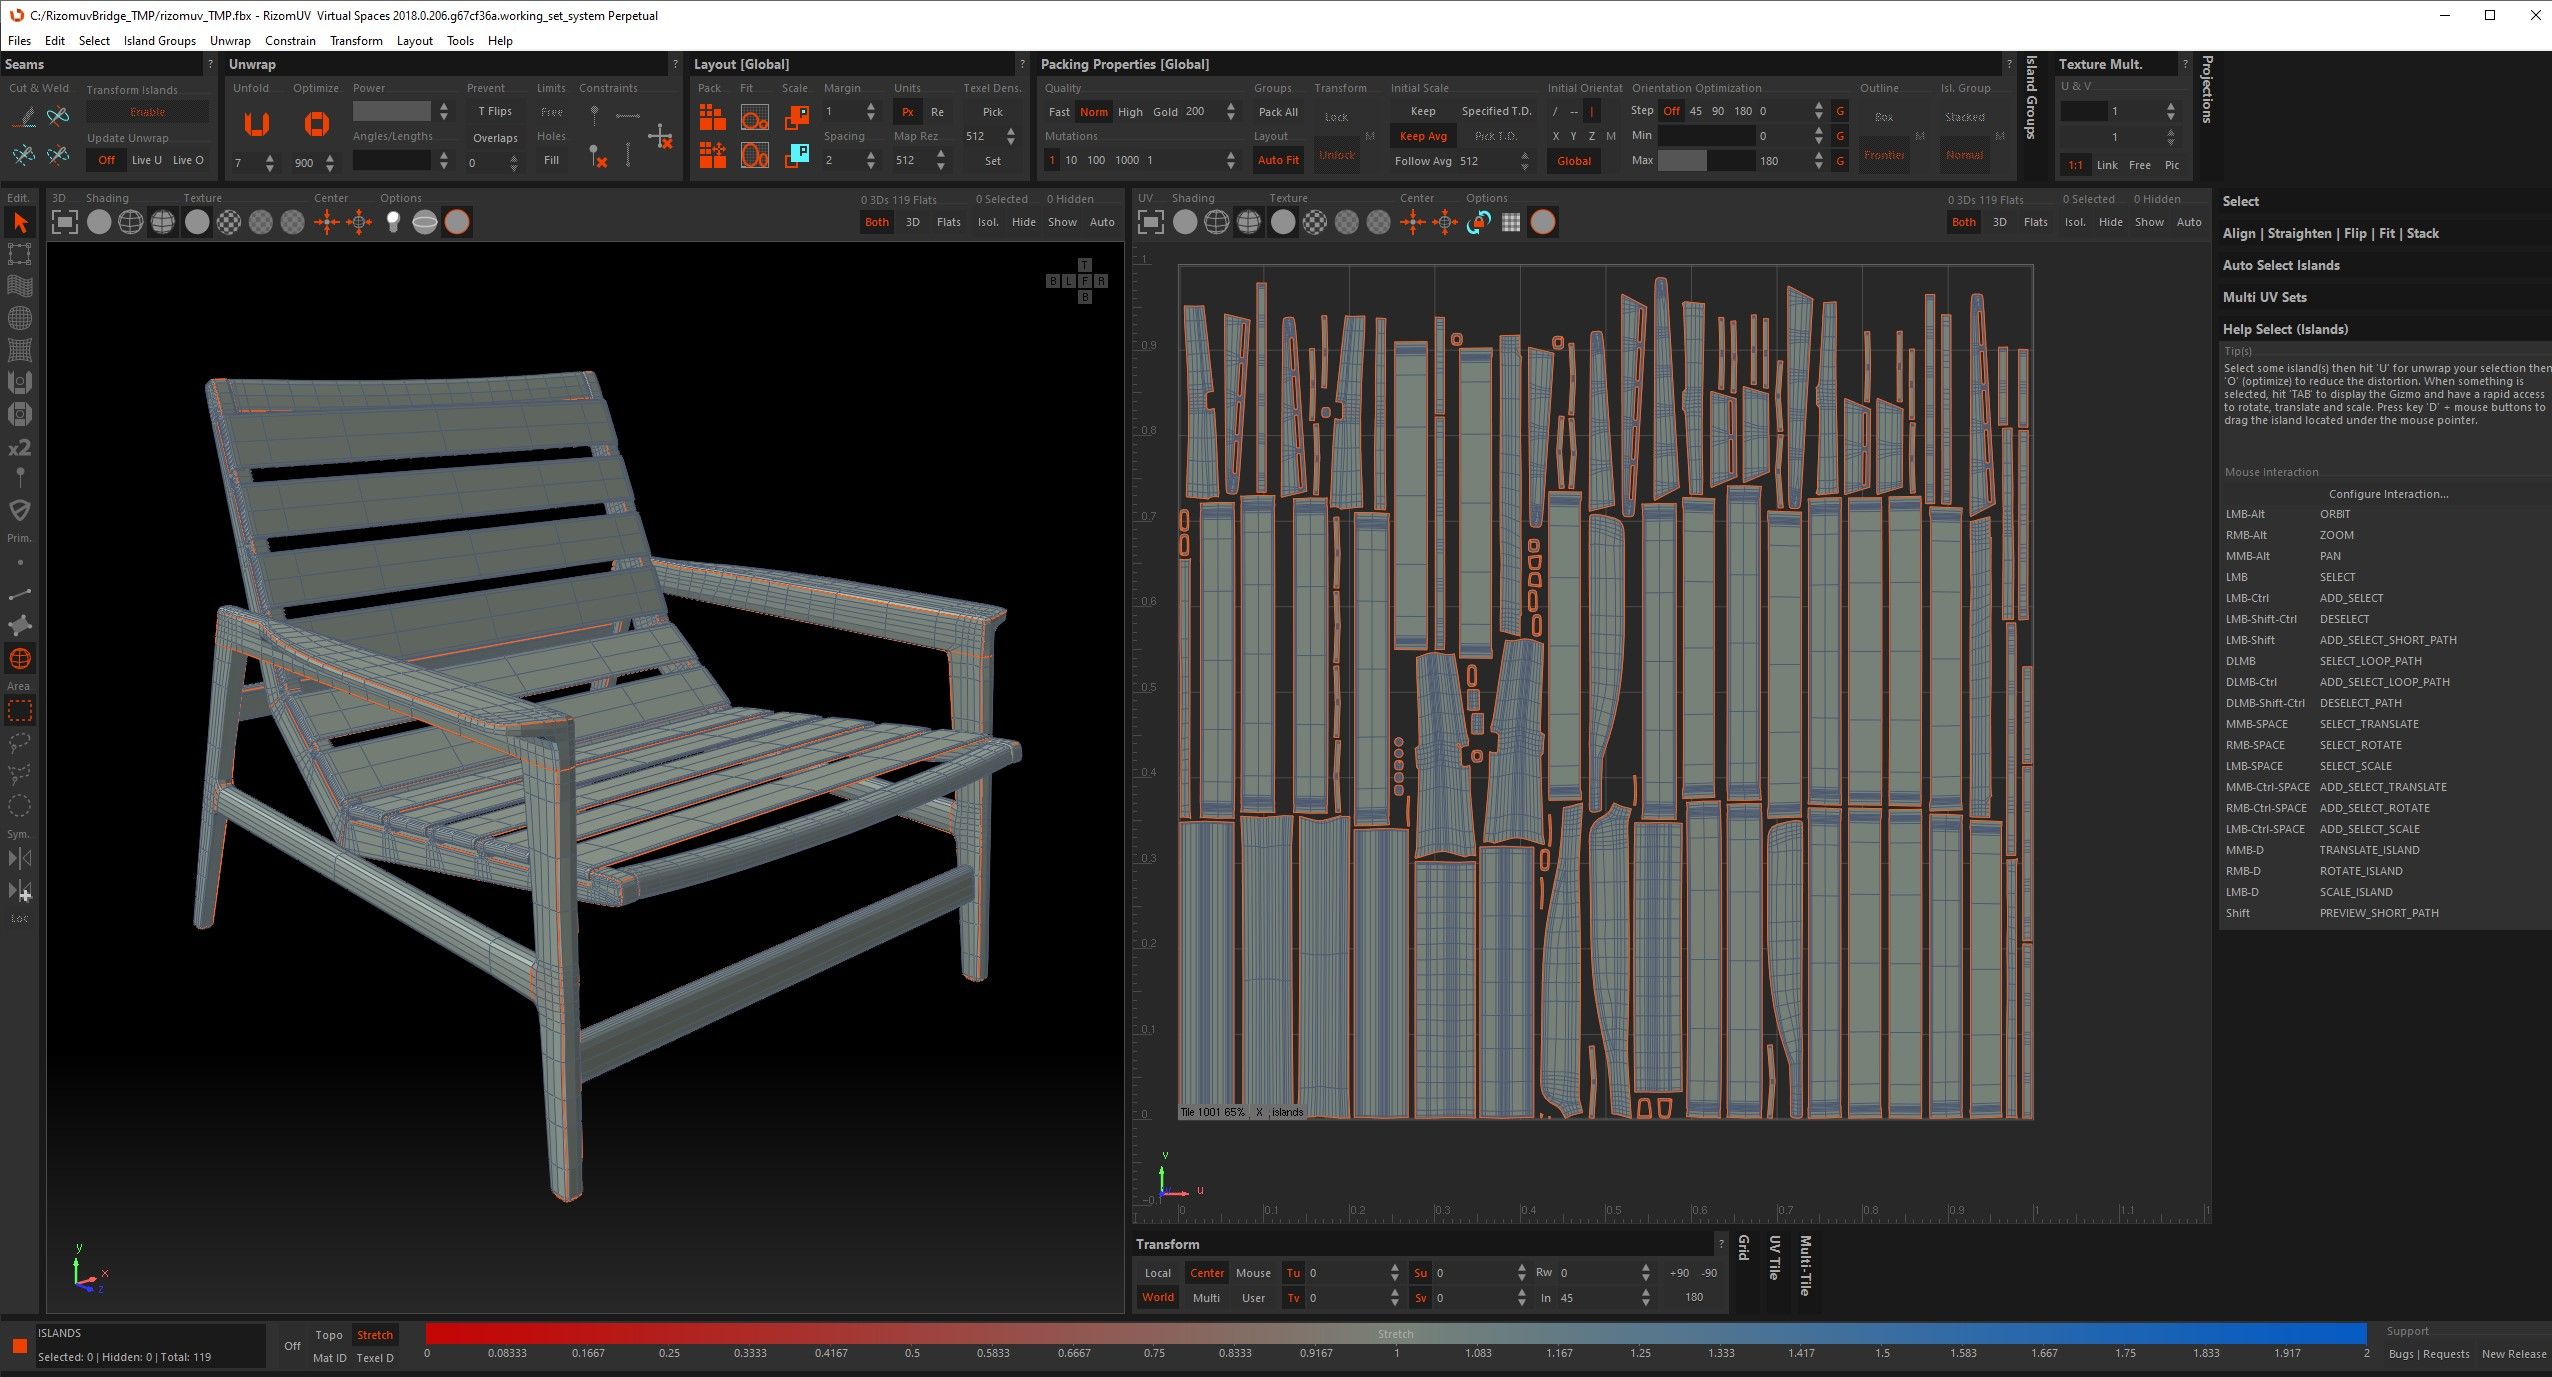
Think of an upholstered armchair. Before the fabric is sewn on, it is cut from flat pattern pieces, and every piece has to be shaped so the fabric lies flat without wrinkles. UV mapping does the same in 3D: the artist decides where the model is cut open, along lines called seams, and unfolds each part into flat pieces called UV islands. The whole set of islands, laid out in one square, is the UV map.
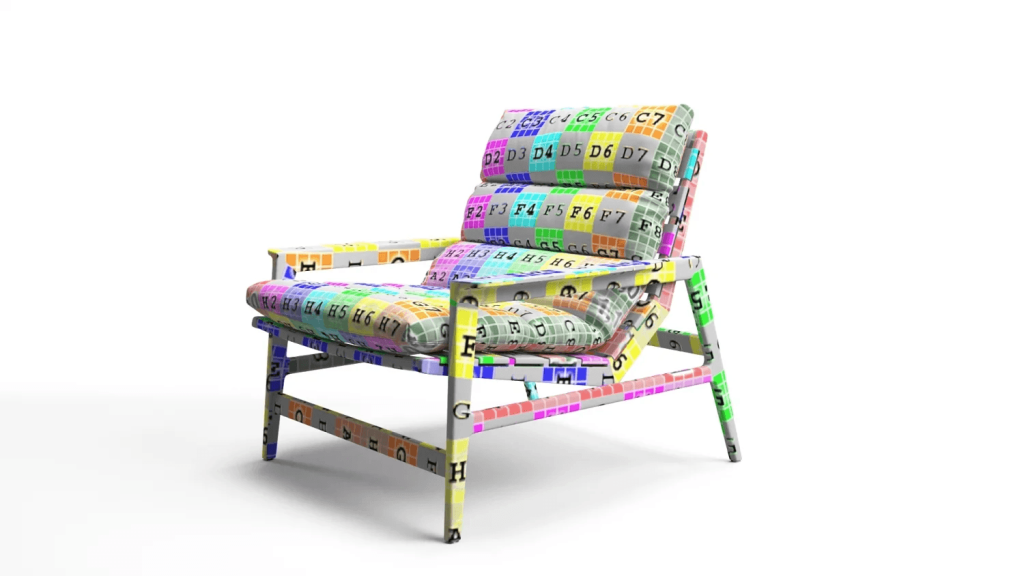
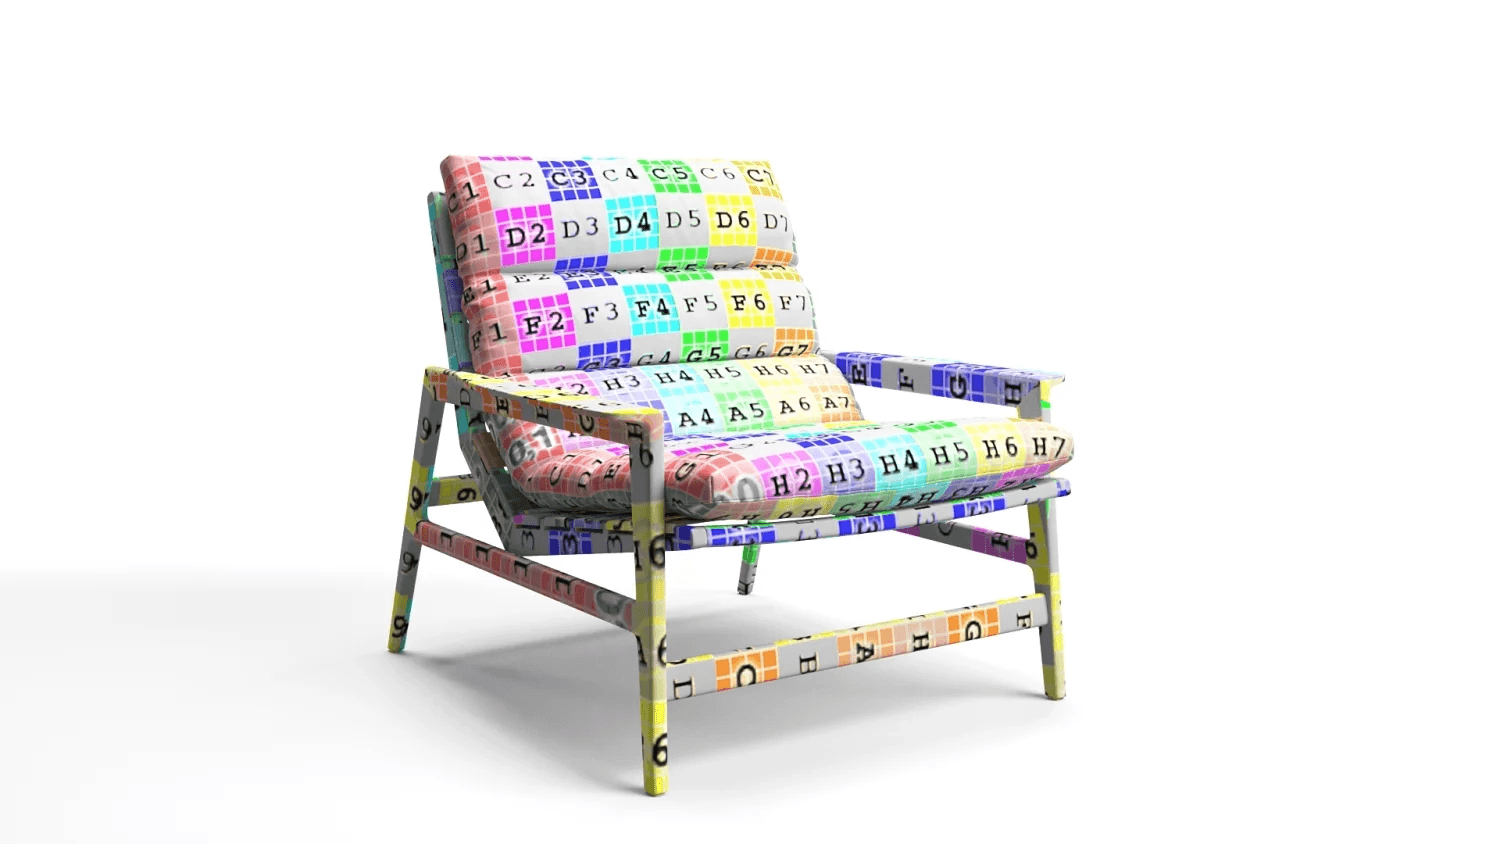
To check a UV map, artists apply a checker pattern. If the squares come out even and the same size everywhere, a real texture will not stretch, squash or change scale across the product.
UV Mapping vs Texture Mapping
| UV mapping | Texture mapping | |
|---|---|---|
| What it is | Unfolding the 3D surface into a flat 2D layout | Applying images to the model through that layout |
| Result | A UV map: islands inside a square | A textured model: color, grain, weave, gloss |
| When | After modeling, before texturing | After the UV map is ready |
| If done badly | Stretched, blurry or misaligned textures | Wrong colors, flat or fake-looking surfaces |
In short, UV mapping prepares the canvas and texture mapping paints it. A product can have perfect textures and still look wrong if the UVs underneath are poor.
How UV Unwrapping Works
- Mark the seams. The artist chooses where to cut the surface, ideally along real edges and hidden places: under a seat, along a piping line, at the back of a leg.
- Unwrap. The software flattens each part into a UV island along those seams.
- Check for stretching. A checker pattern shows where the texture would stretch or shrink, and the islands are relaxed until it is even.
- Pack the islands. The islands are arranged inside the UV square with little wasted space, so the texture keeps as many pixels as possible.
- Set the texel density. The artist makes sure every part gets the same texture resolution, so the seat fabric is not sharper than the arms.
Seams
Seams are where the texture is split. On a sofa they should follow the real stitching; on a table top they belong underneath. A seam in the wrong place shows up as a visible line in a close-up render.
Texel Density
Texel density is the number of texture pixels per unit of surface. Keeping it the same across a model is what makes a fabric weave look equally crisp on every cushion.
UDIM
For very detailed products, one texture square is not enough. UDIM spreads the UV map over several numbered tiles, starting at 1001, so a large sofa or a long kitchen run can carry high-resolution textures without one giant image.
Texture Maps Used in Photoreal Product Rendering
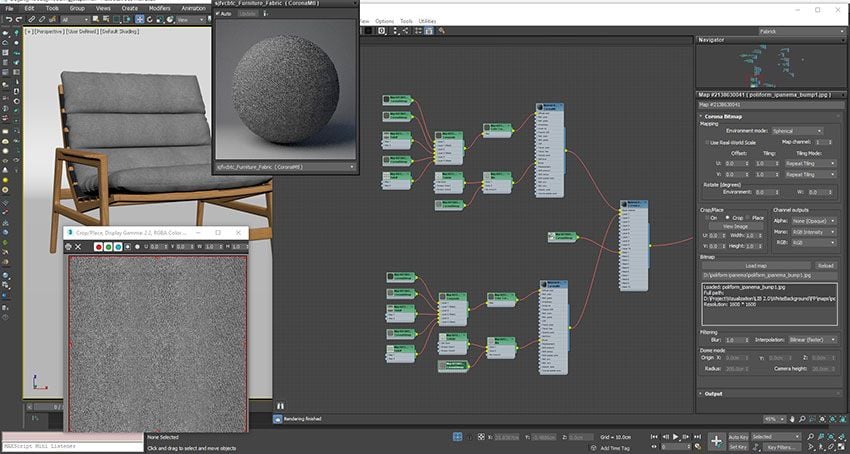
Modern product CGI uses PBR, physically based rendering. Instead of one picture, each material is described by several texture maps, all laid out on the same UV map.
| Map | What it controls | Example on furniture |
|---|---|---|
| Base color (albedo) | The pure color of the surface, without light or shadow | Oak tone, fabric color, print |
| Normal map | Fine surface detail that catches light, faked without extra geometry | Fabric weave, leather grain, wood pores |
| Roughness map | How sharp or blurry reflections are | Matte linen next to glossy lacquer |
| Metalness map | Which parts behave like metal | Brass legs, steel handles |
| Bump or height map | Small height changes, in grayscale | Wood grain relief, stitching depth |
| Ambient occlusion | Soft contact shadows in creases | Between cushions, inside joints |
| Opacity | Which parts are see-through | Cane weaving, perforated metal |
What Is a Normal Map?
A normal map is a purple-blue looking image that stores the direction each tiny point of the surface faces. The renderer uses it to light the surface as if it had real bumps and grooves, so a flat polygon can look like woven fabric or embossed leather.
Bump Map vs Normal Map
A bump map is grayscale and only says how high or low a point is. A normal map stores direction in color and gives more accurate light. Both fake detail; neither changes the silhouette of the model. For real depth, such as deep tufting, the geometry itself has to be modeled.
Why UV Mapping Matters for Product Images
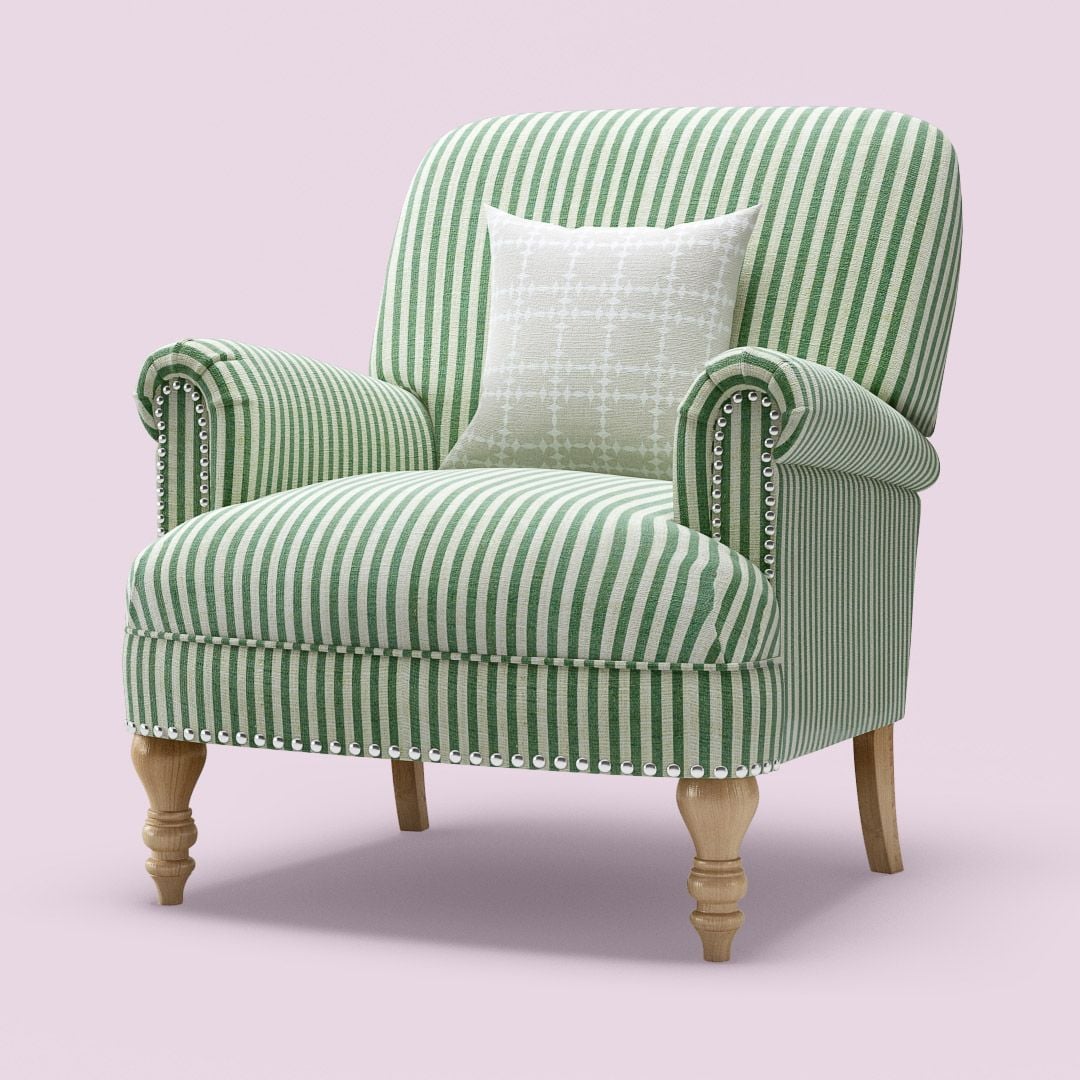
- Patterns line up. Stripes, checks and florals have to run straight and meet across seams the way they do on the real sewn product.
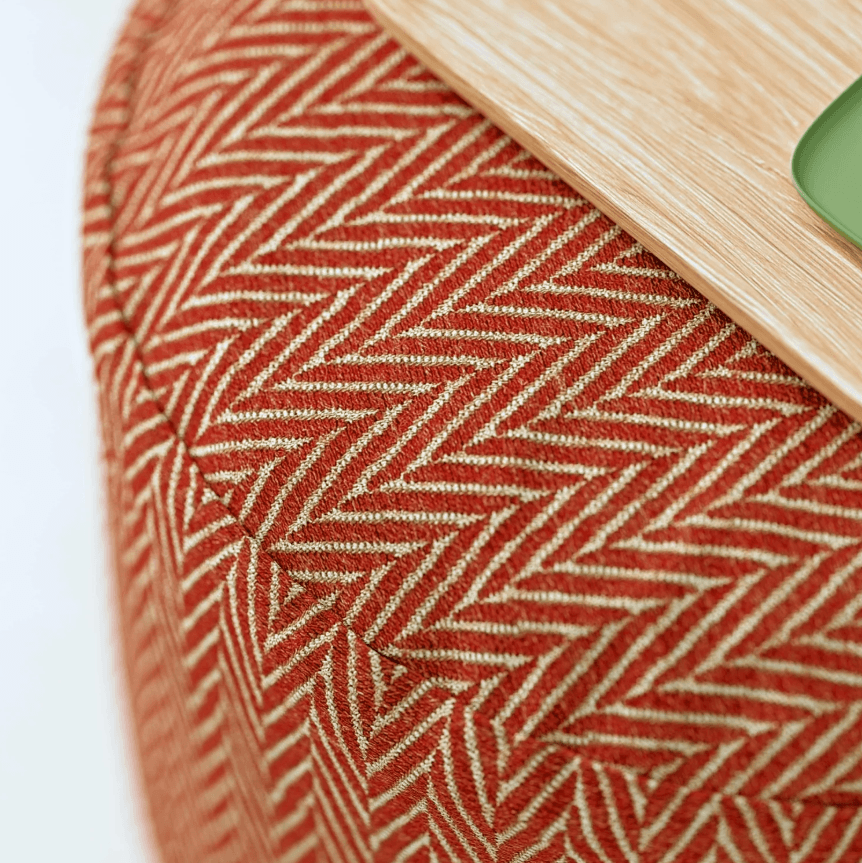
- Scale is true. A herringbone or a bouclé has to be the real size, or the customer gets the wrong idea of the fabric.
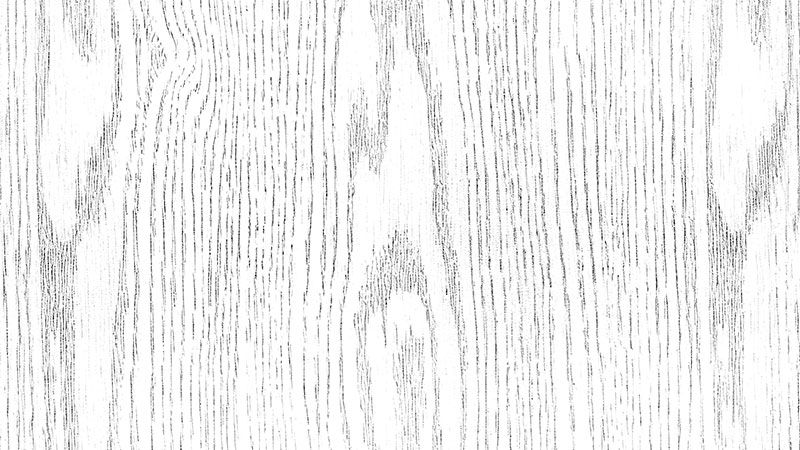
- Wood grain runs the right way. Grain follows the length of a board; UVs decide its direction on every panel.
- Variants are fast. With clean UVs, a new fabric or finish is a texture swap, not a remodel, which is what makes large color ranges affordable.
- AR and web models stay light. GLB and USDZ files need tidy UVs and baked textures to look good at a small file size.
From Model to Textured Product
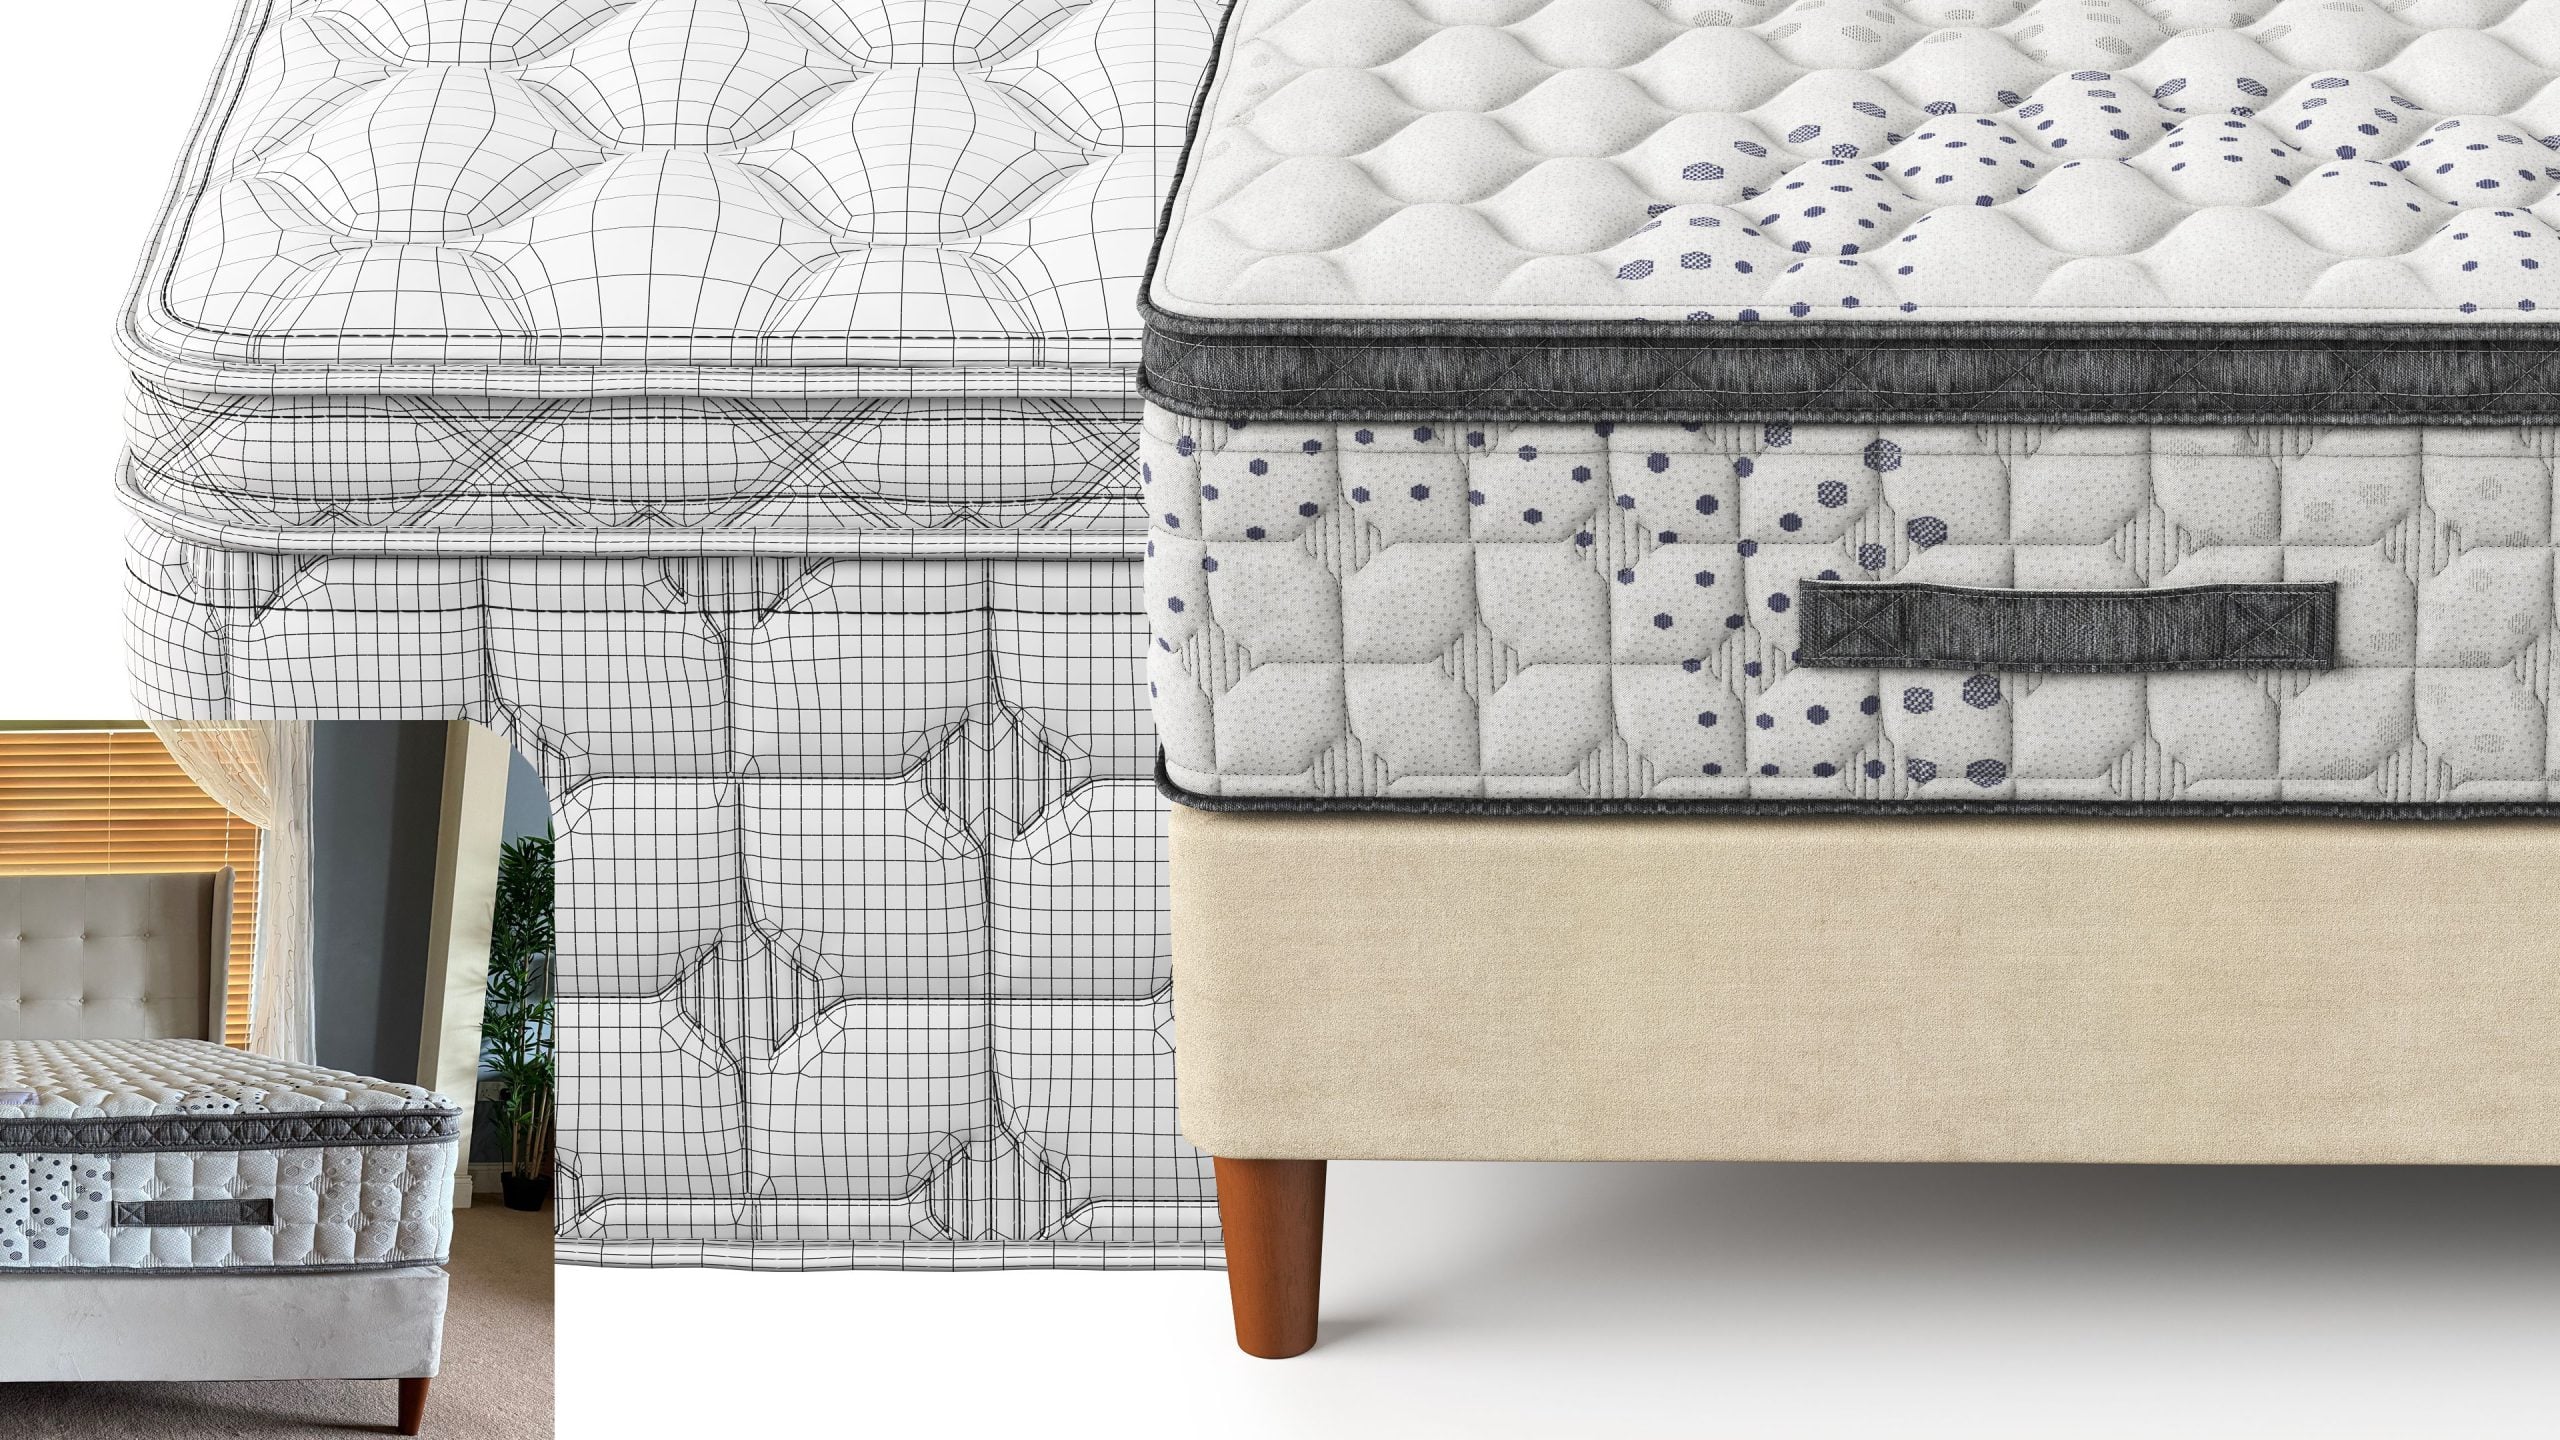
In a real project UV mapping sits between modeling and texturing. The model is built, unwrapped, checked, then textured with the client’s fabric and finish references, and finally lit and rendered. The mattress below shows the path from a product photo through the 3D mesh to the textured render.
Tools for UV Mapping
- Blender: free, with seam marking, several unwrap methods and UV packing built in.
- 3ds Max: the Unwrap UVW modifier, widely used for furniture and product CGI.
- Maya: a full UV Editor with unfolding and layout tools.
- RizomUV: a dedicated UV tool known for fast, low-distortion unwrapping.
- Adobe Substance 3D Painter: not for unwrapping, but where many textures are painted on top of the UVs.
Our overview of 3D texturing tools compares the texturing side in more detail. If you would rather hand the whole job over, our 3D texturing services cover UV mapping, PBR materials and fabric and finish variants for product catalogs.
FAQ
What is UV mapping used for?
To lay a 3D model’s surface out flat so textures can be applied to it without stretching. Every textured 3D product, game asset or film model goes through it.
Is UV mapping necessary?
For any model that needs real textures, yes. Simple single-color objects can sometimes skip it, but fabrics, wood, prints and logos all need a proper UV map.
How do I make a UV map?
Mark seams where the surface can be cut, unwrap the model in your 3D software, check it with a checker texture, then pack the islands and even out the texel density.
What is the best UV mapping software?
Blender is free and capable; 3ds Max and Maya are standard in production studios; RizomUV is a specialist tool for fast, clean unwraps.
What is the difference between a bump map and a normal map?
A bump map stores height in grayscale. A normal map stores surface direction in color and lights the detail more accurately. Neither changes the outline of the model.
What is UDIM?
A way to split a UV map across several numbered texture tiles, starting at 1001, so large or very detailed models can use high-resolution textures.