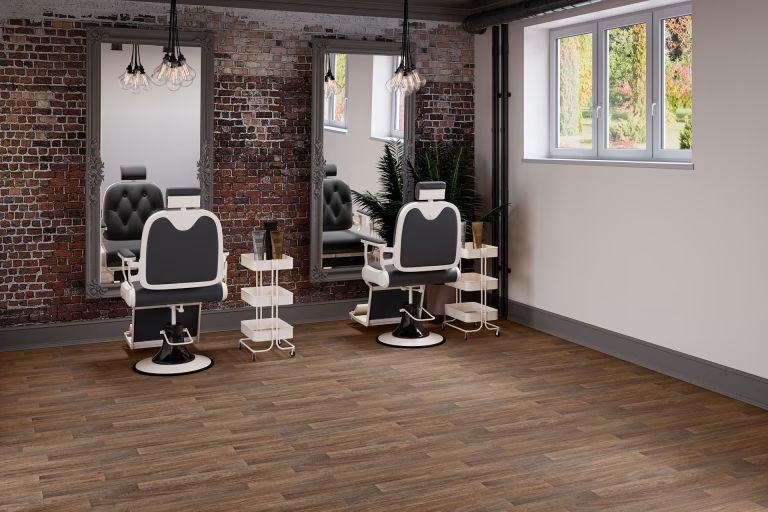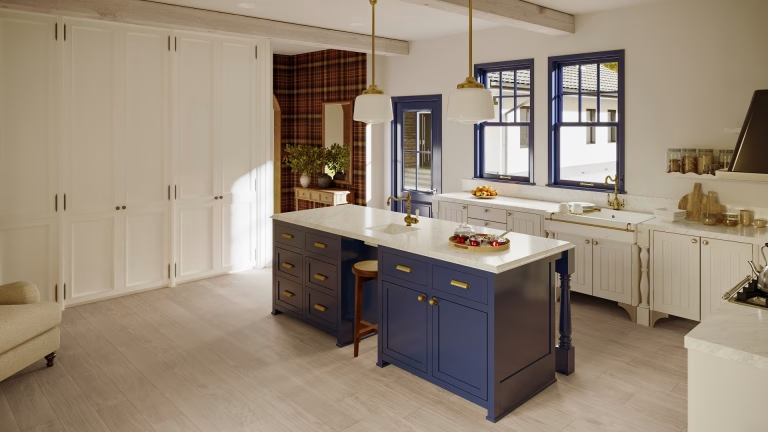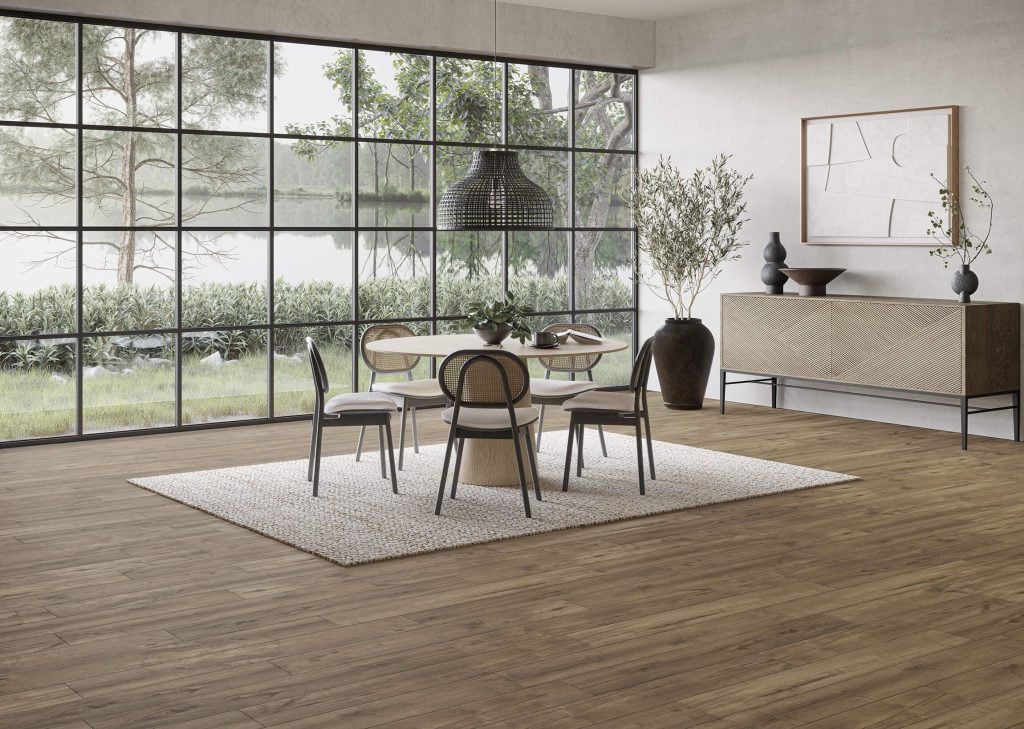
A flooring render can show a convincing room and still show the wrong product. The boards may be too wide, the same knot may appear in every row, or a matte surface may reflect the window like polished stone. These details are easy to miss when the furniture and lighting look good.
For a manufacturer, realism includes a more specific test: does the image represent the flooring a customer will receive? Grain, board variation, edge shape and surface finish all contribute to that answer, and they have to work together at room scale and in the detail views used on a product page.
This guide explains what to review and which references help us reproduce the product. For the full commissioning process, see our guide to flooring product rendering.
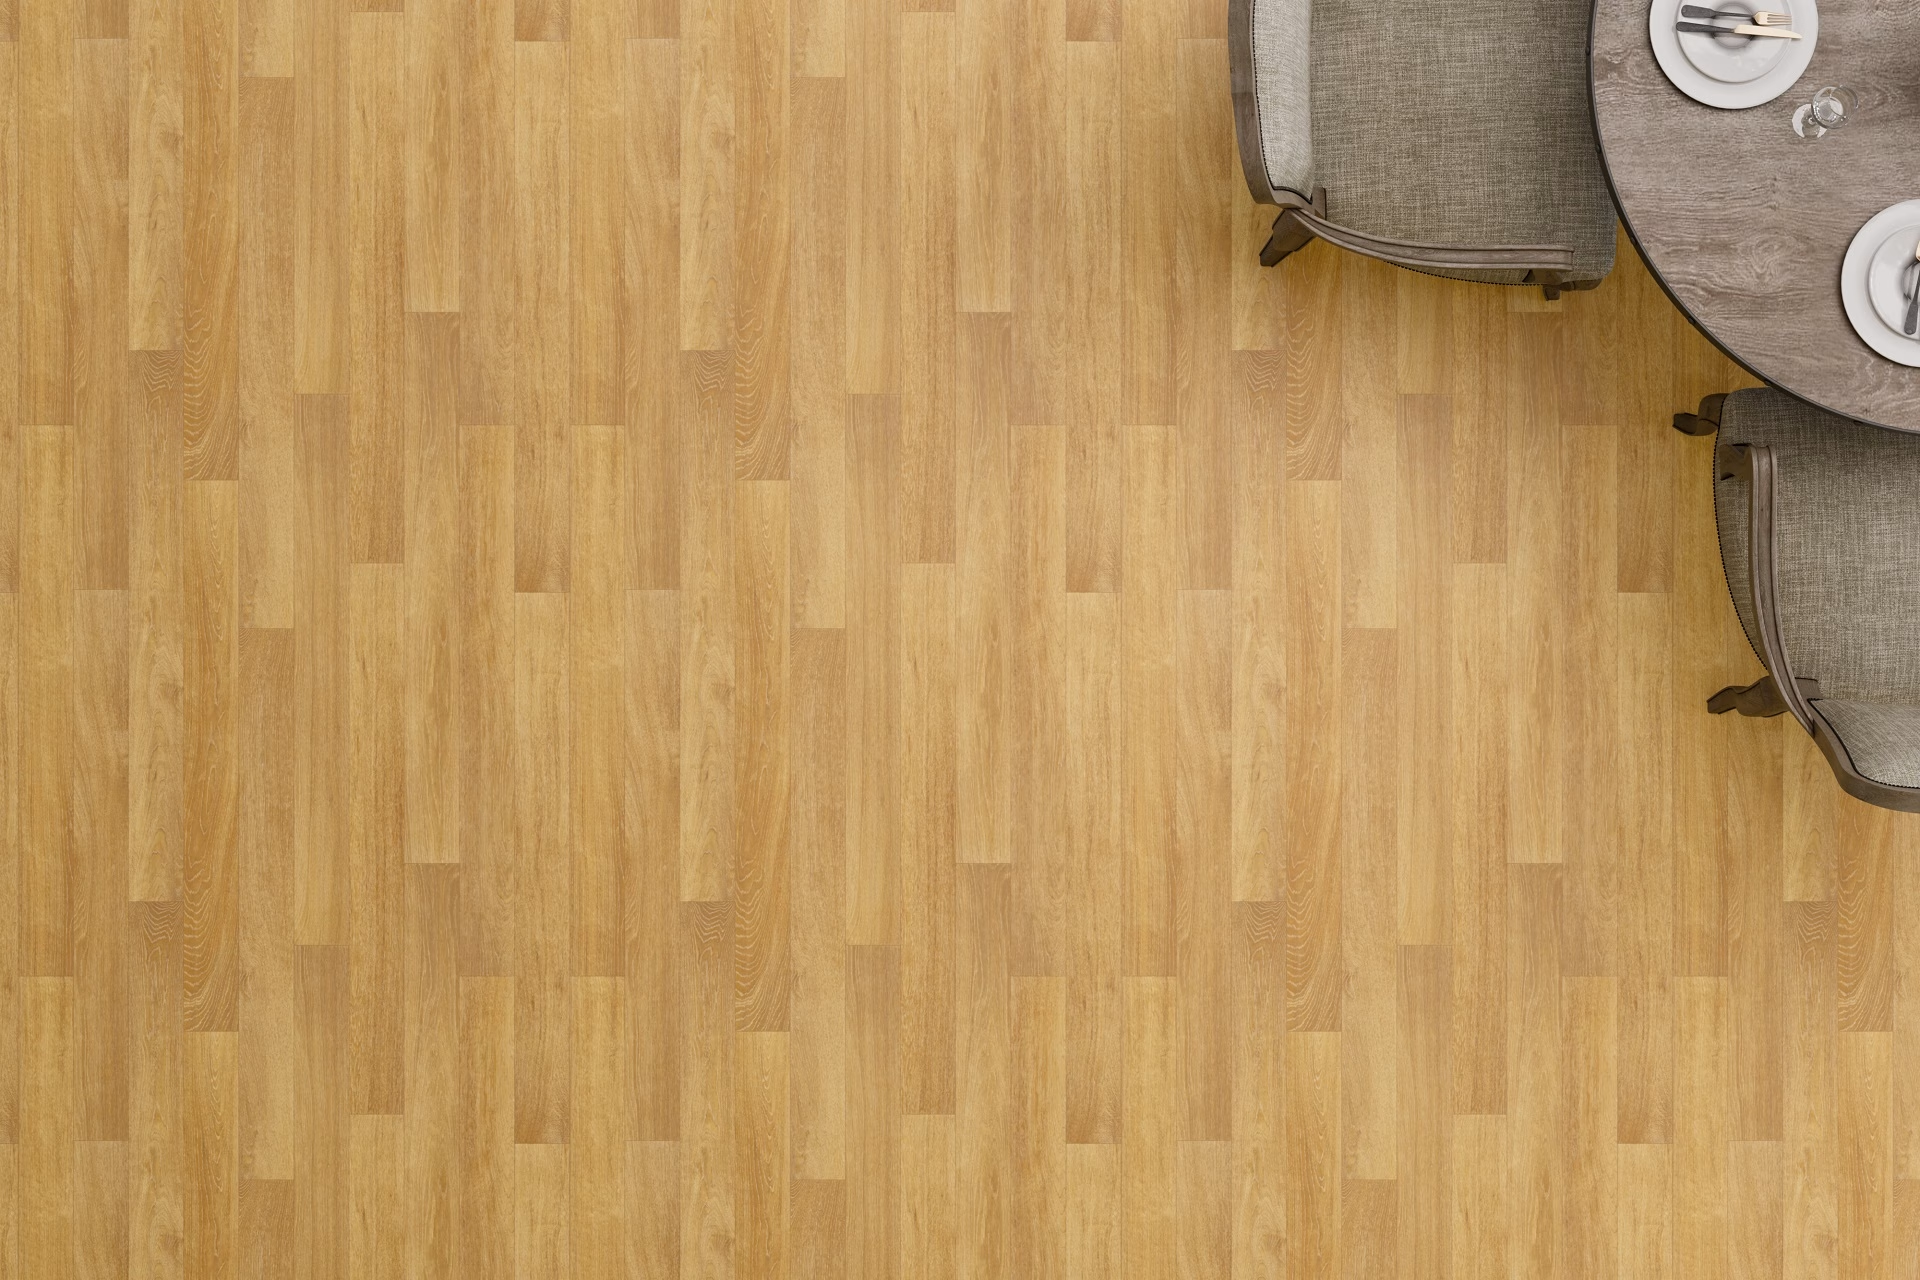
Grain has a physical scale
A wood pattern may look plausible until it is placed beside a chair or a doorway. If a knot has been enlarged with the texture, the floor starts to suggest a different board size. Repeating a small patch over a large surface causes the opposite problem: fine details appear too small and too frequent.
Send us the real dimensions of the scanned area or the individual board face. Check those against the product dimensions and the surrounding objects. Review a top view as well as an angled room image, because perspective can make scale errors less obvious.
Changing plank width should not automatically stretch the grain. The new format follows the available product references. Where a decor is supplied in several dimensions, identify what stays shared and what changes between them.
Board variation must follow the product
Natural wood can include a range of tones, knots and grain patterns within one product grade. A representative sample set communicates that range. One selected board might show the color but fail to explain how varied the installed floor should look.
Printed laminate and vinyl products present a different task. They contain designed repeats and a finite set of faces. The render follows the supplied pattern information and installation guidance. Removing every repeat by inventing extra grain patterns makes the image less faithful to the product, not more realistic.
Our Beauflor flooring project used repeat dimensions and pattern-drop information among the production inputs. That is useful evidence of why a flooring brief needs more than a small color swatch.
Review the overall distribution as well as individual boards. A repeated distinctive knot draws the eye, but so does excessive random contrast that makes a restrained floor look patchy. The target is the product’s documented appearance across an installed area.
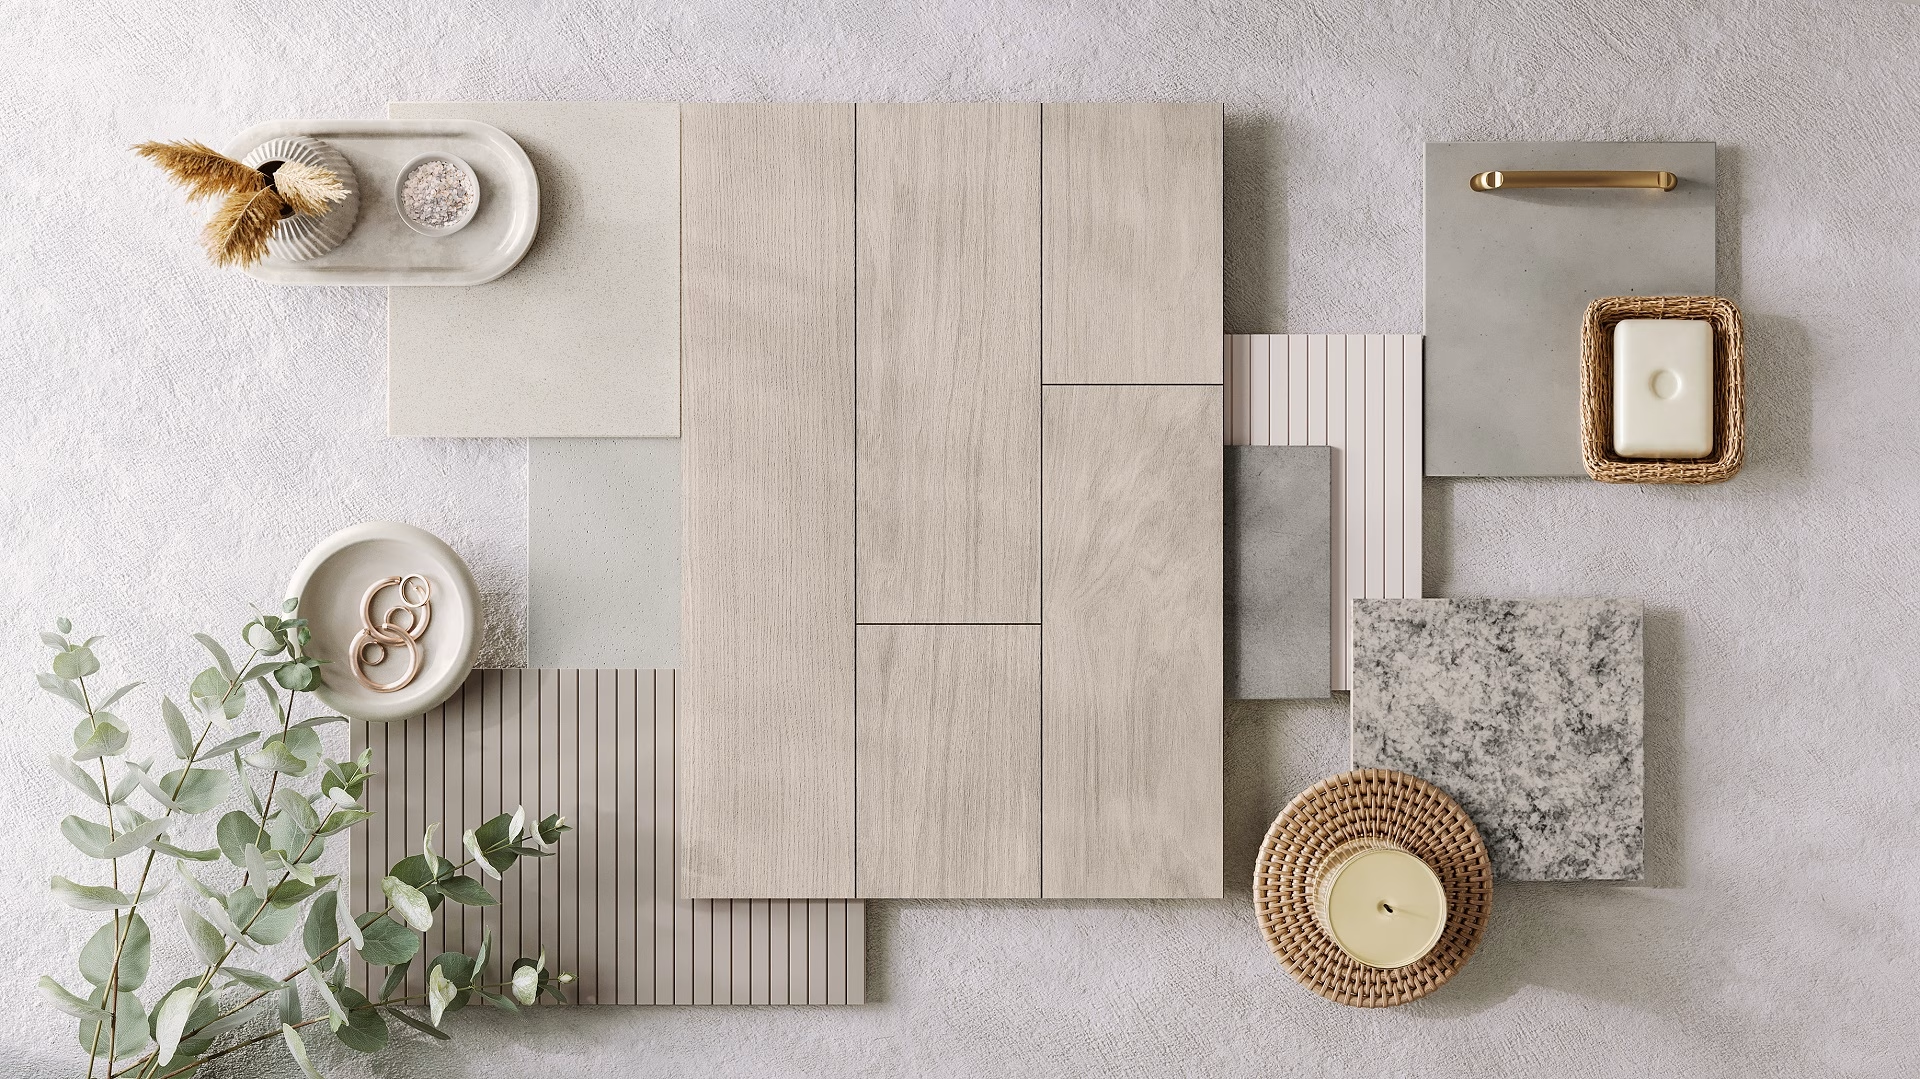 One decor
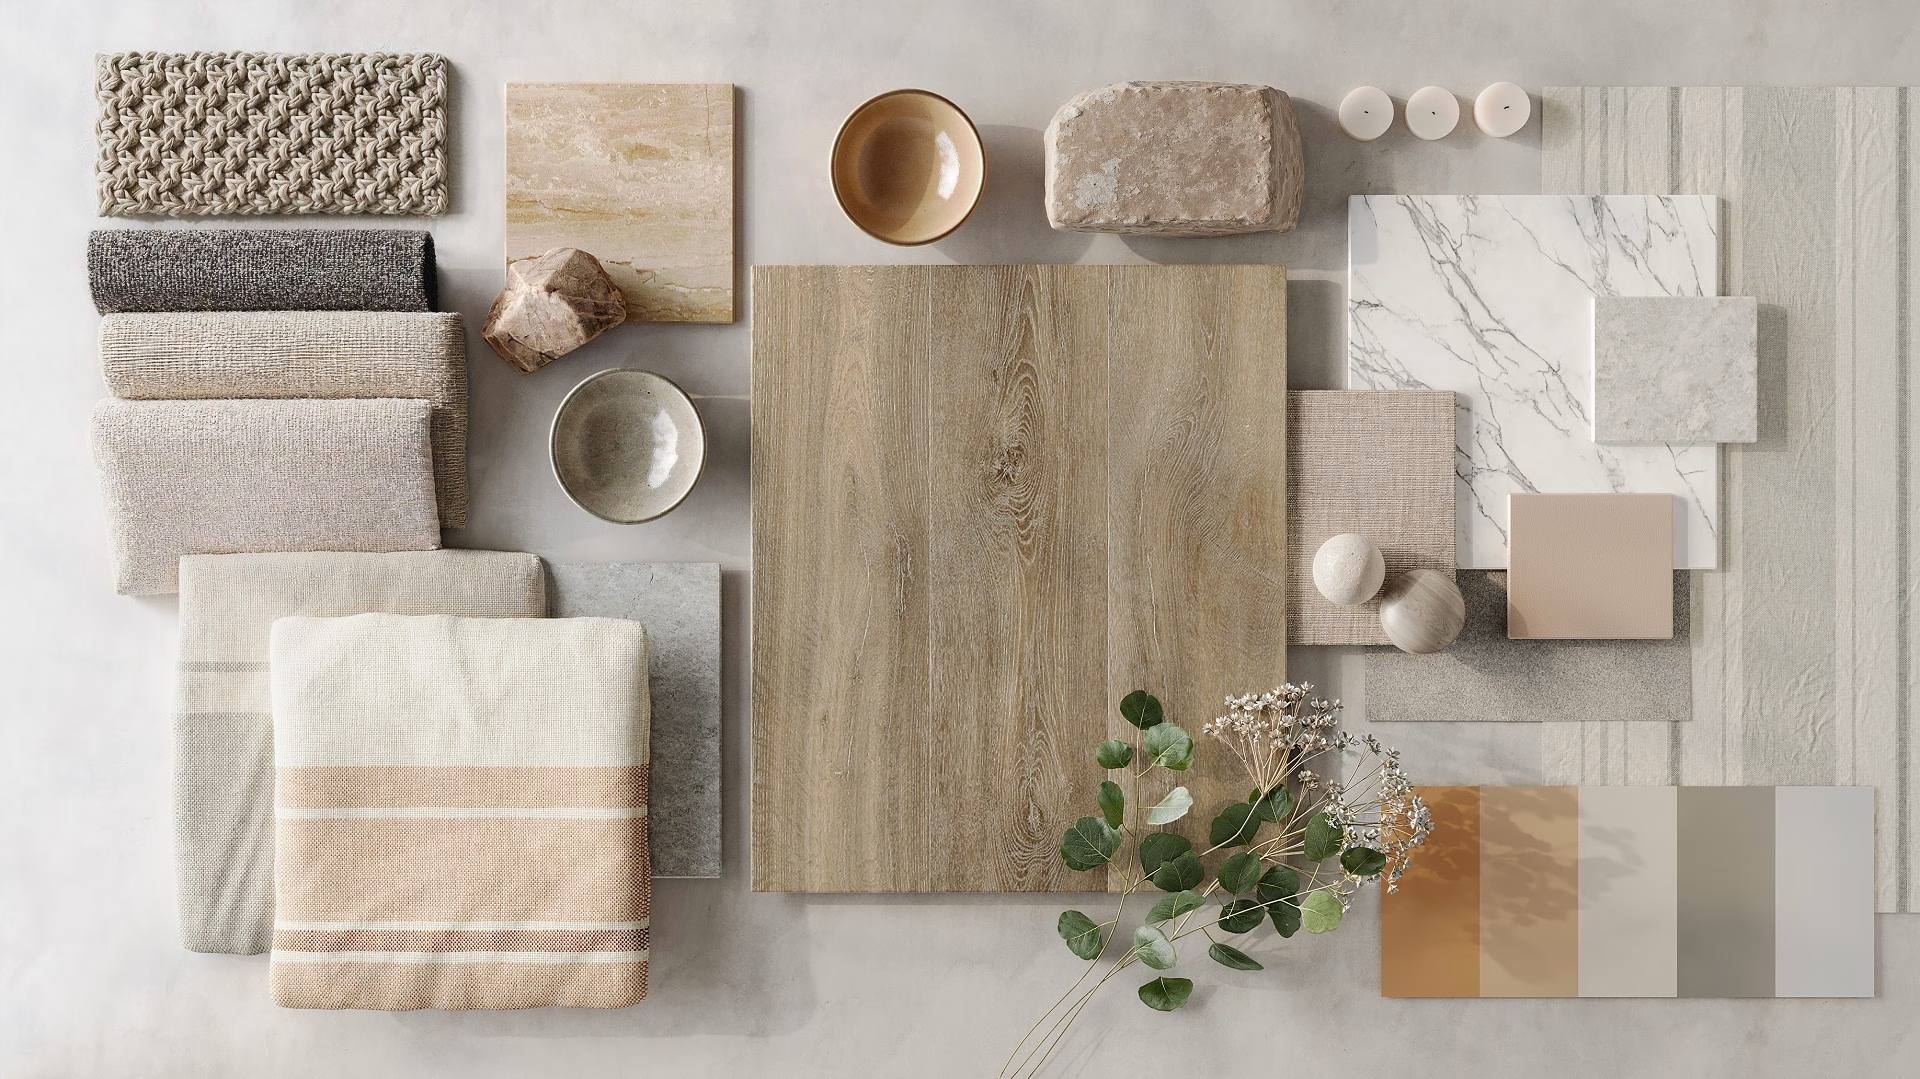 Another decor
Layout and joints need their own check
Board dimensions, stagger and installation direction shape the appearance of the whole floor. The same material reads very differently when those choices change. We follow the installation arrangement agreed for the image and the relevant product guidance.
Check whether a proposed herringbone or chevron arrangement is available for the specific product. Verify the edge profile too. Overly deep bevels make joints look like wide gaps, while missing edges make separate boards appear to be one continuous surface.
Printed board divisions on sheet flooring should not automatically be built as physical grooves. The reference needs to distinguish the printed pattern from the actual surface structure. The same care applies to trim, thresholds and stair details: show the components the range supplies, or the approved installation detail.
Surface finish changes how the floor reflects the room
Color is only part of the material. A floor can have a recognizable grain pattern and still look wrong because the reflections are too sharp, too broad or too uniform. Angled reference photographs explain the finish in a way that a face-on scan cannot.
On our side the finish is built from separate maps for color, roughness and surface relief, the standard physically based material workflow. On your side the useful question is simpler: does the finish behave like the sample under comparable lighting? A roughness value is not a measured gloss specification, so agree references for any finish that is hard to describe in words.
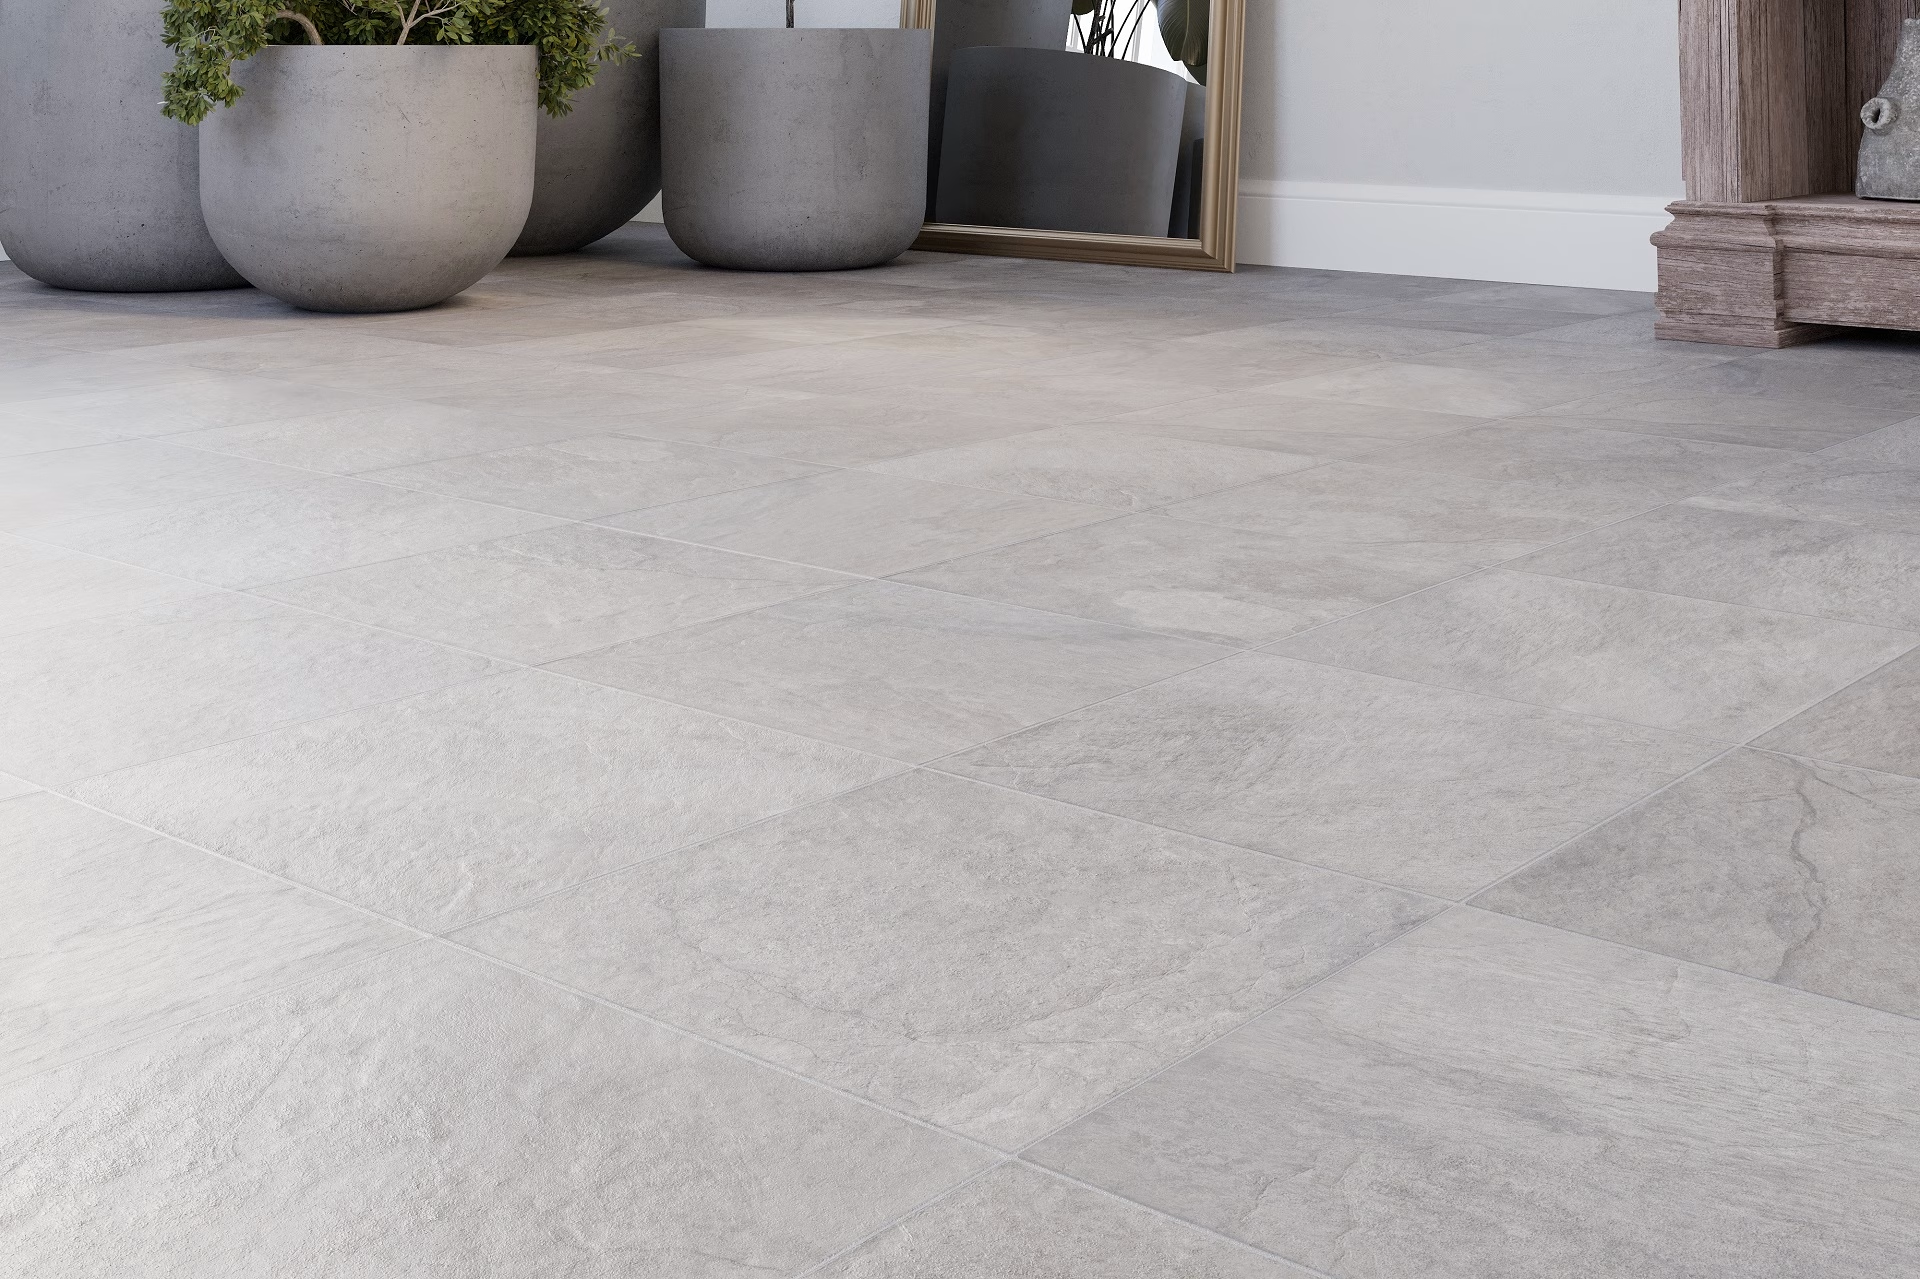
Match relief to the surface treatment
A brushed or embossed appearance comes from the actual product references. Where the relief is meant to follow the printed grain, check that relationship in the close-up. An unrelated surface pattern can make a detailed render look convincing while misrepresenting the construction.
Avoid increasing texture depth simply to make it visible from farther away. Review it at the intended image size, and ask for a separate macro view when the detail needs closer inspection.
Use lighting to reveal the material
The floor should be legible in the final scene. Large areas of clipped reflection hide grain and color, while very flat lighting reveals little about the finish. The useful balance depends on the view: a room image needs an overall reading, and a detail image can use a more revealing angle.
For comparing products, keep the lighting setup, exposure and white balance consistent. For evaluating one material, an additional controlled view helps reveal texture or gloss. Label the purpose of each image so the comparison does not mix unlike conditions.
Do not judge a material match from a brightly colored reference photo alone. Colored surroundings, camera settings and editing all affect the recorded appearance. Send cleaner source references or physical samples where needed, and agree a common basis for approval.
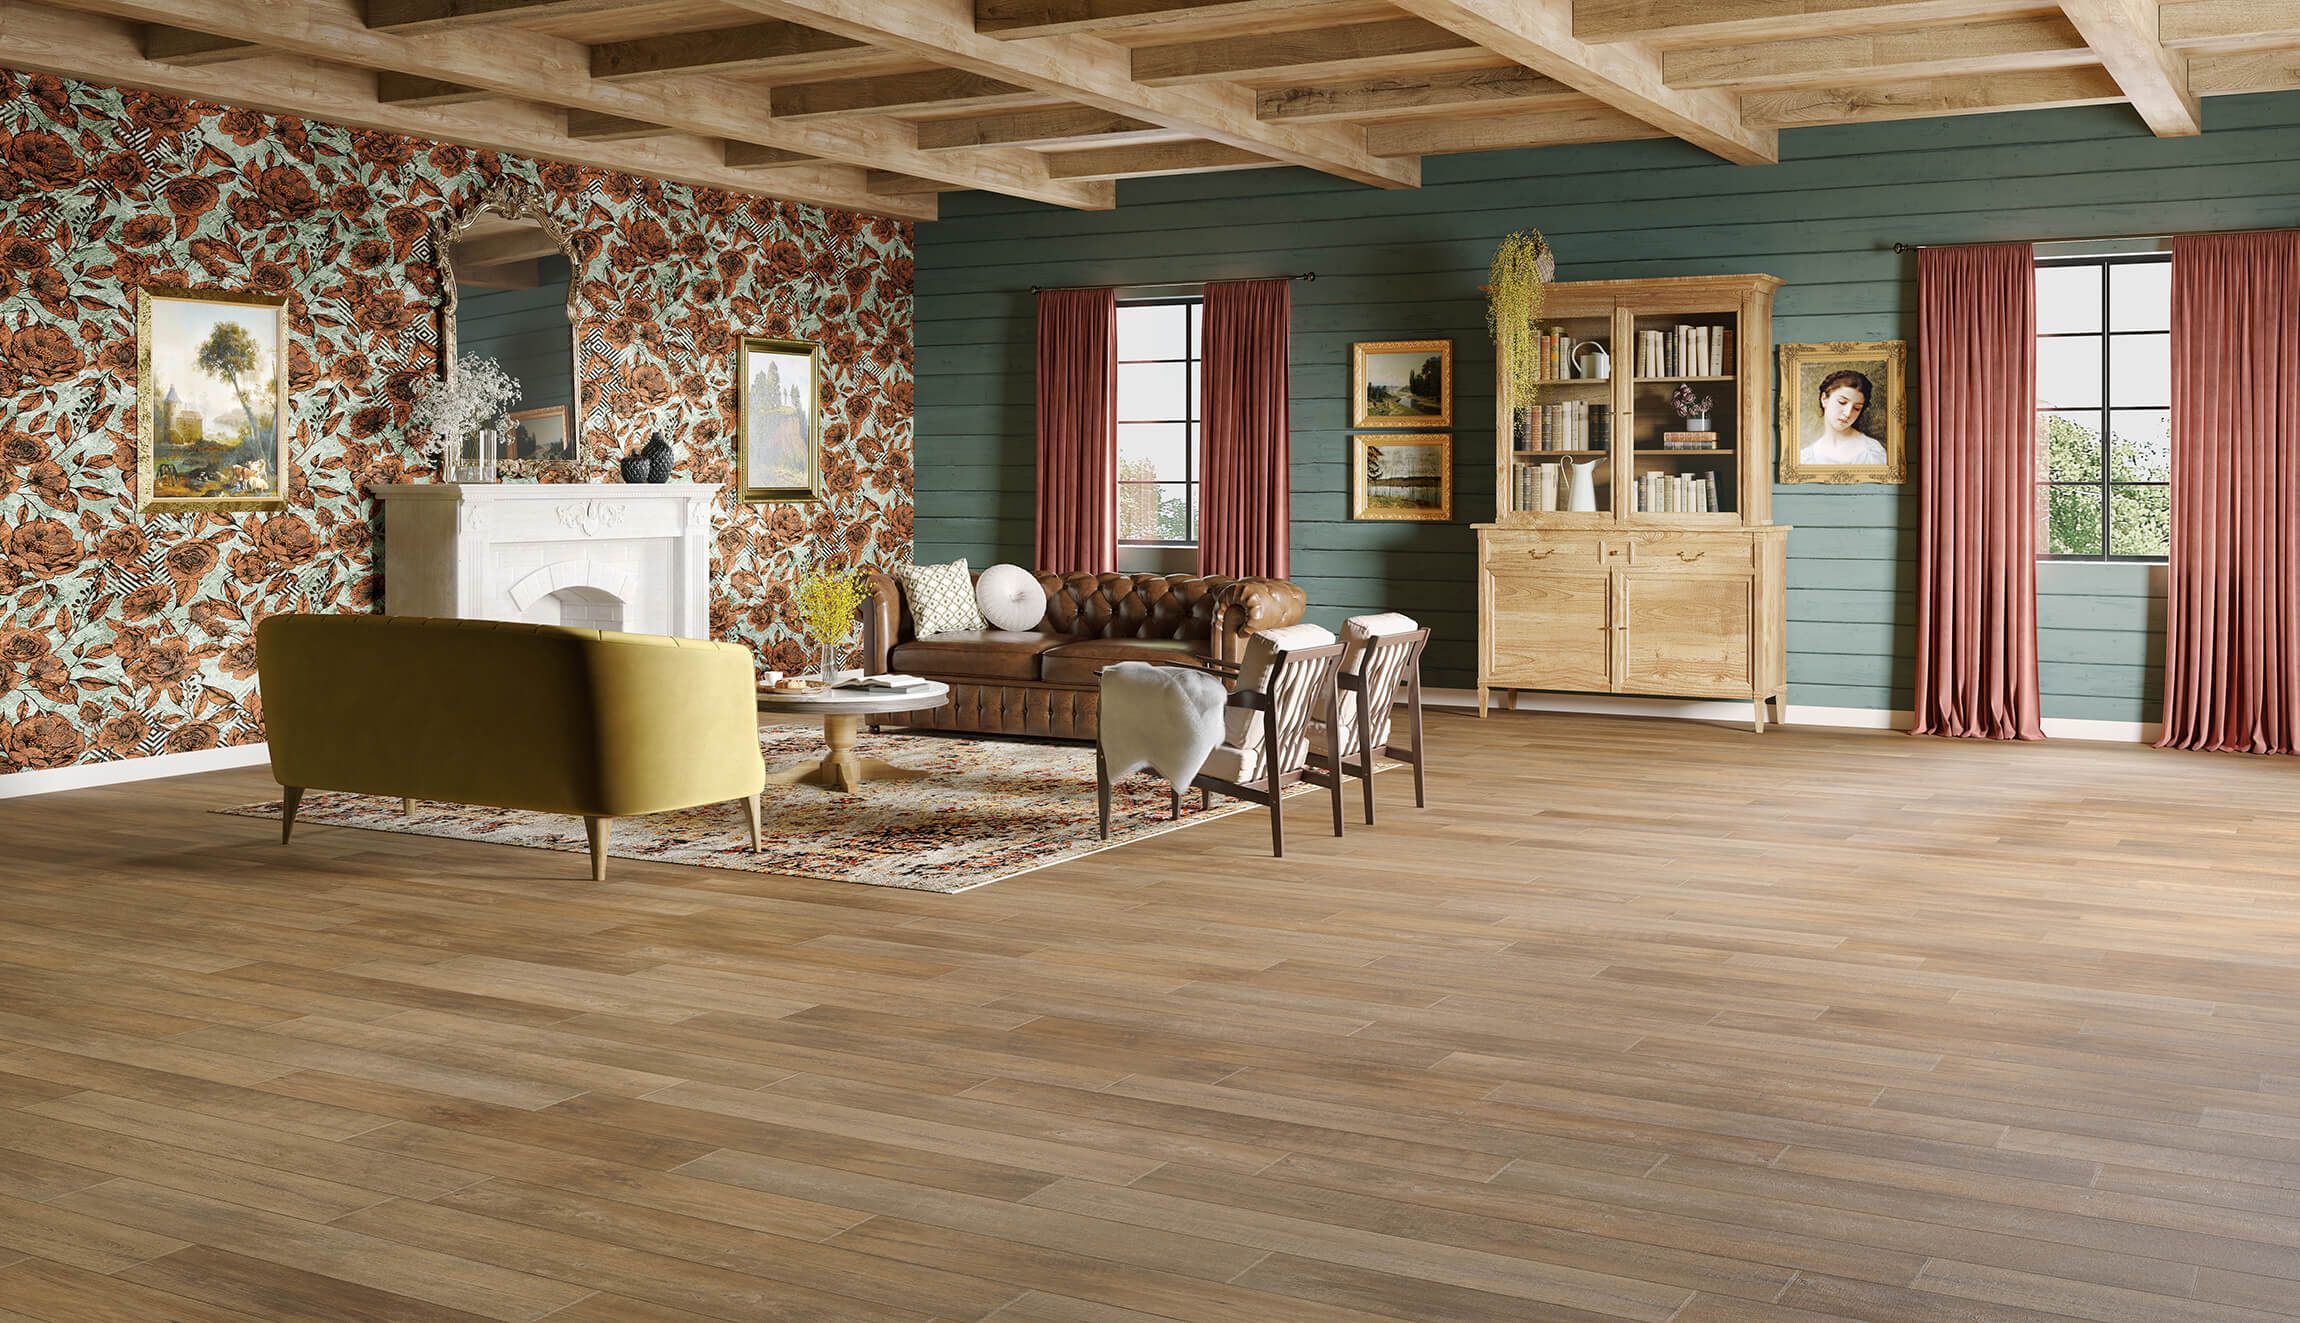
Check room views and close-ups together
A close-up can reveal grain detail yet hide a repeat that becomes obvious across the room. A lifestyle image can show the overall pattern while concealing an inaccurate bevel. Both scales need review.
The Mannington case study includes close-up, top-view and lifestyle work, with attention to plank detail and scale. Those formats give complementary views for a product gallery and for the approval process.
Use the same approved material version for related images. If a surface is corrected after a close-up is approved, check whether the room render needs updating too. Otherwise the page ends up showing two interpretations of the same product.
A practical flooring render review checklist
| Check | What to compare with the product reference |
|---|---|
| Scale | Board dimensions, knot size and grain proportions |
| Variation | Permitted tone range, available faces and repeat behavior |
| Layout | Direction, stagger and approved installation pattern |
| Edges | Bevel depth, joints and relevant trim details |
| Finish | Reflection appearance and surface relief |
| Identity | Decor name, size, finish and SKU on the delivery record |
Review the original-resolution files as well as the size customers will see on the website. Be specific in comments: identify the image, the location in it and the reference that supports the requested change. A marked crop is often enough to make a material issue clear.
Once the product is approved, preserve those decisions when extending the range. Our article on flooring collection images in one consistent room explains how to carry that standard through multiple SKUs.
One limit is worth repeating: visual accuracy says nothing about wear rating, slip resistance or water performance, and it cannot guarantee identical color on every display. The flooring product rendering guide covers what an approved image does and does not establish.
Send references that make accuracy review possible
Prepare original pattern files or scans, dimensions, representative product photos and the relevant installation information. Include close references of edges and finish, especially where they distinguish the product from other floors in the range.
Share those materials with us to scope a test view. Approving the material at room scale and close range gives the rest of the image set a clear reference, and the price list and a demo booking are both on our 3D rendering for flooring brands page.
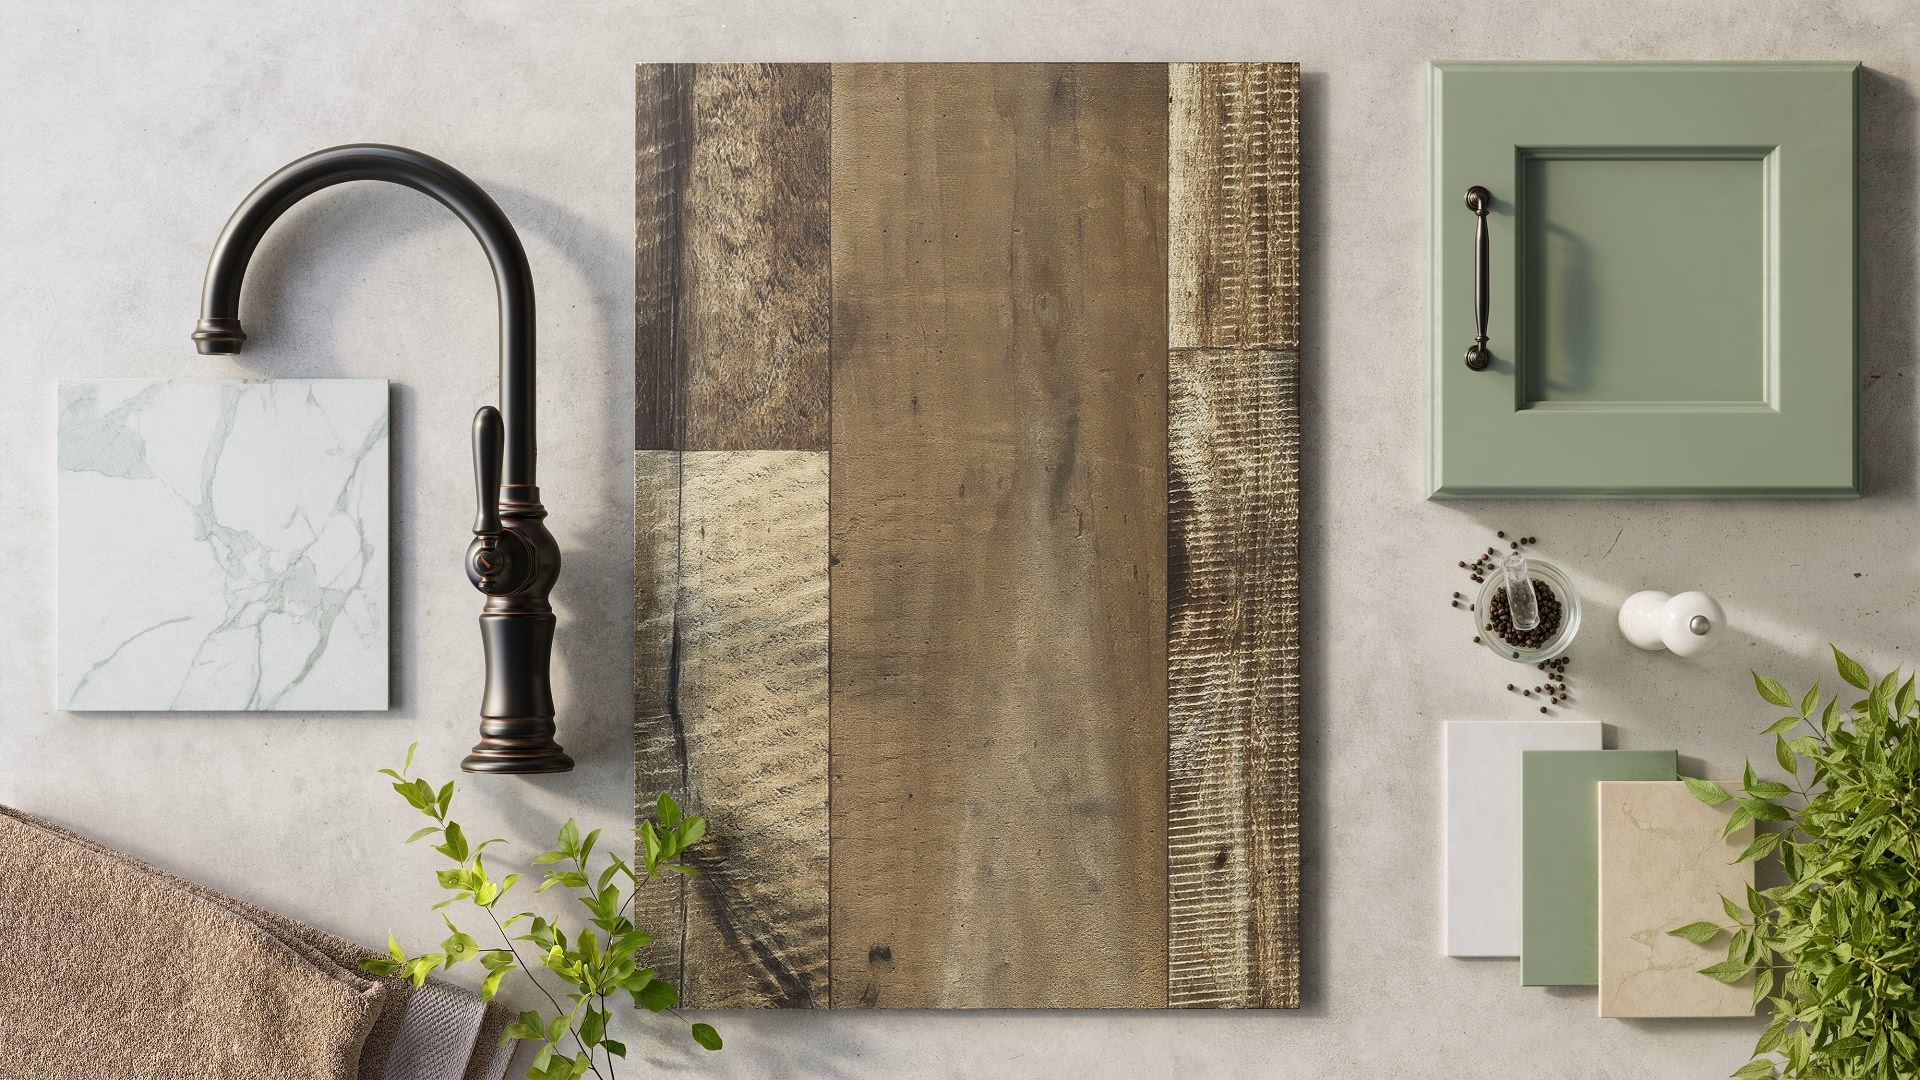
Grain, bevels and gloss that hold up in close-ups
Our 3D texturing team builds materials from your samples and reference photos, so every close-up of the plank reads as the real product.
See 3D texturingFAQ
Can one board photograph represent an entire floor?
It may be enough for a first demonstration, but it rarely describes the product’s full variation or repeat. Send the available faces or representative samples when the final image needs to reflect an installed area accurately.
Should every board look unique?
Not automatically. Natural wood and printed flooring have different kinds of variation. The render follows the actual product references and layout guidance, including repeats where they belong.
Why can the same floor look different in two renders?
Lighting, camera angle, exposure and surrounding colors all affect its appearance. Material versions can also differ if an update was not carried through consistently. For a direct product comparison, agree fixed viewing conditions and verify that the same approved material is used.
How can we check a finish that is hard to photograph?
Send several controlled views and the manufacturer’s finish information, then agree a material test with us. A physical sample helps where photographs are ambiguous. The approval should reference the product rather than an arbitrary texture setting.