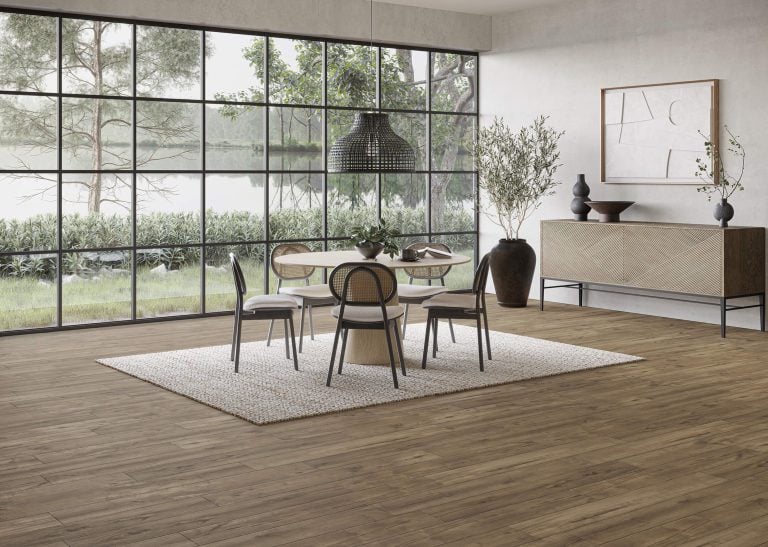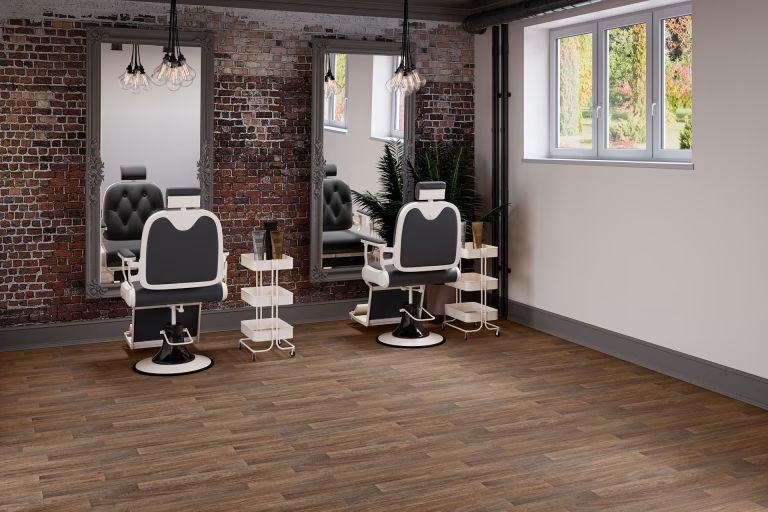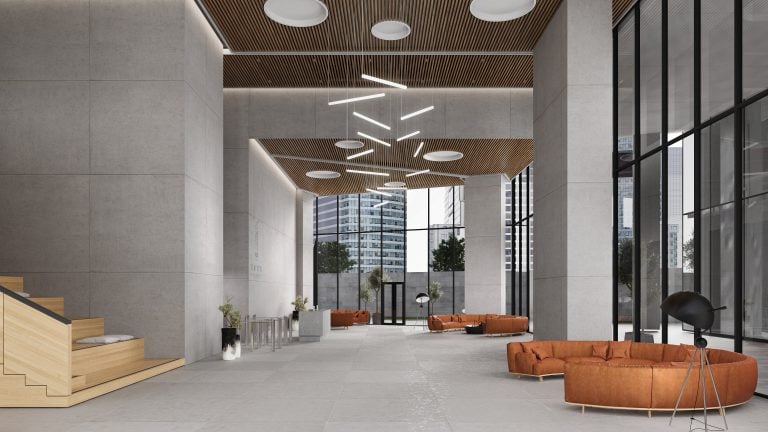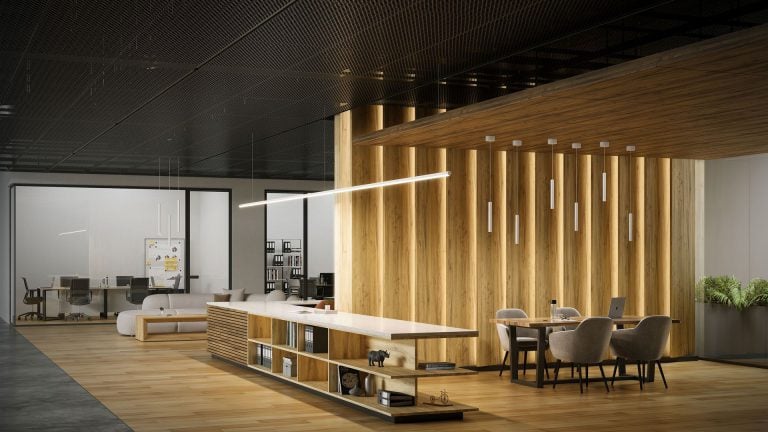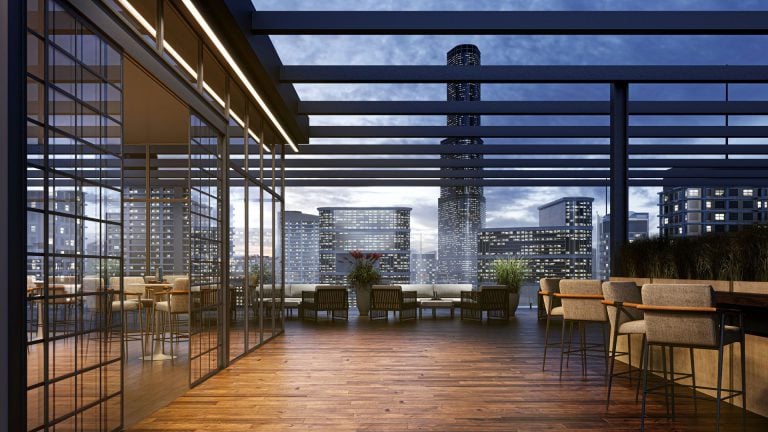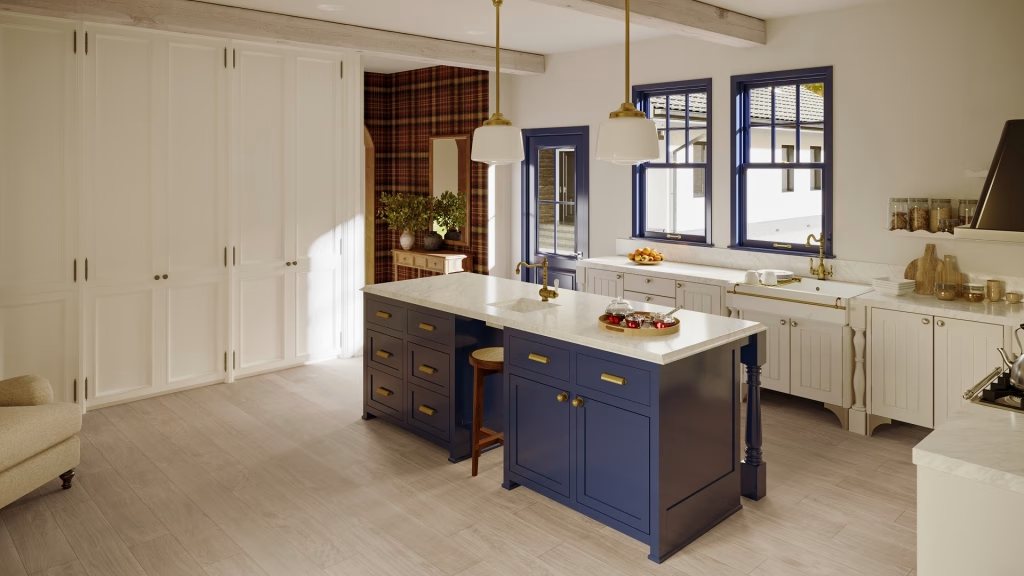
A flooring buyer rarely decides from a swatch. They want to see how a decor reads across a whole room, how the boards line up, and what the surface looks like from close range. That is three different images of the same product, and photographing each one means laying the floor first.
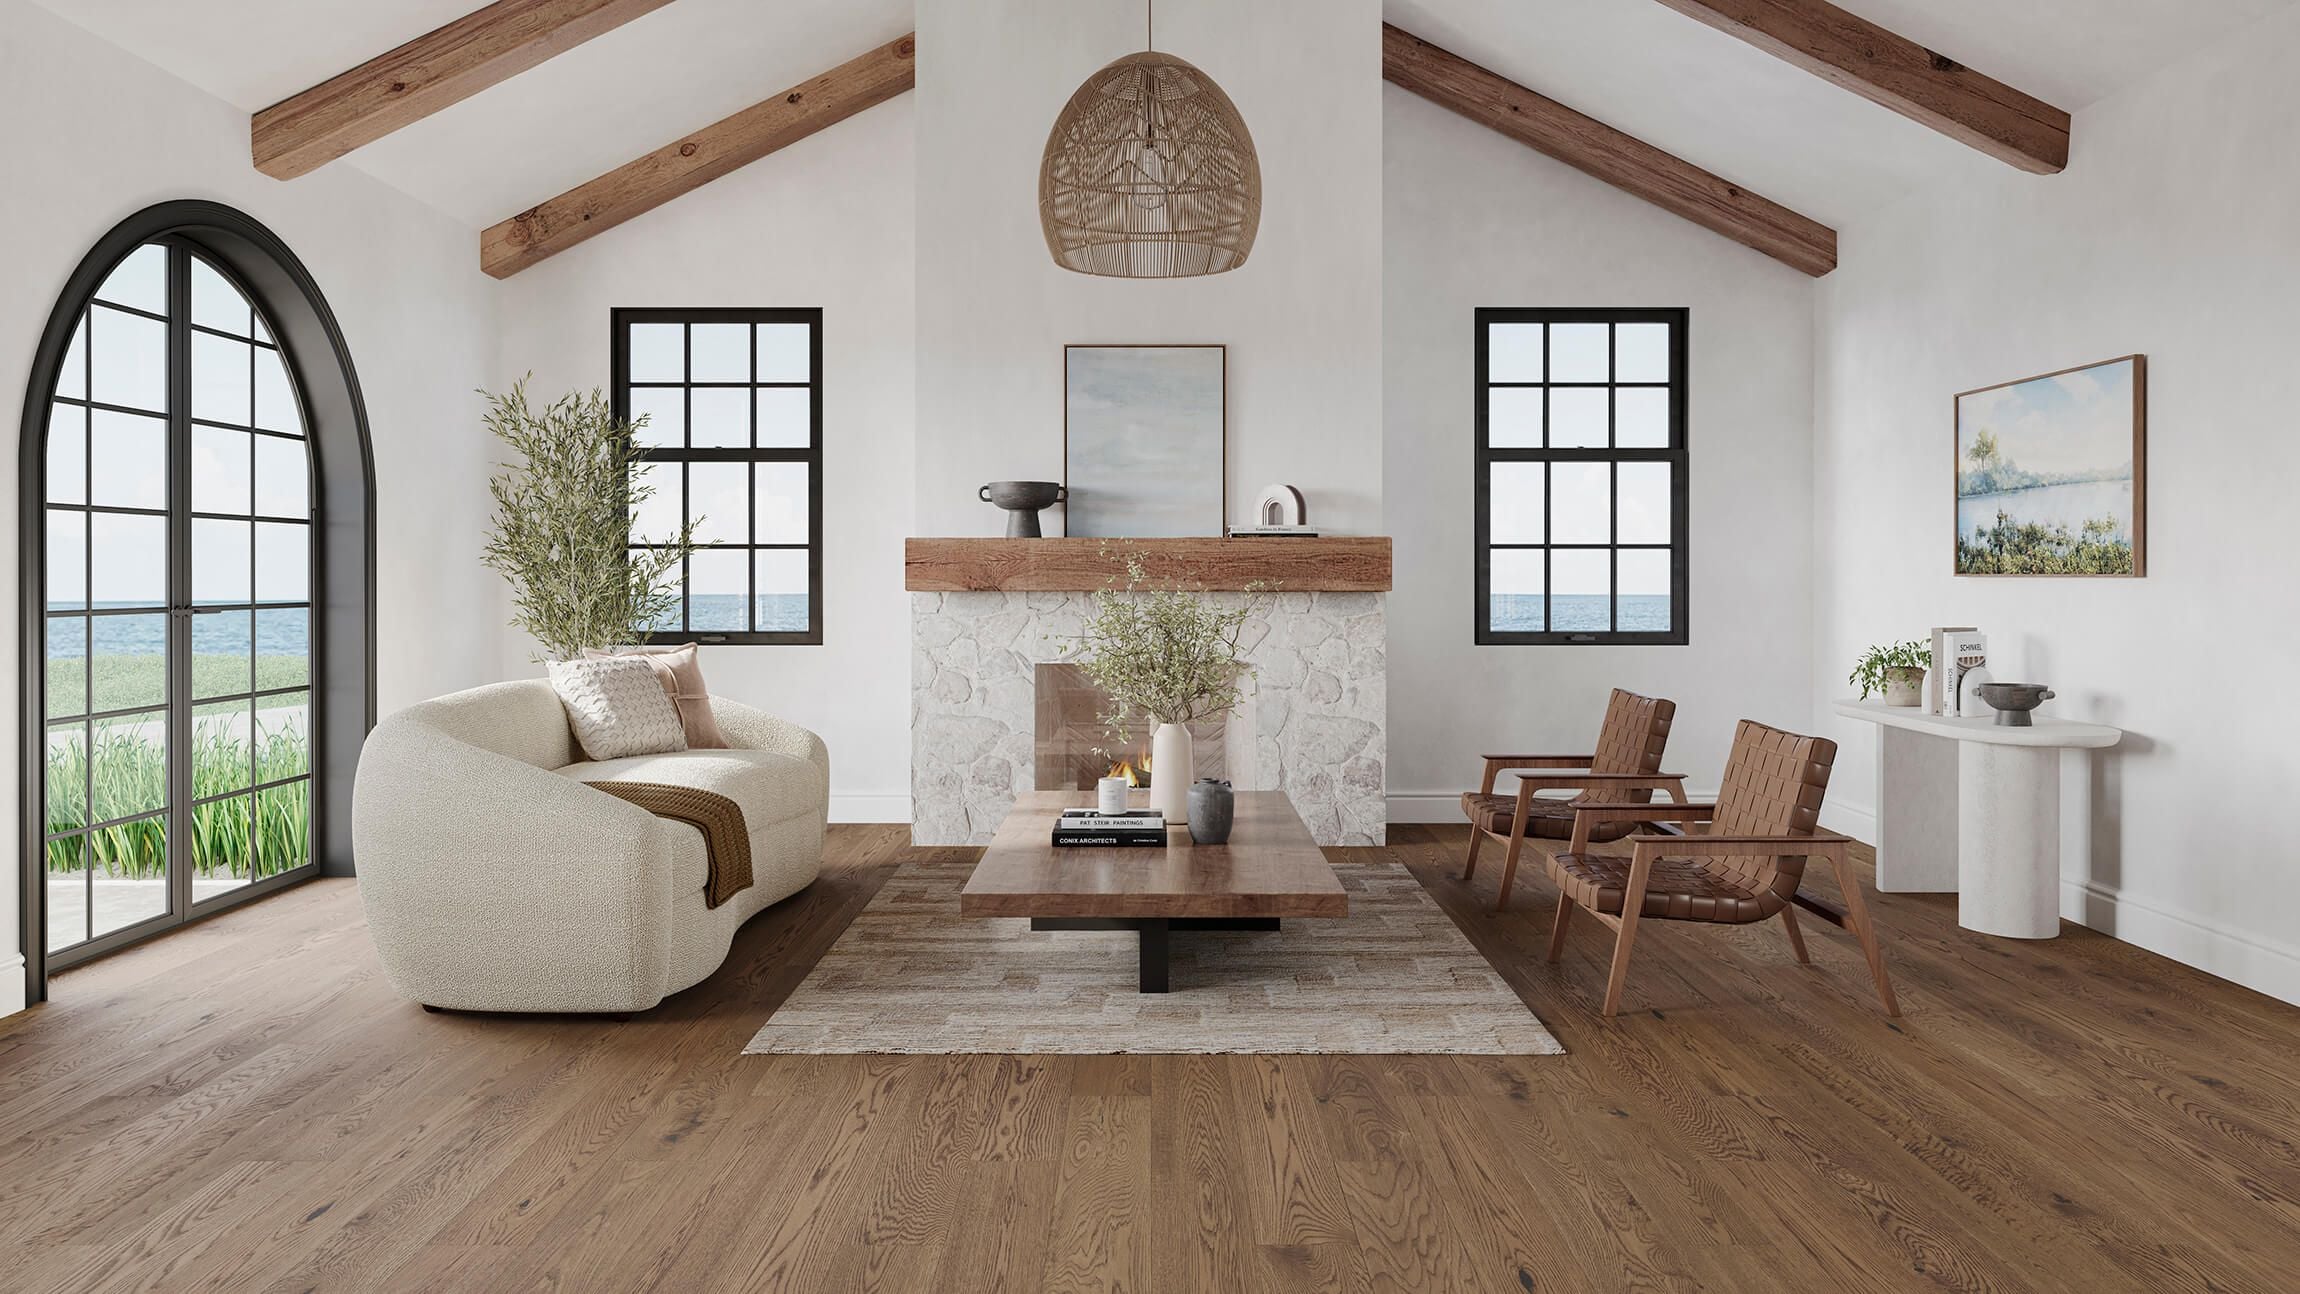
Flooring product rendering builds those images from digital materials and a 3D scene. We work from your scans, product photography and dimensions, then show the covering installed across a room, viewed from above or examined close up. The room exists only on screen, so the next decor does not need another floor installed in a studio.
This guide covers how to commission that set: what we need from you, how the approvals run, and what to check before you sign off. The focus is wood, engineered flooring, laminate and vinyl made for catalogs, product pages and dealer materials.
Flooring photography or CGI: when each one makes sense
Flooring photography involves more than bringing a sample to a studio. A full-room image may need a large area installed, styled and lit. If the next decor needs the same view, part of that work has to be repeated or the floor replaced digitally in post-production.
CGI is useful when the collection has several options, when the required setting is unavailable, or when the product needs more images than a physical shoot can conveniently provide. An approved room can be reused, and new floor materials can be prepared for it as the range changes. Our own flooring portfolio has passed 45 projects built this way.
Photography remains useful for completed installations, production stories and projects where documenting a real location matters. If a suitable room already exists and only a small image set is required, photographing it may be straightforward. Compare quotes against the same shot list, resolution and revision scope before deciding.
CGI also needs reliable product information. A generic oak texture will not become your flooring simply because the room looks convincing. We build the material from references that represent the product you sell.
Choose images around the questions buyers ask
Start with the decisions the product page needs to support. A hero image and a technical detail have different jobs, so asking for several attractive room scenes may still leave important questions unanswered.
| Image type | Question it helps answer | What the brief should specify |
|---|---|---|
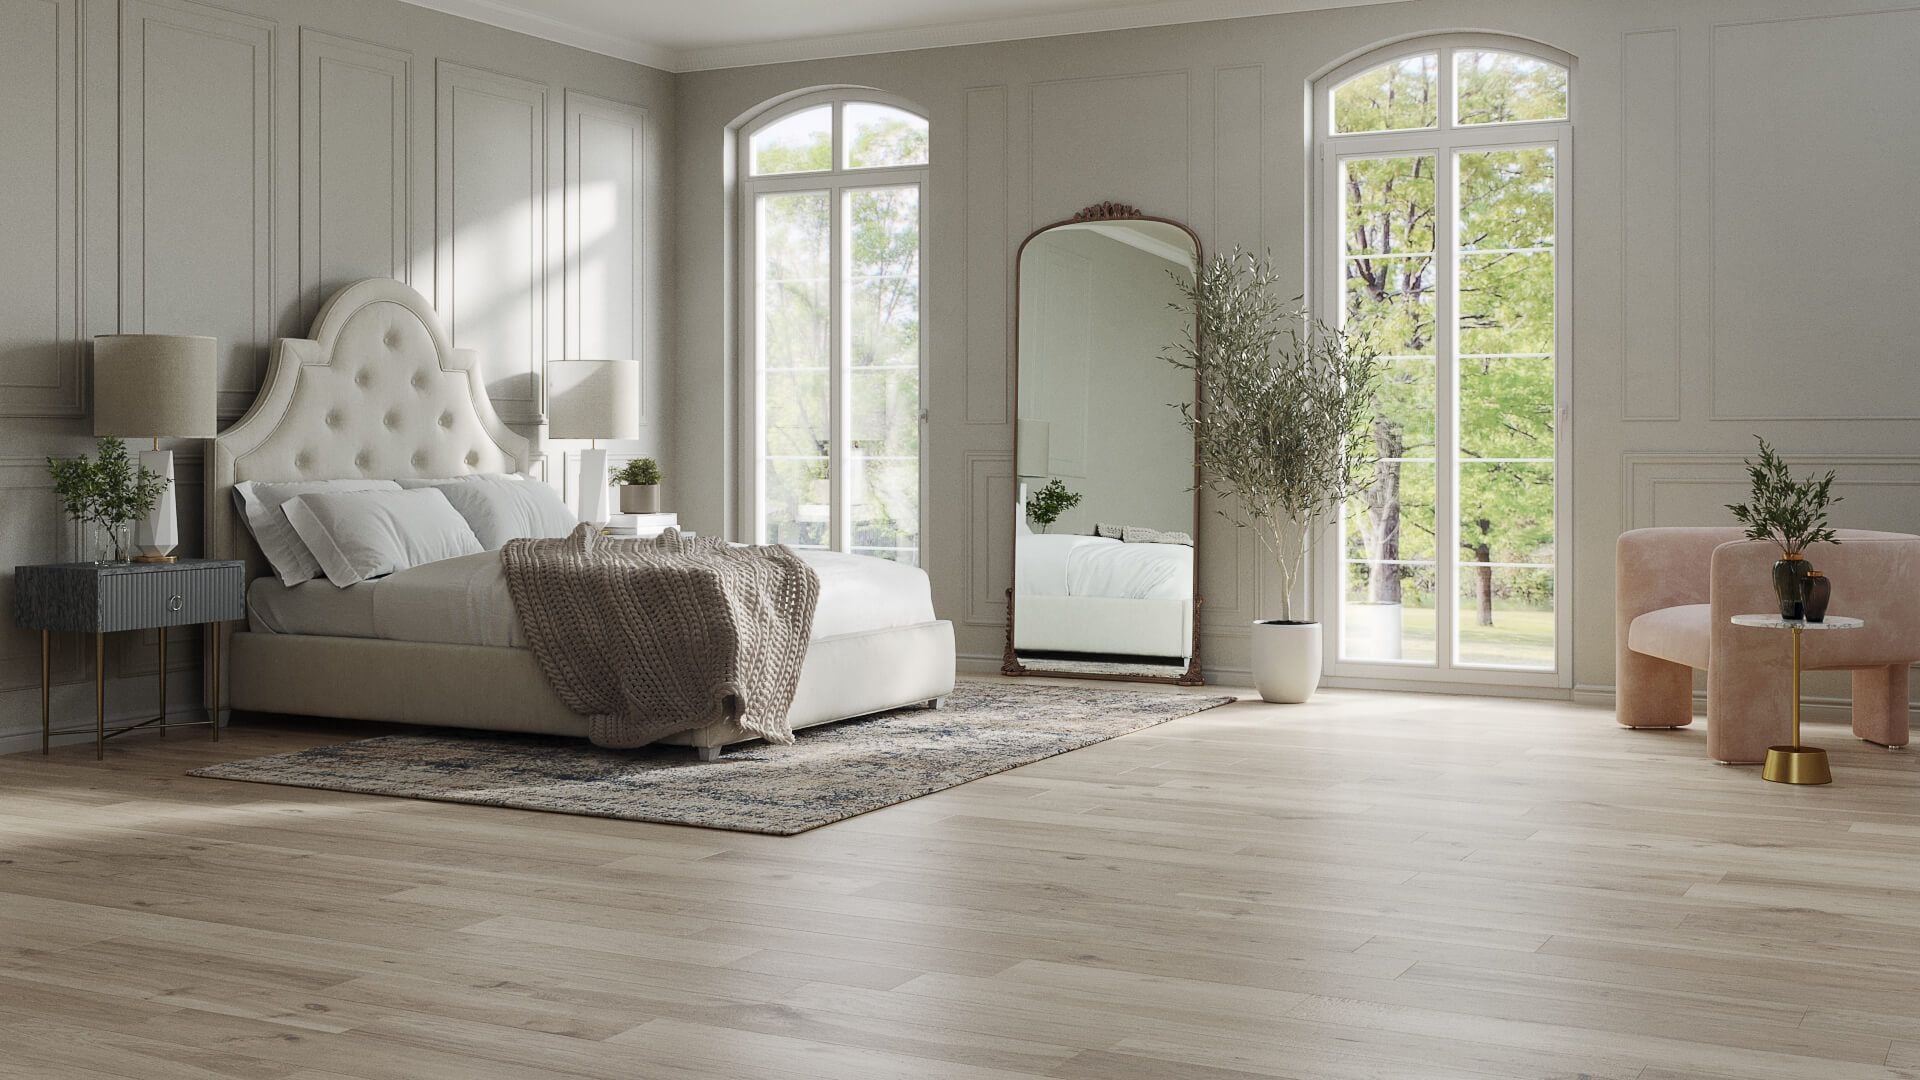
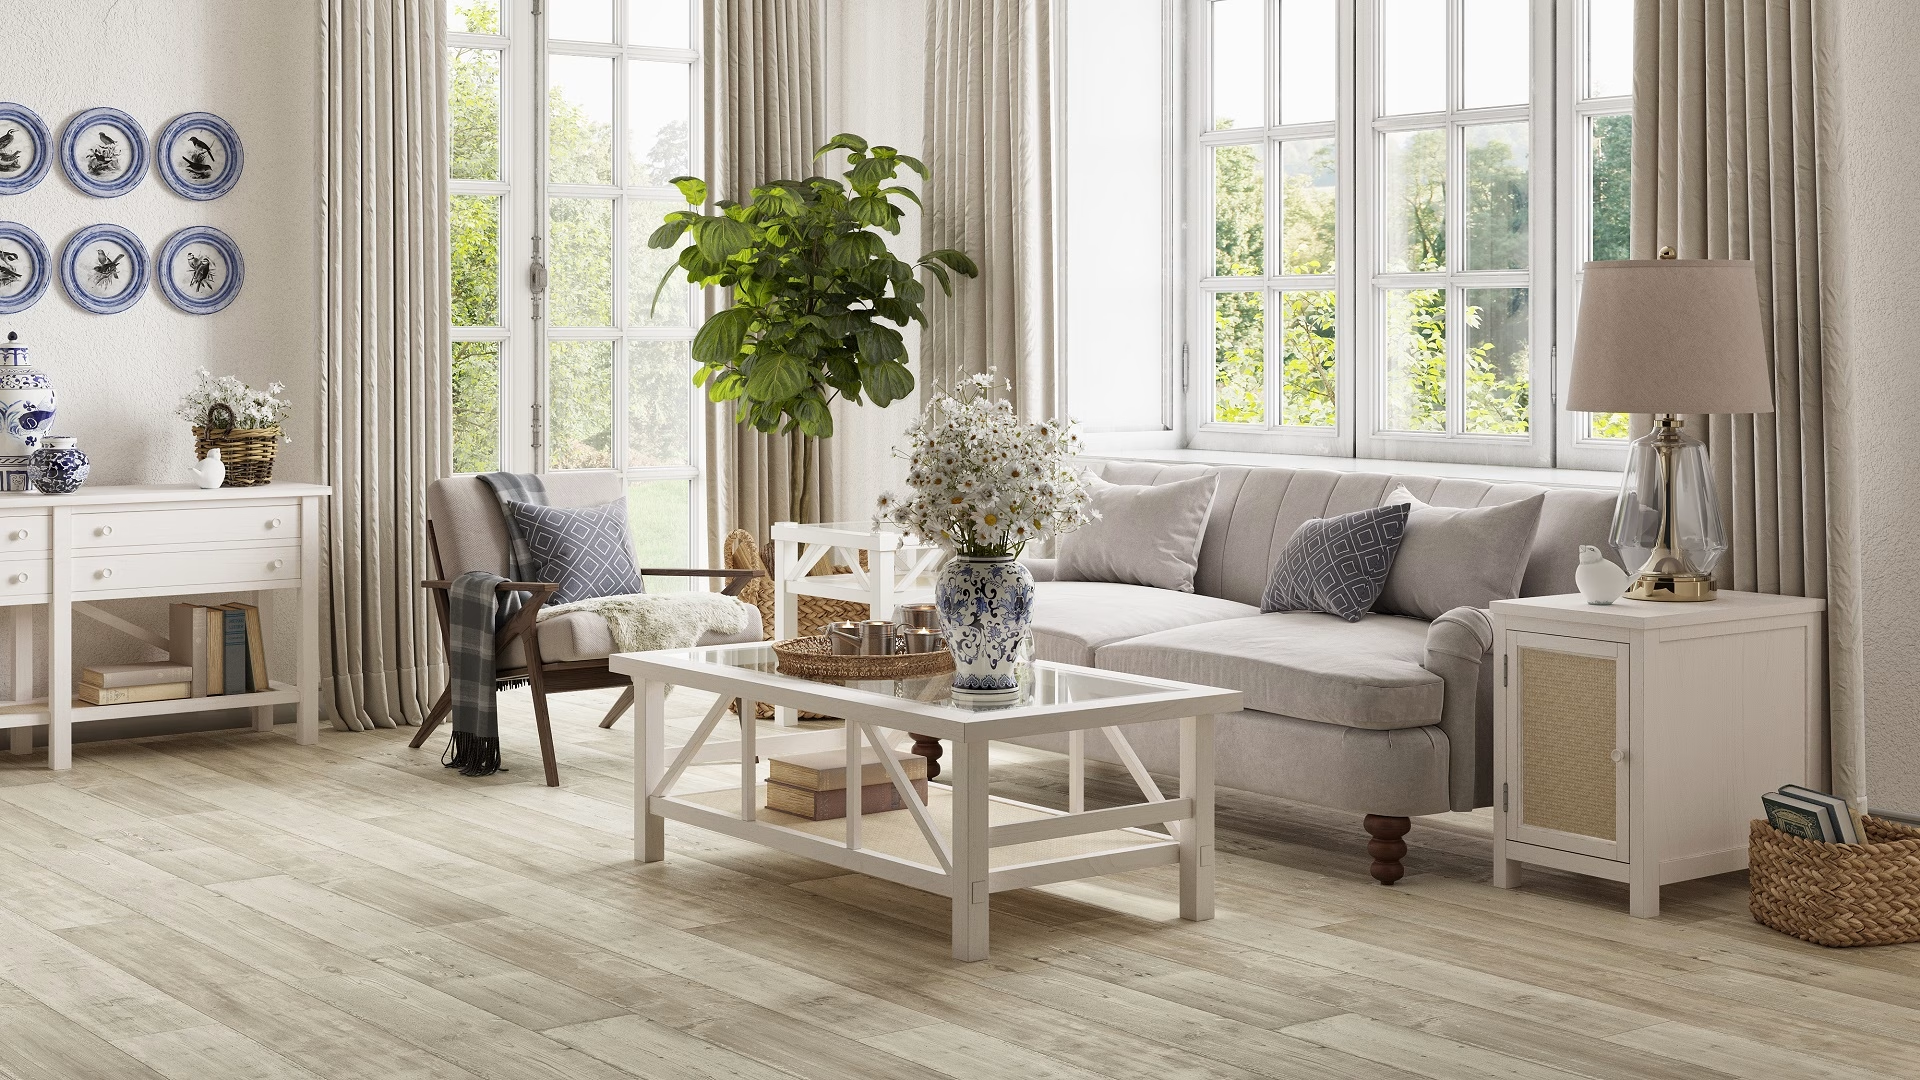
| Lifestyle room scene | How does this floor look across a furnished space? | Room type, audience, styling and visible floor area |
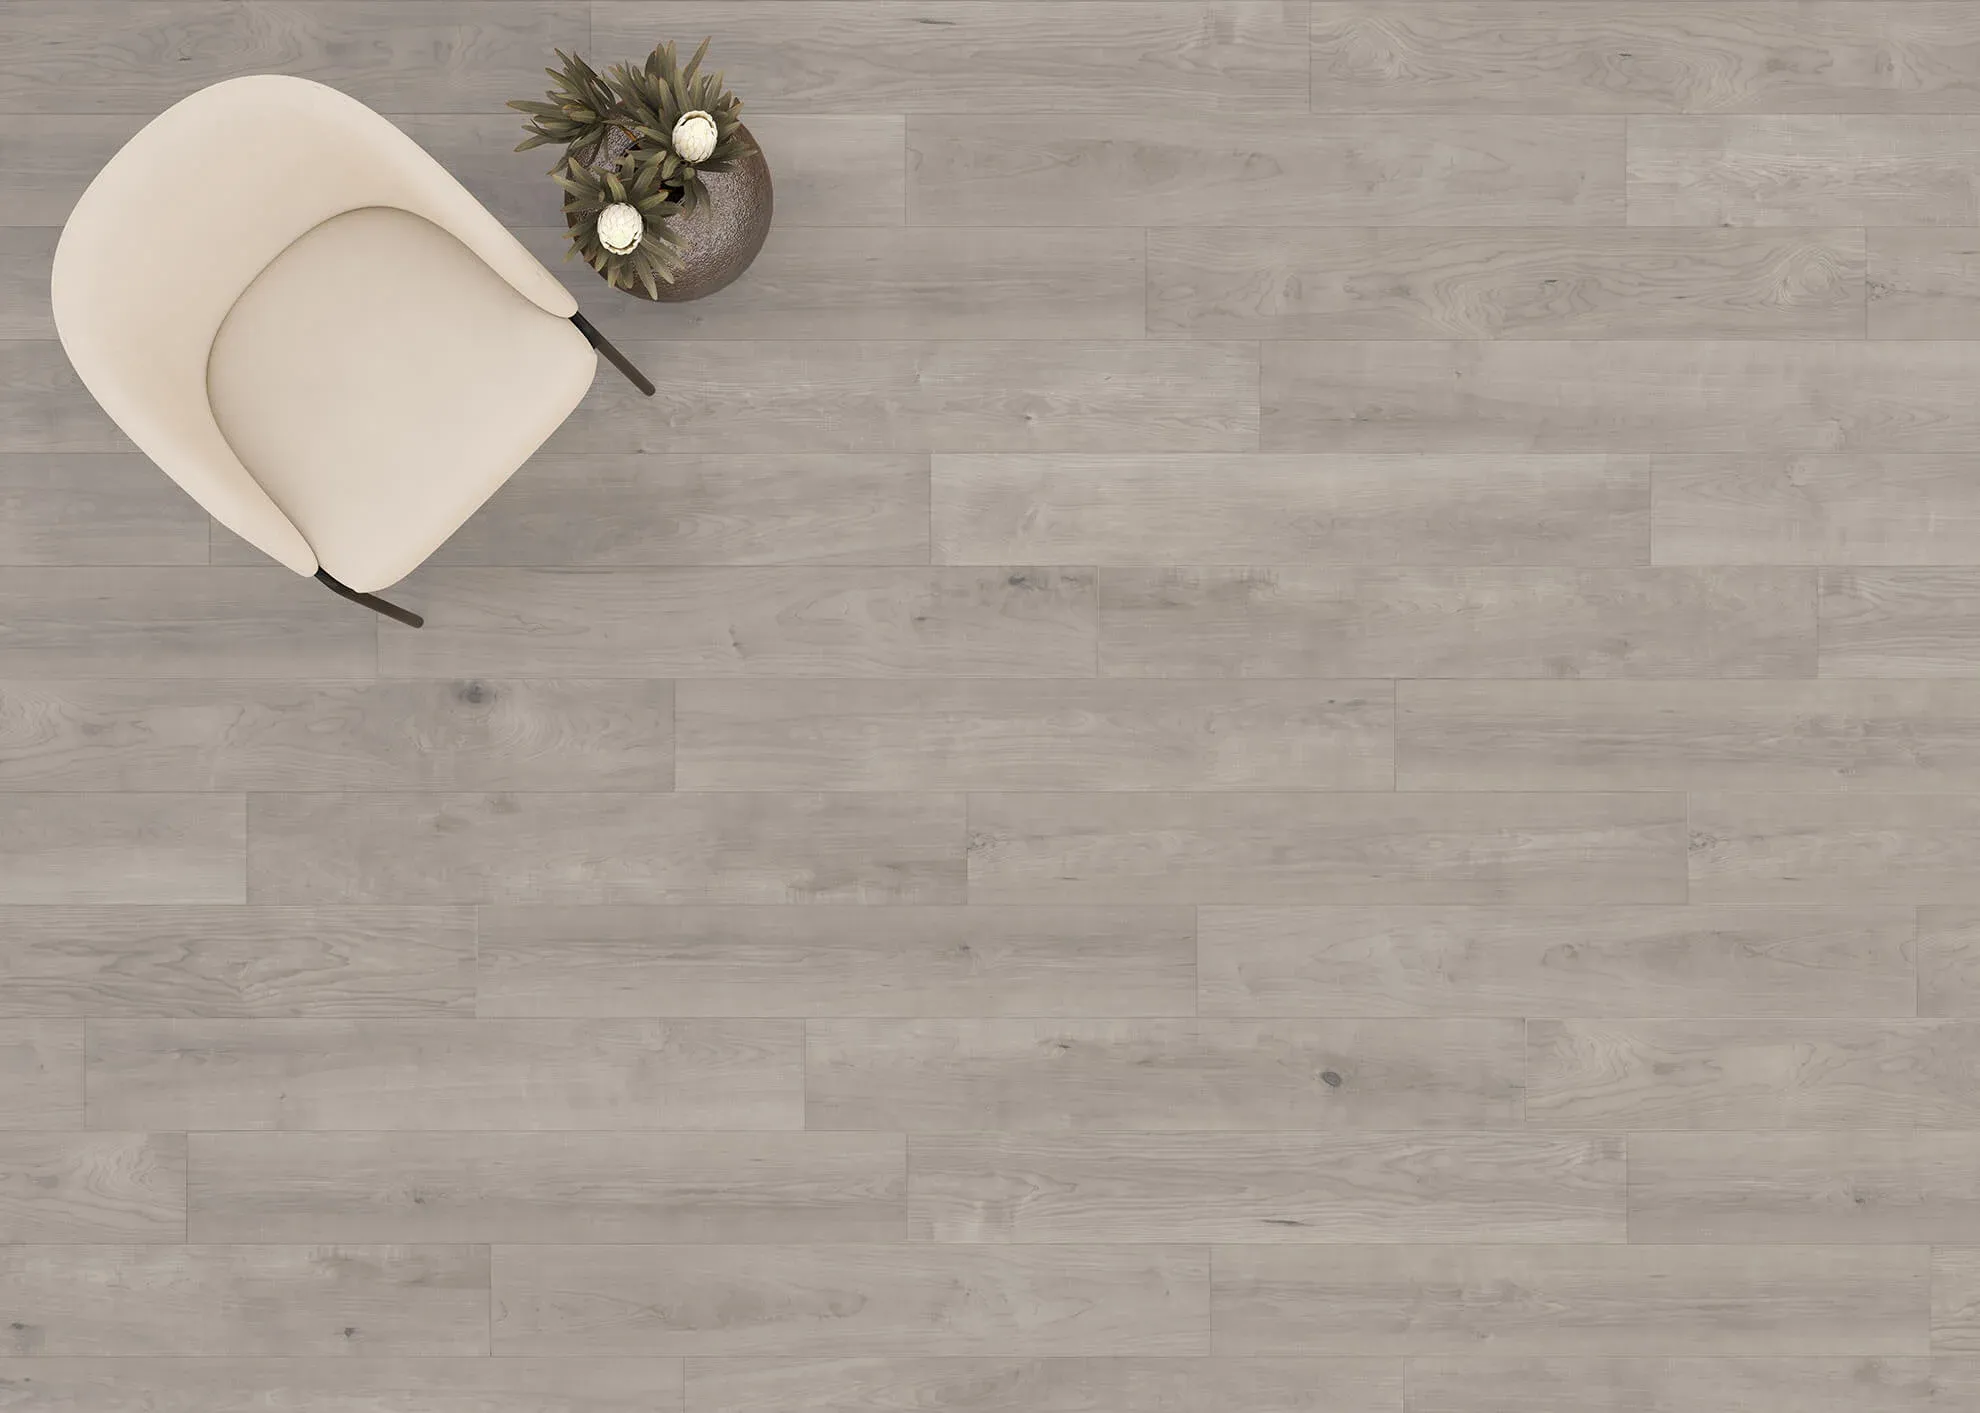
| Top view | How do the boards and layout read together? | Actual dimensions, direction and installation pattern |
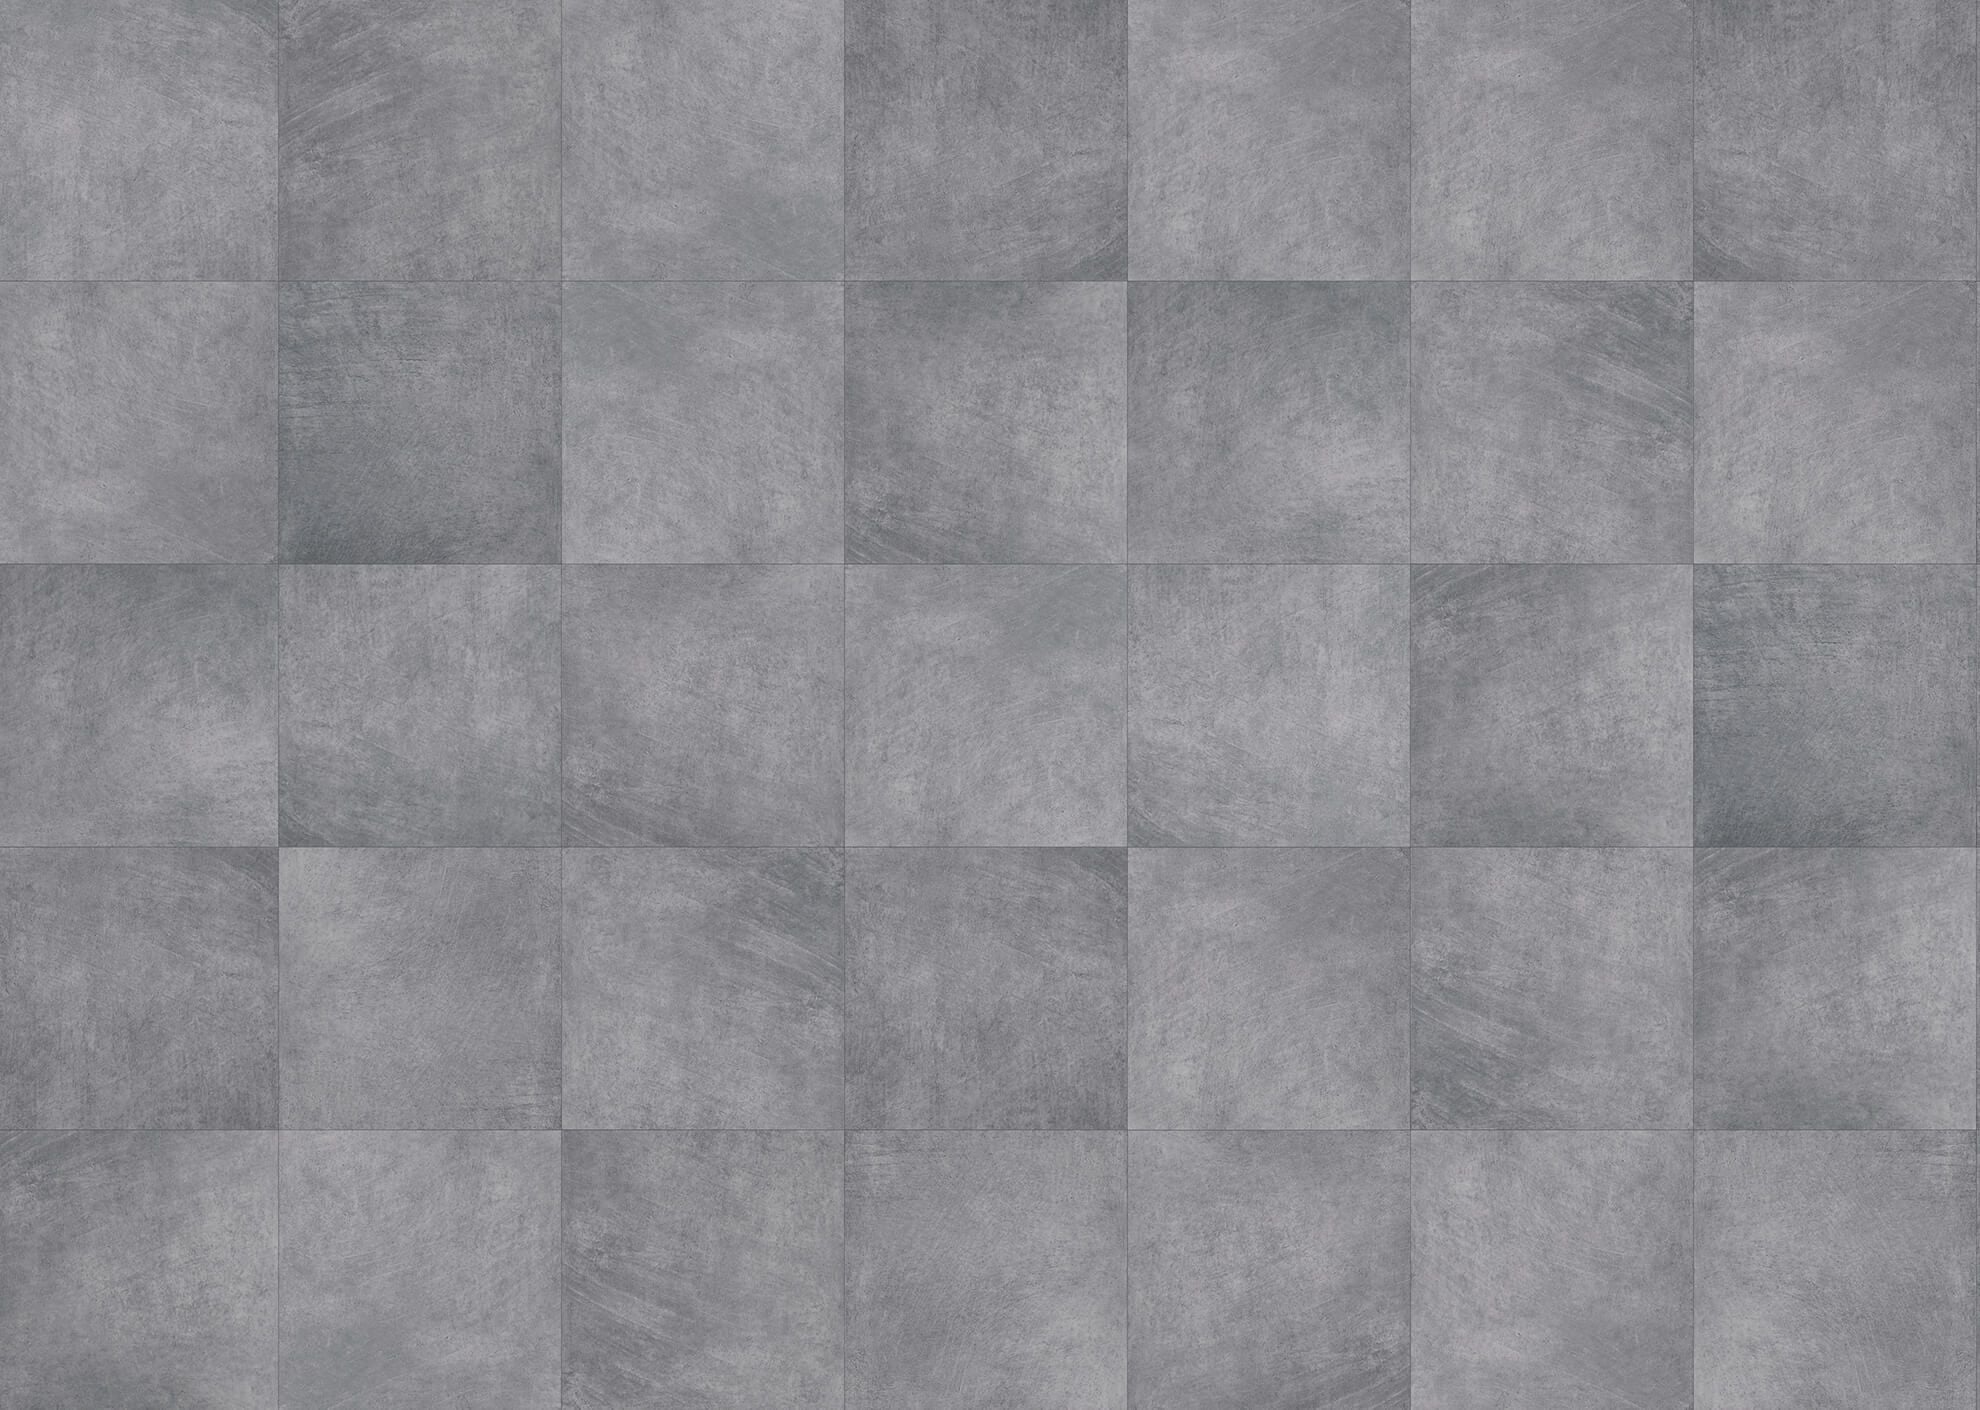
| Surface close-up | What do the grain, bevel and finish look like? | Edge profile, texture references and finish |
| Plank or sample image | Which individual product am I choosing? | Sample dimensions, background and SKU |
| Detail in place | How does this product meet an edge or adjoining surface? | Approved trim, threshold or stair detail |
Mannington has been making flooring in New Jersey since 1915, and its range is far too large to photograph decor by decor. In our Mannington project we built the interiors once and rendered bedroom, living room, kitchen and bathroom scenes, plus top views and close-ups. The images went to product pages, headers and banners across their ecommerce site.
For campaign planning beyond the product page, see our article on marketing for flooring.
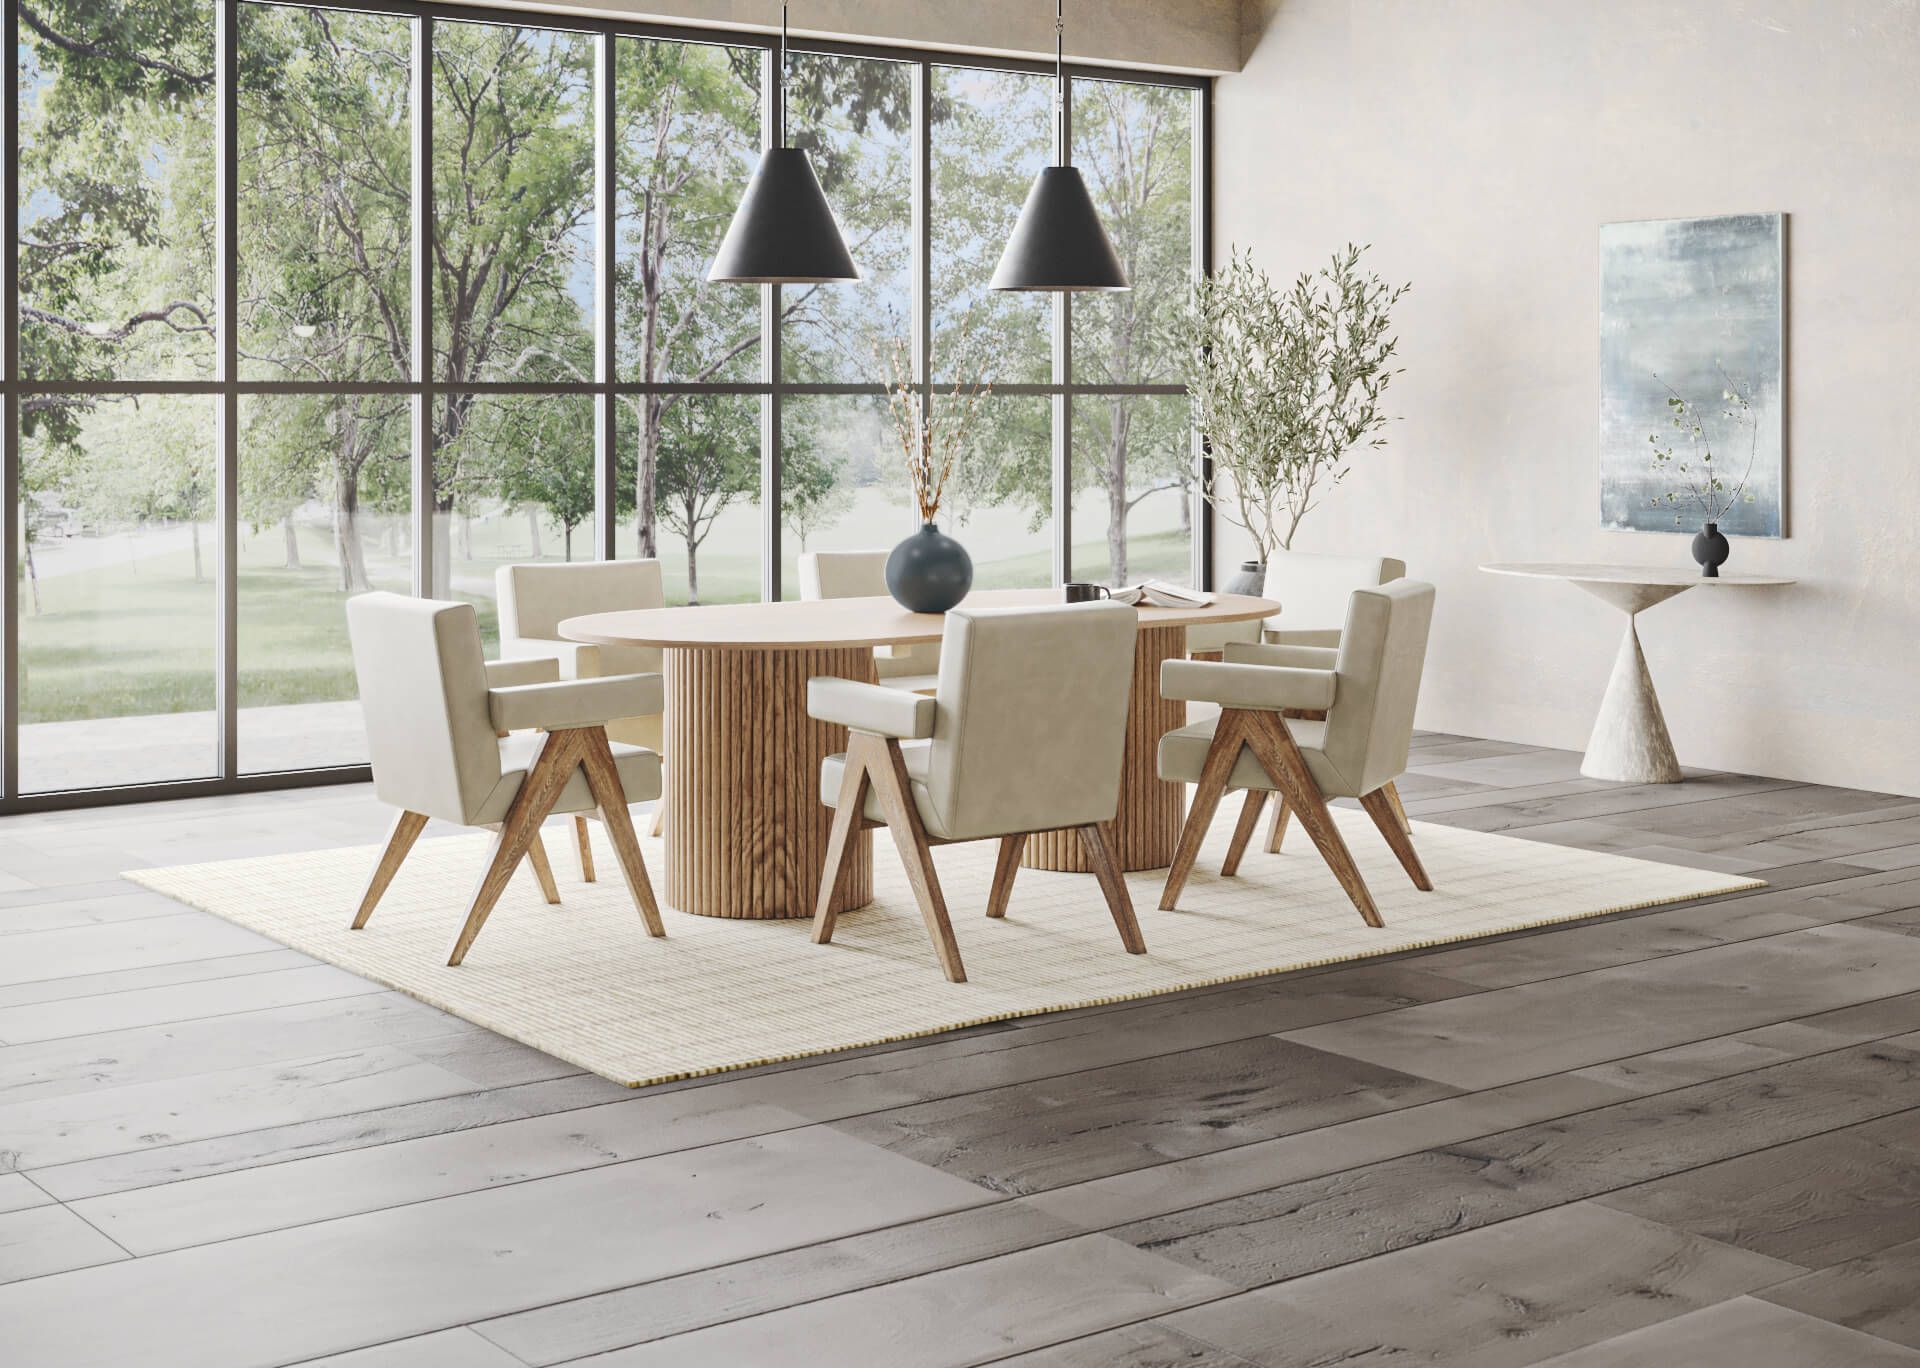 Room scene
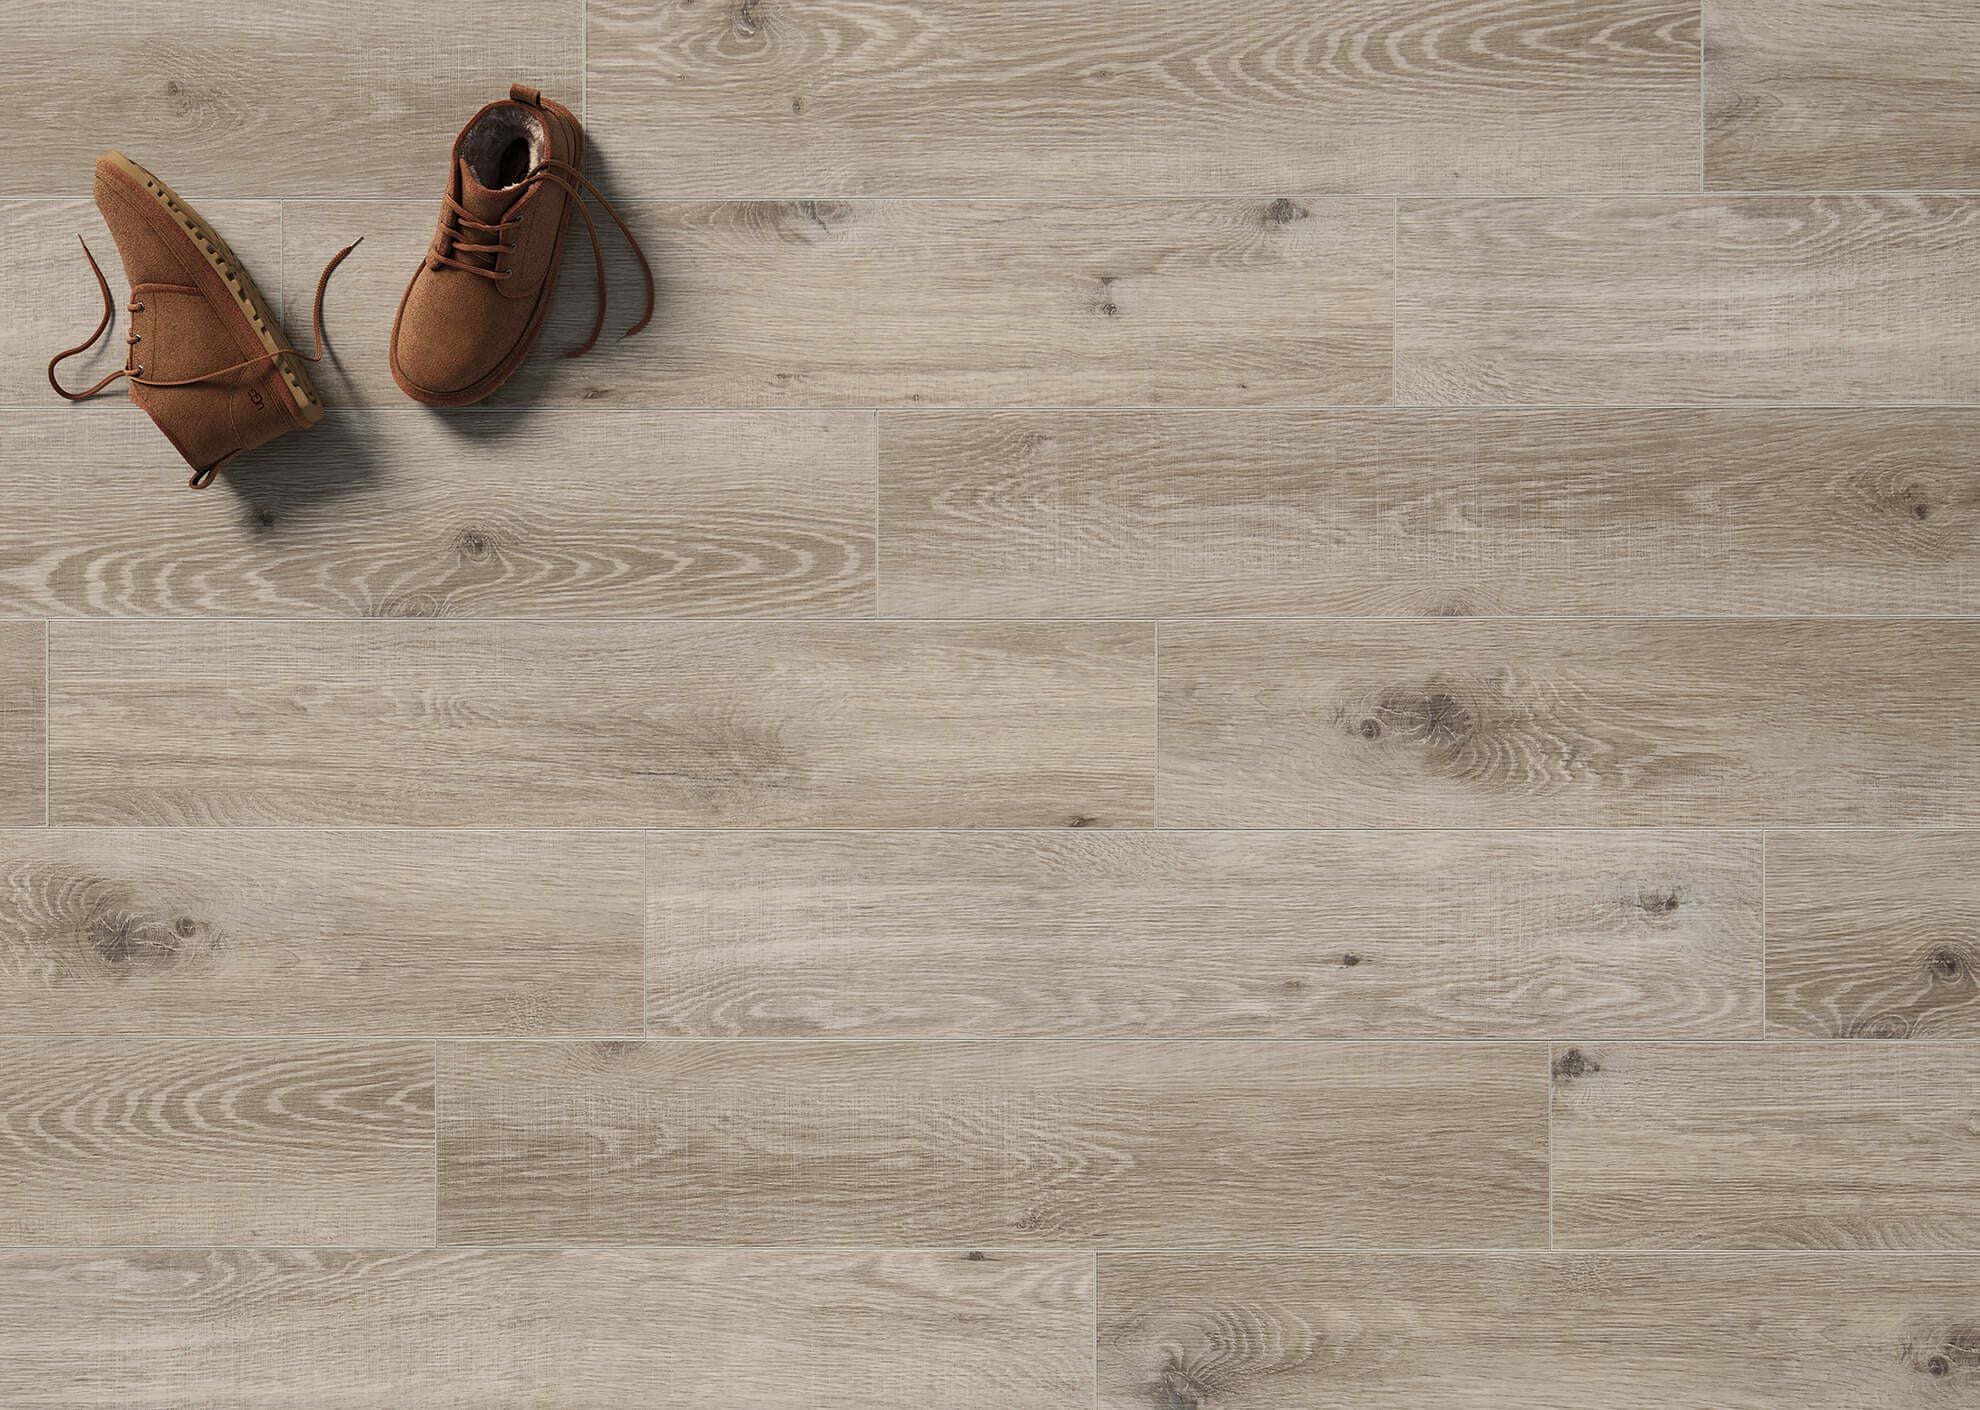 Top view
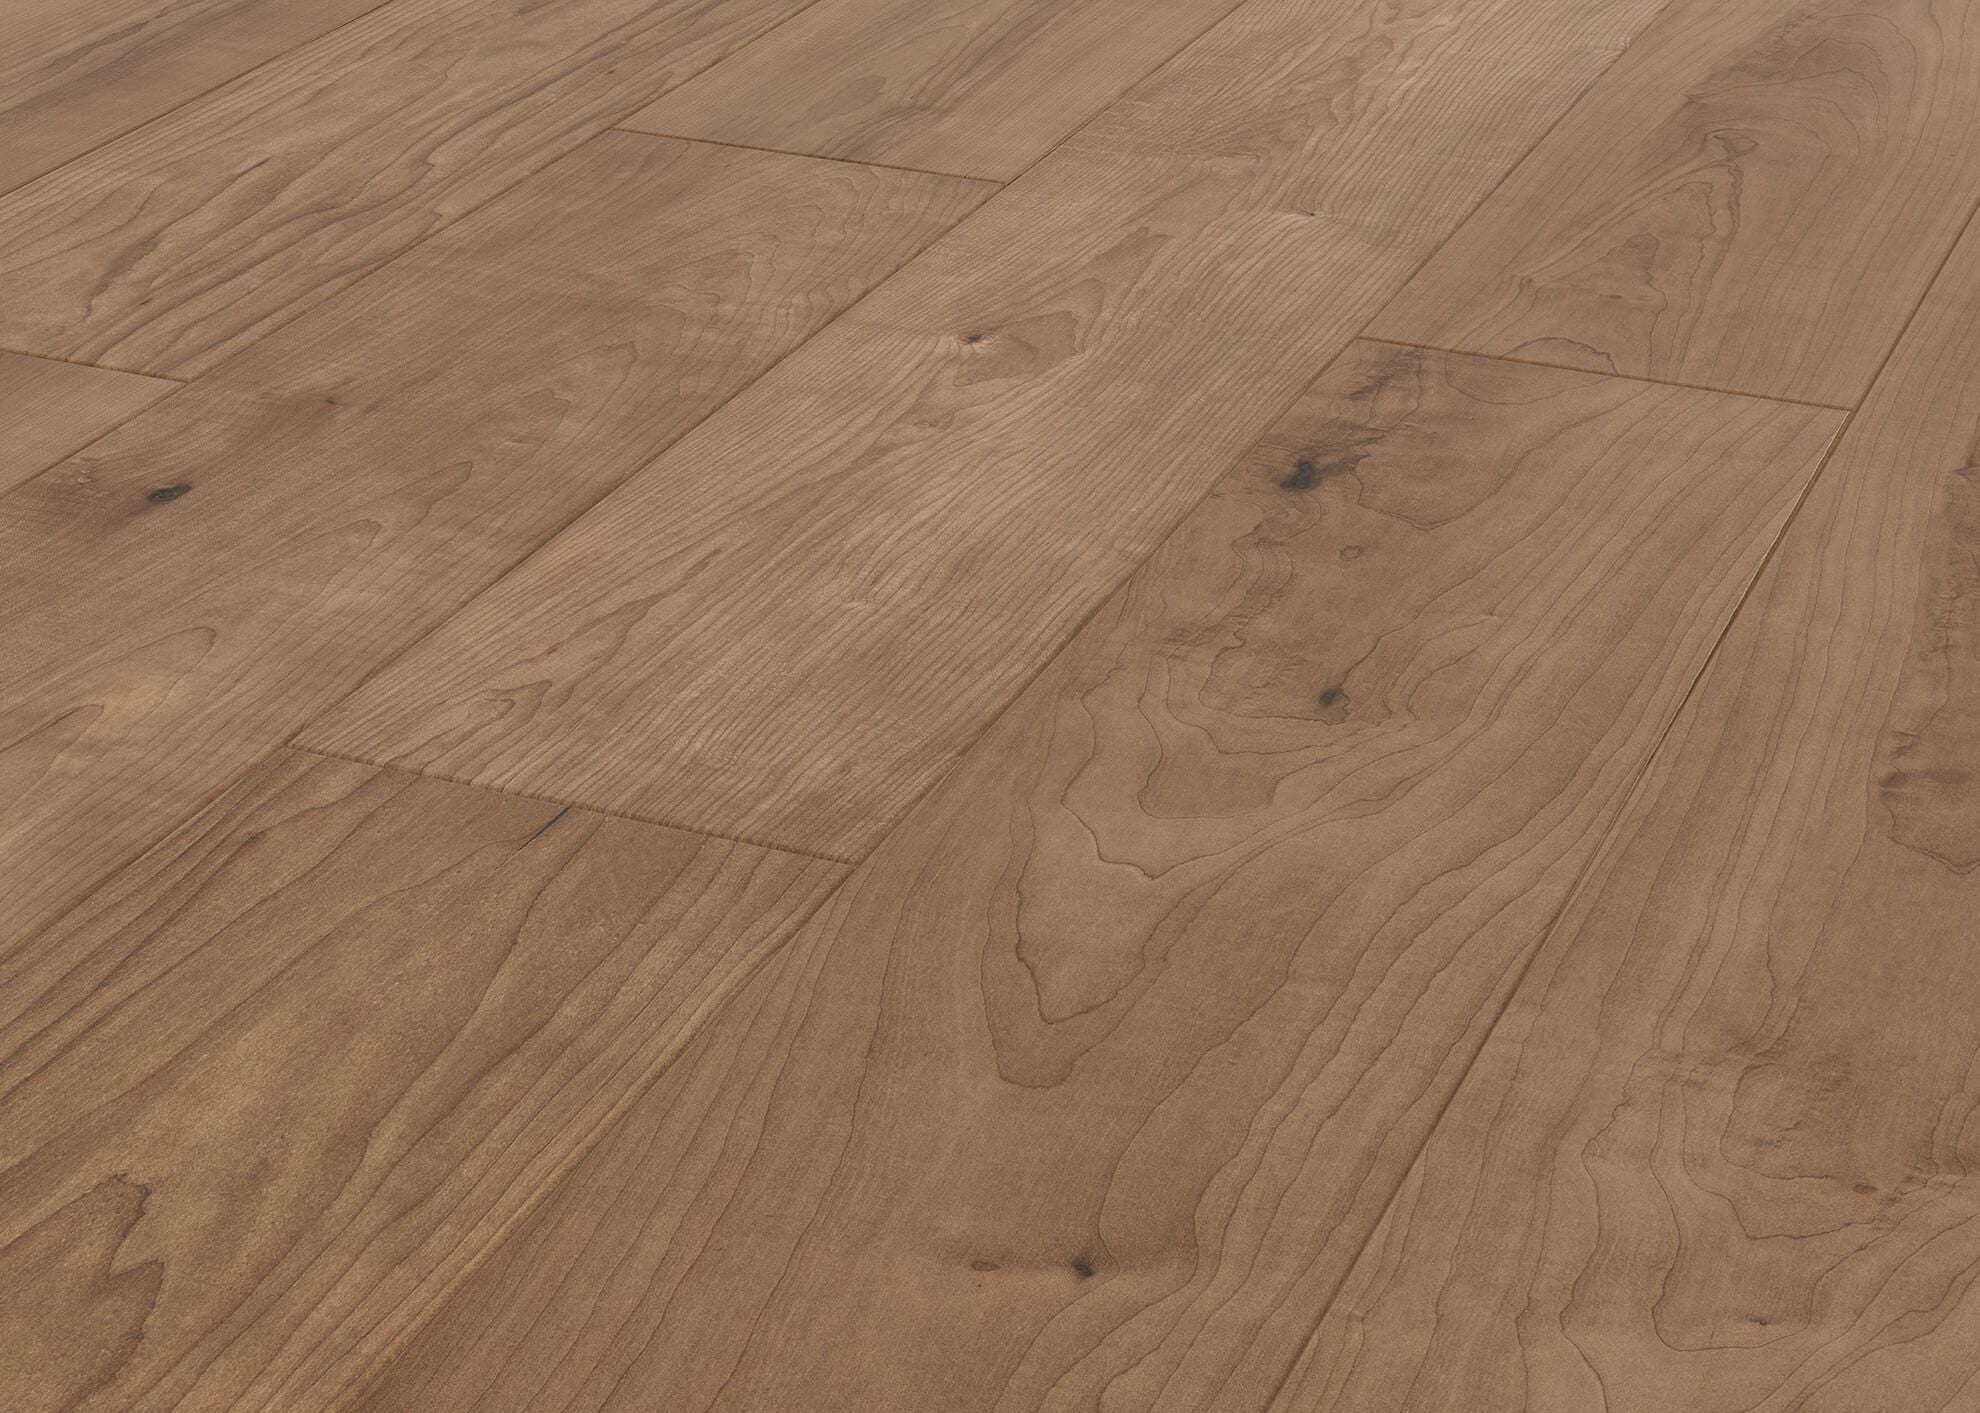 Close-up
Prepare the floor as a product
We need enough information to tell your decor apart from a similar-looking material. Send the original files where possible, rather than screenshots taken from a catalog, and include dimensions so the grain and board boundaries are built at the right scale.
Several references may be needed for one product. A face-on scan records the pattern, while an angled photograph helps explain gloss and surface relief. A sample showing only one quiet patch of wood does not describe the full range of knots and tonal variation in the collection.
For printed flooring, share the available pattern faces and repeat information. For natural wood, send a representative selection of boards and explain the permitted variation. These inputs solve different problems and should not be treated as interchangeable.
The Beauflor case study describes a brief built from material photographs, dimensions and pattern-repeat information. That detail matters: the floor has to follow the product’s design over an installed area.
What to include in the brief
- Product names and SKU codes, with the actual combinations of decor, size and finish.
- High-resolution scans, original product photography or physical samples arranged with us.
- Board or sheet dimensions, pattern repeat information and installation guidance where relevant.
- References for the surface finish, texture and edge profile.
- The intended room settings, audience and brand styling references.
- A shot list with output sizes, crop requirements, channels and deadlines.
Mark any unfinished specification as provisional. If the surface treatment or plank size is still changing, agree which part can be approved now and which needs another review. That keeps an early visualization from being mistaken for the final production specification.
How the rendering process works
Agree on the scene and camera
Choose a setting that suits the buyer and leaves enough flooring visible. A large rug or a low camera behind furniture can make an attractive interior while hiding the product. Room style should support the collection without becoming the subject.
We send the interior as a grey clay render before any decor work starts. Camera, layout and styling are approved at that point, which is the cheap moment to move furniture, change the viewpoint or ask for a clearer view of the floor.
Approve the flooring material
Review the material in a clear test view as well as in the intended room. Check scale, face variation, board edges and surface response. A problem hidden in a wide shot often becomes obvious when the same material is viewed closer.
Give specific feedback. Identifying a bevel that looks too deep or a knot that repeats too frequently is more actionable than saying the floor needs to look more realistic. On the Mannington project each image went through at least three rounds of edits before it was signed off. Our guide to grain, board variation and finish in flooring renders explains these checks in detail.
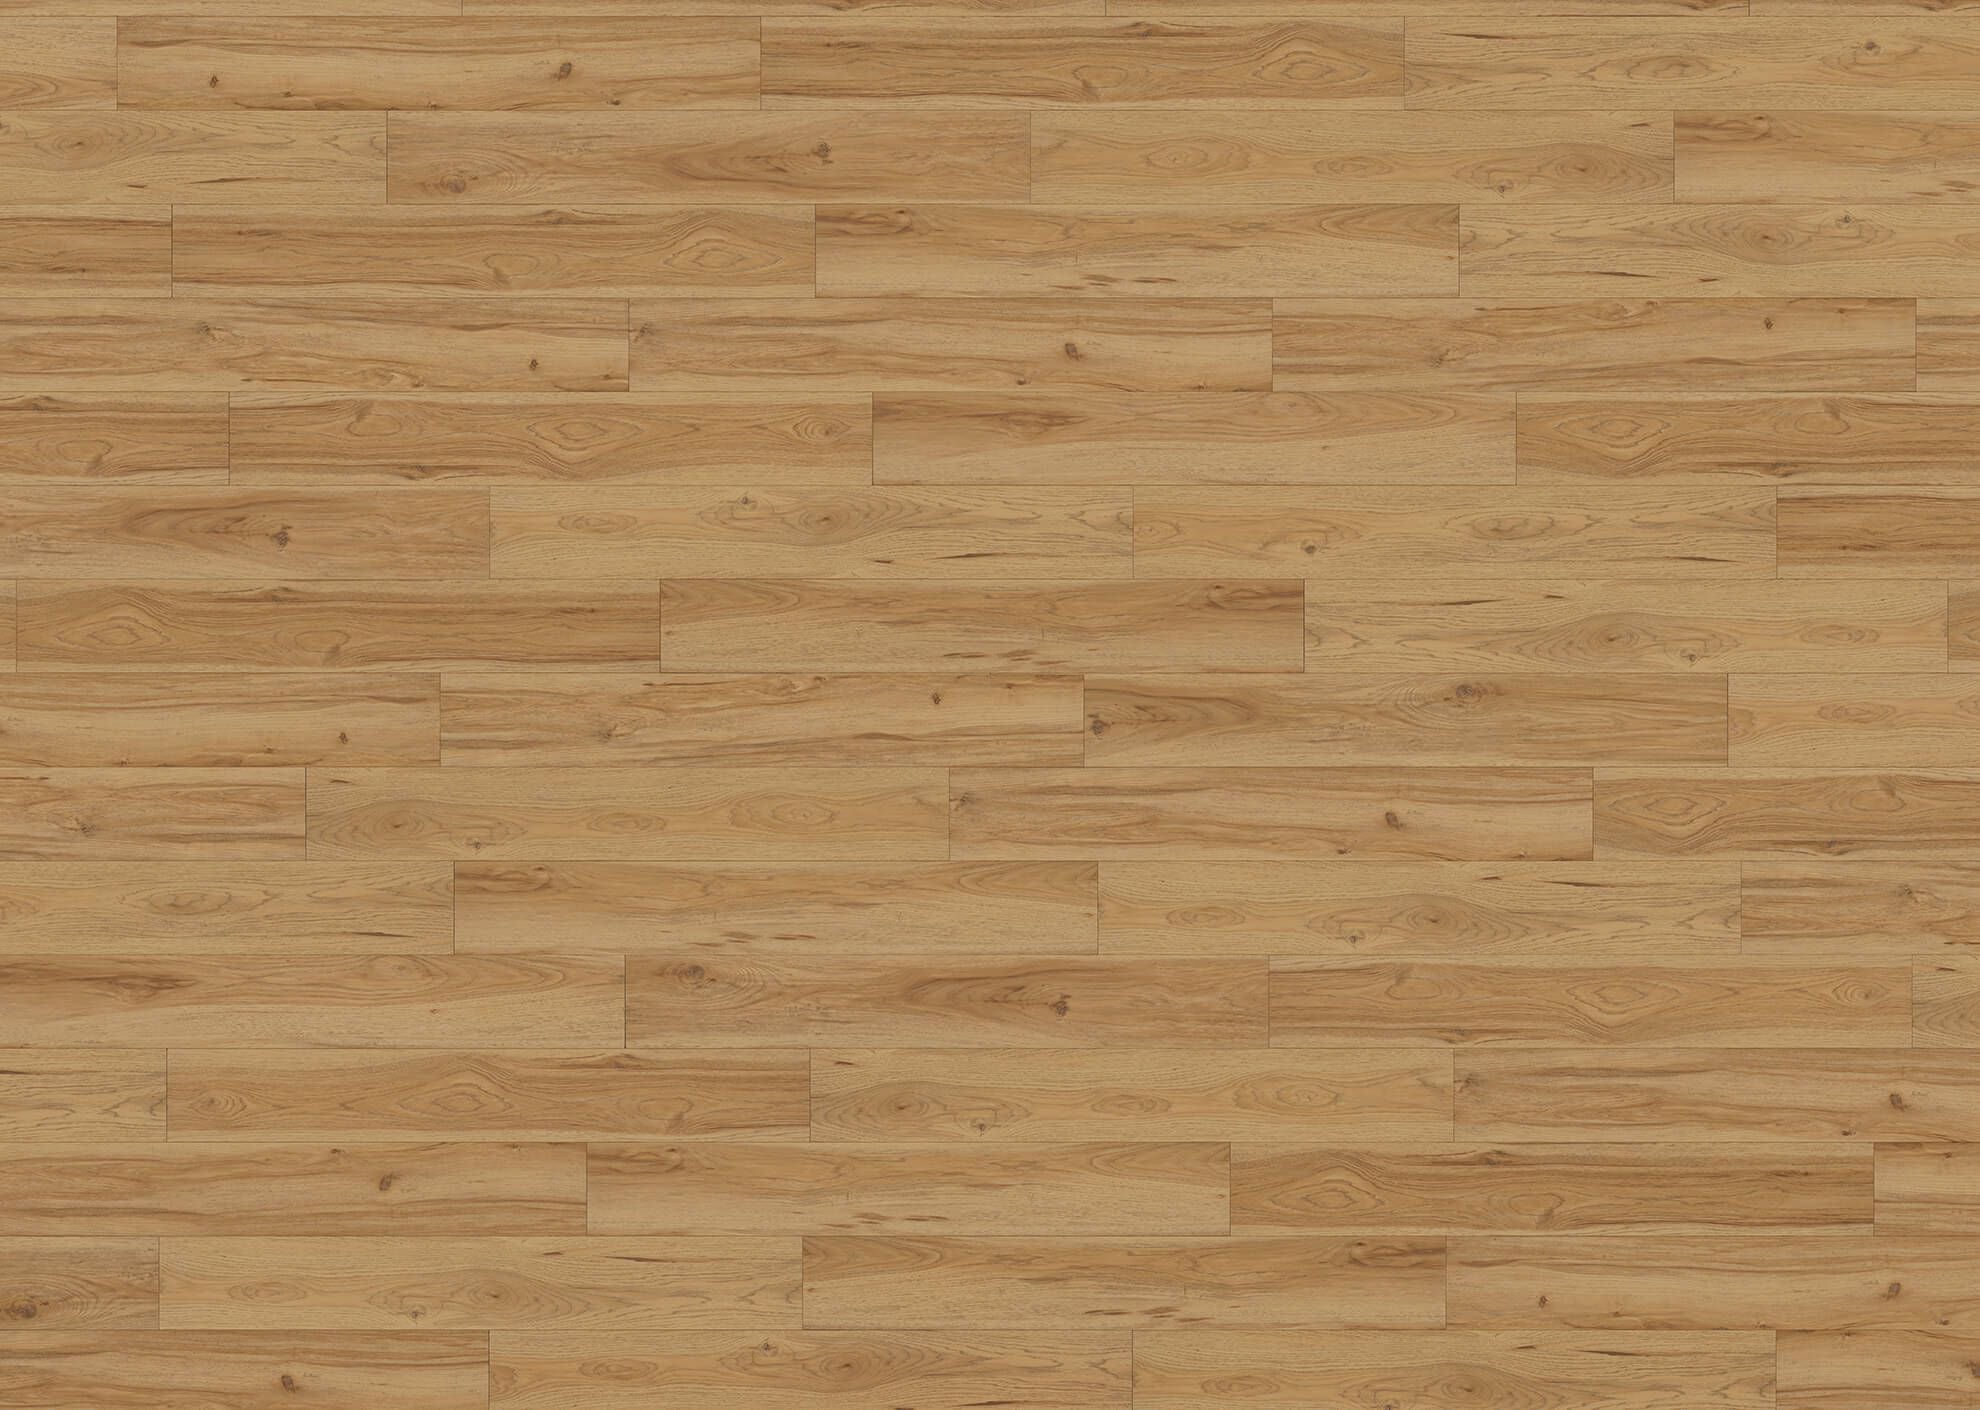 Test view
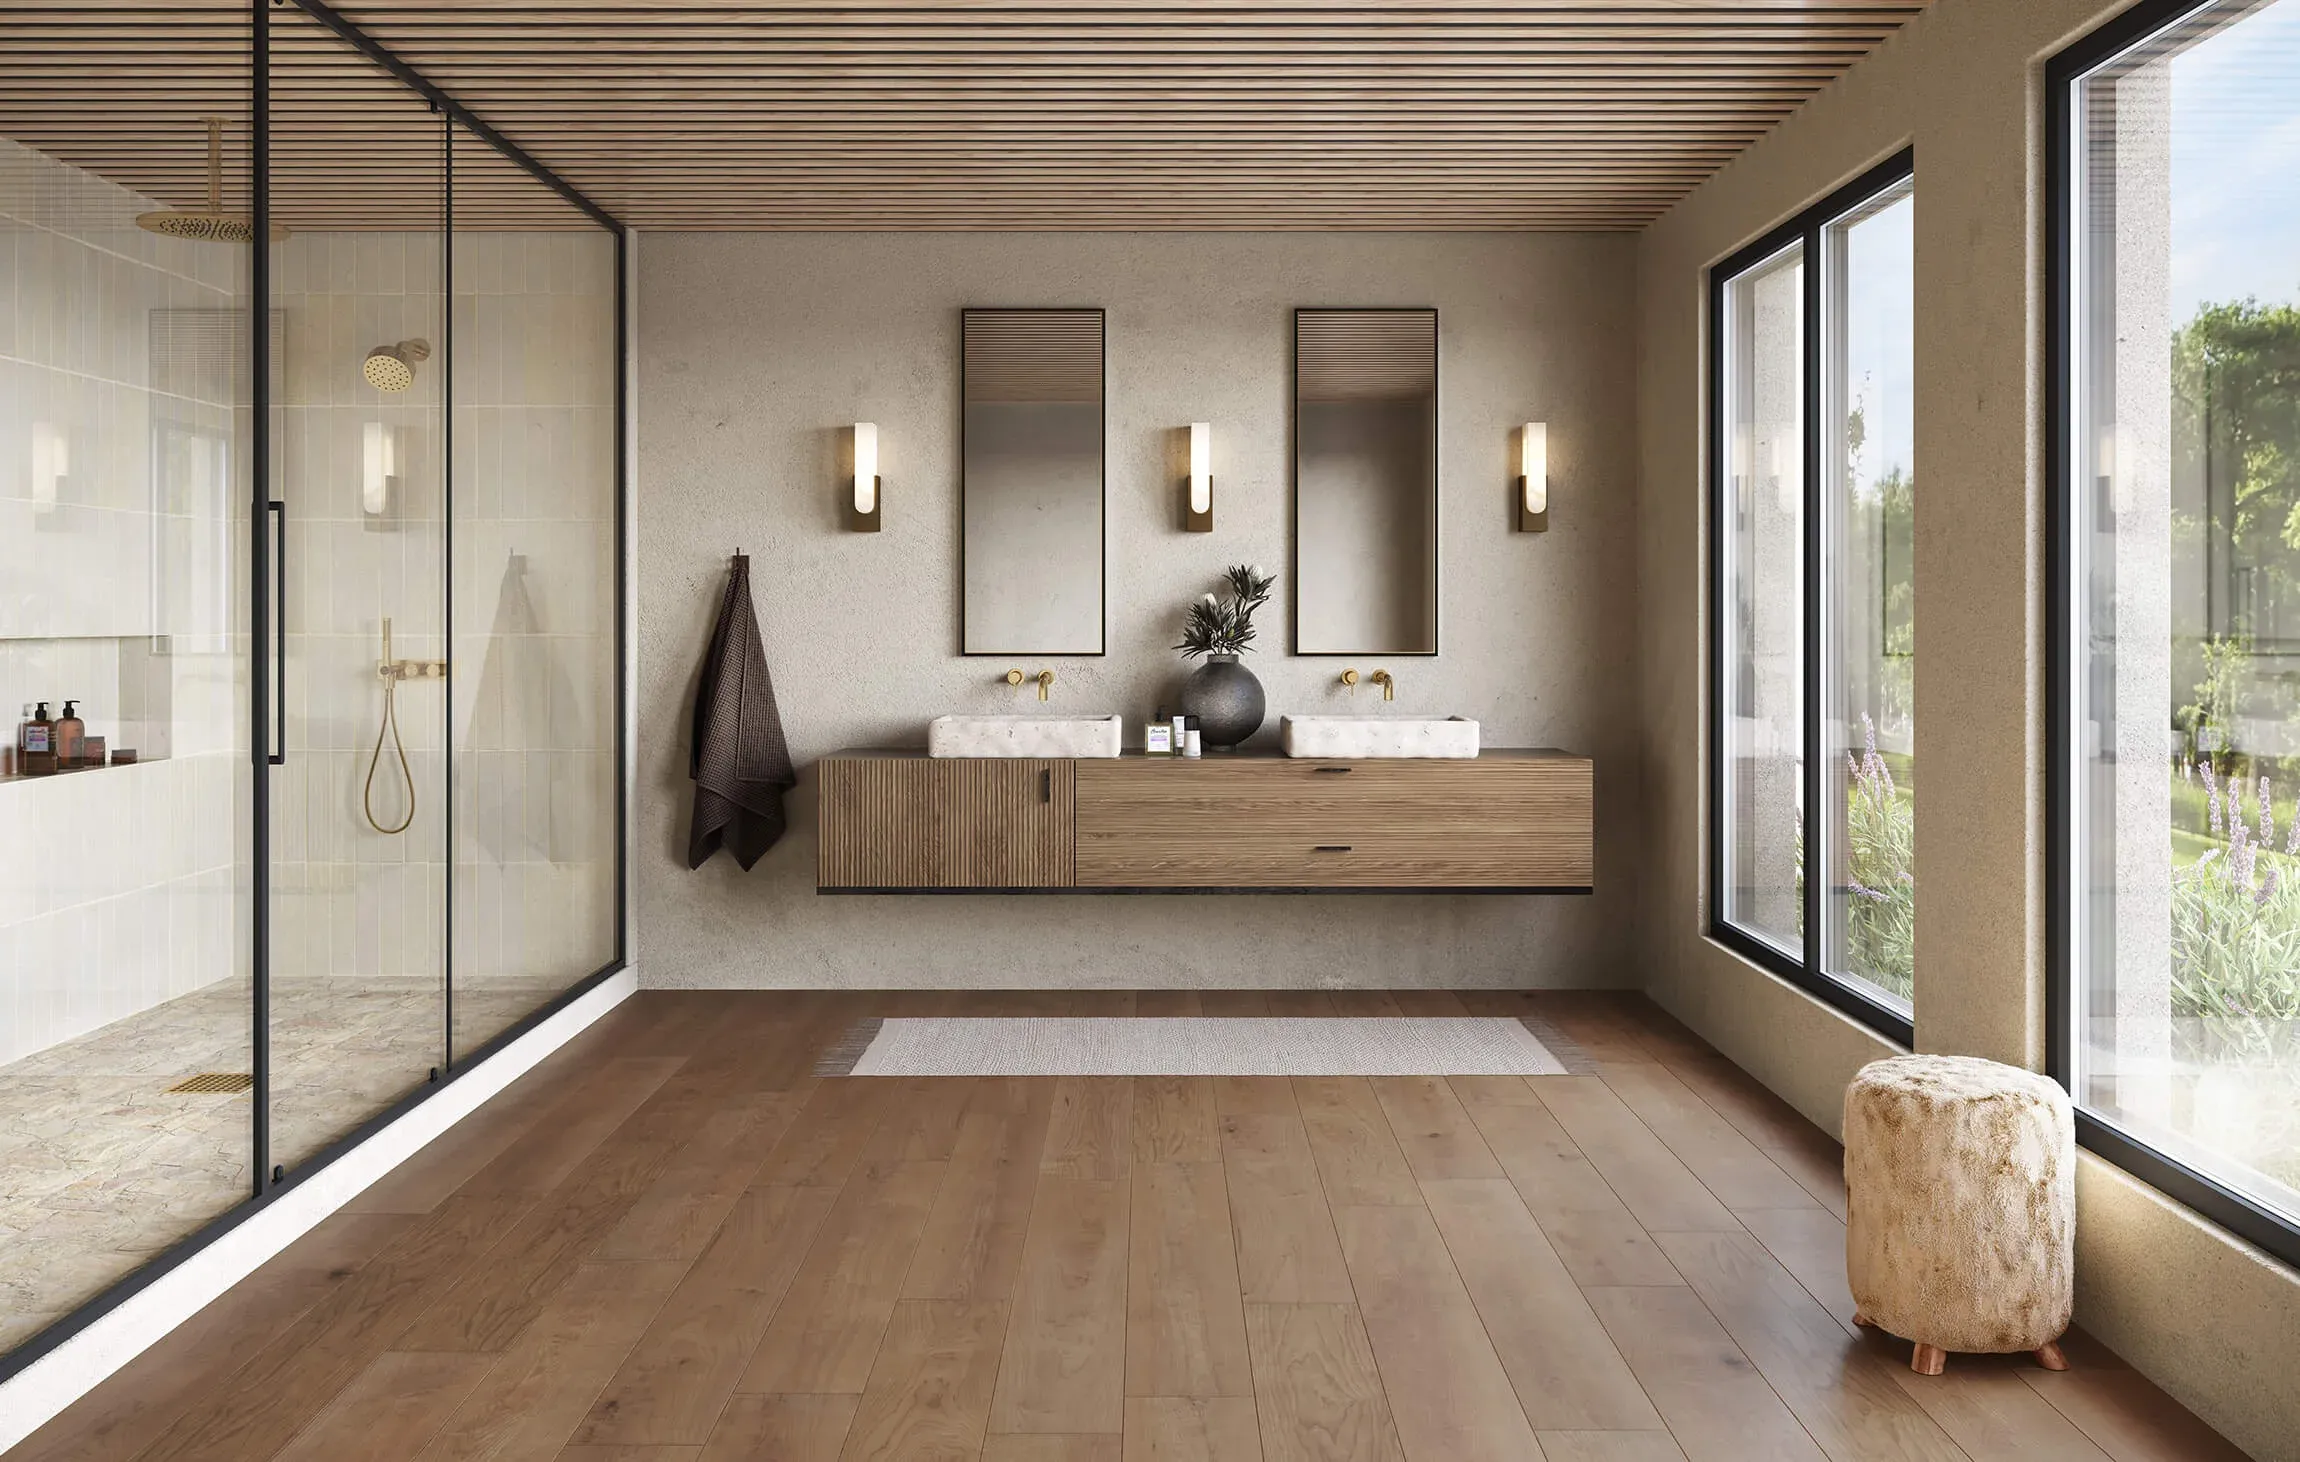 In the room
Approve a representative image before expanding the set
Use an agreed test image to establish the visual standard. Once the room, material and lighting are approved, we produce the remaining views and variants. Each still needs checking, particularly when the product geometry or installation pattern changes.
Comments live on the image they belong to. We run projects in our CGI CRM rather than an email thread, so a version, a note and an approval stay attached to each other and one team cannot quietly reintroduce a change another team already resolved.
Check delivery against the brief
Match each file to its SKU and intended use. Confirm pixel dimensions, crops, background requirements and the agreed color profile. Web images and print layouts usually need separate exports; resolution alone does not establish that a file is ready for every channel.
Keep collection images comparable
A buyer comparing two decors should be able to see what the product change does. Use a consistent camera, room arrangement and lighting setup for that comparison. Avoid giving each option a different visual treatment that makes one look warmer or brighter for reasons unrelated to the flooring.
Campaign images can explore other settings and moods. Keeping those apart from the core comparison set gives the marketing team room to work while the product gallery stays reliable.
For the production plan, see how to show an entire flooring collection in the same room. It covers the image matrix, approvals and file mapping behind a larger range.
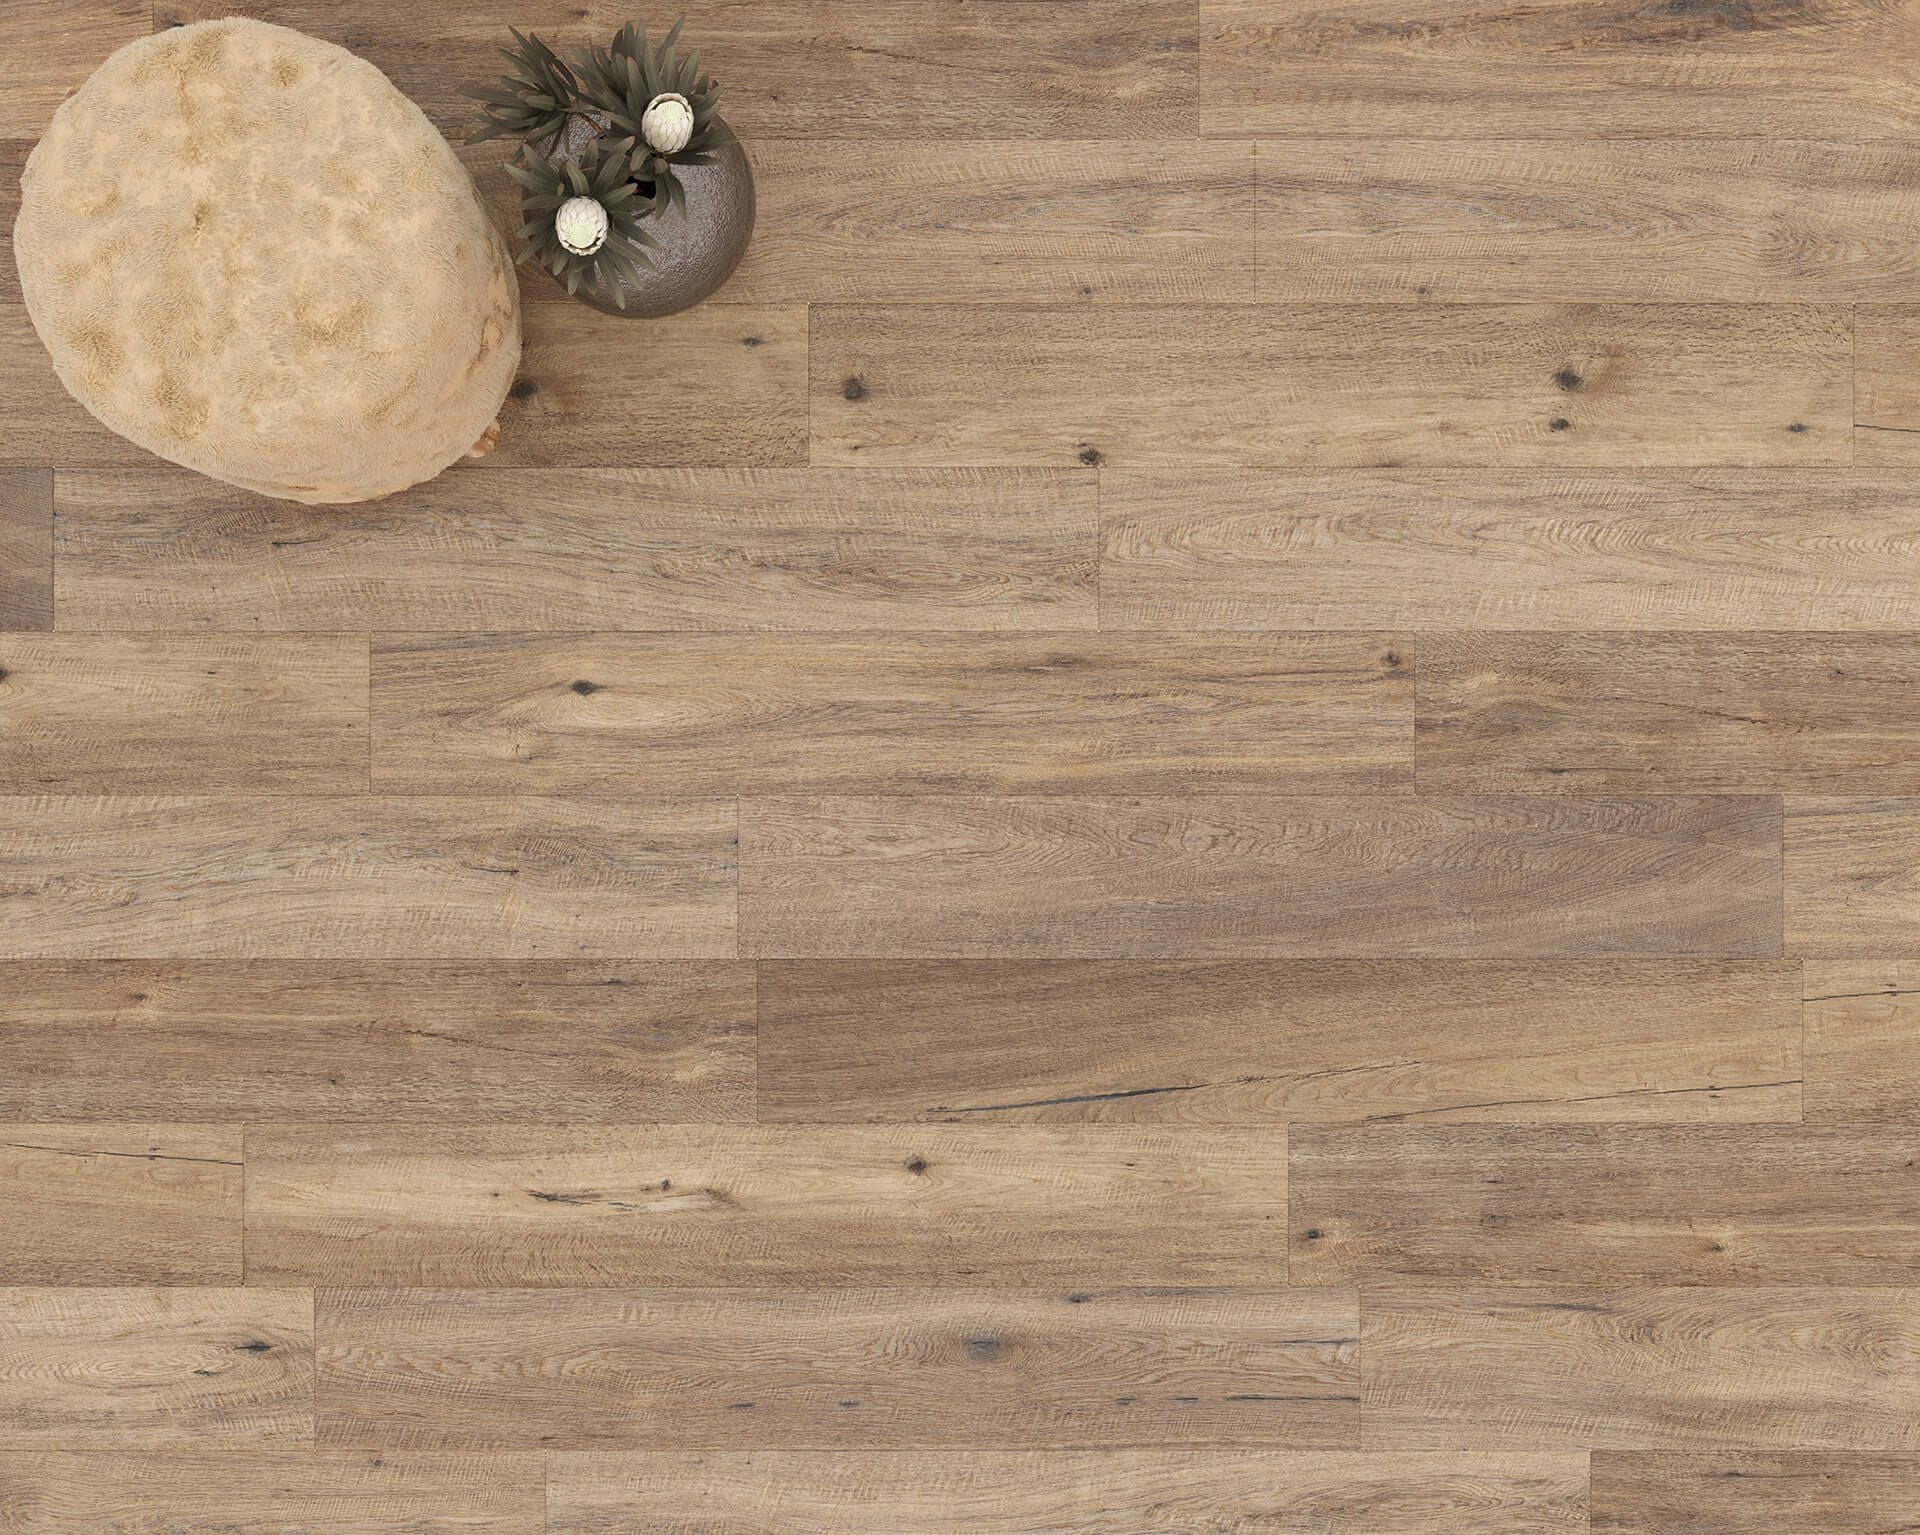 Natural oak
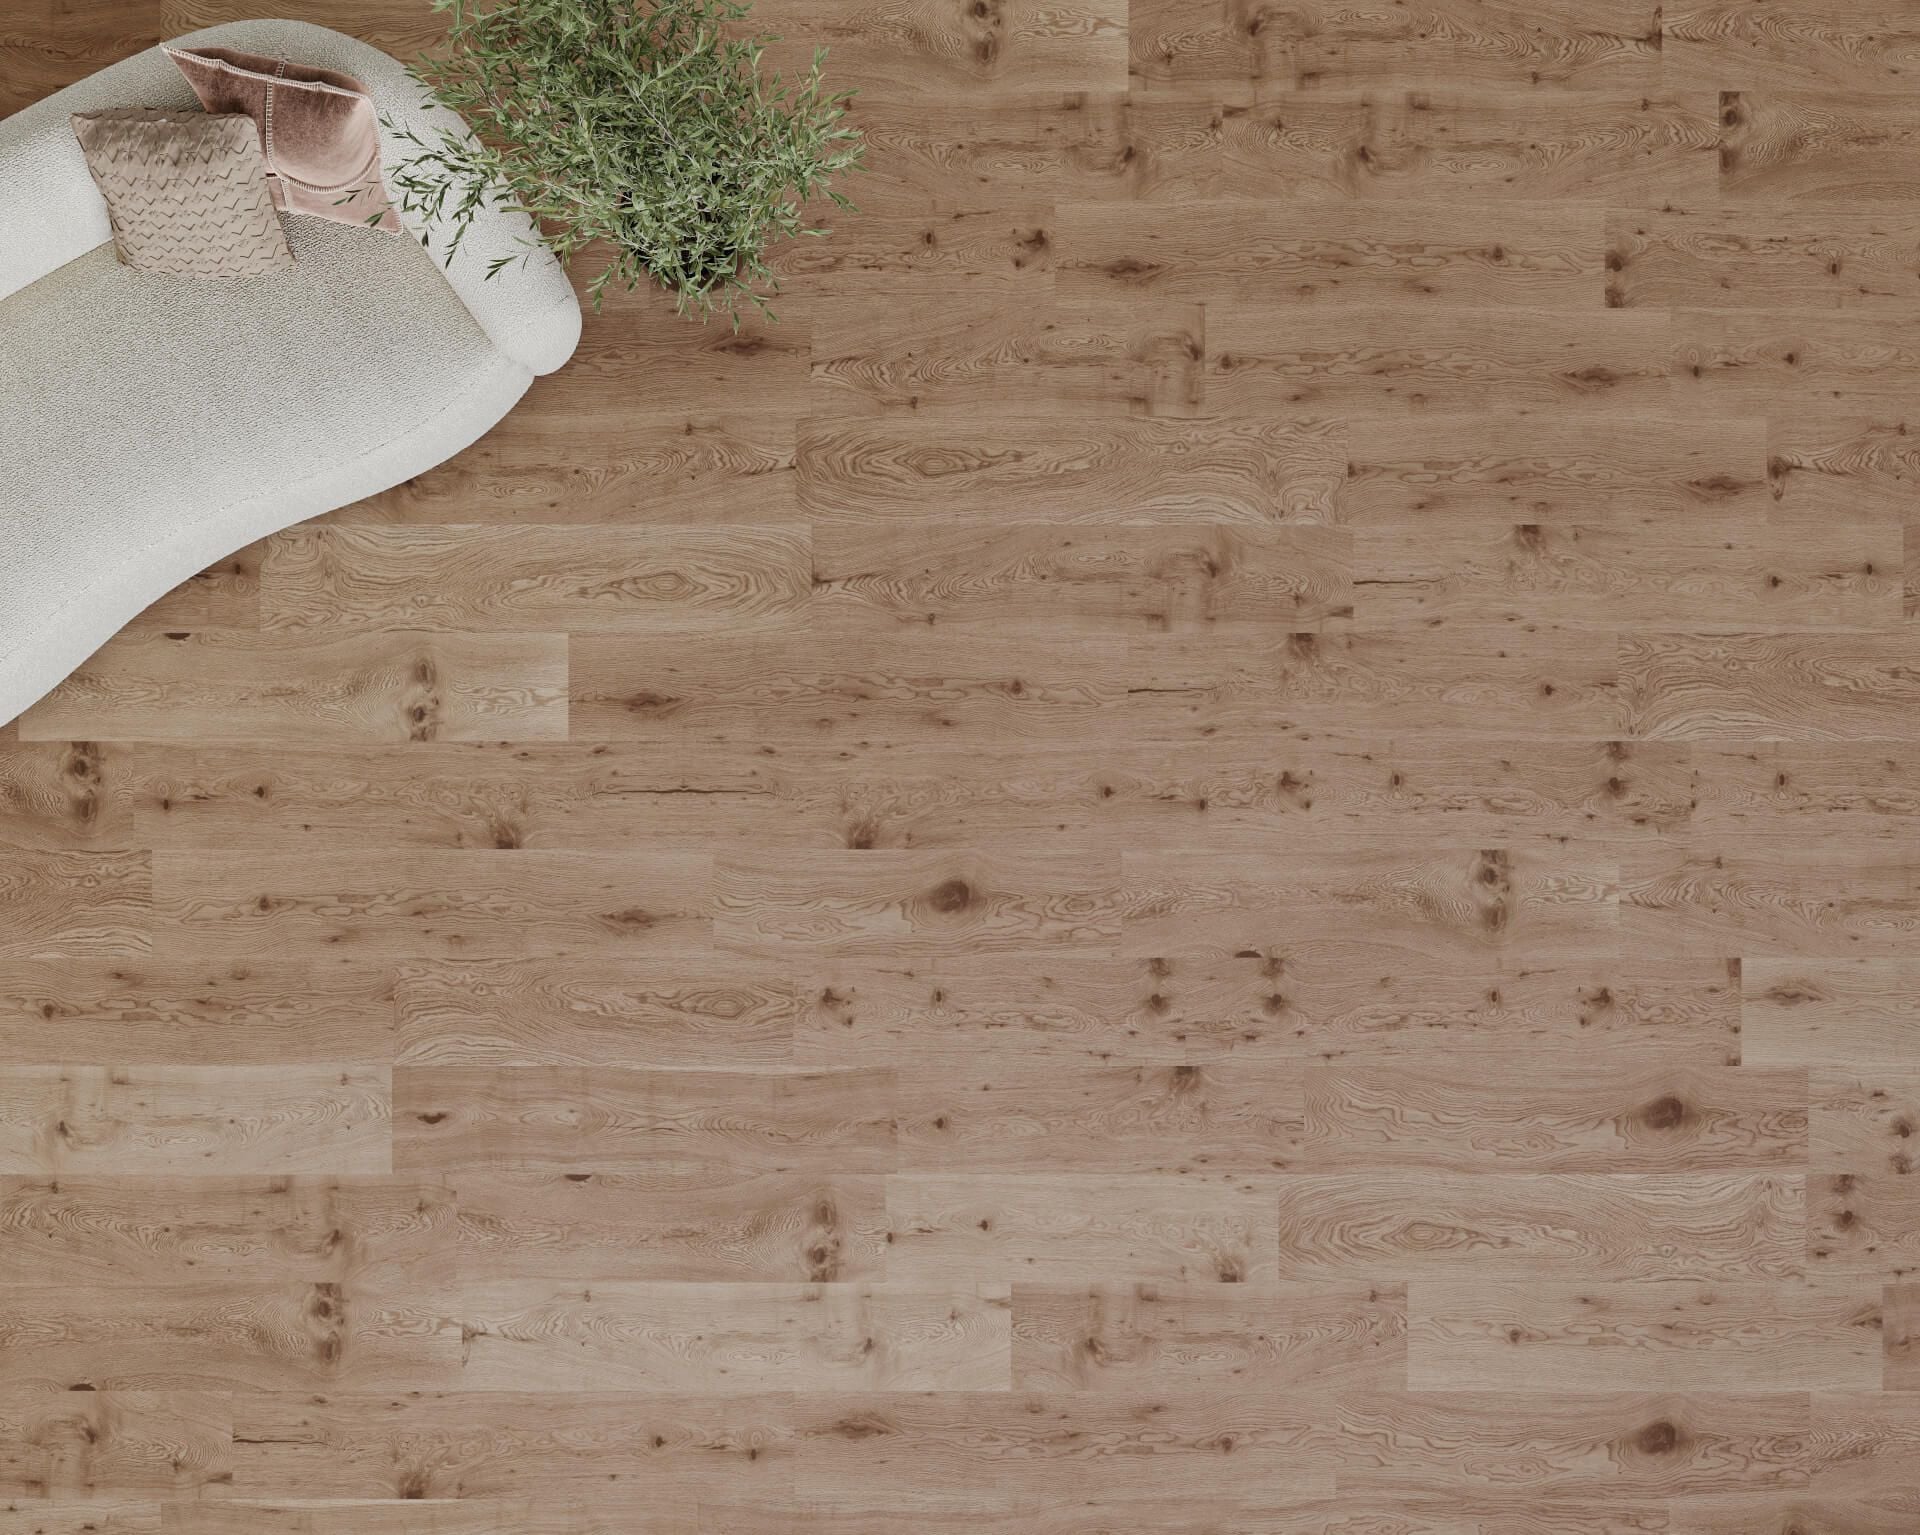 Pale oak
 Gray wash
What the images can and cannot confirm
A render can communicate the supplied decor, board dimensions, installation arrangement and appearance of the finish. It does not test slip resistance, waterproofing, wear performance or suitability for a particular installation. Those claims belong to your technical documentation.
Color needs the same care. We check the approved image against the agreed reference under defined review conditions, but customers will see it on different screens and in different surroundings. Product imagery helps them shortlist a floor; a physical sample still matters when the final color decision does.
Prepare flooring visualizer assets separately
A finished room image and the materials an interactive visualizer needs are different deliverables. A visualizer platform may require textures at a defined scale, separate material maps, masks or its own file structure. We prepare assets to that specification, but the viewer itself runs on your platform, and the images alone will not make it work.
Agree those requirements before production, ideally with the team responsible for the integration, and test one decor on the target platform before we prepare the whole collection for it.
Start with a set that can be evaluated
Choose a representative product and a room that fits its market. Commission a room view, a top view and a detail where those formats serve your channels. Review the result for product accuracy as well as visual appeal, then use the approved approach to scope the wider collection.
Send us your product references and the image list you have in mind, and we will come back with deliverables, inputs and an estimate. If you want the numbers first, the price list and a demo booking are both on our 3D rendering for flooring brands page, where you can also see the decor switcher running on a real project.
What does a flooring collection cost to render?
The CGIFURNITURE price guide shows what 3D visualization projects cost at different scales, from a single test view to a full collection.
See our pricingFAQ
Can flooring renders be made from photographs?
Yes, when the photographs carry enough detail and come with dimensions. A single compressed or strongly lit image may not show the actual color, surface relief or pattern range clearly enough. We review the files first and tell you what can be reproduced from them before the project starts.
Do we need to send physical samples?
Not always. Good scans and supporting references are often enough. Samples help when the finish, texture or color is hard to judge from files, for example with a heavy embossing or a strong sheen. Agree in advance how a sample will be used and whether extra photography or scanning is included.
Who approves the work, and how are corrections handled?
Name one person who gives final sign-off before the project starts. Feedback and versions stay in our CGI CRM, attached to the image they refer to, and corrections are part of the project rather than a separate purchase. On larger ranges this is what keeps two departments from reversing each other’s decisions.
What happens if the product specification changes after approval?
Tell us which part changed. A new color on an approved board is usually a material update. A different plank size, edge profile or installation pattern changes the geometry and needs the affected views rebuilt. Marking provisional items at briefing keeps that cost predictable.
Can CGI reproduce our exact product color?
The goal is a match to an agreed product reference inside a controlled workflow. It is not a guarantee that every customer display will show the same appearance. Define the reference, the review conditions and the intended output before production, and judge the result under those conditions.
What do we own at the end of the project?
That depends on the deliverables and usage terms you agree. Finished images, editable scene files and materials prepared for a particular visualizer are separate items. Say up front what your team needs to keep or reuse, especially if you plan to add decors to the same room next season.