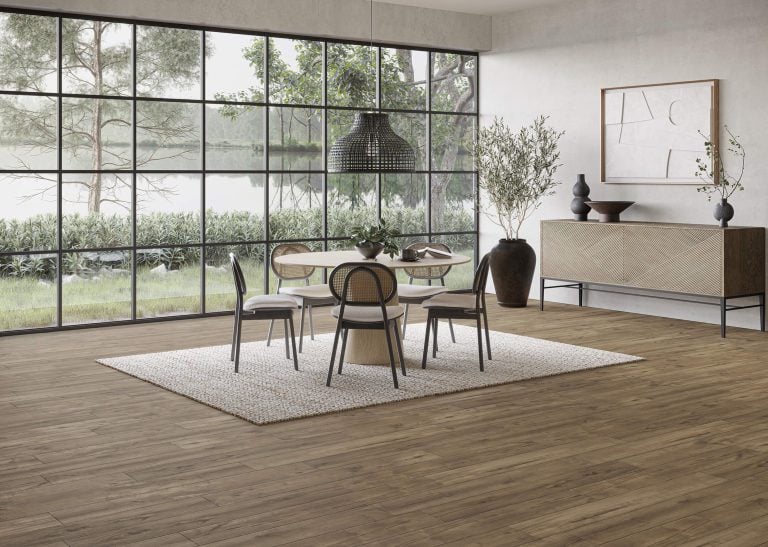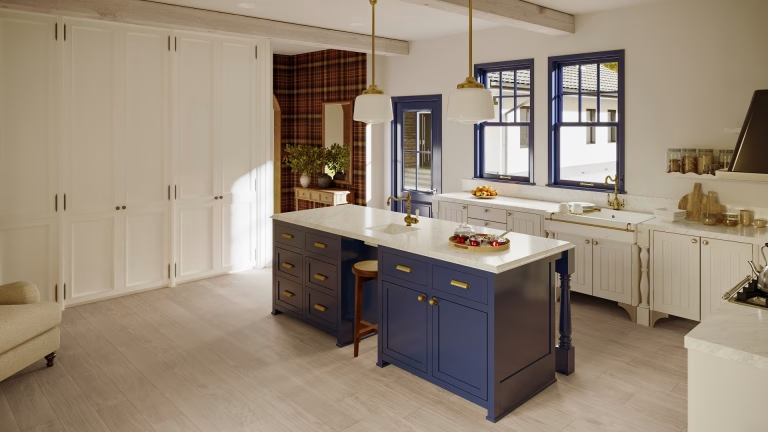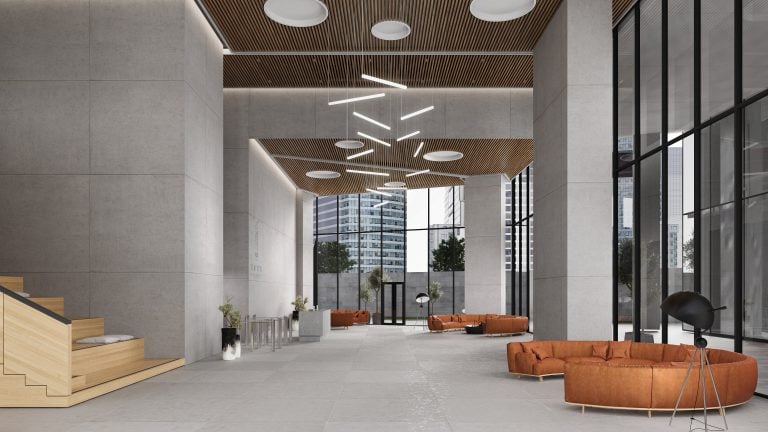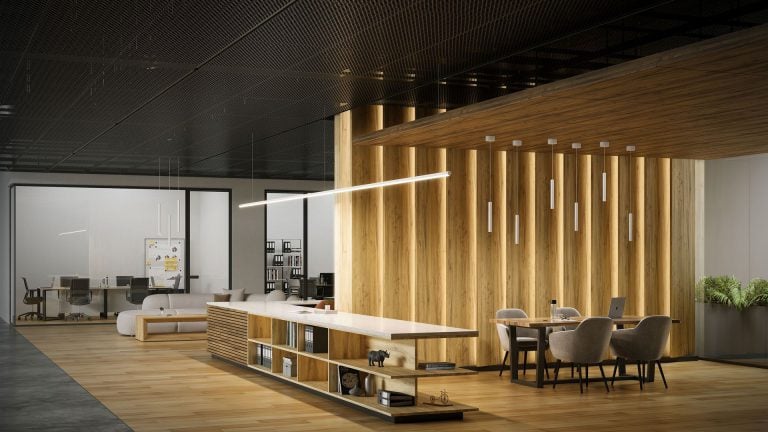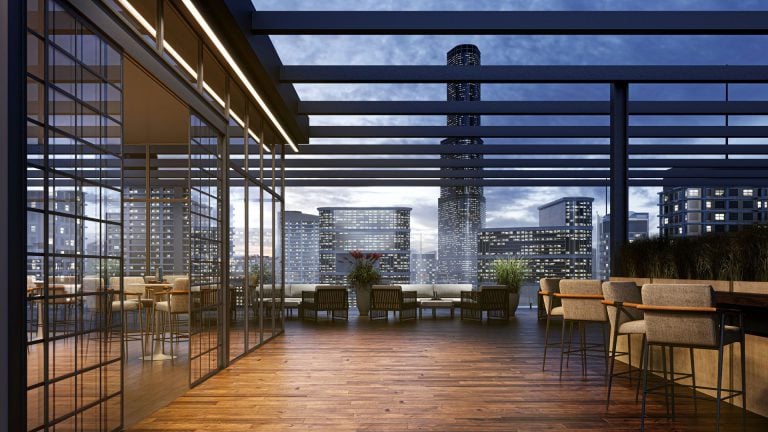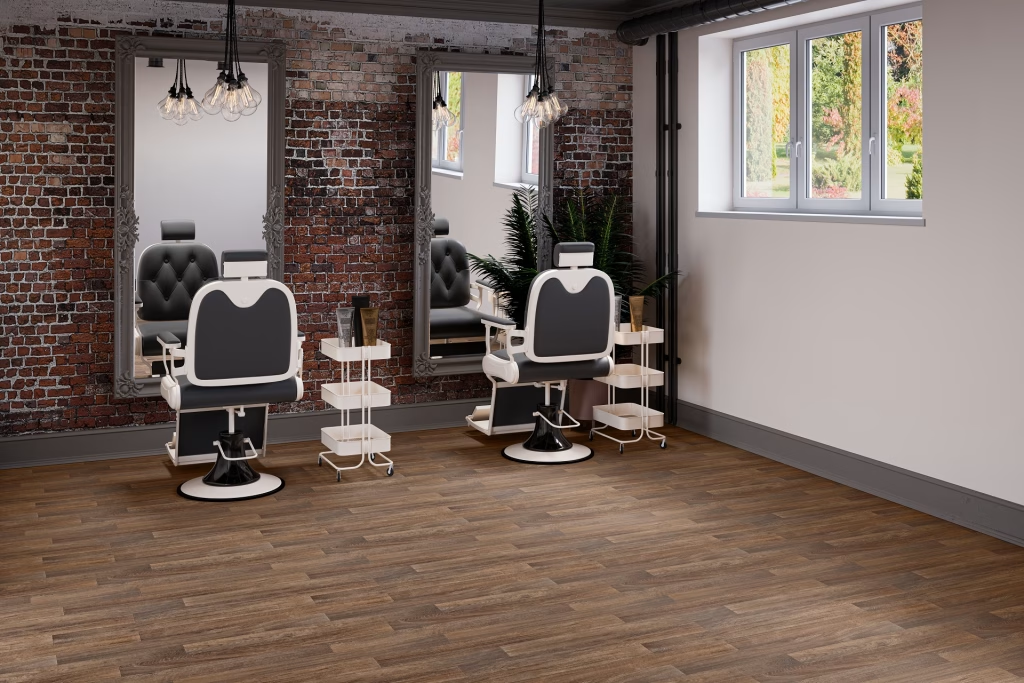
A customer clicks from one oak decor to another. The floor changes, but so do the furniture, camera angle and sunlight. It becomes difficult to tell whether the second option is genuinely warmer or whether the photograph simply makes it look that way.
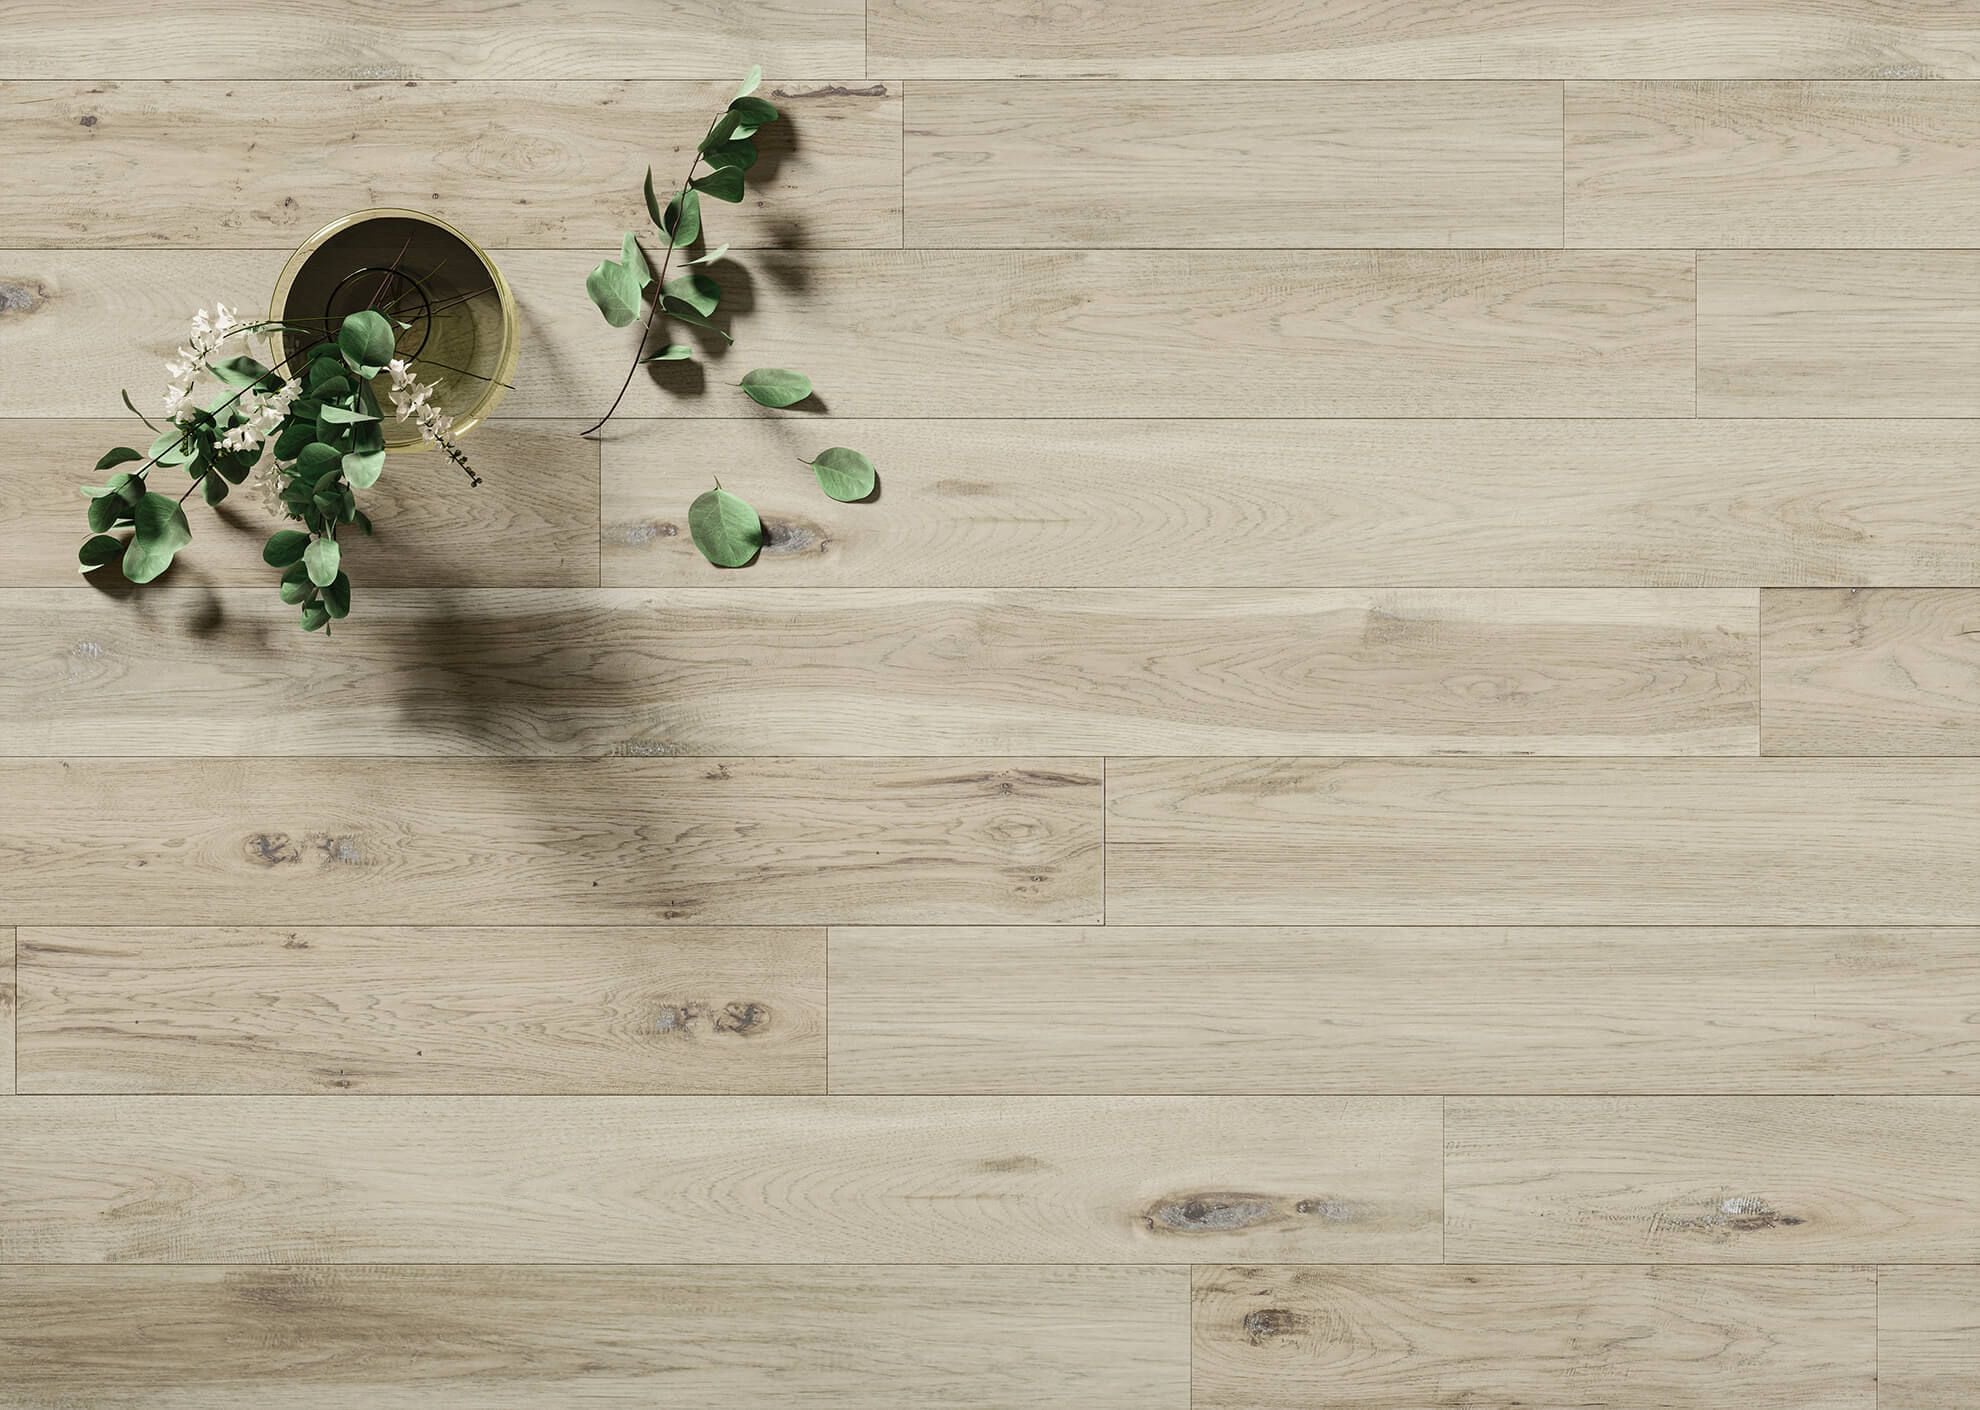
Showing a flooring collection in the same room gives buyers a clearer comparison. With CGI we keep the room and the camera and change only the specified product. The work still needs a production plan: which combinations exist, which images each one needs and how every file will reach the right product page.
This article walks through that plan. For the wider process, inputs and available formats, start with our flooring product rendering guide.
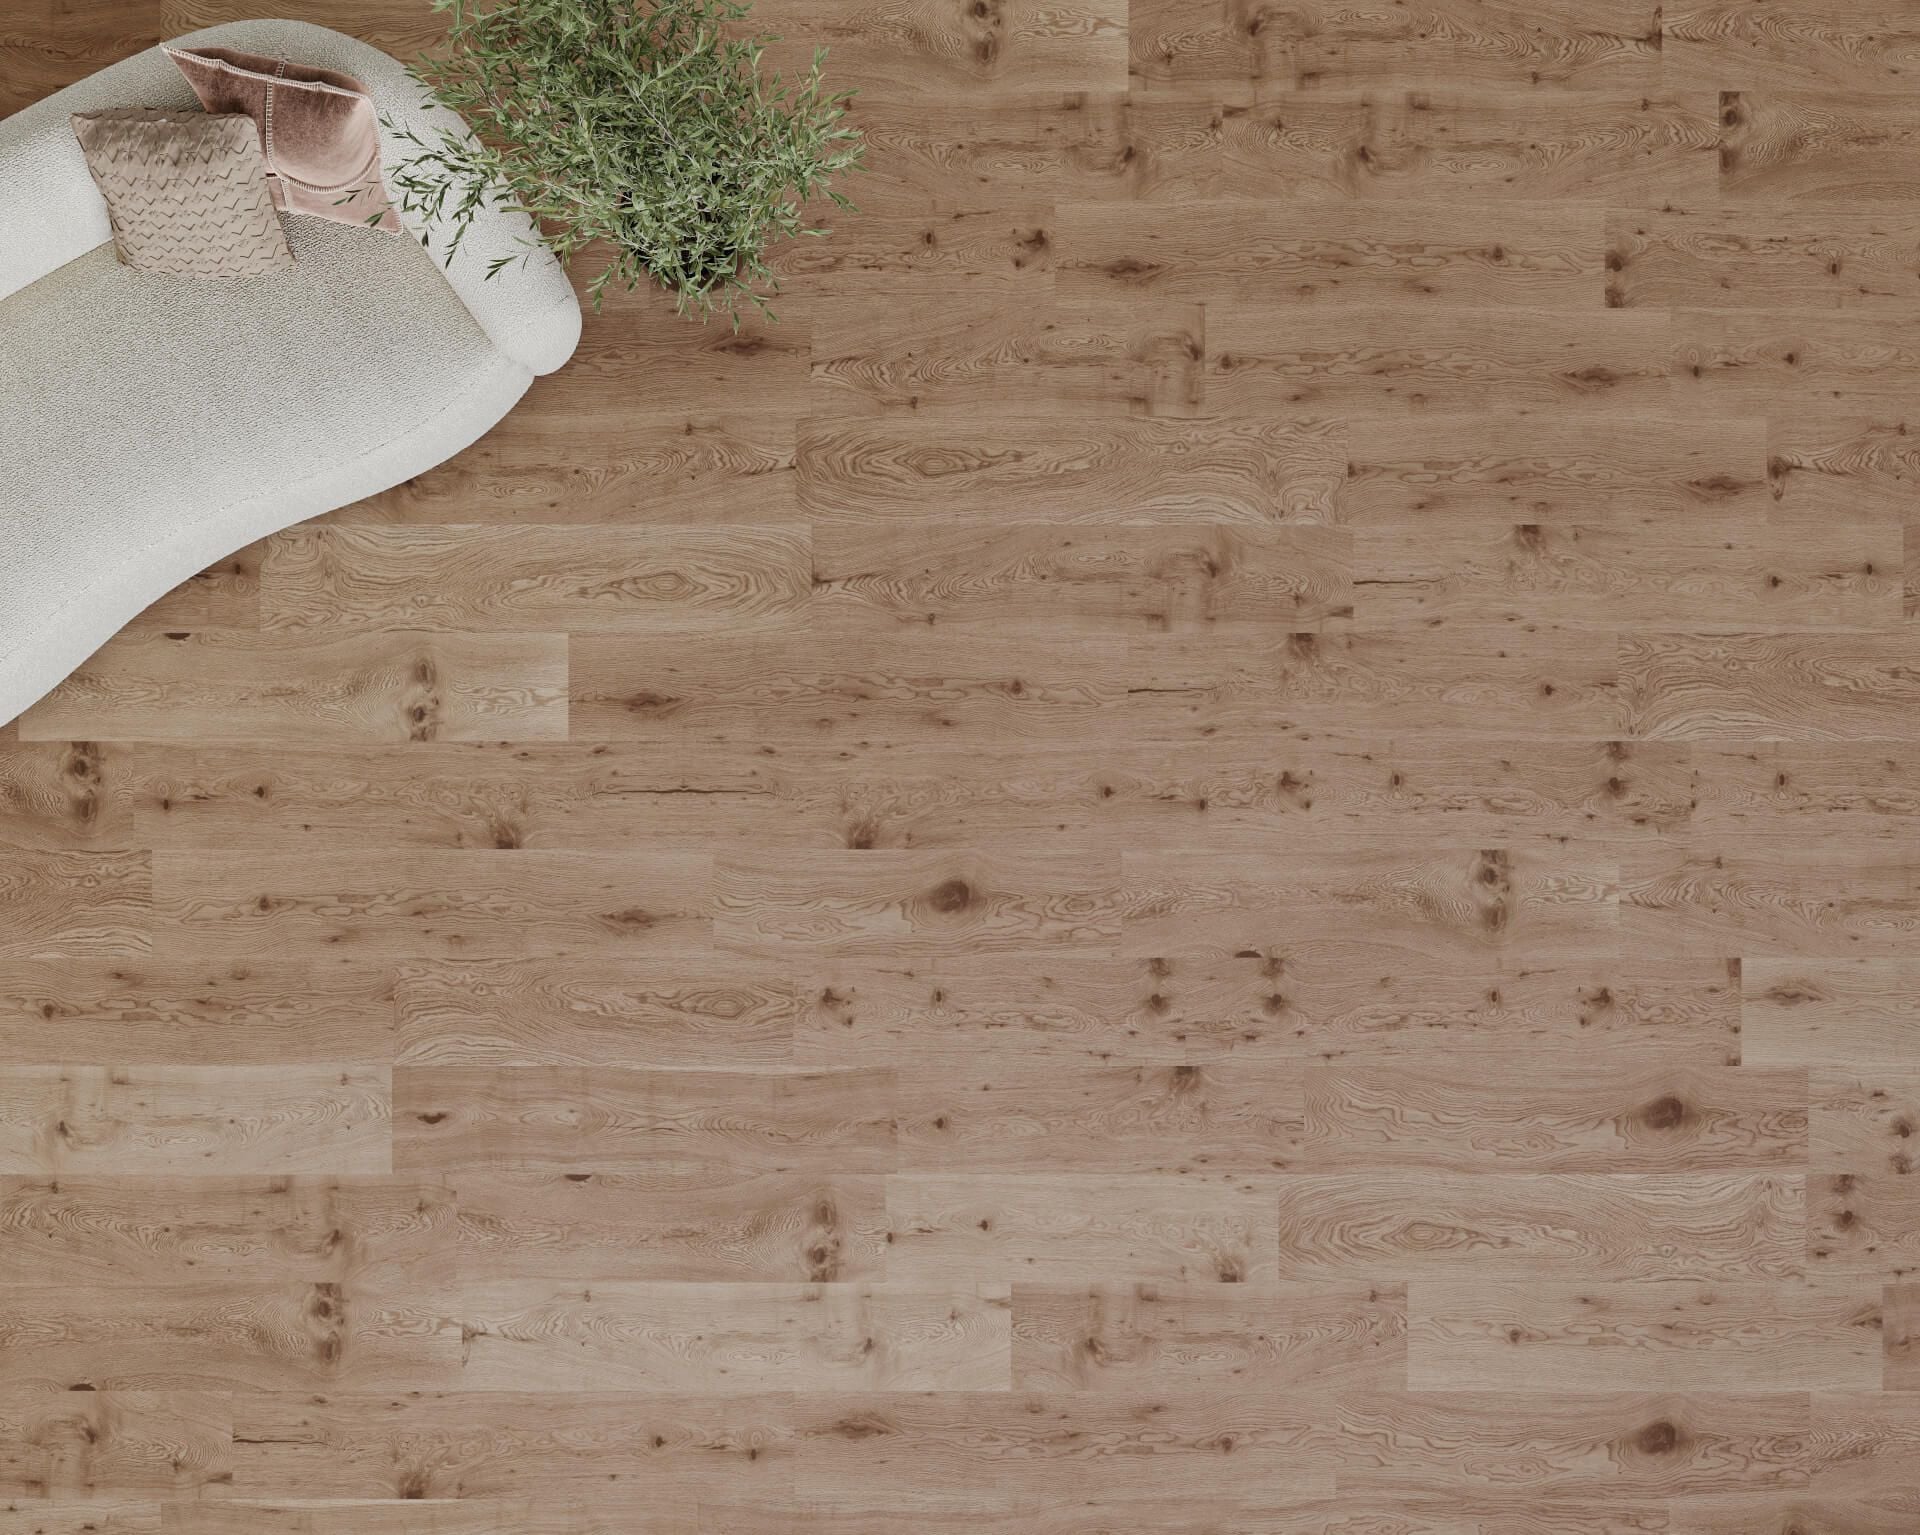 Pale oak
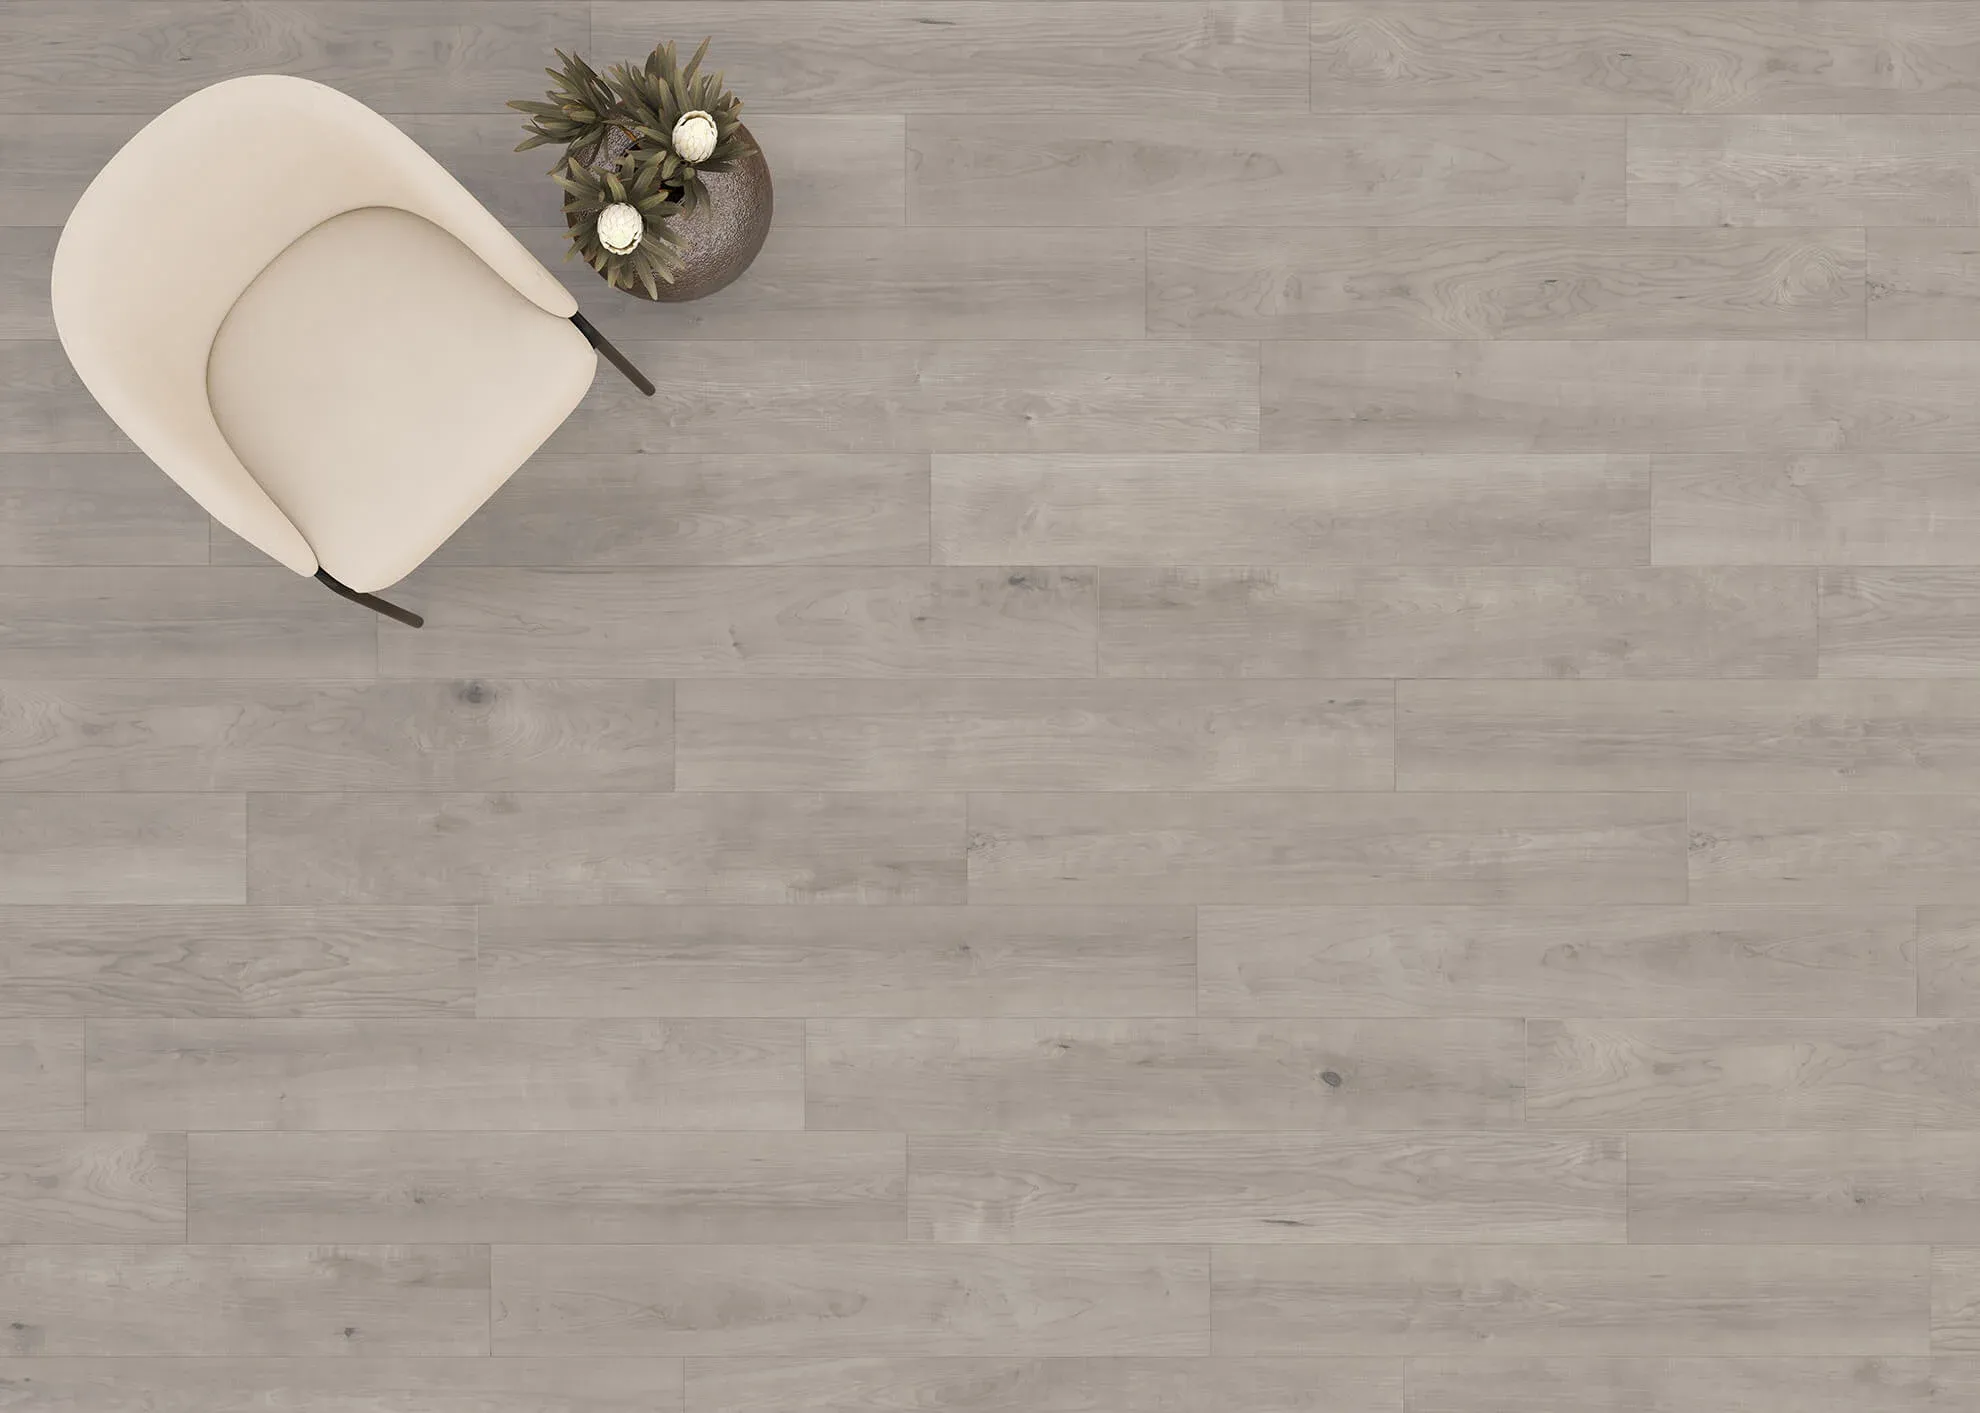 Gray wash
 Narrow plank
Start with the product list
Before choosing the room, build a list of the combinations you sell. A decor name alone may be insufficient. The same name can appear in different widths, finishes or product constructions, while another color may only be available in one format.
Keep the manufacturer’s SKU as the stable reference. Add the display name separately so a later naming change does not break the connection between the product and its images.
The simplified example below illustrates a planning sheet. These are fictional product codes and combinations, not a client range.
| SKU | Decor | Width | Layout | Required images |
|---|---|---|---|---|
| EX-101 | Natural oak | 180 mm | Straight plank | Room view, top view, detail |
| EX-102 | Natural oak | 220 mm | Straight plank | Room view, top view, detail |
| EX-103 | Smoked oak | 180 mm | Straight plank | Room view, top view, detail |
| EX-104 | Natural oak | Per product specification | Herringbone | Room view, top view |
This sheet prevents a common mistake: treating every possible combination as a real product. It also reveals which changes need geometry work. A different board width alters the arrangement and scale. An alternative layout may need a different product format or installation setup, rather than a rotation of the existing material.
Count views before asking for a quote
Define the core image set for each product, then add exceptions. In a planning example, 12 SKUs requiring a room view and a top view create 24 final images. Detail shots, alternate lighting and additional room settings increase that count. Crops may be separate exports or require a new render, depending on framing and resolution.
List those differences explicitly. A quote for one view of each decor cannot be compared directly with a quote that also includes installation details and campaign images.
Decide whether every SKU needs a unique close-up. A genuinely shared edge construction might be explained with one clearly labeled detail, but a finish-specific image should show the correct finish. The goal is a complete product presentation without making files that serve no additional purpose.
Choose a room that works across the range
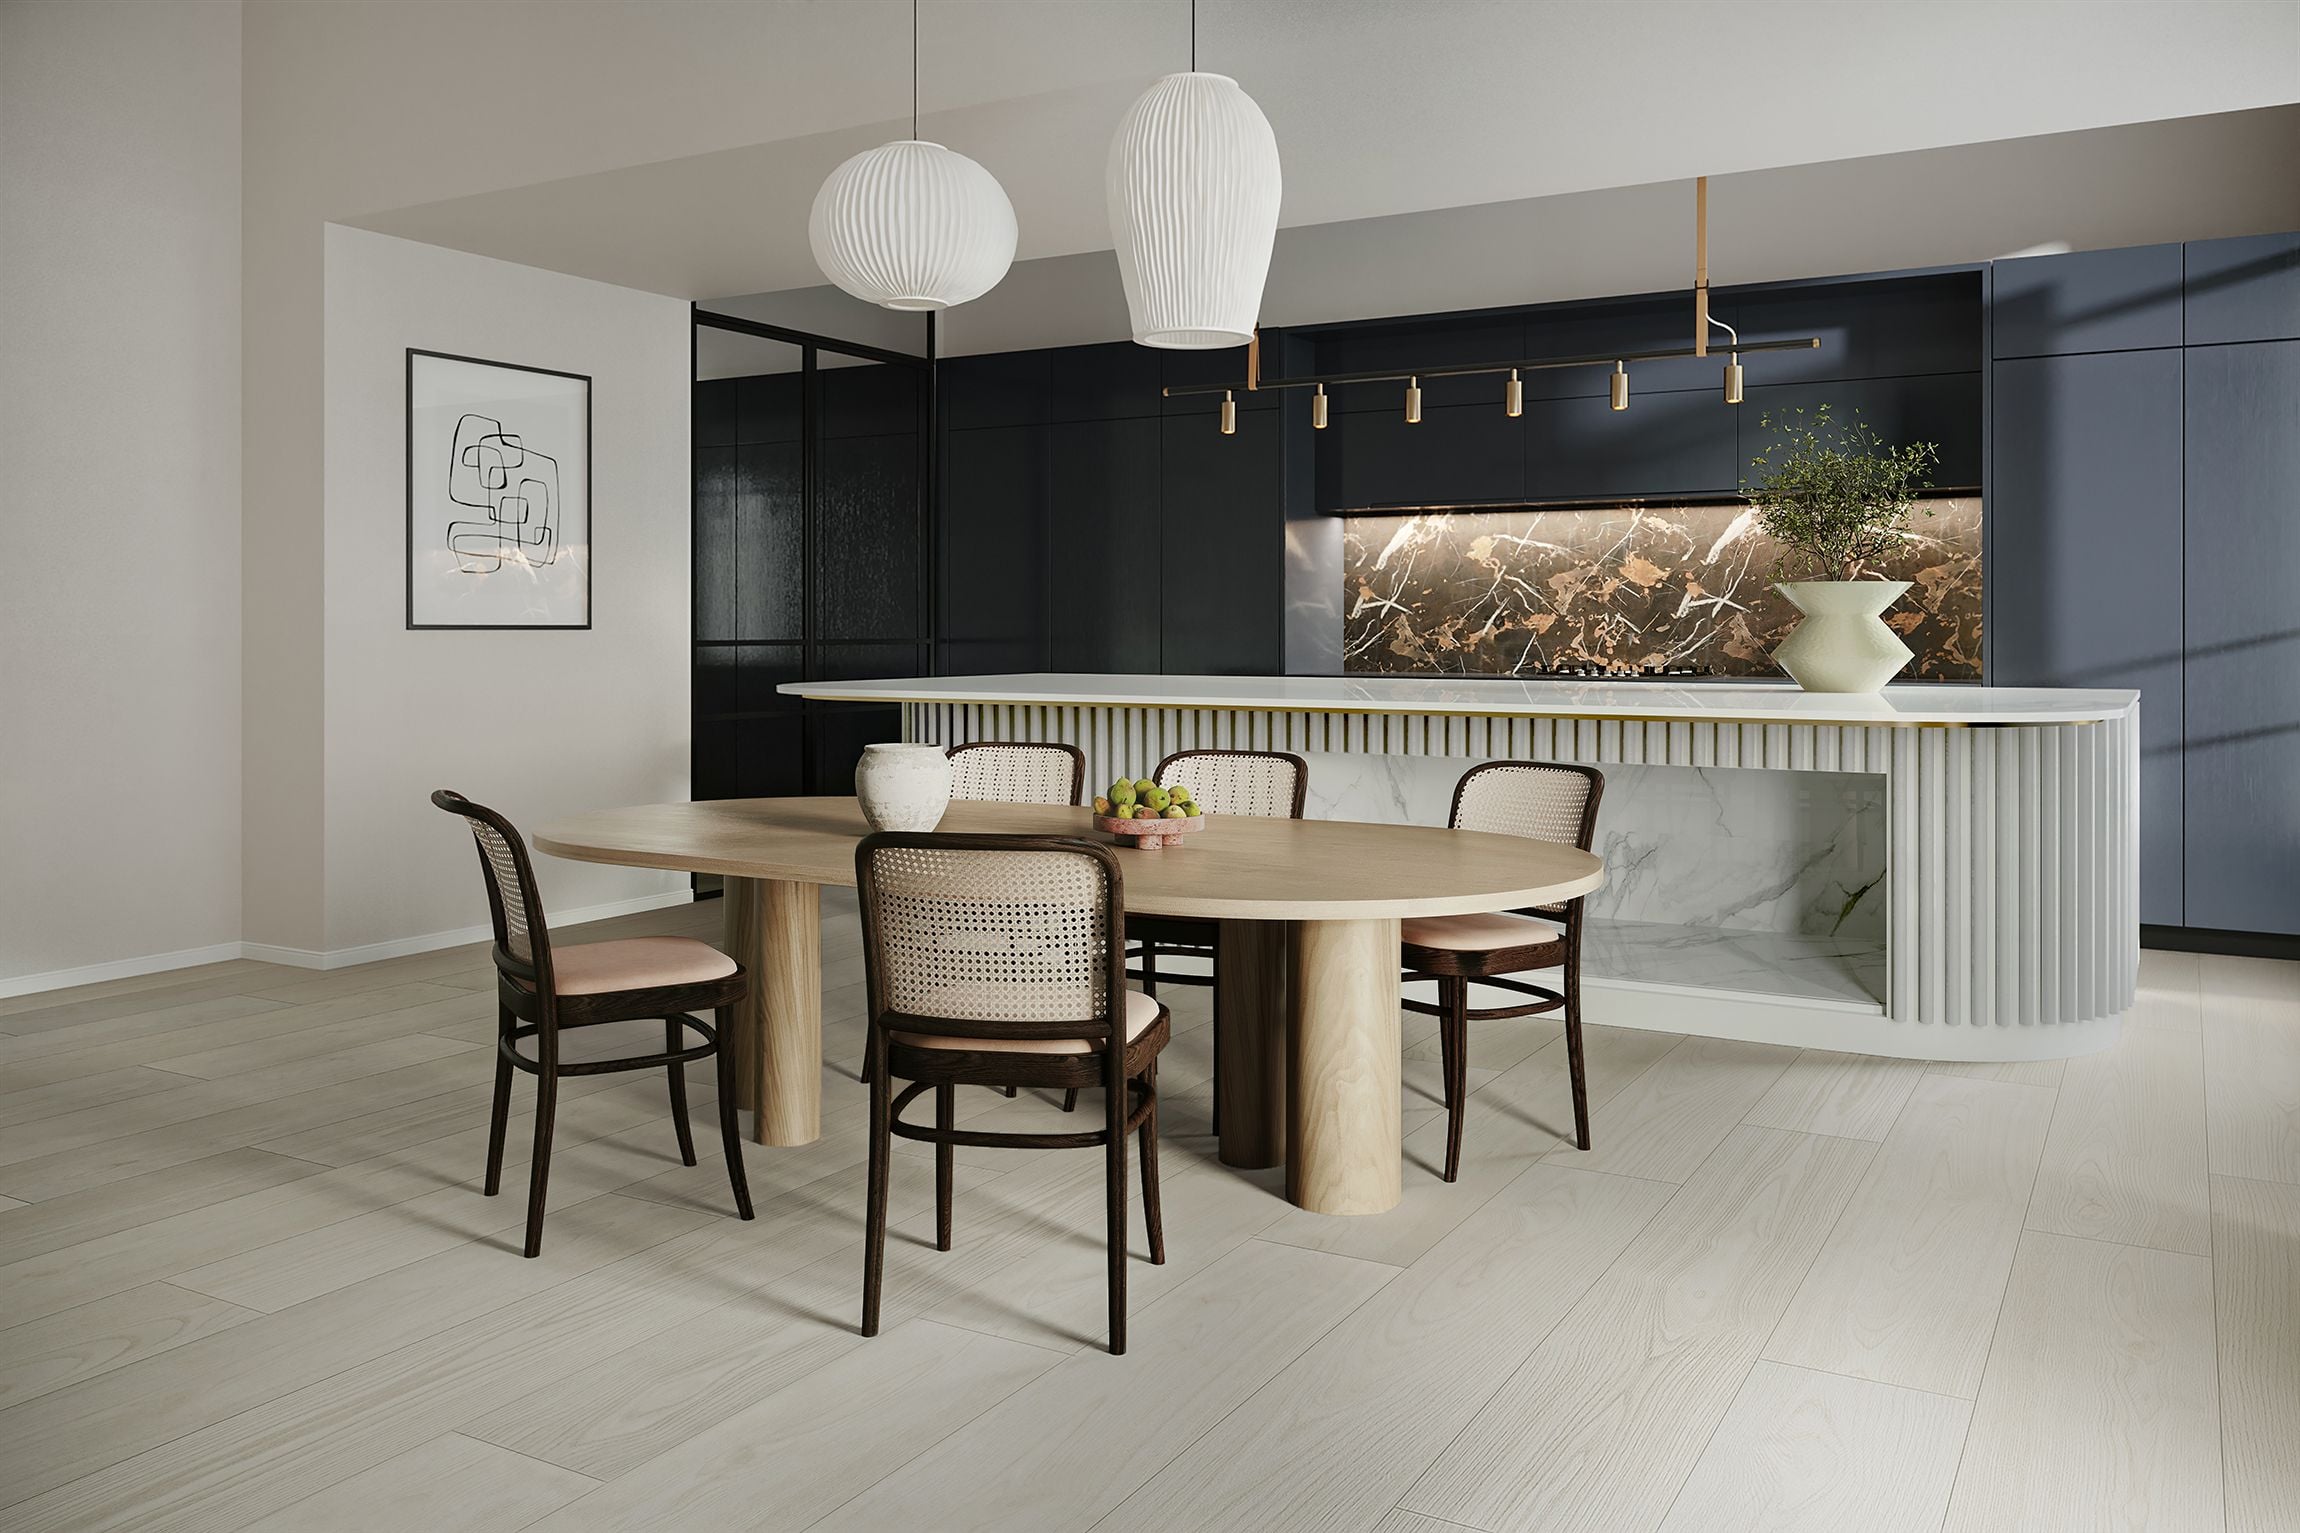
The setting should show enough uninterrupted floor to reveal the pattern. Keep large rugs and foreground furniture from covering the area buyers need to inspect. We look at the proposed scene with a light, a midtone and a dark decor before it is approved for the whole collection.
A room selected for one hero image may not suit every option. Strongly colored furnishings can distract from subtle differences between products, while dark furniture can obscure the boundary of a dark floor. Adjust the composition at this stage rather than restyling it independently for every SKU.
Our Bella Cera hardwood imagery case describes using and adapting existing interior scenes for product imagery. Reusing a setting provides a practical starting point, while the brief determines which scenes and views the collection actually needs.
Separate comparison images from campaign images
For the comparison set we keep the camera, lighting setup, exposure, white balance and surrounding finishes fixed. The floor’s appearance can still change, because its material responds differently to the same light. A dark finish will not behave like a pale one, and a glossier surface reflects the room differently.
Avoid changing the lighting independently to make each product look equally bright. That removes information buyers need to compare the range. If a difficult finish needs an extra view, add it as a clearly separate image.
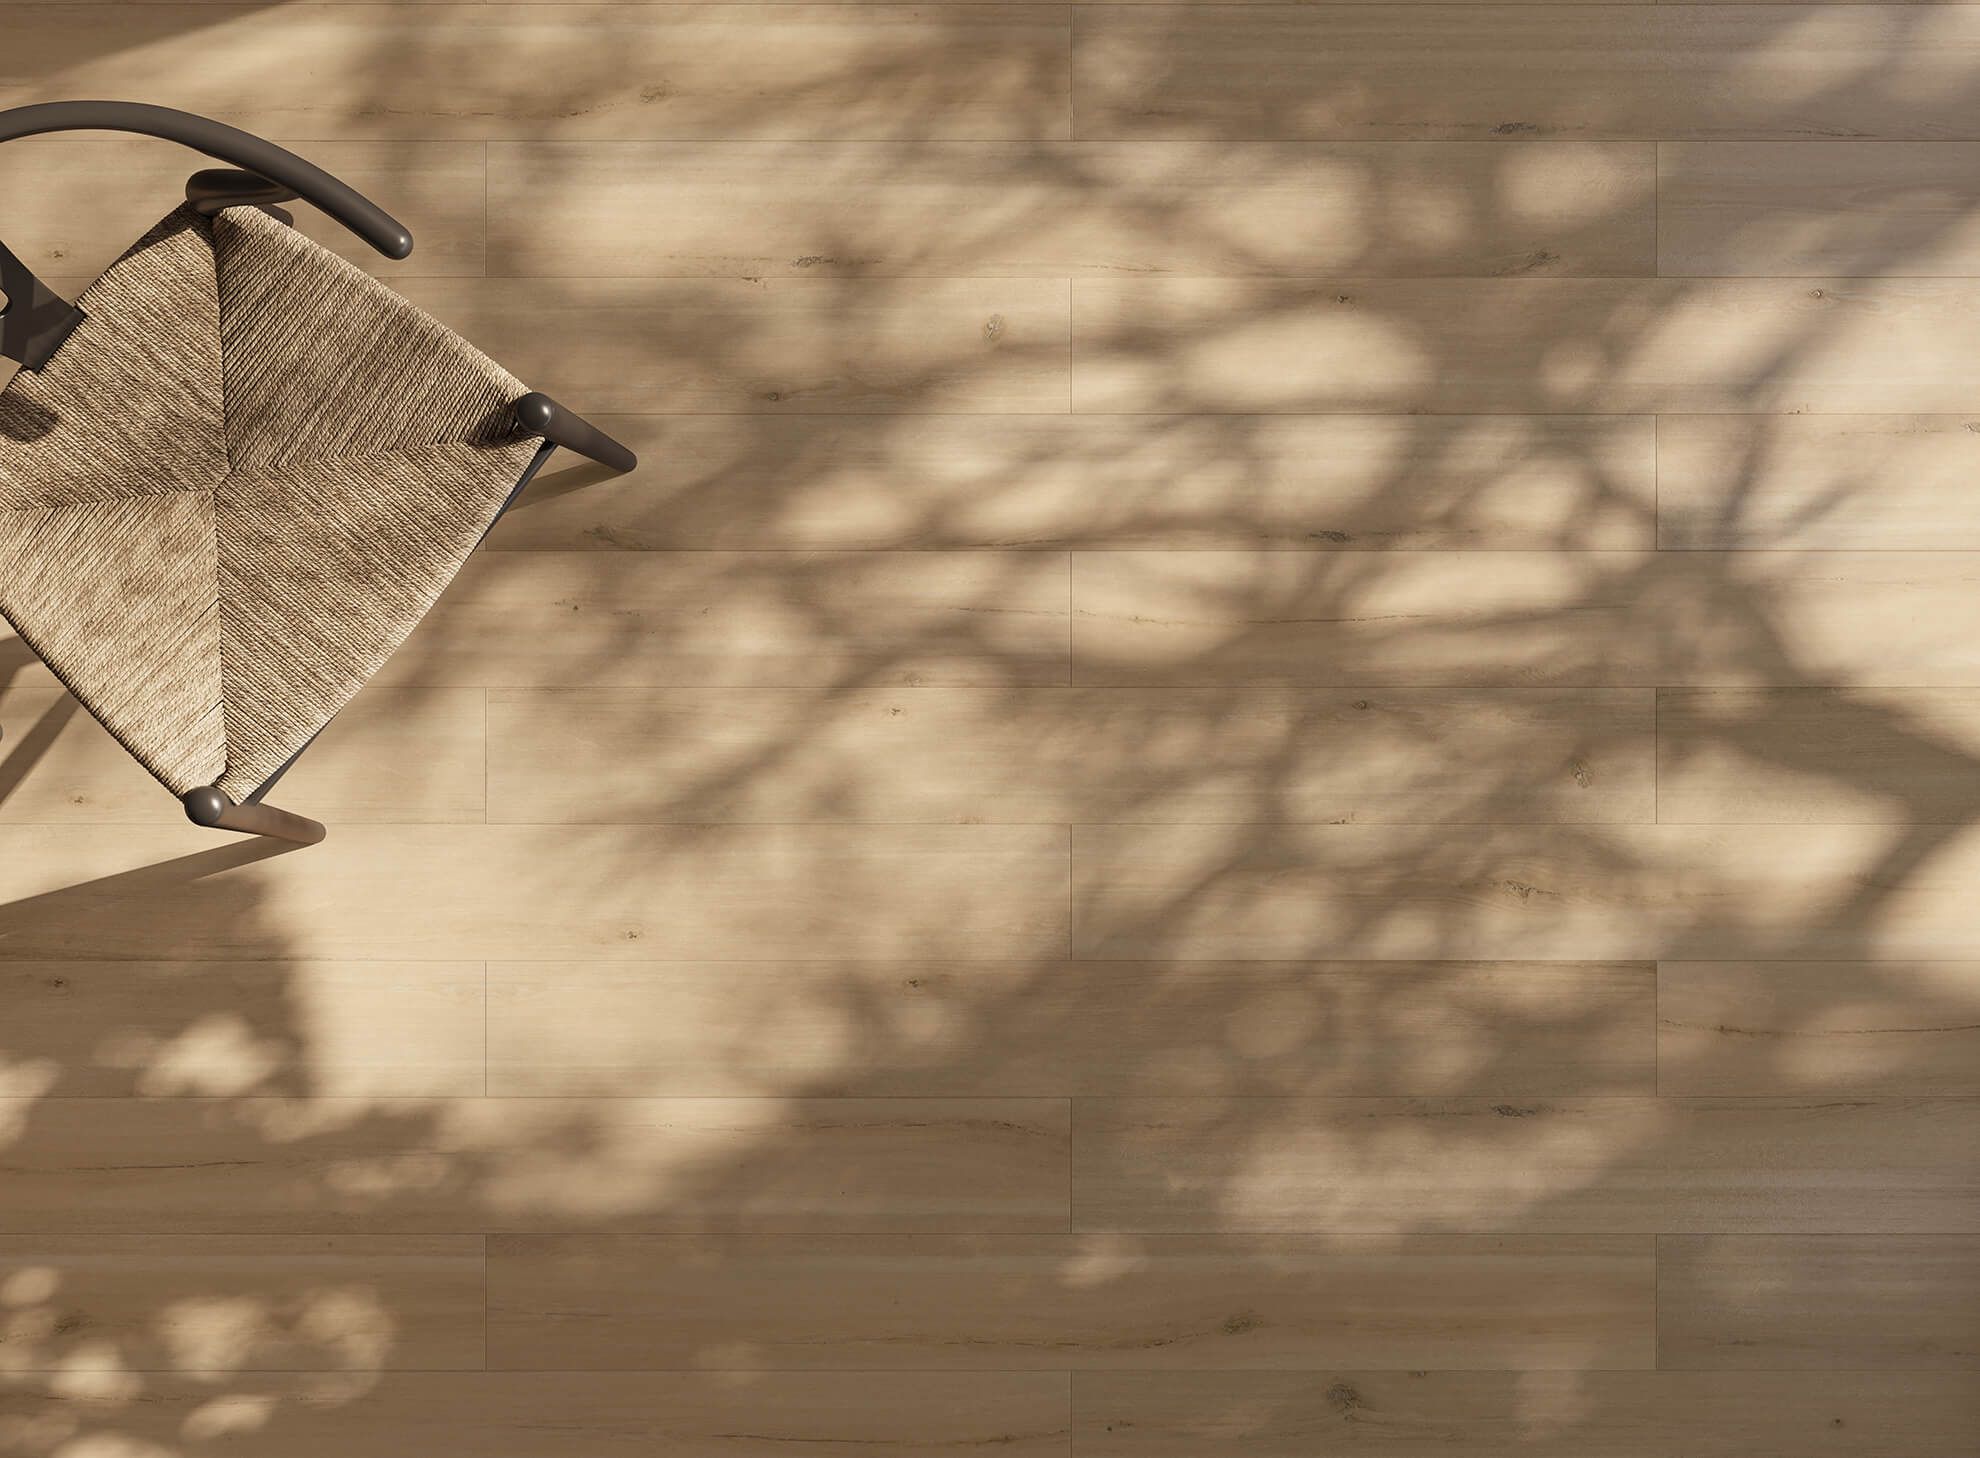
Campaign imagery can use other rooms, lighting conditions and compositions. Treat that as a second set with its own purpose. The catalog keeps a dependable comparison while the campaign gains freedom to tell a broader visual story.
Approve representative variants before the full run
One successful image is a useful start, but it may not expose every issue in a collection. Include representative differences in the test set: a light and a dark decor, a distinctive grain pattern, or a different board format where applicable.
Approve the room and camera first. Then check material appearance, dimensions and layout. Review each test at both room scale and close range before the approved rules are applied to the rest of the matrix.
Our production team needs to know what stays fixed and what changes by SKU. That information lives with the brief and the approved references in our CGI CRM, next to the images it describes. If a new variant falls outside those rules, we flag it for review instead of making an undocumented adjustment.
For material-specific checks, see what makes flooring renders look real.
 Standard plank
 Large-format tile
 Direct sun
Check the full collection together
Reviewing images one by one can miss inconsistencies that become obvious on a product grid. Open the collection as a contact sheet as well as checking each full-resolution file.
Look for a decor with a different crop, an unexpected lighting shift, a board width that has not changed correctly or a product label that no longer matches the image. Then inspect repeated marks, joints and finish detail at the intended viewing size.
Assign separate responsibility for product accuracy and visual approval if different people own those decisions. A marketing reviewer may approve the styling while a product specialist catches a wrong edge profile. Both checks need to refer to the same version.
Make file names useful to the people publishing them
Use a short, consistent naming convention that carries the SKU, scene, view and version. For example, EX-101_ROOM01_HERO_v03.jpg describes an illustrative product code, room, image type and revision. Keep the customer-facing decor name in the delivery sheet.
The sheet should also record approval status and the intended channel. A production revision should not silently overwrite an approved image that a dealer is already using. Mark which files replace earlier deliveries and which are additions.
| Delivery field | Why it matters |
|---|---|
| SKU and decor name | Connects the image to the sellable product |
| Scene and view | Identifies the agreed composition |
| Version and approval | Separates final files from work in progress |
| Channel and dimensions | Identifies the appropriate export |
| Replacement note | Tells the publisher whether an older file must change |
Add new decors without resetting the whole catalog
Retaining approved scenes and product data reduces the work needed for a later update. Before extending the set, confirm that the camera, material references and export rules are still available and appropriate for the new product.
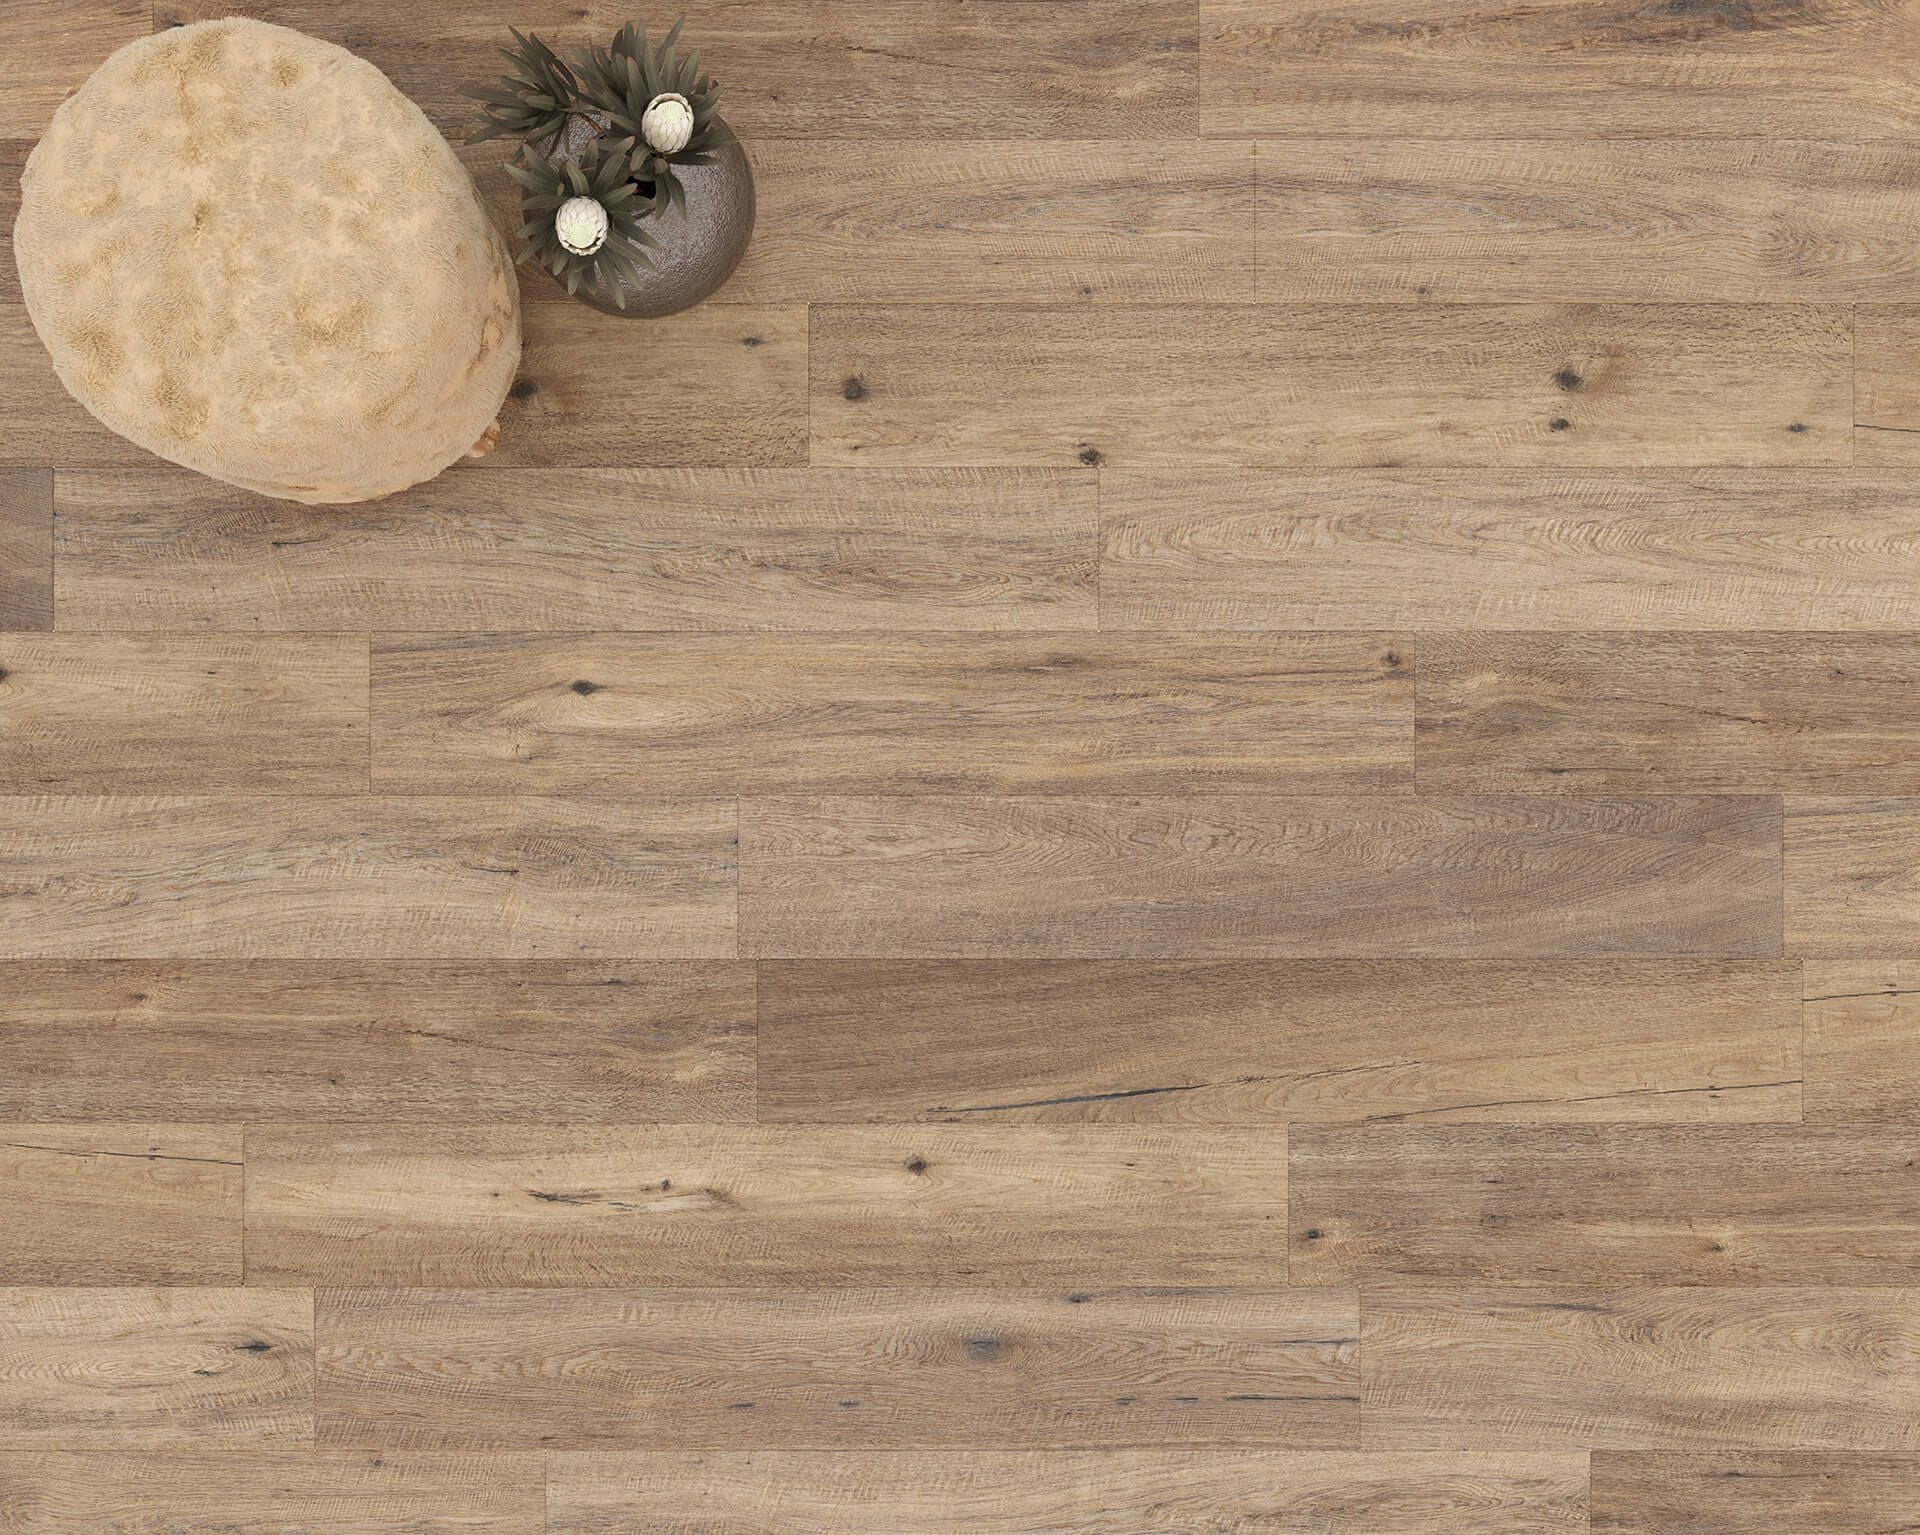
A new decor still needs its own preparation and approval. A new plank size, profile or layout may also require geometry changes. Reuse keeps earlier work available; it does not remove the need to verify the new product. In the Beauflor project each decor was generated from the same set-up for exactly this reason, so the range stayed visually consistent as it grew.
Keep a small approved reference set for future comparisons. If the rendering setup changes, test it against those images before mixing a new batch into an older catalog. Agree asset retention and reuse terms with us at the start, so the update process is clear before you need it.
 Approved scene
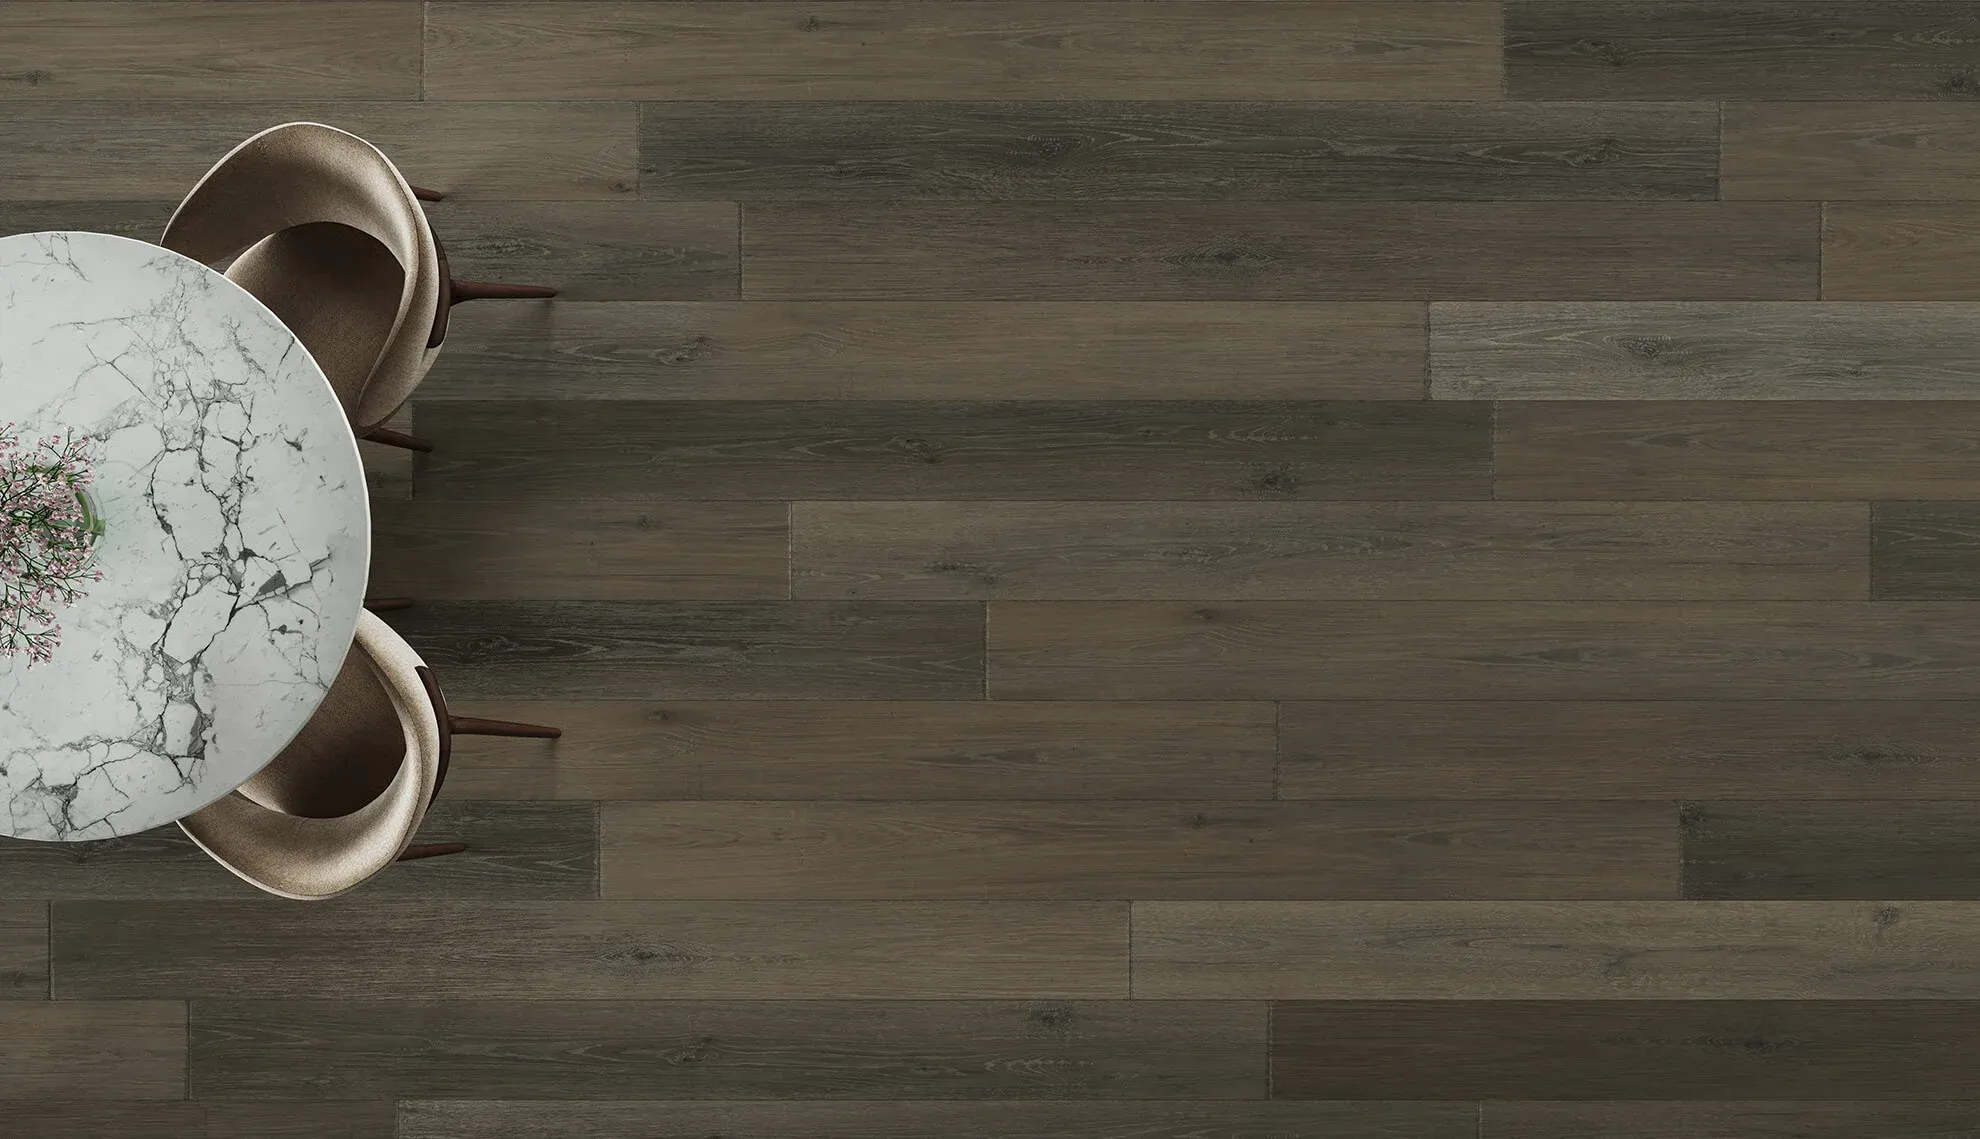 New decor, same scene
Keep visualizer preparation in the scope
A collection of finished room images may be enough for a simple image selector. A visualizer that replaces flooring in an uploaded photograph has different requirements. Share the platform specification before asking us to prepare a collection for it.
Have one product tested through the complete integration before converting the rest. That is where scale, orientation and required texture formats can be checked in the actual viewing environment.
Plan the first collection batch
Send the available SKU list, product references and a sample of your intended product-page layout. From there we can scope the room, the image matrix and the representative test products together.
Discuss your range with our flooring CGI team on the 3D rendering for flooring brands page, where the price list and a demo booking also live. A defined image list makes the estimate easier to assess and gives everyone a clear basis for approval.
3D visualization for Mannington flooring
See how we produced flooring visualization for Mannington, the New Jersey manufacturer of residential and commercial floors founded in 1915.
See the caseFAQ
Does every decor need a different room?
No. A consistent room is what makes products comparable. Other settings can be added for campaigns or to show different applications, with each additional scene included in the scope.
Can you change plank width in the same scene?
Yes, when the width is available for the product. The floor arrangement and texture scale are rebuilt against its real dimensions. A width change is not represented by stretching an existing image.
Is a decor change just a color adjustment?
Sometimes closely related finishes share source data, but different decors may have different grain, knots and print patterns. We follow the actual references rather than assuming every option is a recolored version of one floor.
Can existing room renders be updated without the source files?
Limited image editing may be possible, but a finished image does not contain an editable 3D scene. Reusing a scene reliably depends on access to the relevant assets and permission to use them. Confirm that access before planning an update.