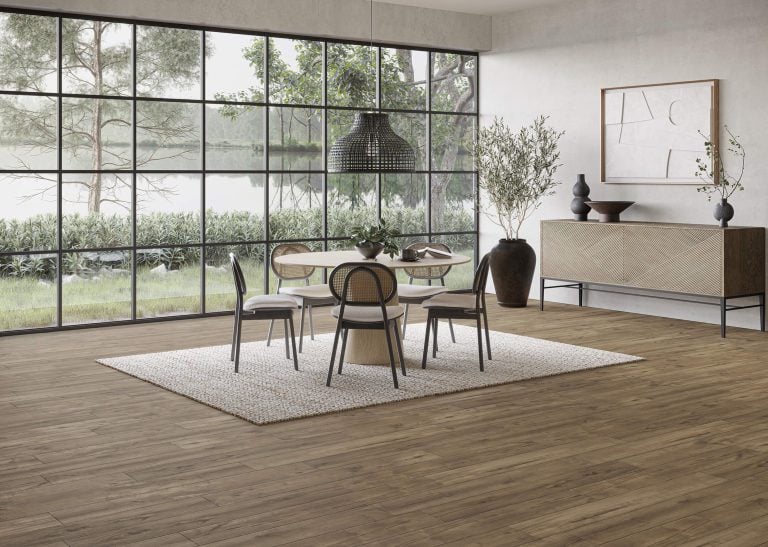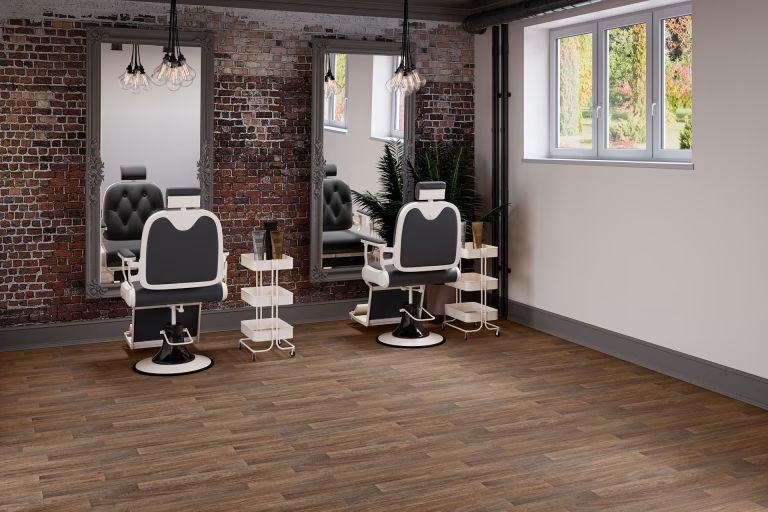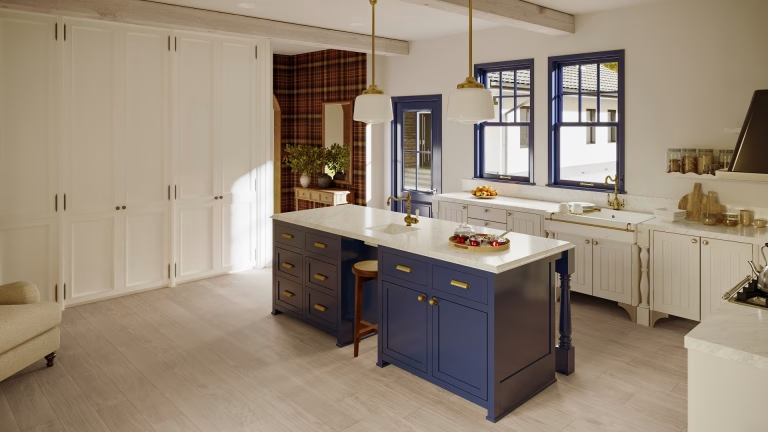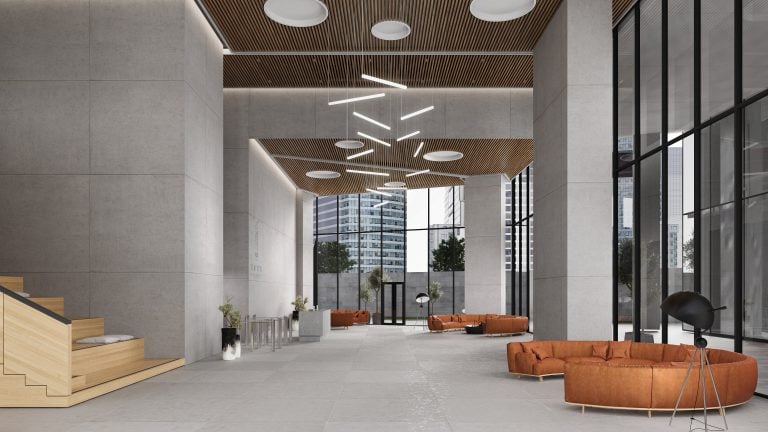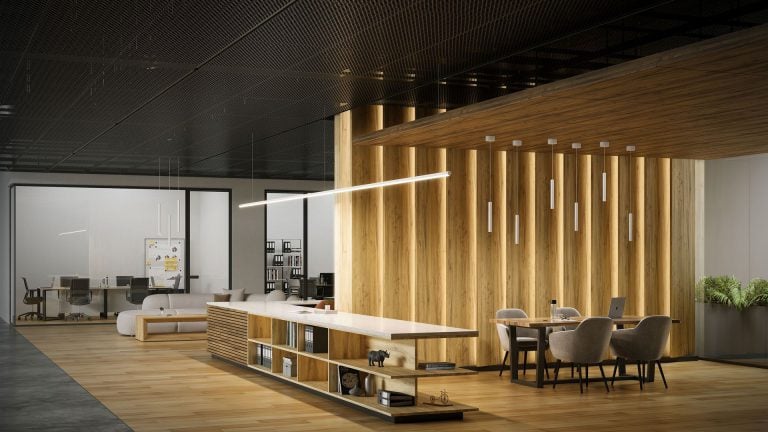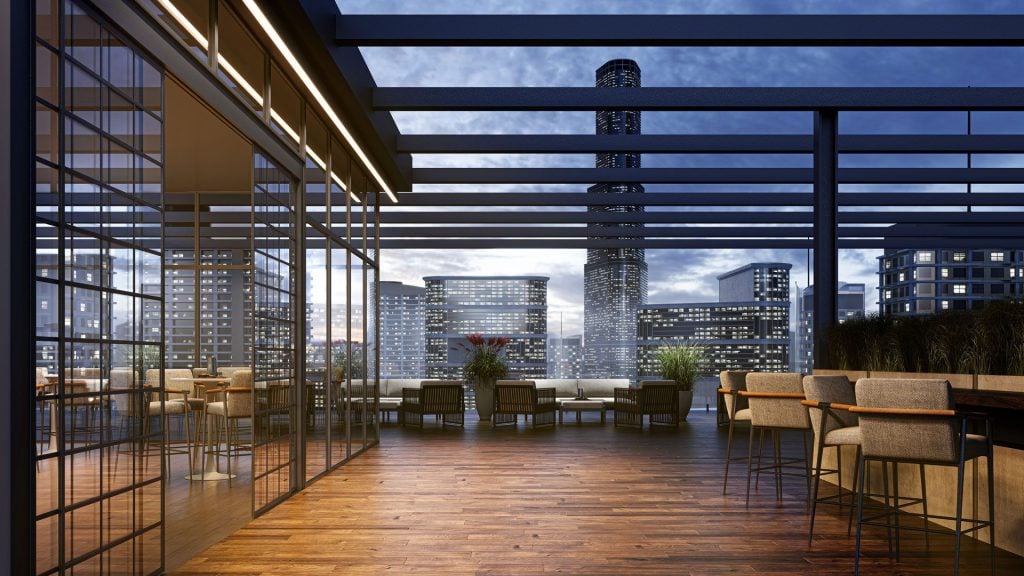
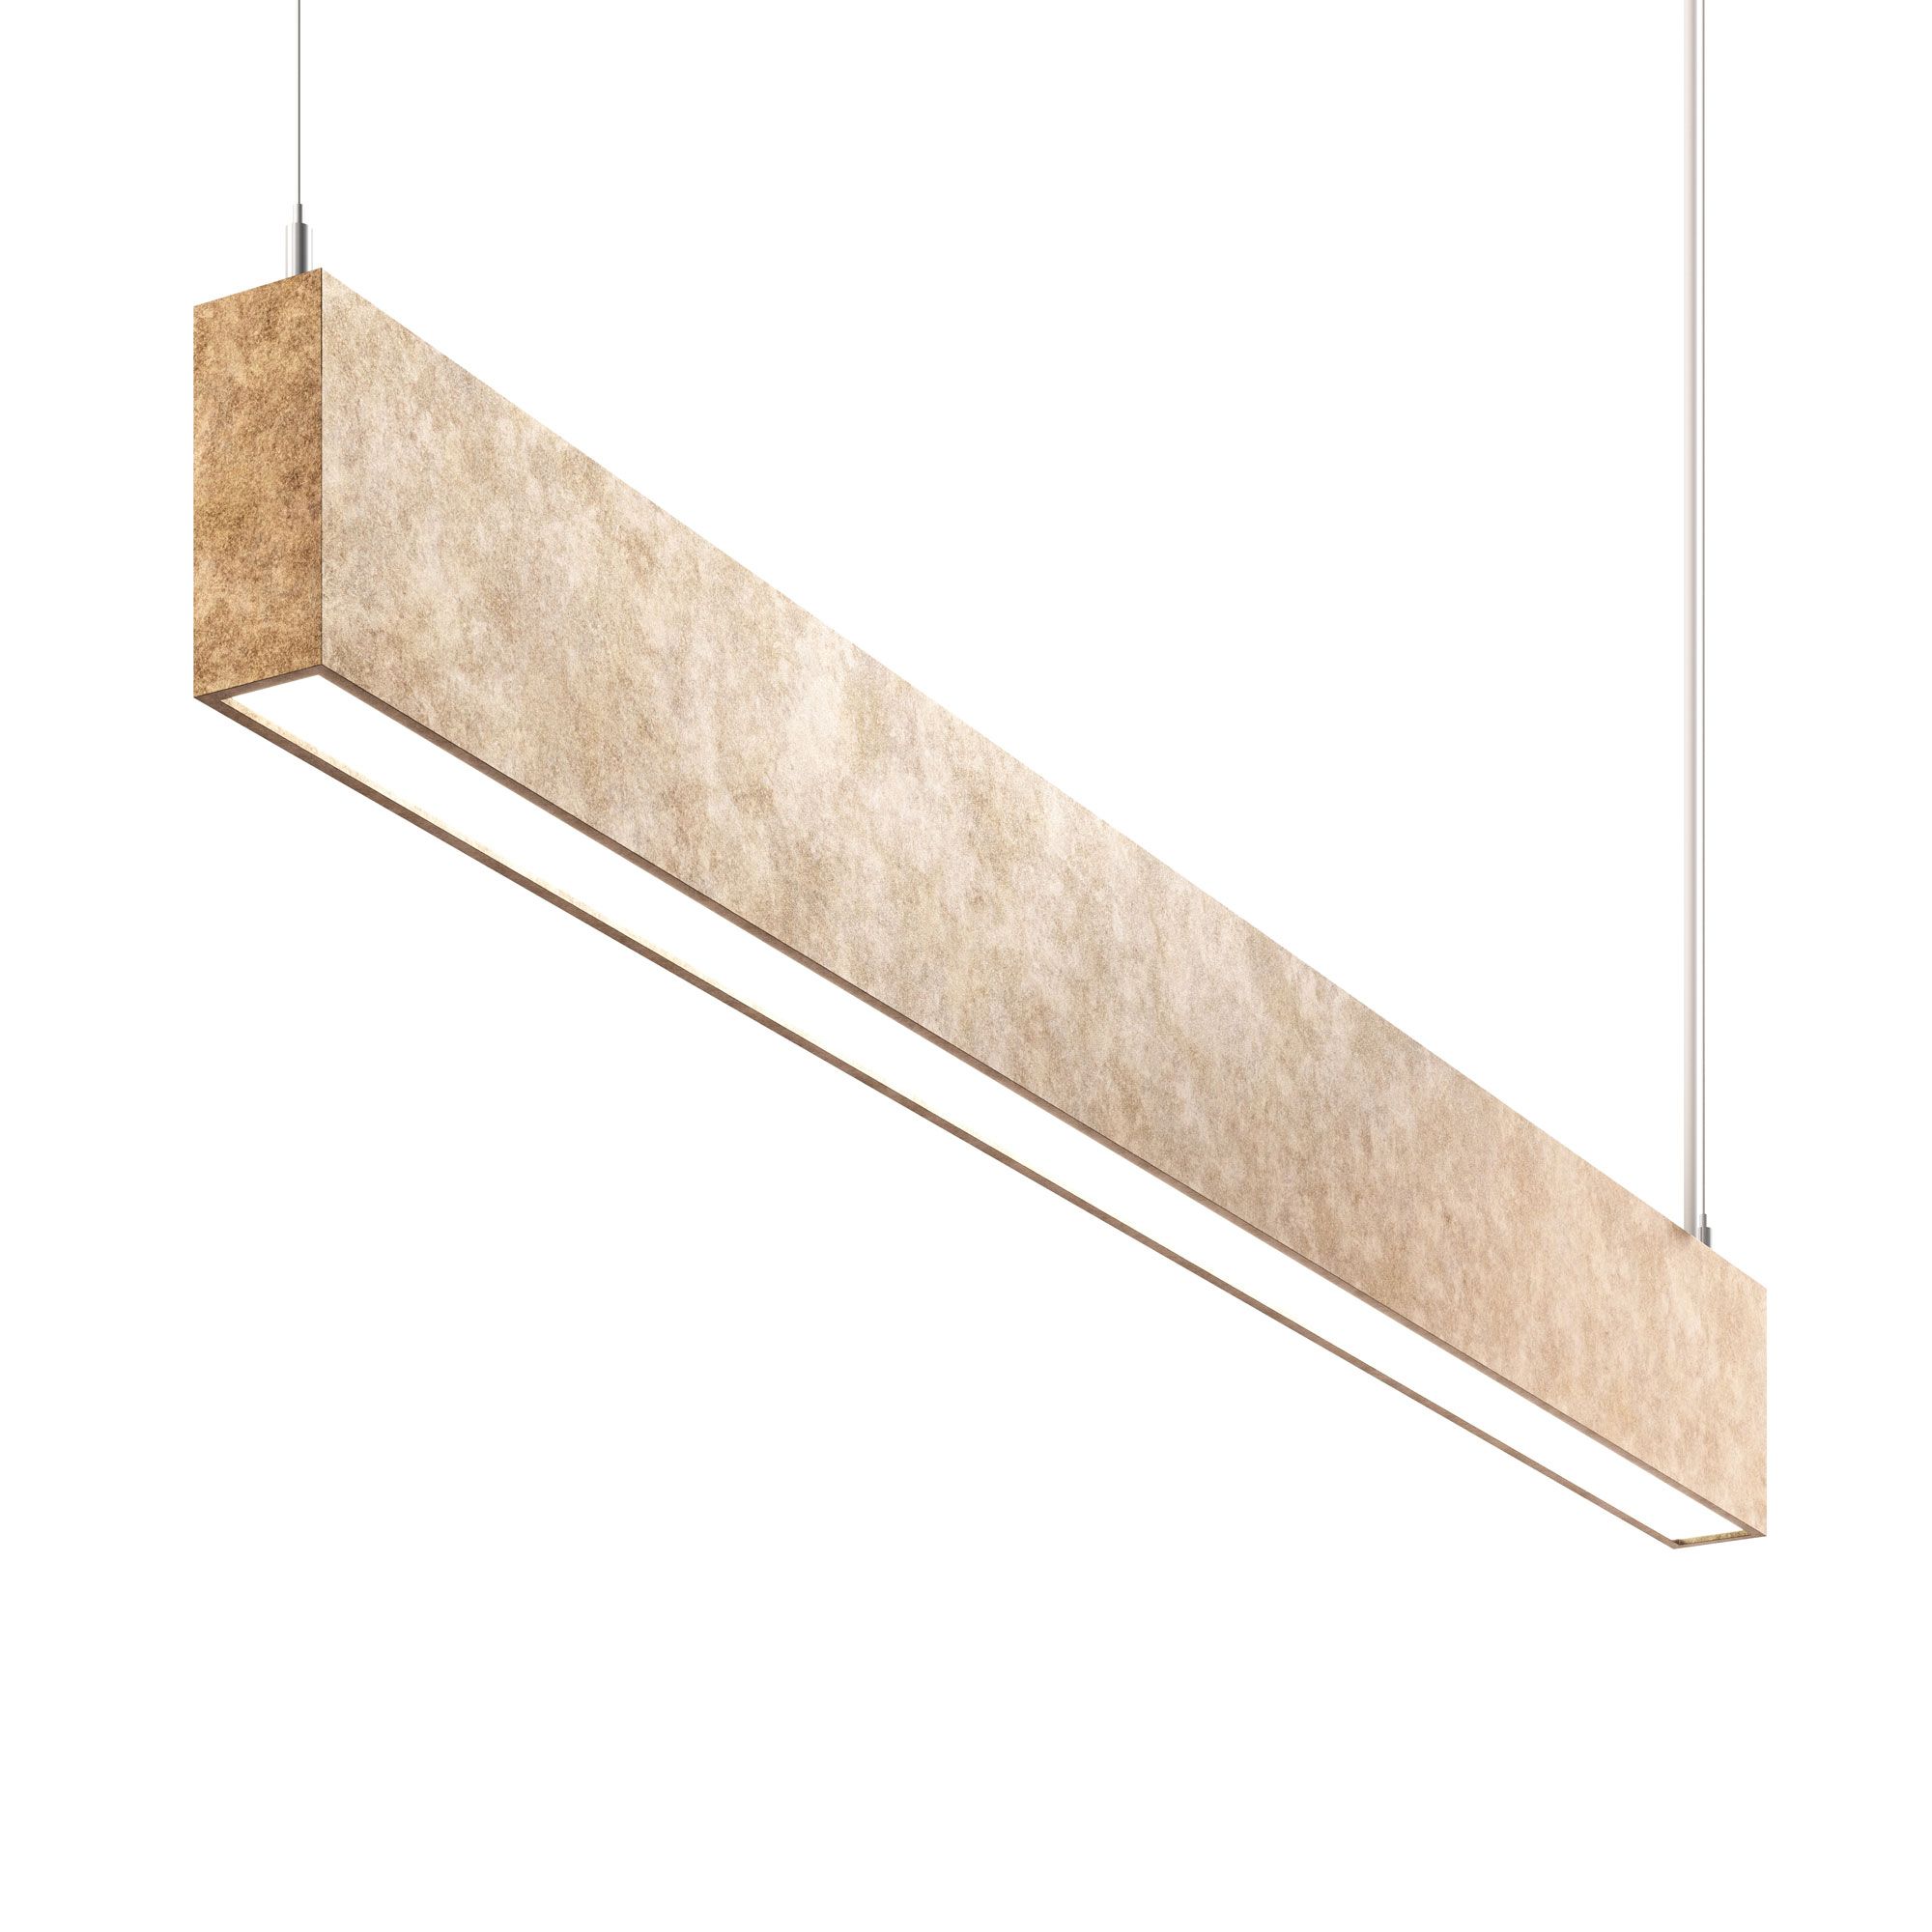
Lighting product rendering is the production of photoreal images of lamps and fixtures from 3D models. A manufacturer sends drawings or a CAD file, and a CGI studio returns silo shots, lifestyle scenes and animations with the product shown switched on, styled, and matched to the product data you supply and approve. No physical sample and no photo studio are needed to create these images.
This guide is for lighting manufacturers and retailers who need catalog, ecommerce and specification imagery for entire collections. It covers when lighting rendering beats a photo shoot, how real light behavior is reproduced, and what it takes to start. When a whole collection needs consistent images across finishes and sizes, the same workflow scales SKU by SKU; that service is described on the 3D rendering for lighting products page.
Why lighting brands switch from photography
| Task | Photo shoot | Lighting rendering |
|---|---|---|
| A fixture switched on, glowing correctly | Careful exposure setup for every unit | An approved lighting setup is reused across variants; new optics, light sources or diffusers still need adjustments |
| The same fixture in daylight and evening conditions | Depends on weather and timing | Controlled daylight or evening conditions, set once and kept consistent |
| Every finish of one pendant | Usually extra physical samples plus a new shoot or retouching | One model, finishes swapped digitally |
| A collection that is still in production | Needs physical prototypes | Rendered from drawings |
| Catalog updates next season | New or changed products may need additional photography | Rerender from the stored scene |
Photography still has clear wins. If production samples already exist and you only need a few simple frames, or the brief calls for real people and real places, a shoot can be the faster and cheaper choice. The full comparison, including how the two work together, is in Lighting Product Photography vs CGI.
Prulite: Product Visuals Across Finishes and Formats
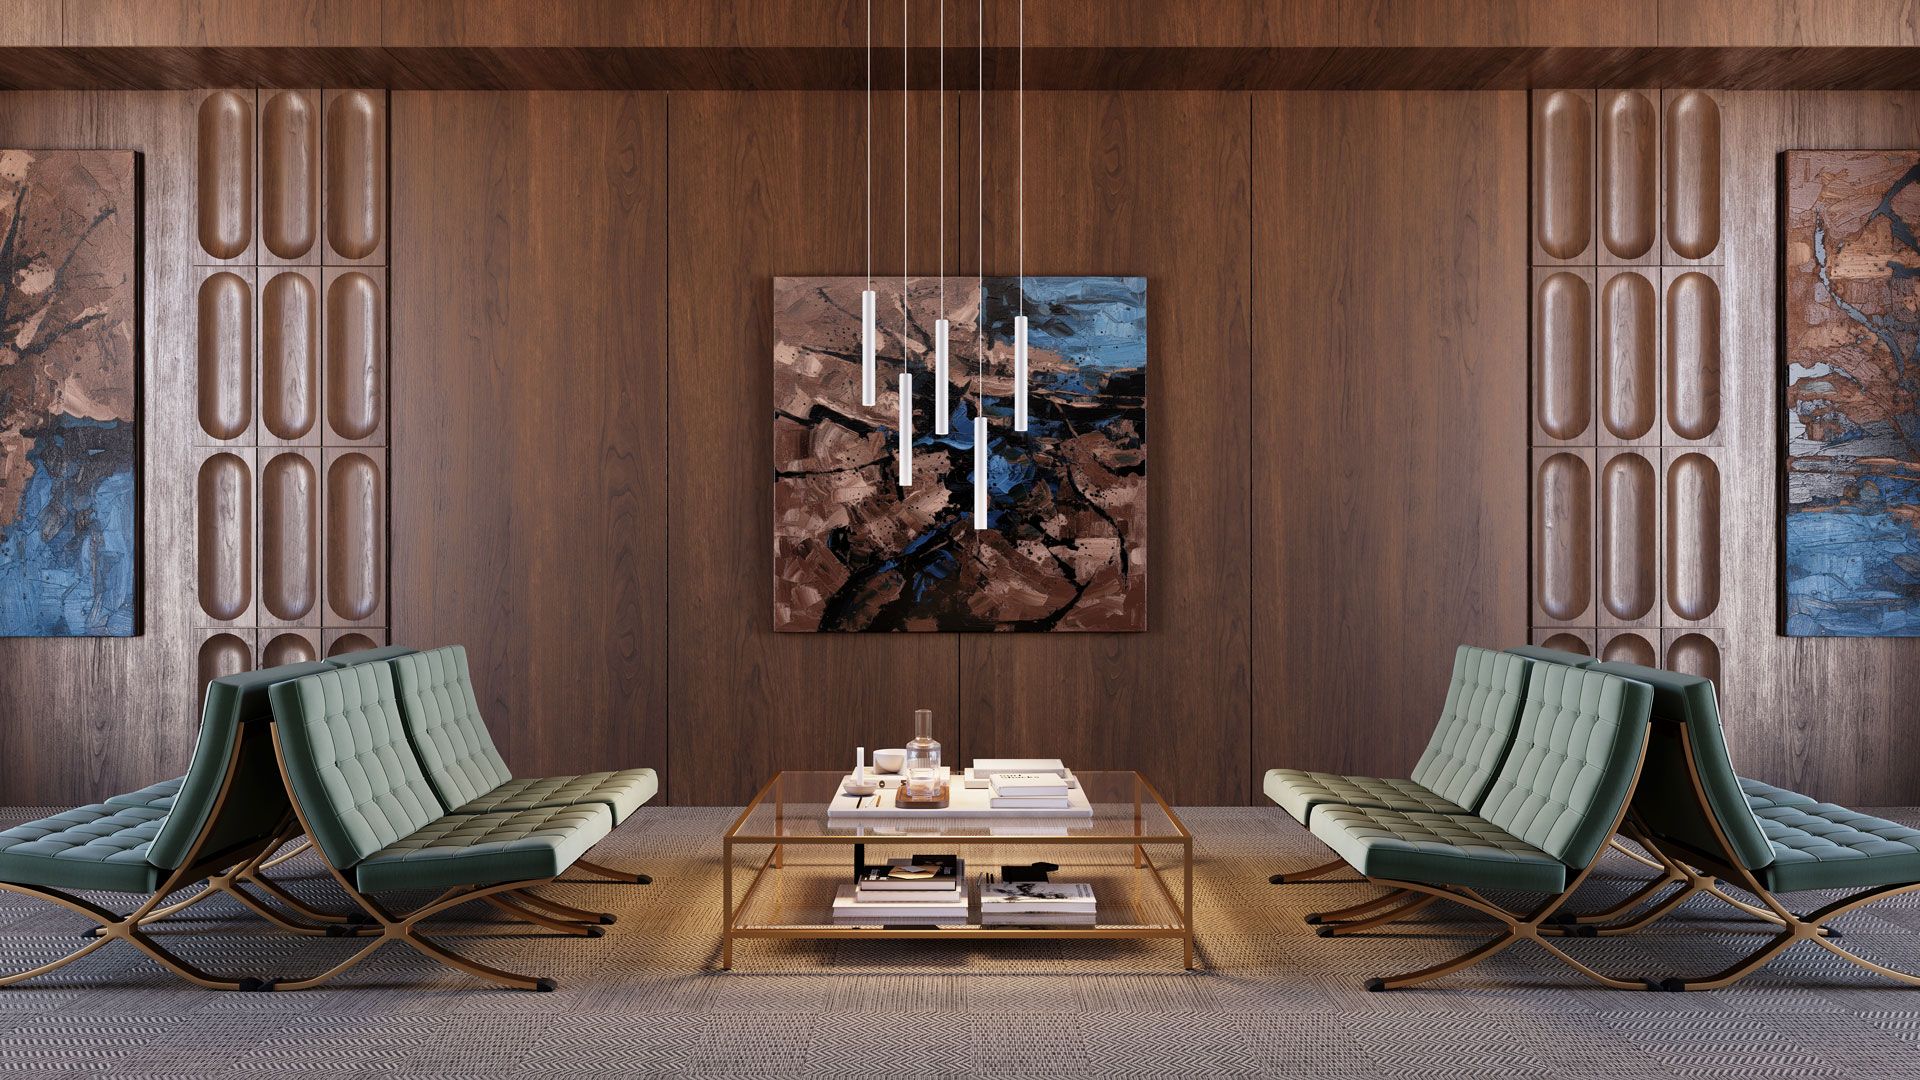
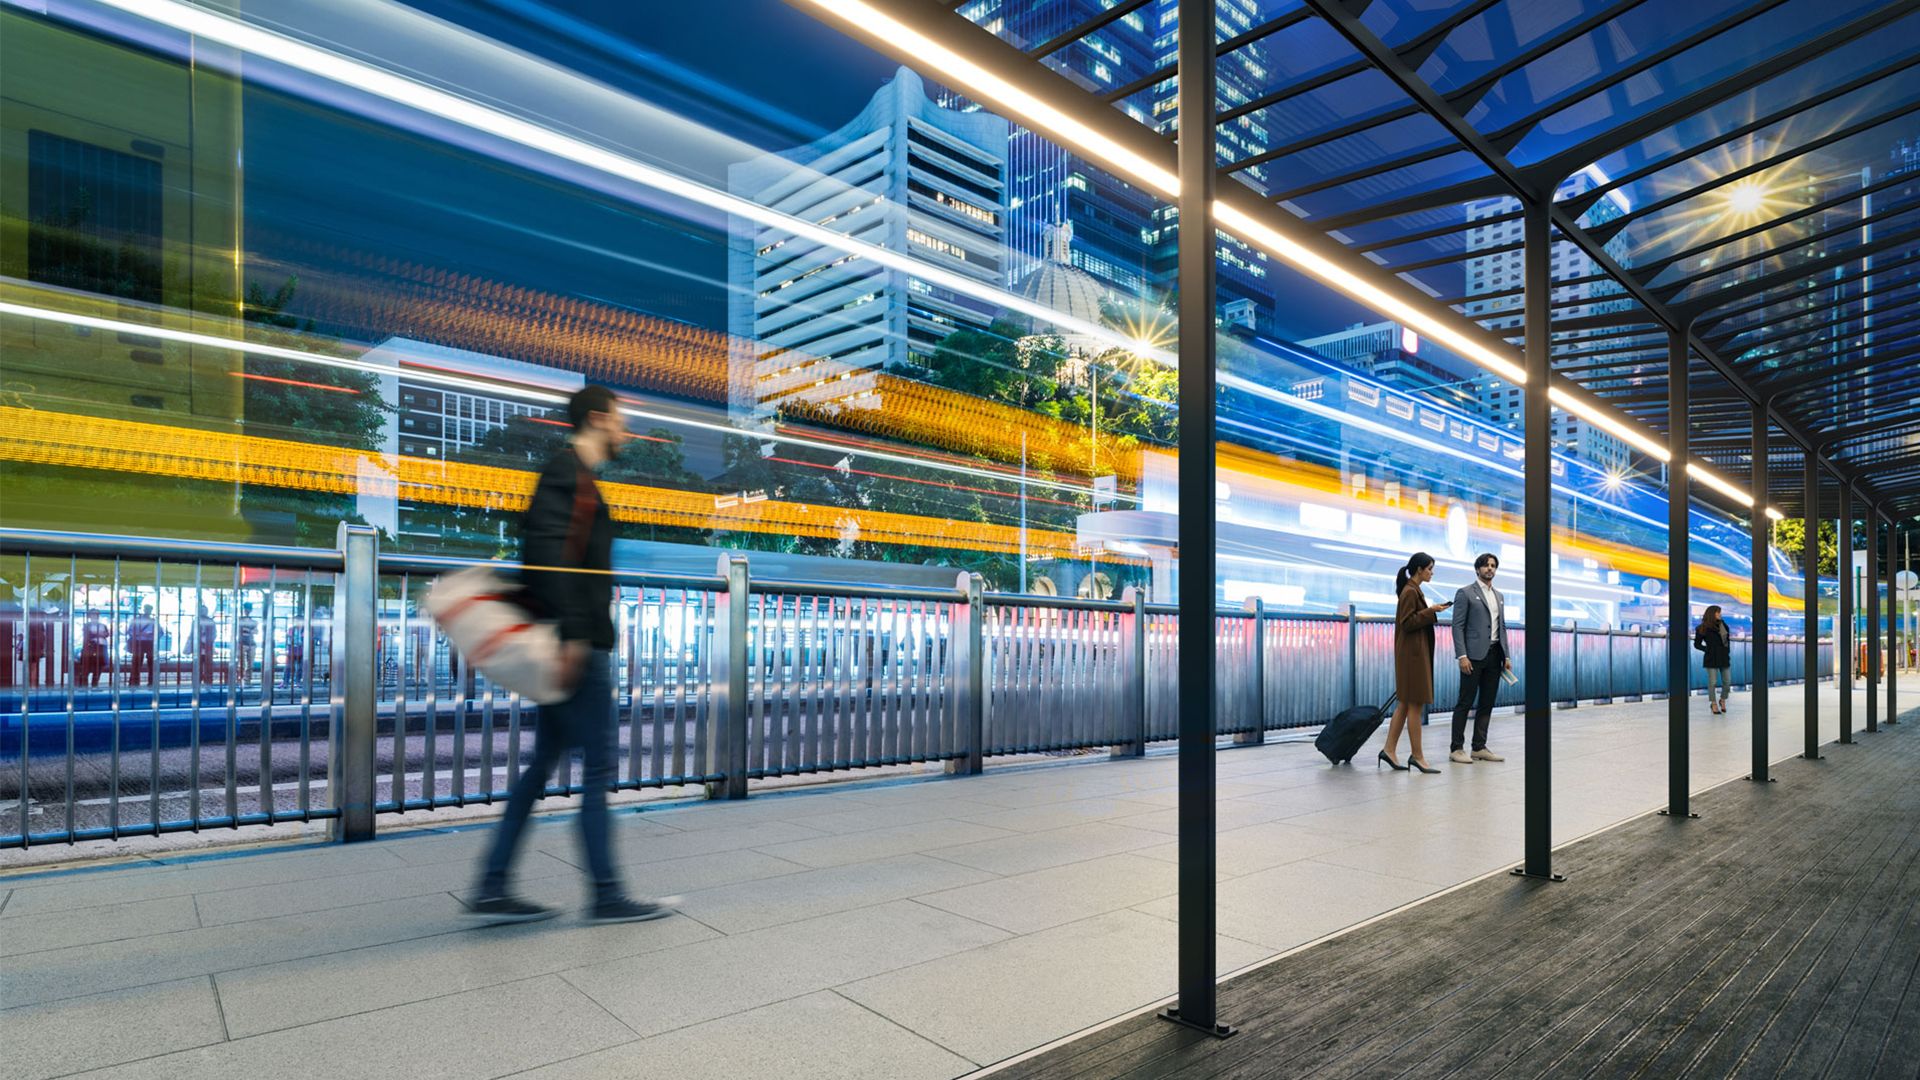
Prudential Lighting commissions CGIFURNITURE to render architectural luminaires that ship in many finishes and configurations. We built custom 3D models and delivered silo images, detail shots, interior and exterior lifestyle scenes, visuals with people, and a product animation. The same assets now run on the brand’s website, in industry publications and on BIMsmith, with one lighting logic across all of it. The full story is in the Prulite case study.
Spin a fixture yourself
This is the kind of 3D model behind every render. Drag to rotate it. The same source model is later adapted for interactive use in AR previews and product configurators.
Which Visuals Does Your Lighting Brand Need?
A fixture is modeled once, and reusing that approved model is the basis of the workflow. Each format still needs its own preparation, so the practical question is which of them your sales channels actually use:
| Format | What it shows | Where it works |
|---|---|---|
| Silo images | Shape and overall look | Product pages and catalogs |
| On/off pairs | The product in both states | Product pages and presentations |
| Detail and cross-section views | Materials, construction and mounting details | Product pages and technical materials |
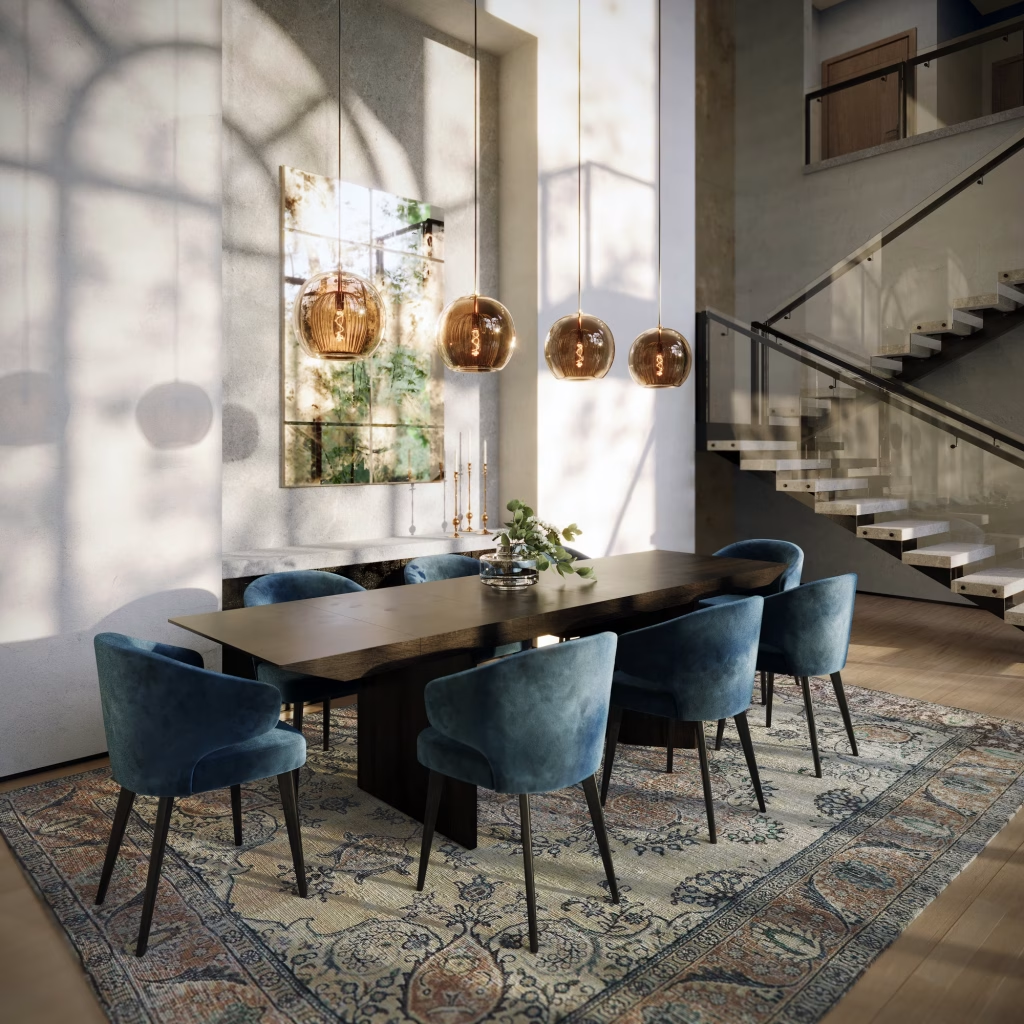
| Lifestyle images | Scale and the product in use | Website, campaigns and dealer materials |
| Animation | Construction or function in motion | Product pages and video channels |
| Interactive 3D and AR | The product from every side, placed in a room | Compatible viewers and apps |
Ultra LEDs, for example, runs cross-section renders and installation views alongside lifestyle scenes; the breakdown is in the Ultra LEDs case study.
How CGI reproduces real light
The hard part of lighting CGI is not the fixture, it is the light itself. Artists match color temperature (CCT) to the specified light source, shape the beam and its spread, and build diffusion through glass, fabric or acrylic so the glow reads correctly. Reflections on metal and shadow falloff on nearby surfaces are what make the image believable.
For a buyer, the two states answer different questions. Switched off, the image shows the form, the finish and the diffuser material. Switched on, it shows what the product does to the room: where the beam lands, how the shade glows, whether the light reads warm or cool. Use the same camera angle for both states. Keep ambient lighting consistent for a direct on/off comparison; use separate daylight and evening scenes to show the fixture in different settings.
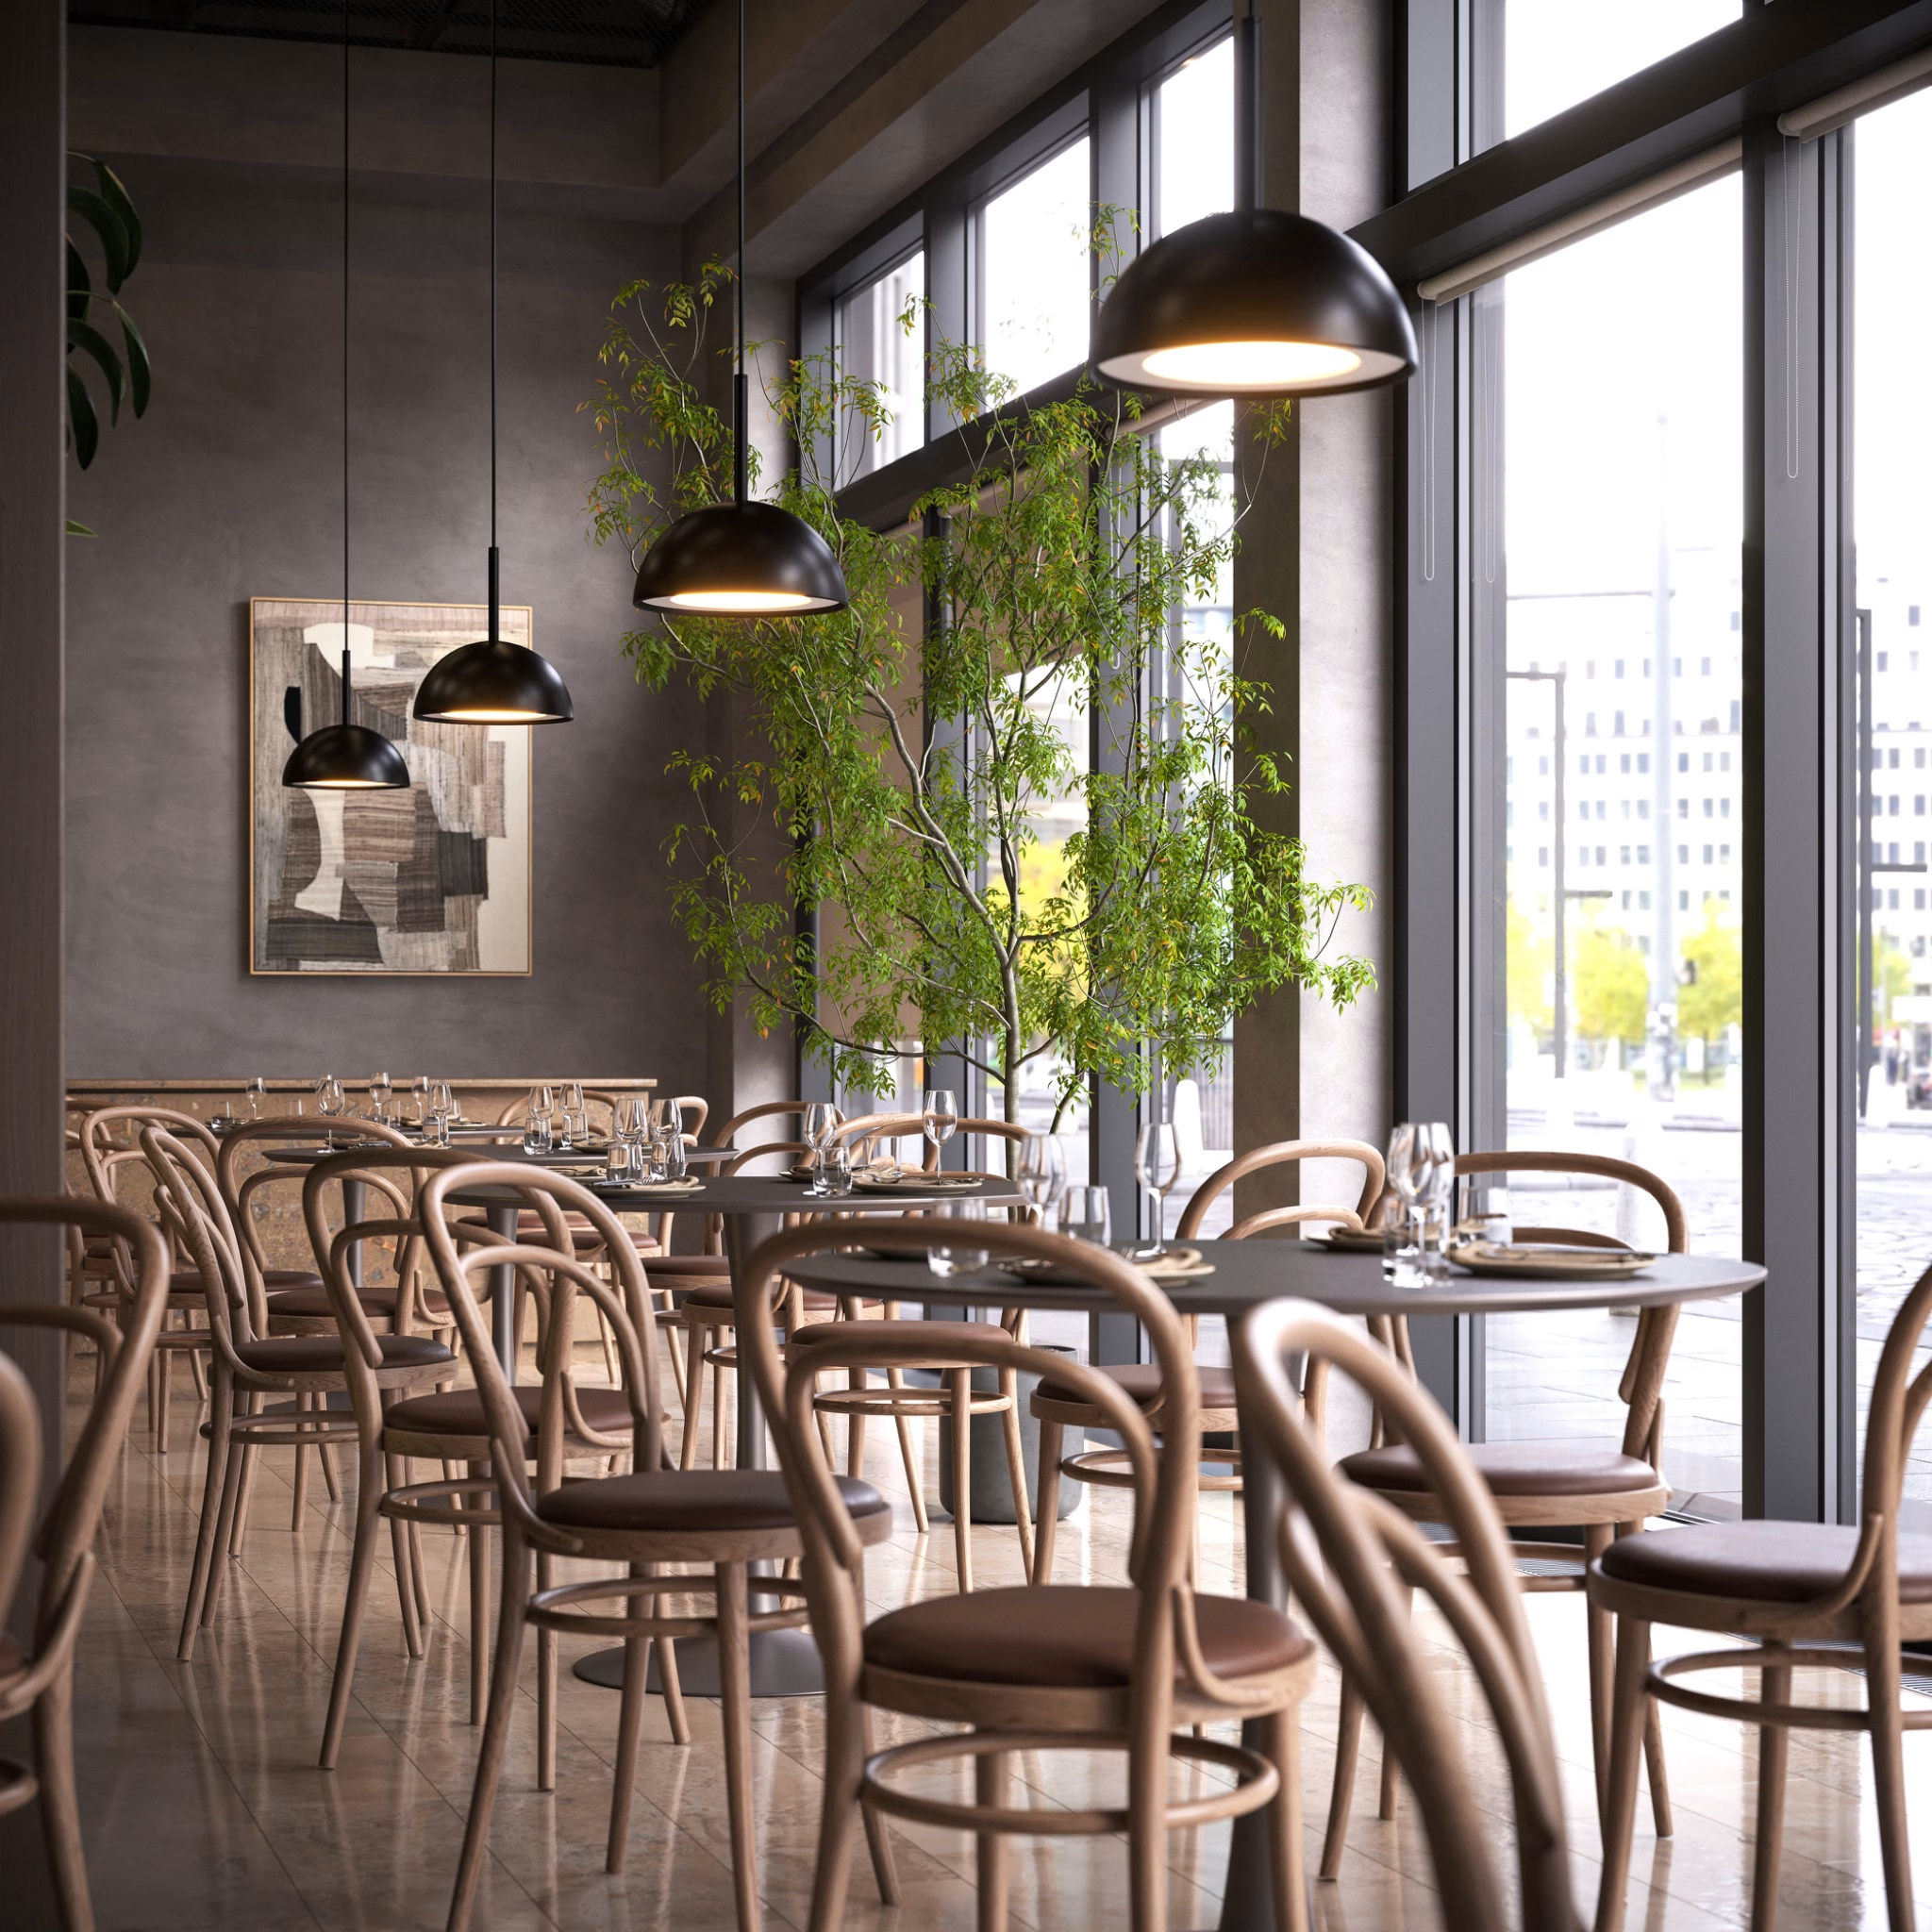
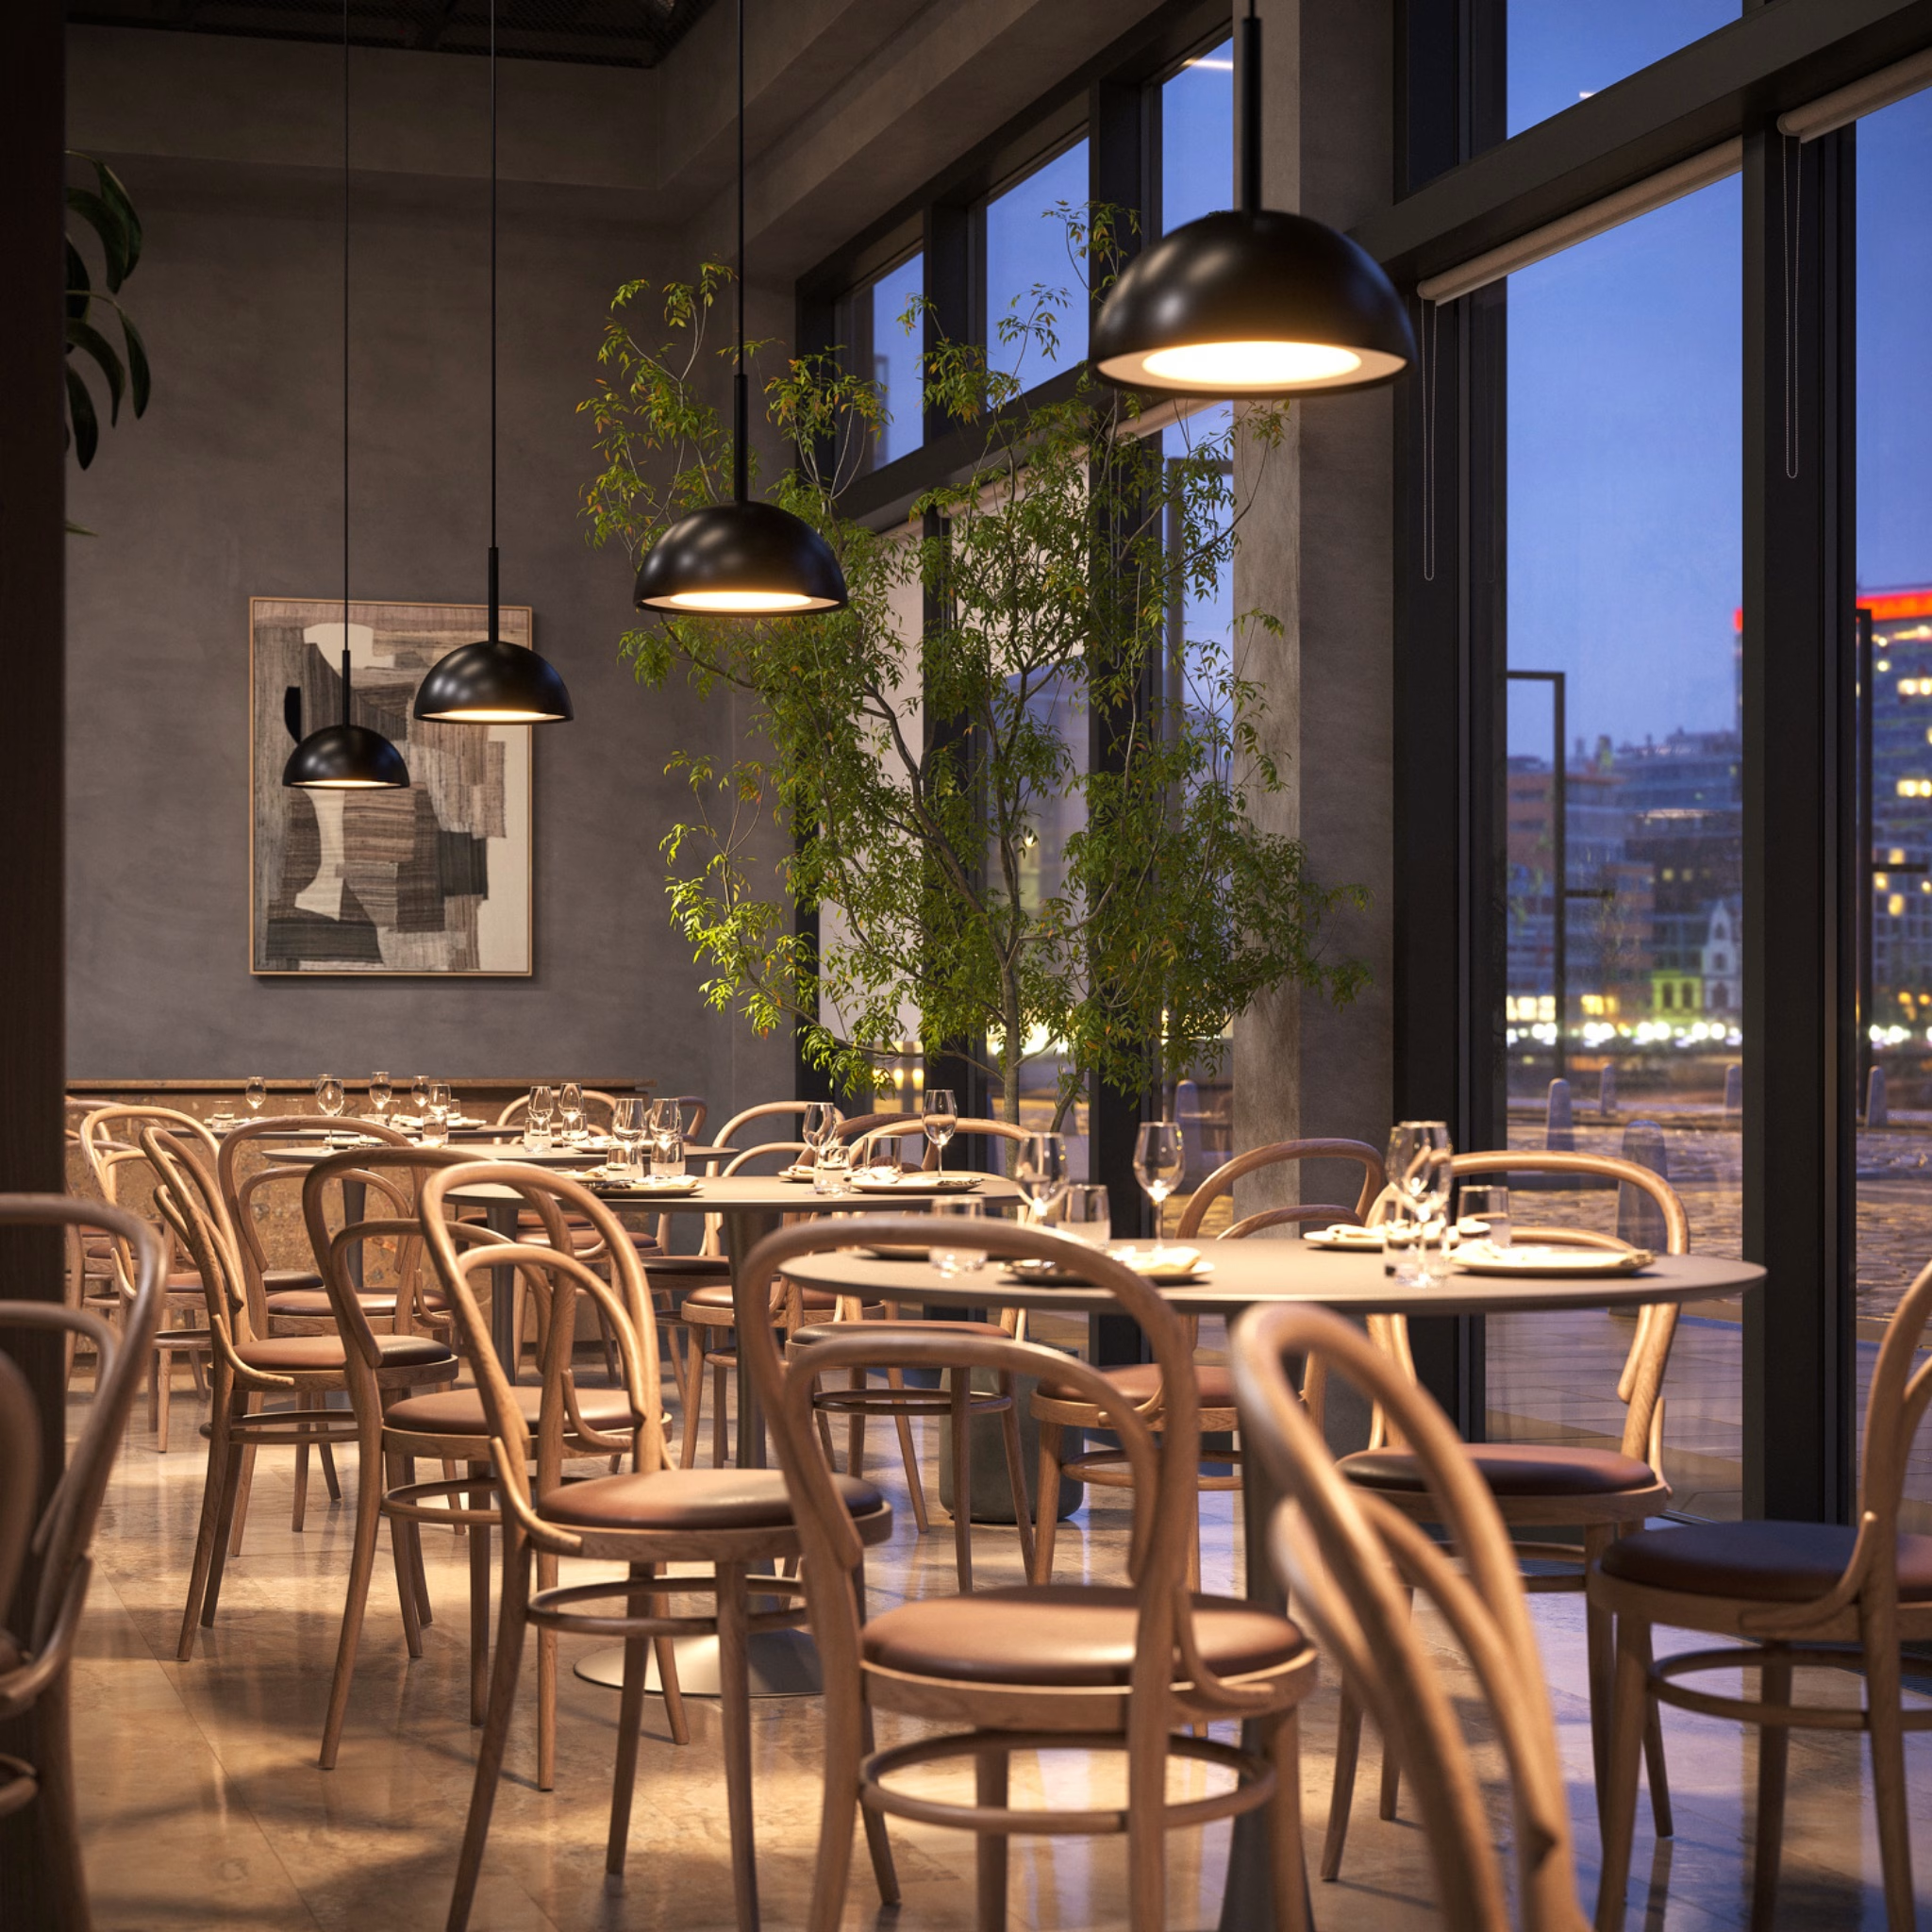
When IES or LDT photometric files are available, we use them to reproduce beam shape and light distribution as closely as the supplied data allows. Without them, the effect is built from product photos and visual references. One boundary to keep in mind: a render with photometric data helps show how a fixture distributes light, but it is not proof of illuminance levels or code compliance, and formal photometric testing stays separate. The switched-on state is broken down in detail in How CGI Shows a Fixture Switched On.
How to Keep a Lighting Collection Visually Consistent
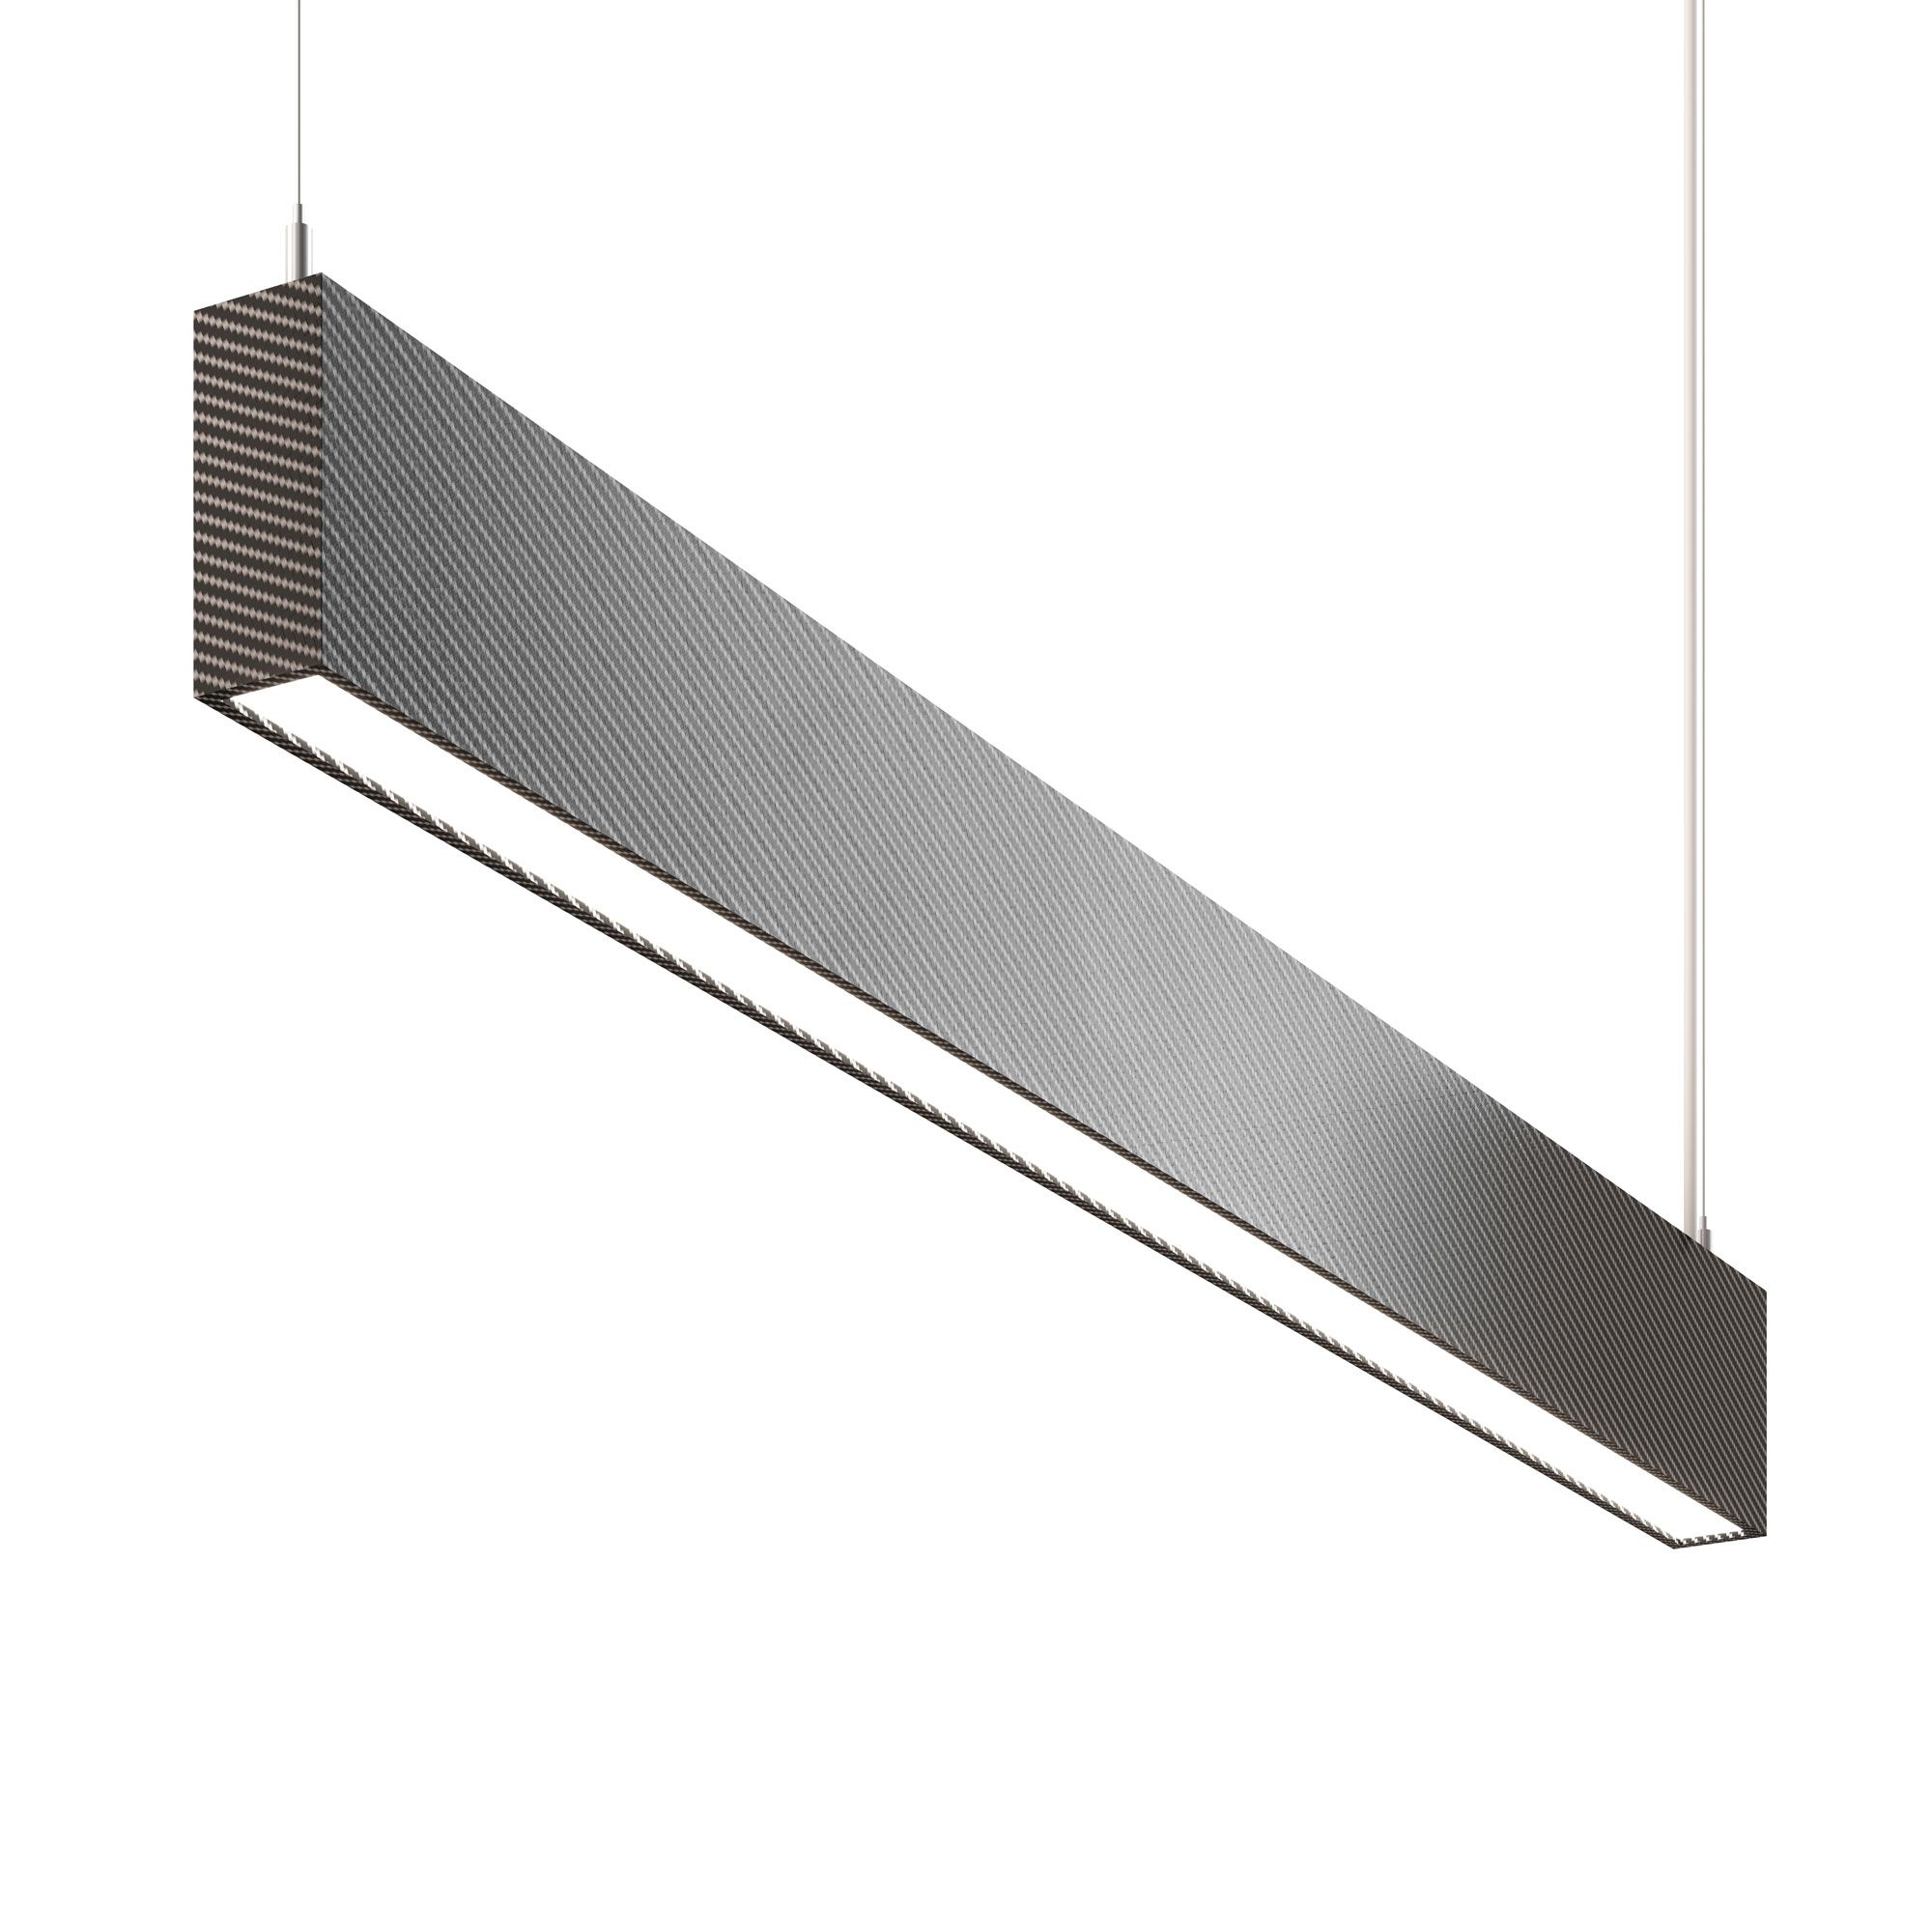
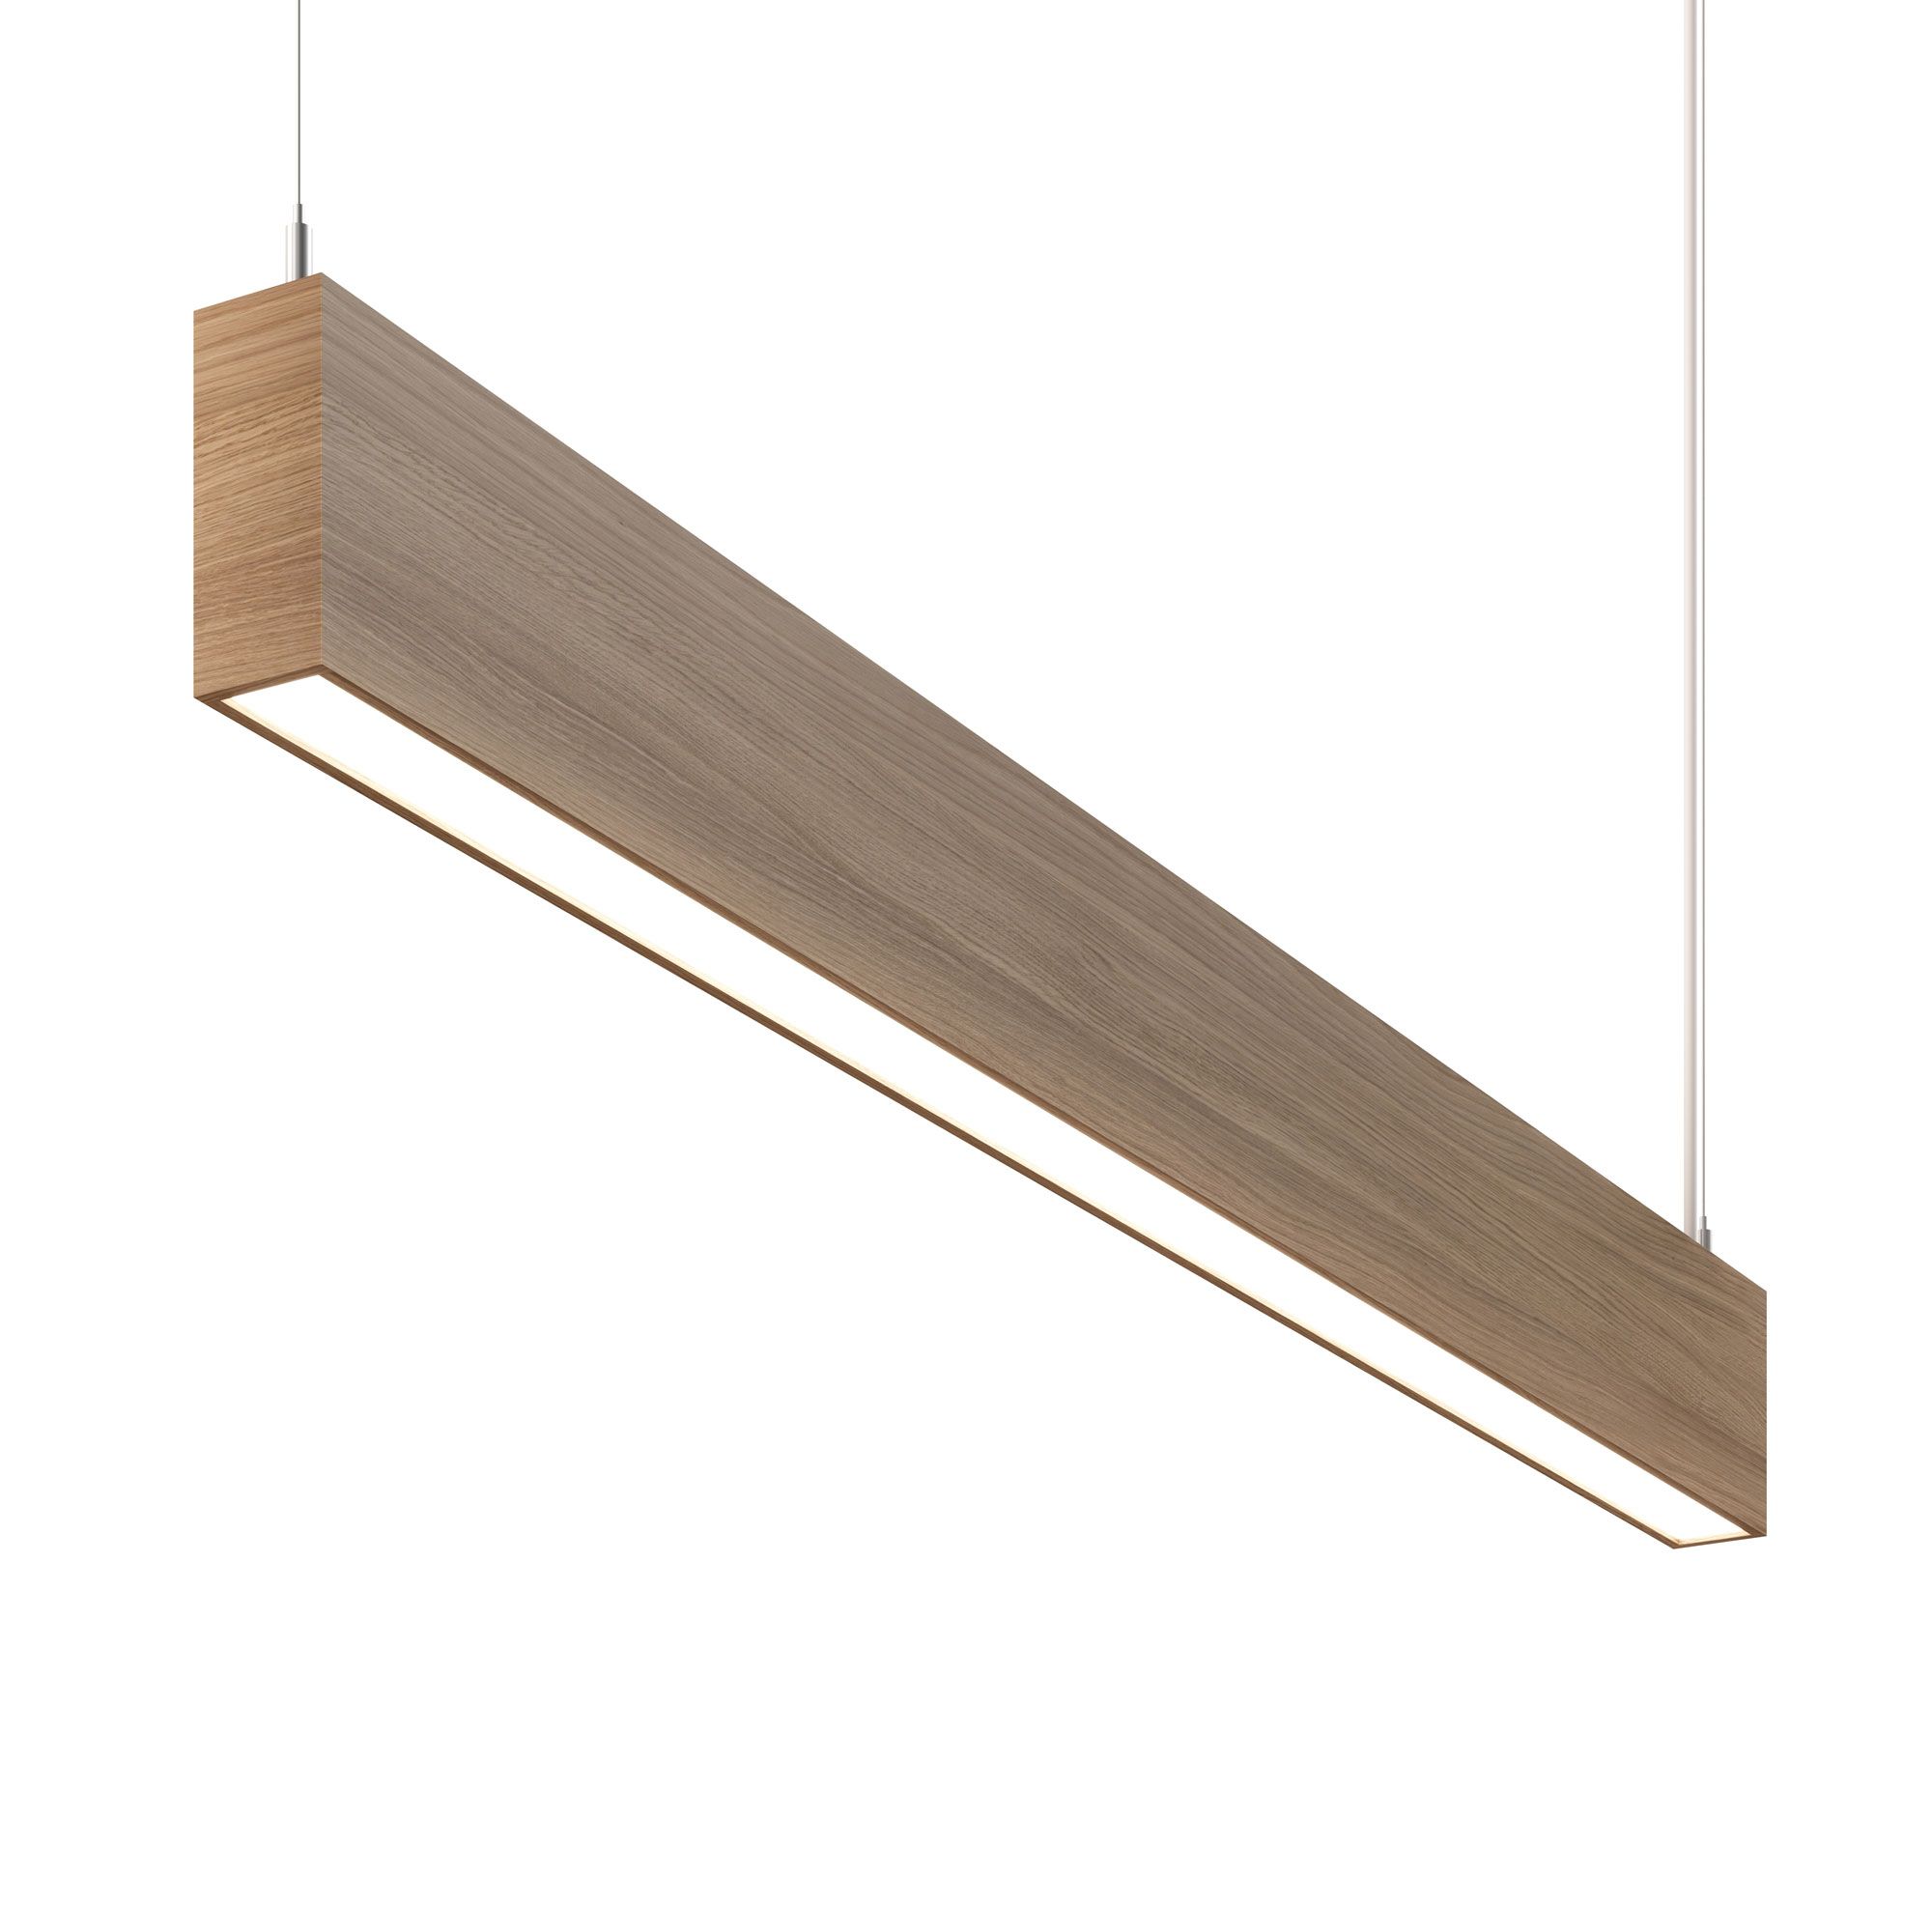
Lighting collections often include several finishes, sizes and configurations. When every product is shot in a different way, inconsistent angles and lighting make the collection harder to compare. A working approach:
- Approve one reference image set first, and treat it as the visual standard for the collection
- Fix camera angles, background, cropping and lighting rules once, then reuse them for every SKU
- List the real combinations of finishes, sizes and configurations you actually sell before rendering starts
- Tie every image to the correct SKU so product cards, catalogs and dealer systems stay in sync
- Scope changes honestly: a new finish reuses the approved model, while a new construction needs modeling work
What we need from you
- CAD files or technical drawings, or clear photos if the fixture already exists
- Exact dimensions
- Finish and material samples or references
- Light source specifications: available color temperatures, lumen output, beam angle, and dimming or color-changing options, where applicable
- IES or LDT files when available, they help but are not required
From CAD Files to Approved Product Images
- Scope check. We review drawings, dimensions and references, and agree on the image list.
- Geometry approval. You confirm the model matches the product before materials are applied.
- Materials and light. Finishes, diffuser look and the switched-on appearance are approved against your references.
- Test shot. One image goes through your review first, so comments are applied before the whole set is rendered.
- Production and file check. The remaining images are rendered, checked against the approved test shot, and delivered in the agreed formats.
Before accepting the set, run a short checklist: dimensions, finishes, mounting details, only configurations you actually sell, correct SKU mapping, and consistency with the approved sample.
What you get
The deliverable is a set of agreed files, organized by collection and finish and stored for future campaigns:
- JPG for standard web and print images; PNG or properly prepared TIFF where a transparent background is needed
- MP4 animations for product pages, ads and social media
- GLB or USDZ models for interactive use, matched to the target platform and prepared by our AR 3D modeling team; configurator readiness also involves preparing variants and integrating them on the platform side
Animations and interactive models are added to an order when you need them, not by default.
Which fixtures to start with
Three starting points work best: the bestseller pendant or chandelier that carries your catalog, the family with the most finish options, or the collection you are about to launch. Each proves a different strength of the format on your own product.
Start With One Fixture
Send one drawing or CAD file and tell us where the images will be used. We will recommend the right formats, agree on the scope and price, and render the first images so you can judge the quality on your own product.
Send One FixtureFAQ
Can you render a fixture from photos only?
Yes. Clear photos from several angles are enough to model most fixtures. Exact dimensions are still required, and complex internal construction may need a drawing.
Do we need IES or LDT files?
No, they are optional. When you have them, we reproduce beam shape and light distribution as closely as the supplied data allows. Without them, the light is set up from photos and references.
Can you create images for every finish and size in a collection?
Yes. Once the master model and a reference image set are approved, finish and size variations reuse that setup, so a collection is covered systematically rather than from zero for each SKU. The practical starting point is a list of the real combinations you sell, with every image tied to its SKU. Finish changes and construction changes are scoped differently, because new geometry needs modeling work.
Can the same product model be adapted for AR or a configurator?
In most cases, yes. The source model is adapted for interactive use: geometry is optimized, textures are converted, and the file is exported in the format the target platform requires, usually GLB or USDZ. Making a model configurator-ready is a separate step: variants of finishes and parts are prepared, and the configurator itself is integrated on the platform side.
How long does a first fixture take?
Timing depends on modeling complexity, the number of images and how quickly source files and approvals move. A single fixture with confirmed inputs goes through modeling, a test shot and final renders in one continuous cycle, and collections run in parallel batches, so a full catalog does not wait on one queue.
What does lighting rendering cost?
Price depends on modeling complexity, the number of images and the formats you need. The first image of a fixture carries the modeling setup, and additional finishes or variants rendered from the same scene usually cost less because the approved setup is reused. The price list on the lighting page breaks rates down per image type.