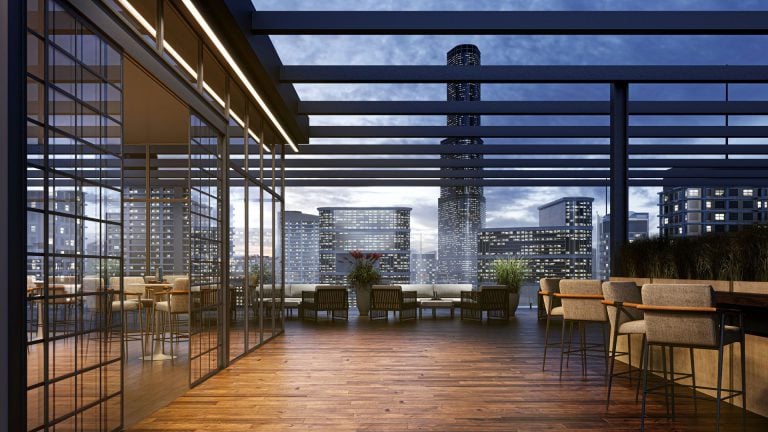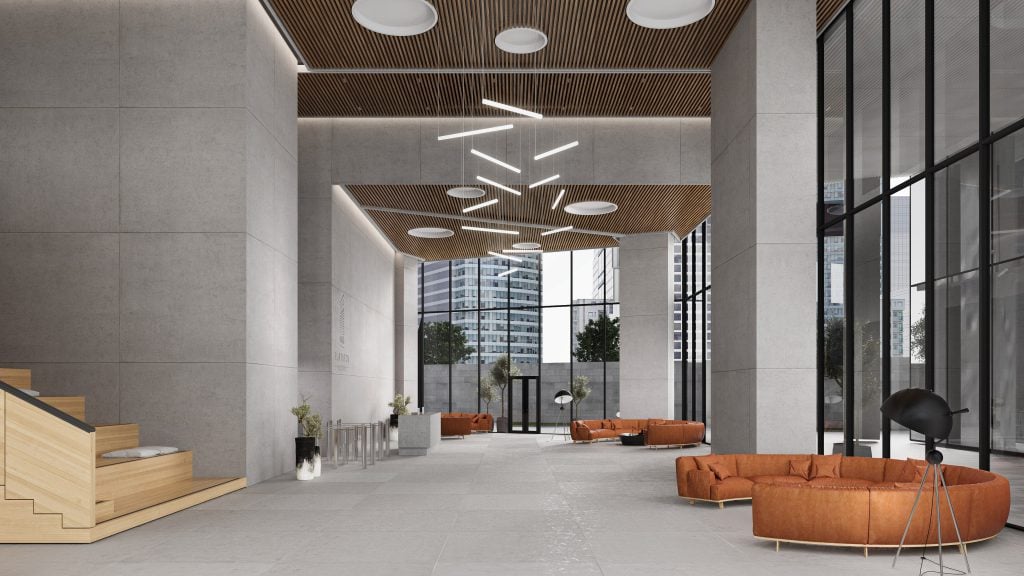
One of the first questions lighting brands ask about CGI is whether the fixture will look real when it is switched on. An unlit fixture shows its shape and materials. Switching it on adds another challenge: showing the emitted light without losing those details.
This article explains how lighting CGI builds that effect: which properties of light the artists control, what photometric data helps, and where the honest limits are. For the broader picture of the service, see the lighting rendering guide.
What the eye checks in a switched-on render
| What the viewer checks | How CGI builds it |
|---|---|
| The warmth of the light | Color temperature (CCT) matched to the specified light source |
| The shape of the beam on walls and floors | Beam angle and spread, from spot to wash |
| The glow through the shade | Diffusion through glass, fabric or acrylic |
| Highlights on metal and stone | Material properties and reflections from the light source and surrounding scene |
| How the light fades with distance | Falloff and soft shadows on nearby surfaces |
Ultra LEDs: light behavior as the product
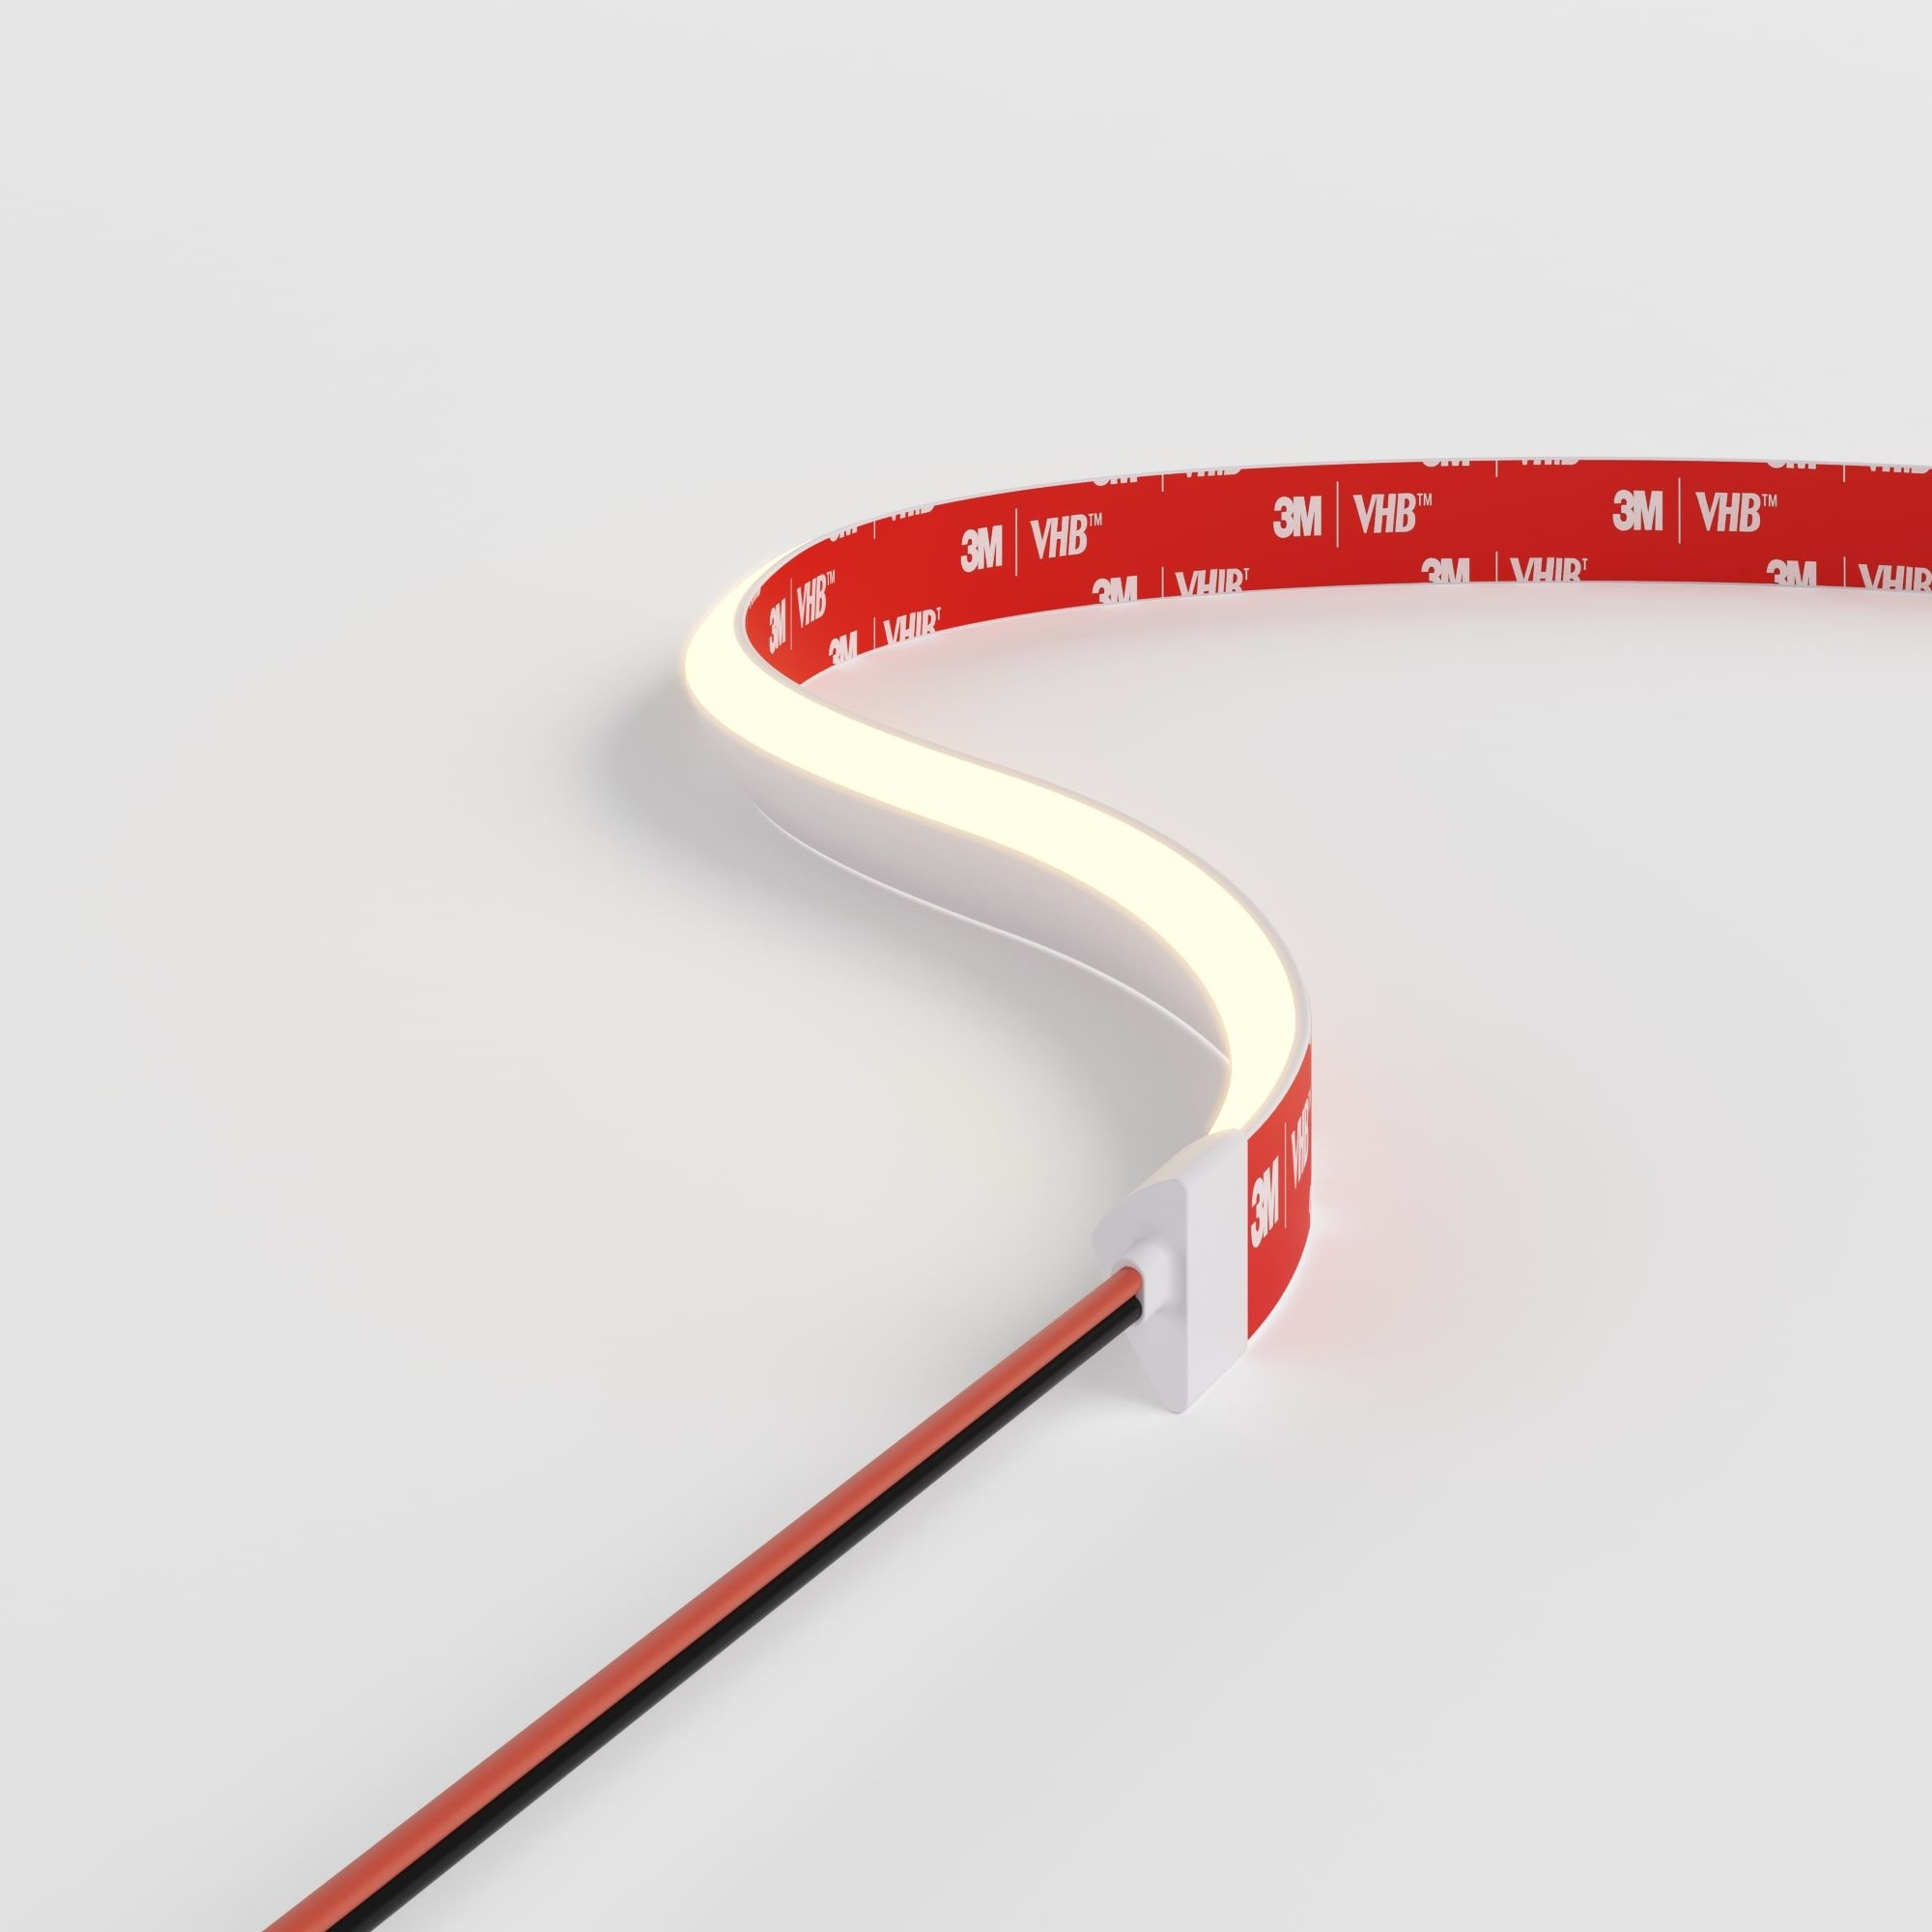
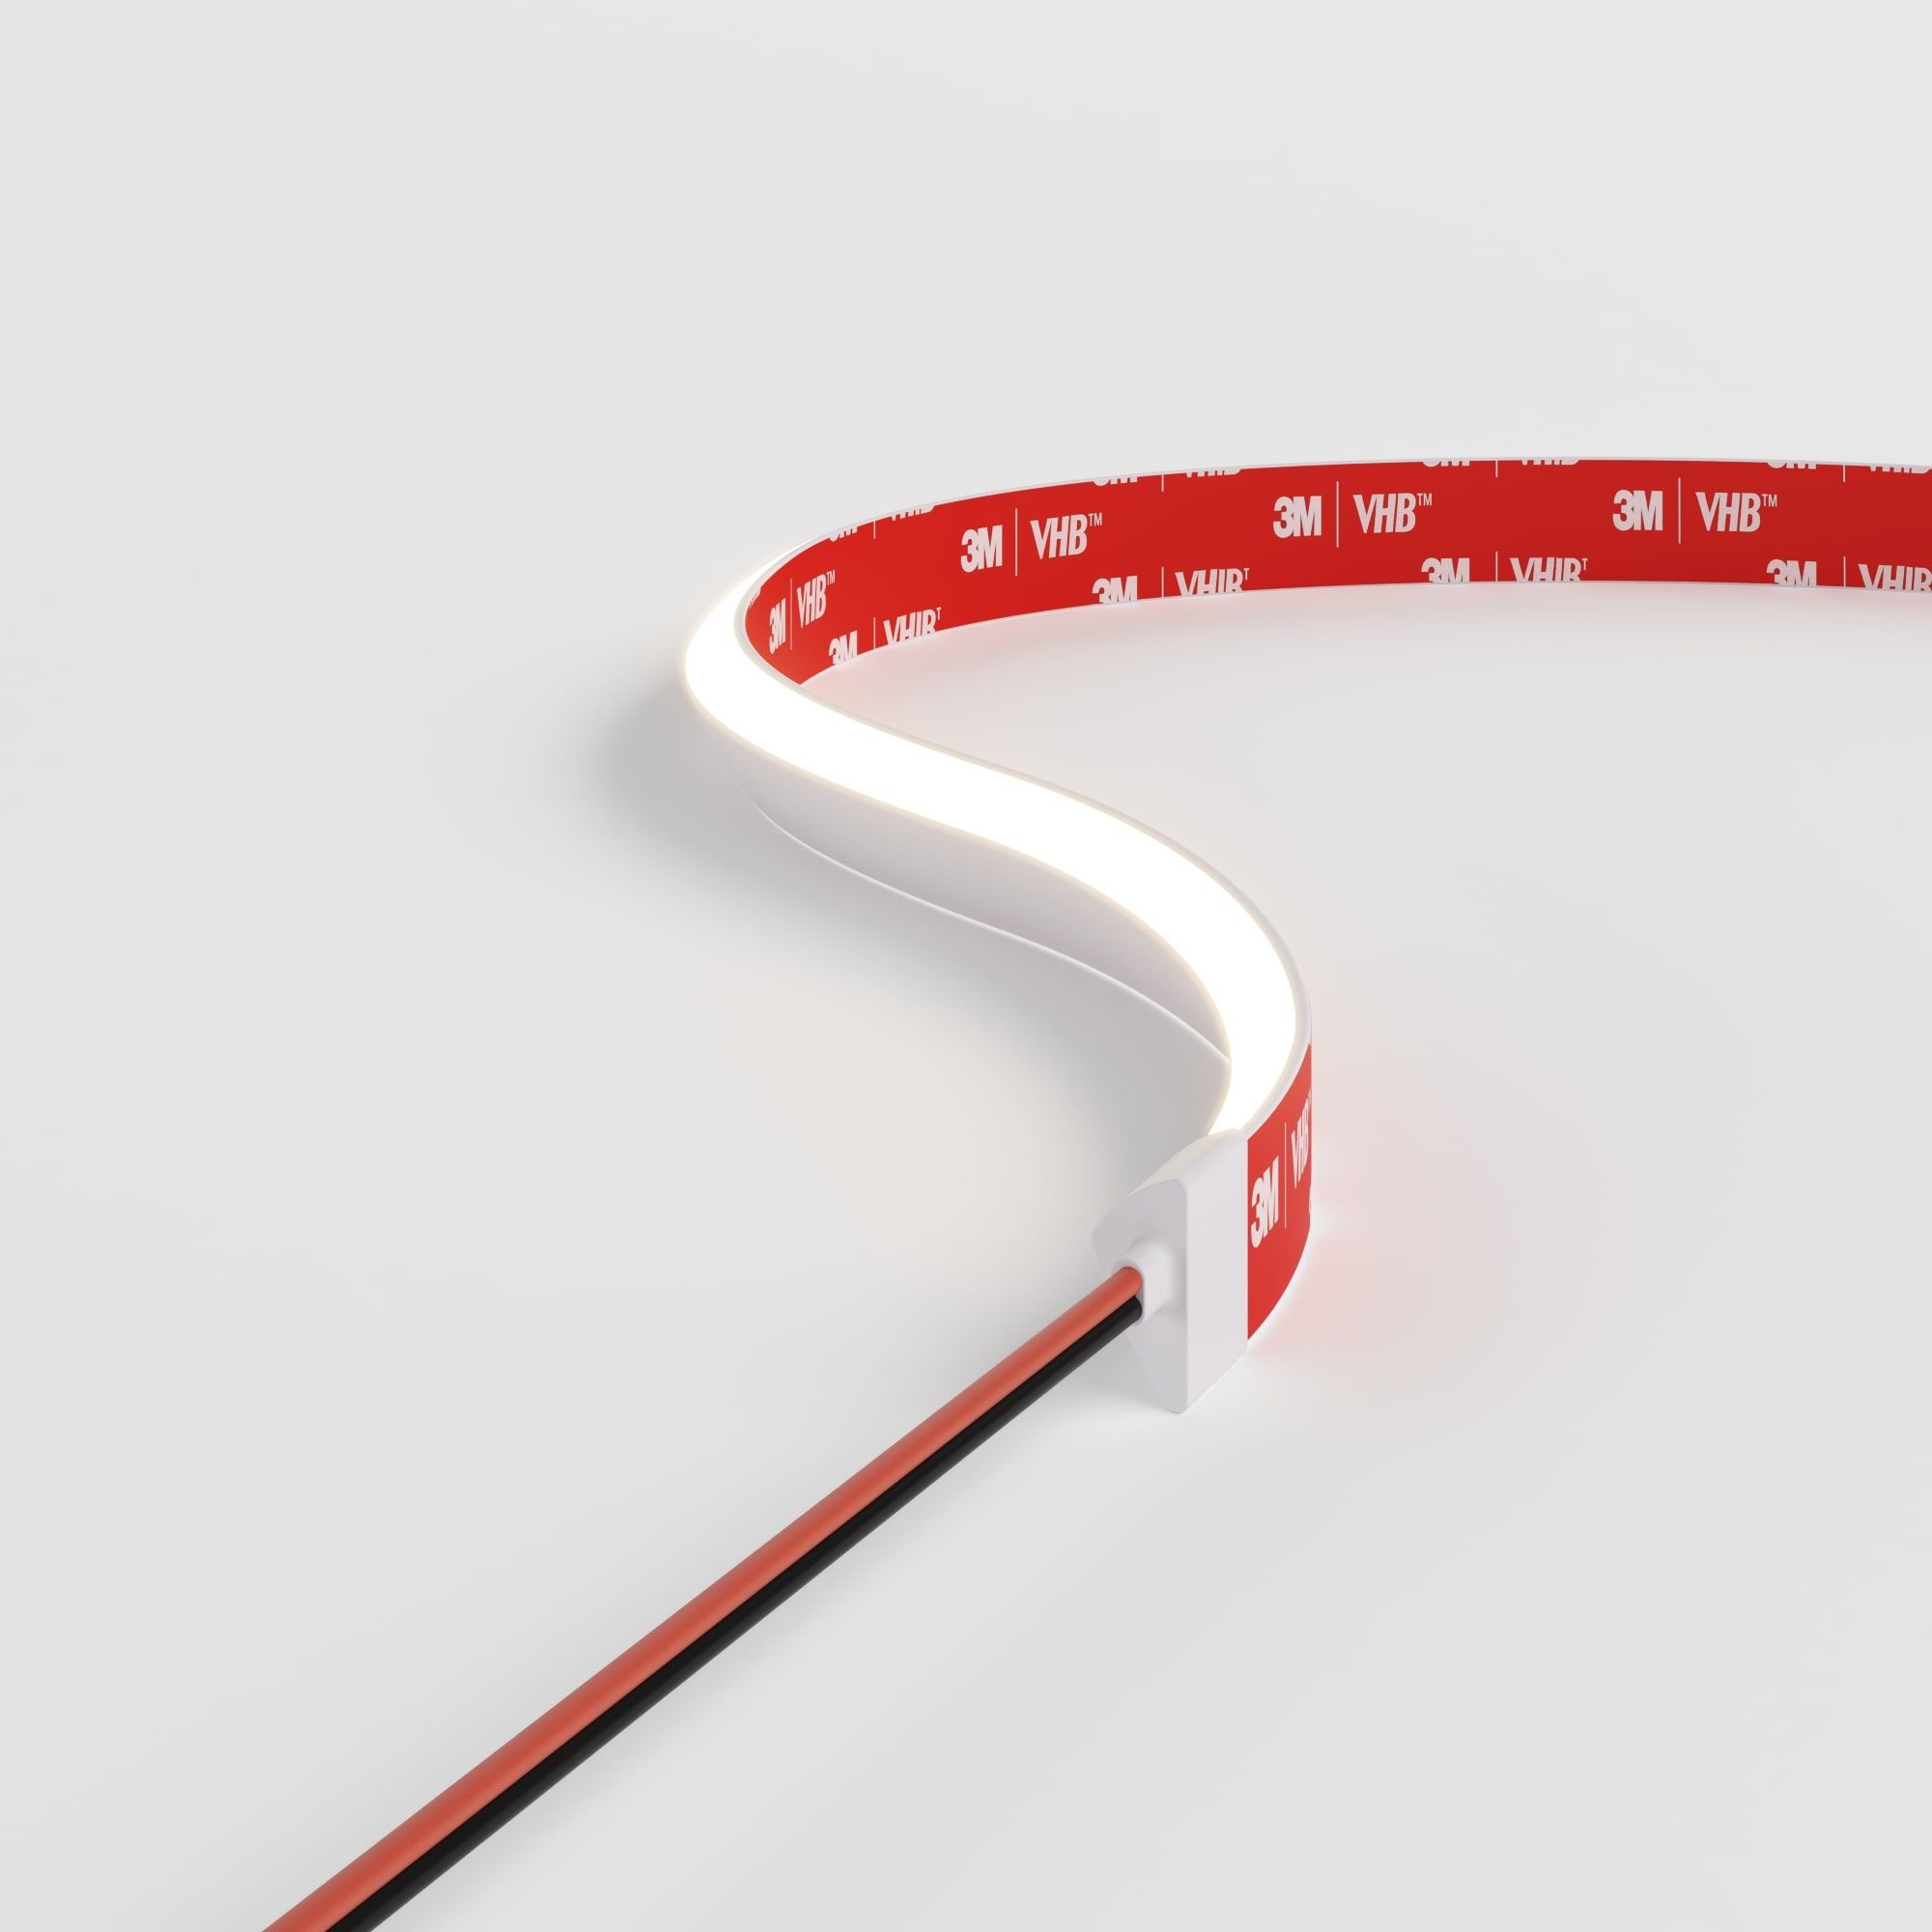
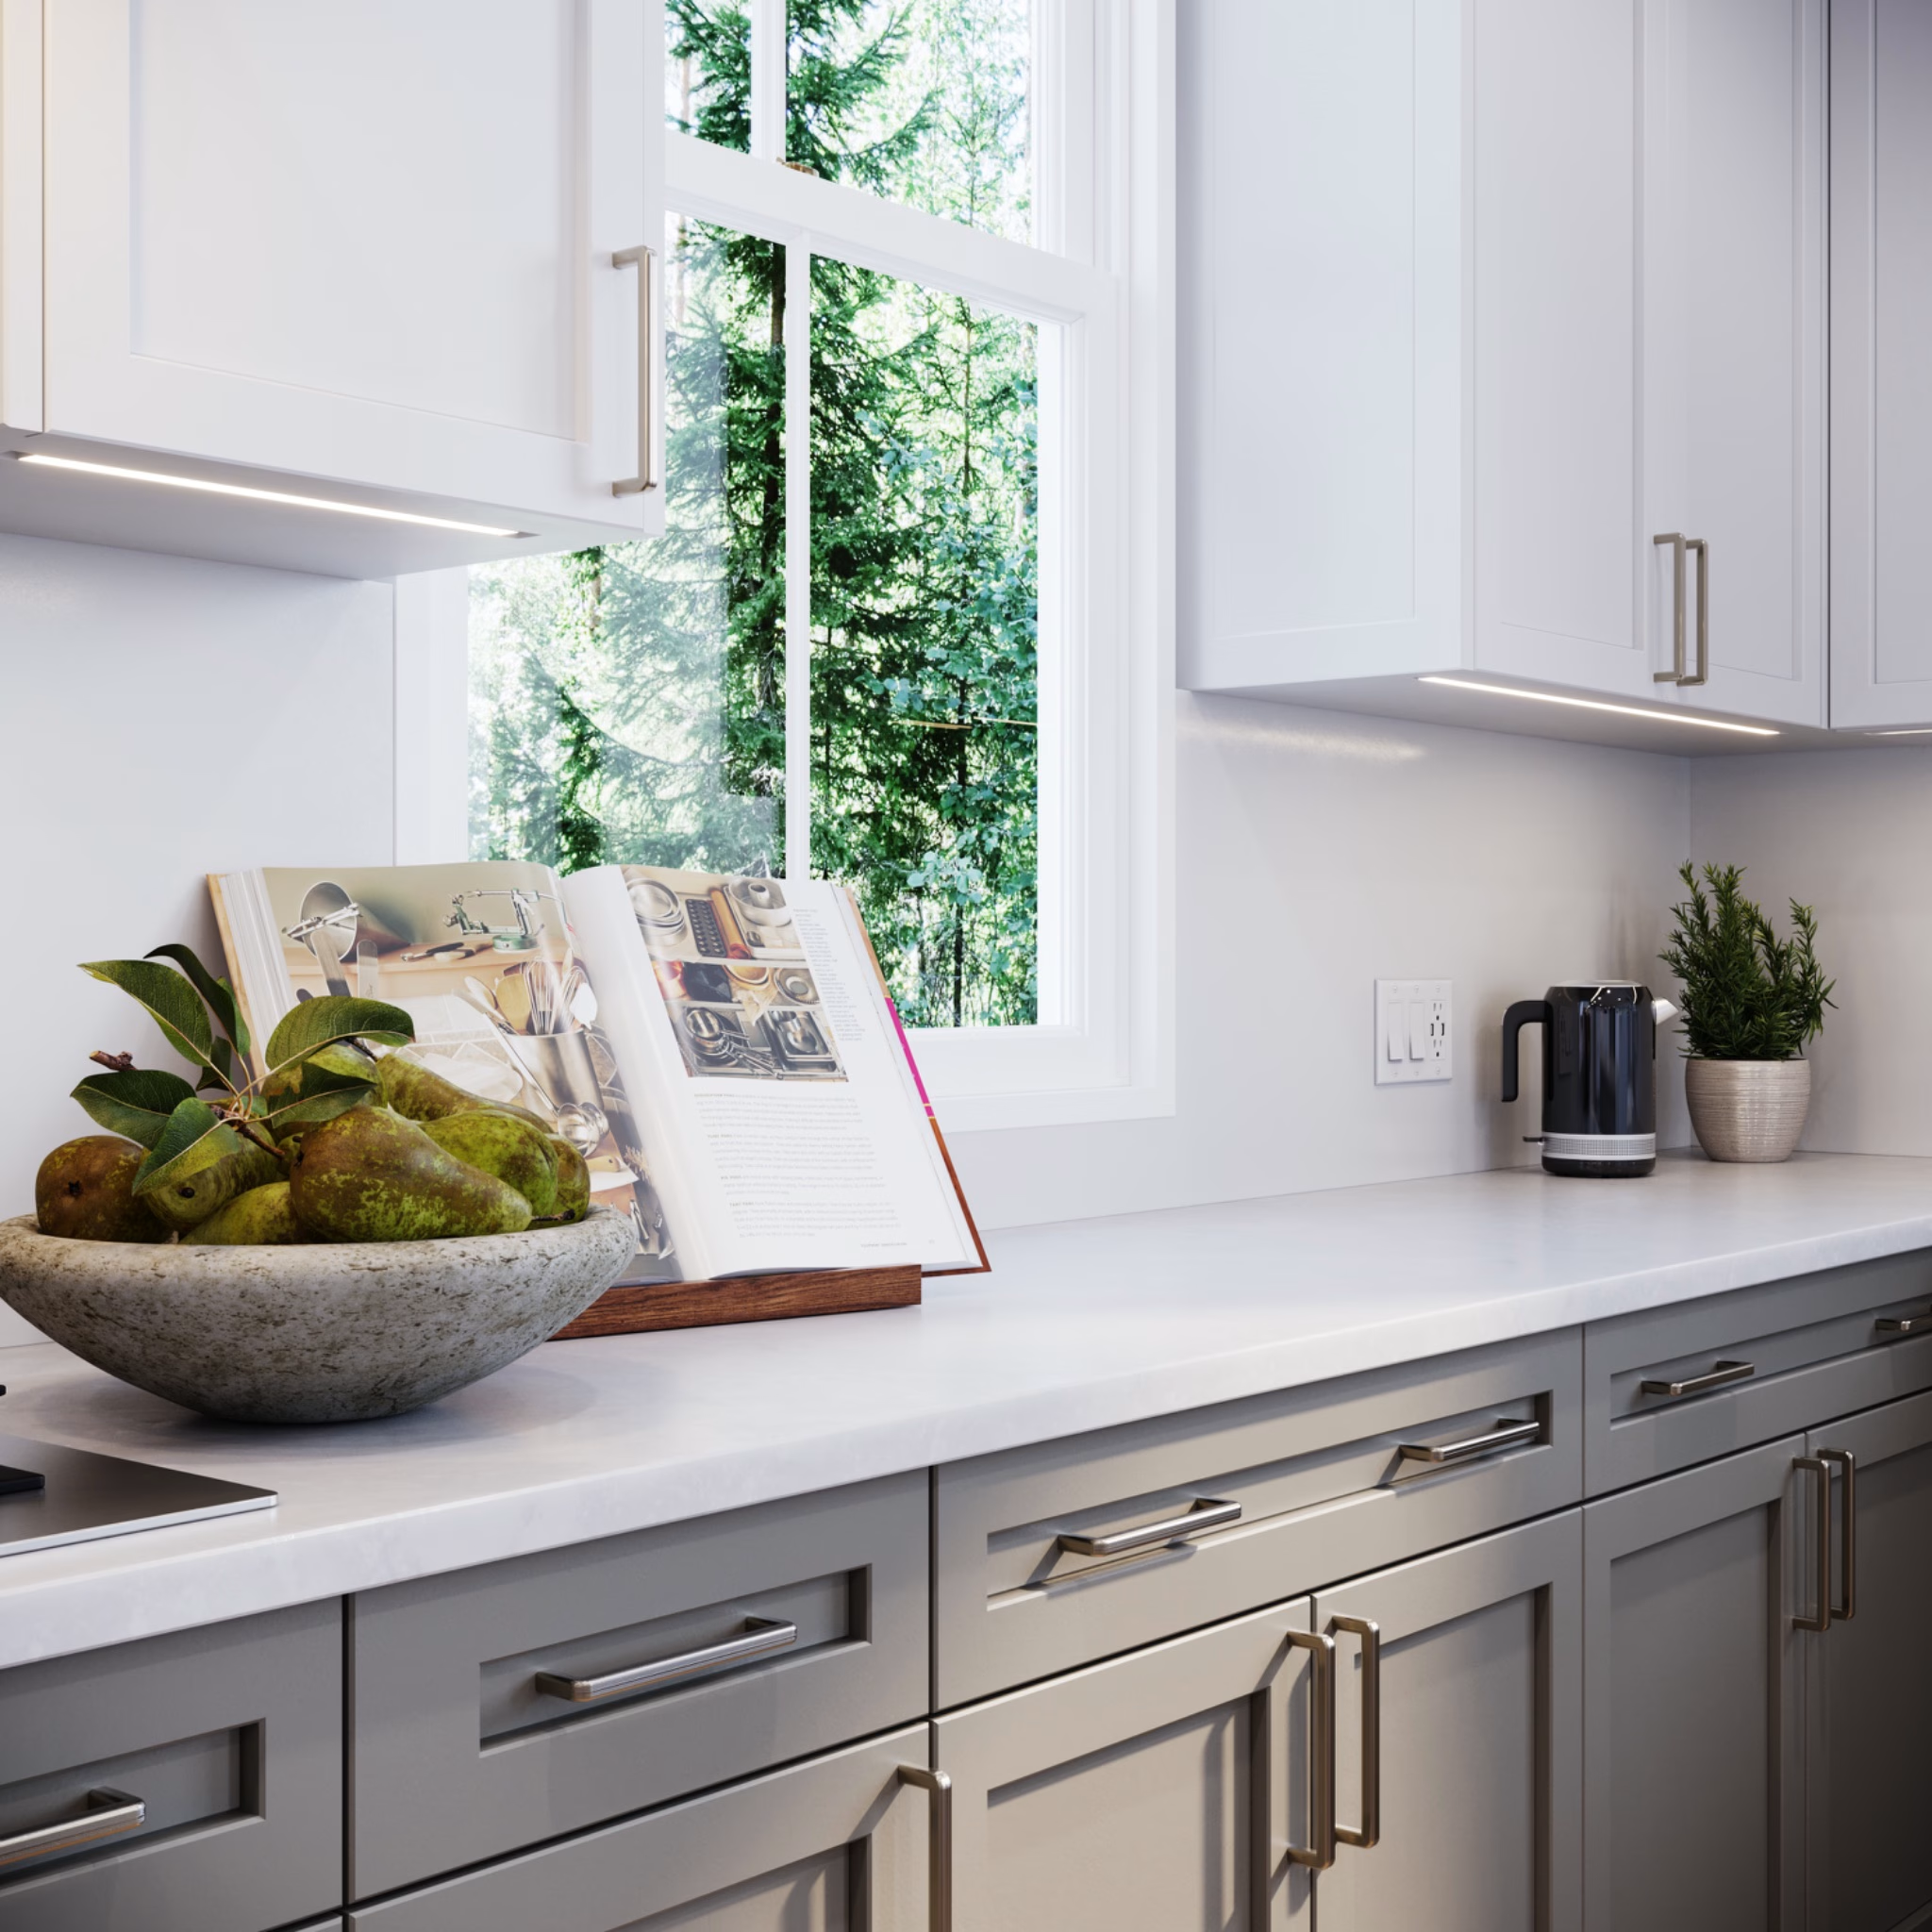
For Ultra LEDs, the light itself is what sells: strips and profiles are bought for their glow, spread and color options. CGIFURNITURE rendered glow and color temperature demonstrations, cross-section views of the profiles, and installation scenes that show where and how the light lands. The set is in the Ultra LEDs case study.

Color Temperature: Showing the Available Options
Many fixtures ship in two or three color temperature options, and buyers want to see the difference, not read about it. The honest way to show the range is to render the same fixture in the same scene, from the same camera, once per option, so the 2700K, 3000K and 4000K versions differ only in the light itself. What we avoid is tinting a finished image in post to fake warmth: walls, fabrics and metals have to react to the light source; otherwise, the comparison becomes misleading. Keep exposure, white balance and ambient lighting fixed across the comparison; the same camera angle alone is not enough.
Beam Shape: Showing Where the Light Goes
A buyer reads the beam on the surfaces around the fixture: the pool of light on a counter, the scallop on a wall, how hard the edge is and how quickly it fades. To rebuild that, we work from the beam angle and spread in the spec sheet, and from IES or LDT files when they exist. Scenes are set up so the beam has somewhere readable to land, because those surfaces are part of the product story.
Diffusion and Glow: Keeping the Shade Visible
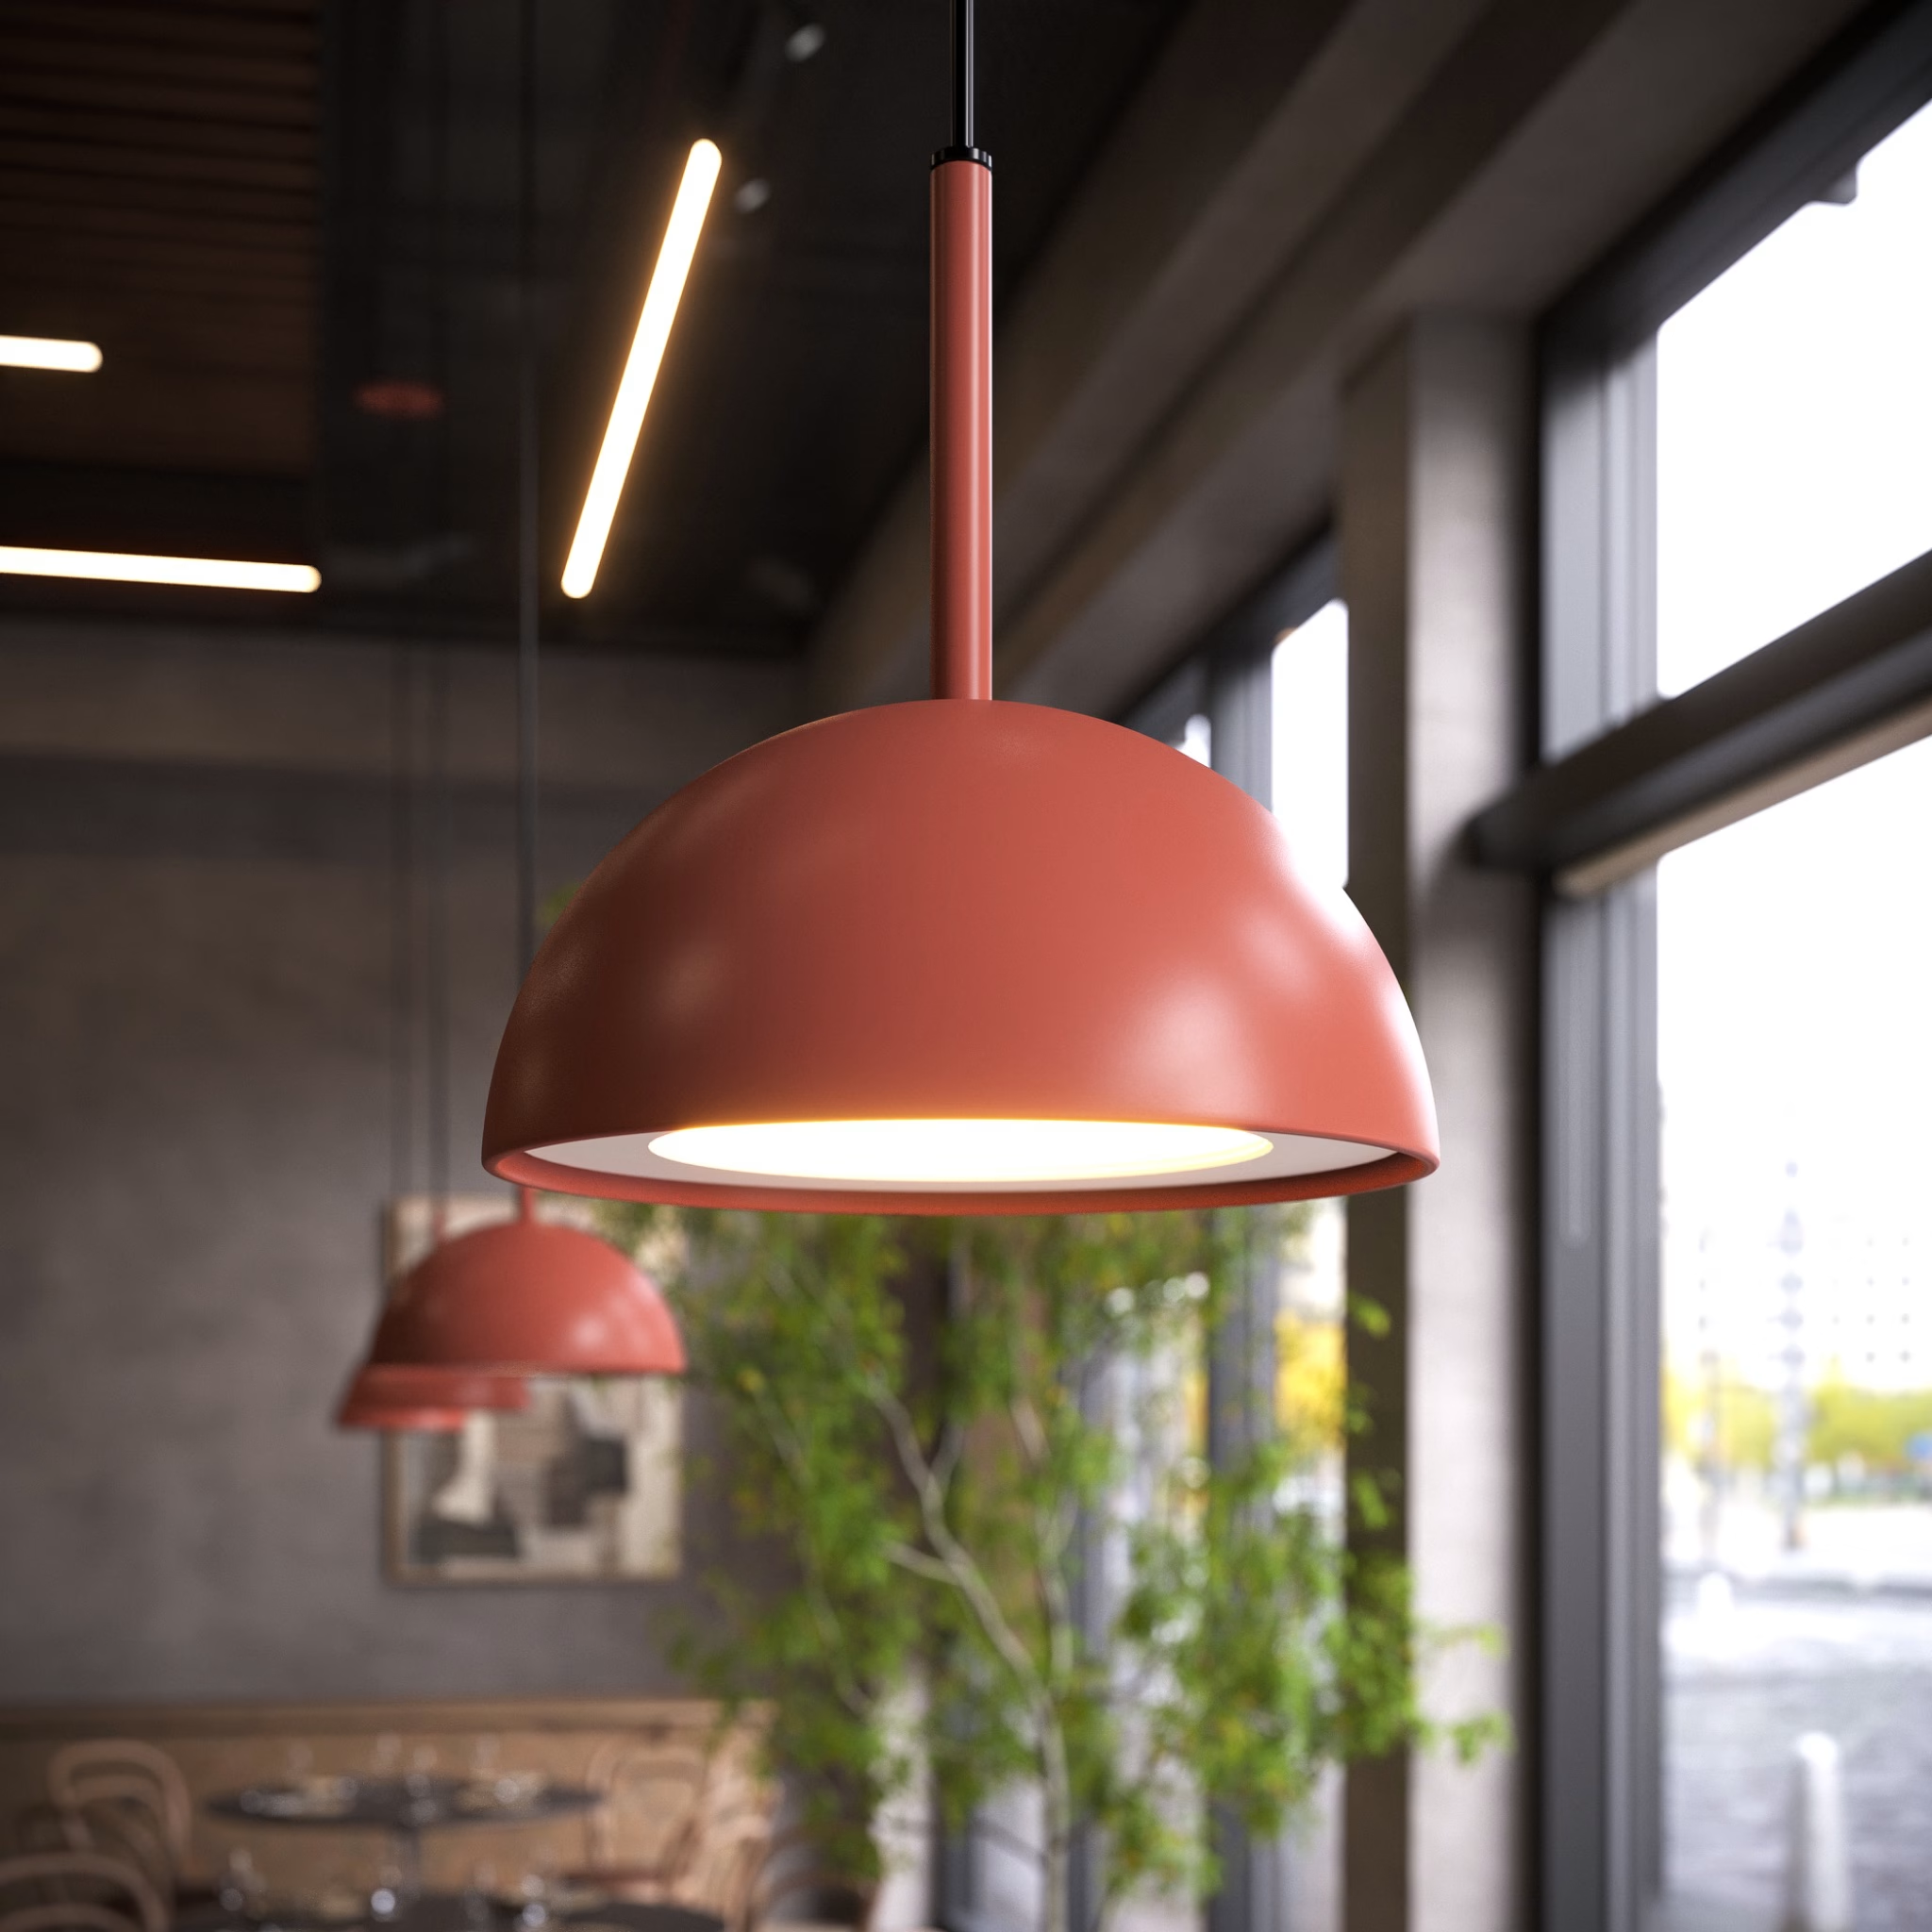
The classic failure of a switched-on shot is a shade blown out to pure white. Glass, fabric and acrylic each scatter light in their own way, and the render has to keep the material readable inside the glow: the weave of a textile shade, the tint of amber glass, the frosted gradient of acrylic. Done right, the fixture stays a product with form and detail, not a bright spot in the frame.
From gray geometry to working light
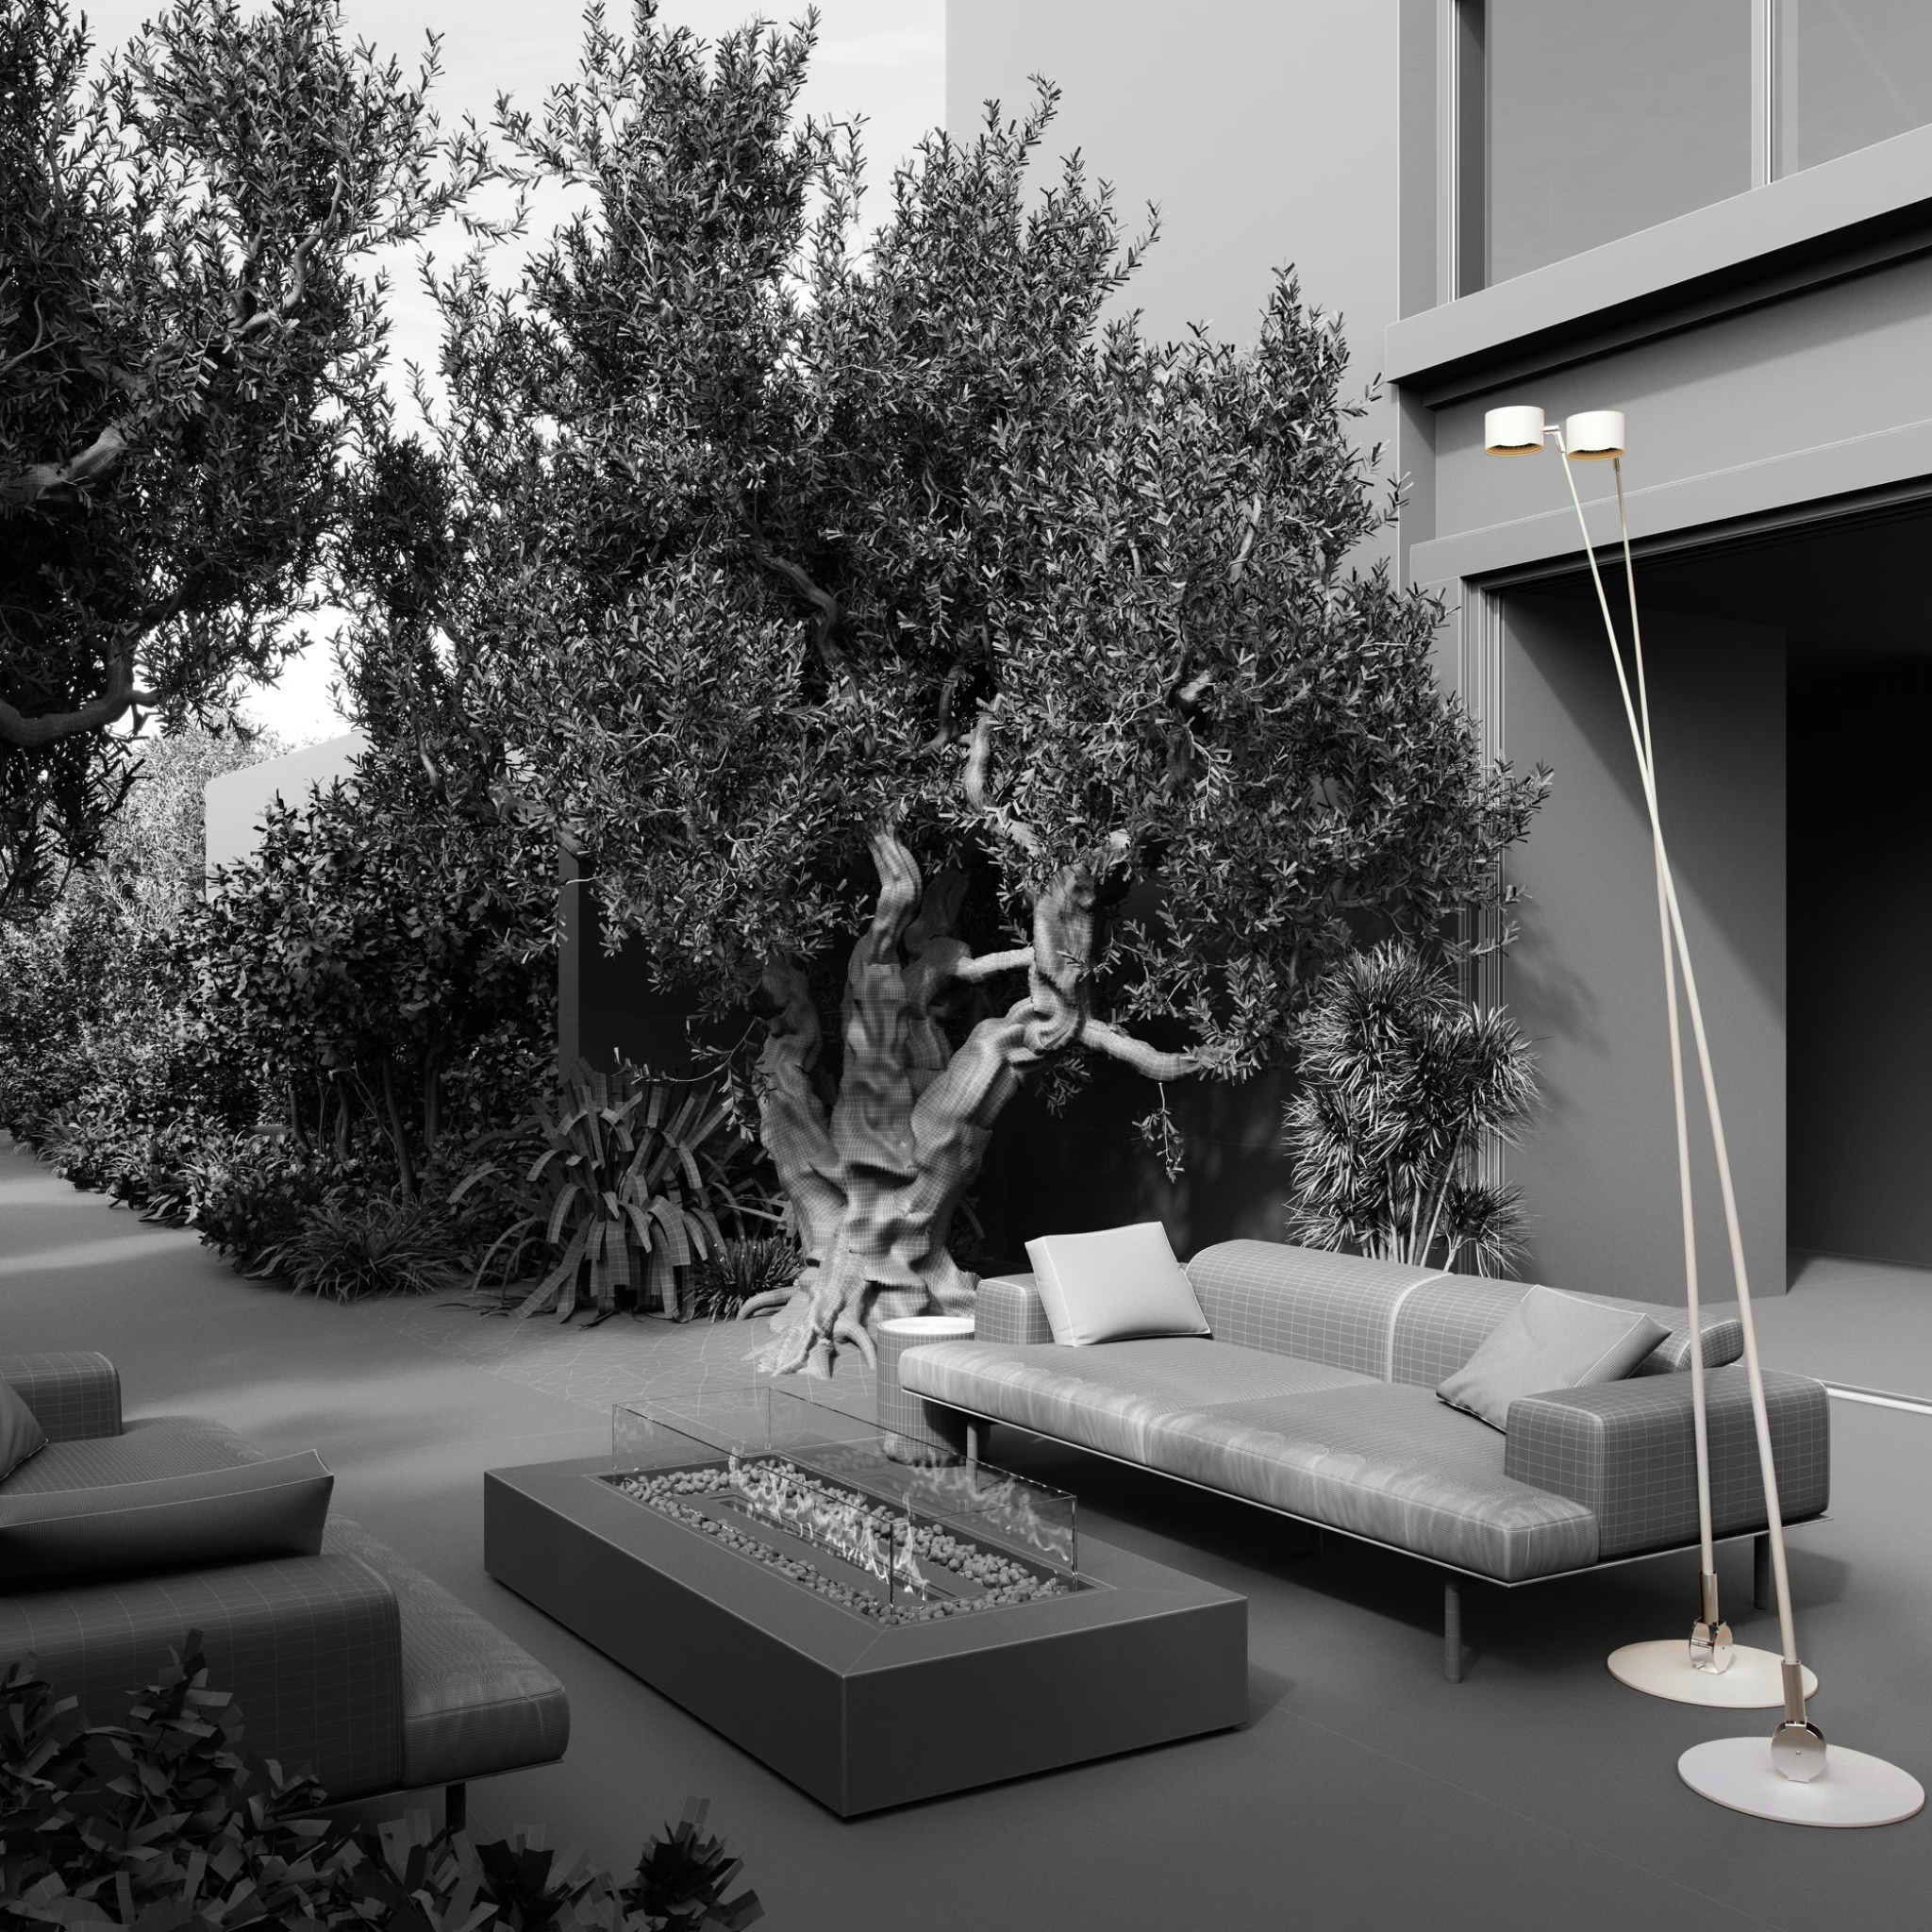
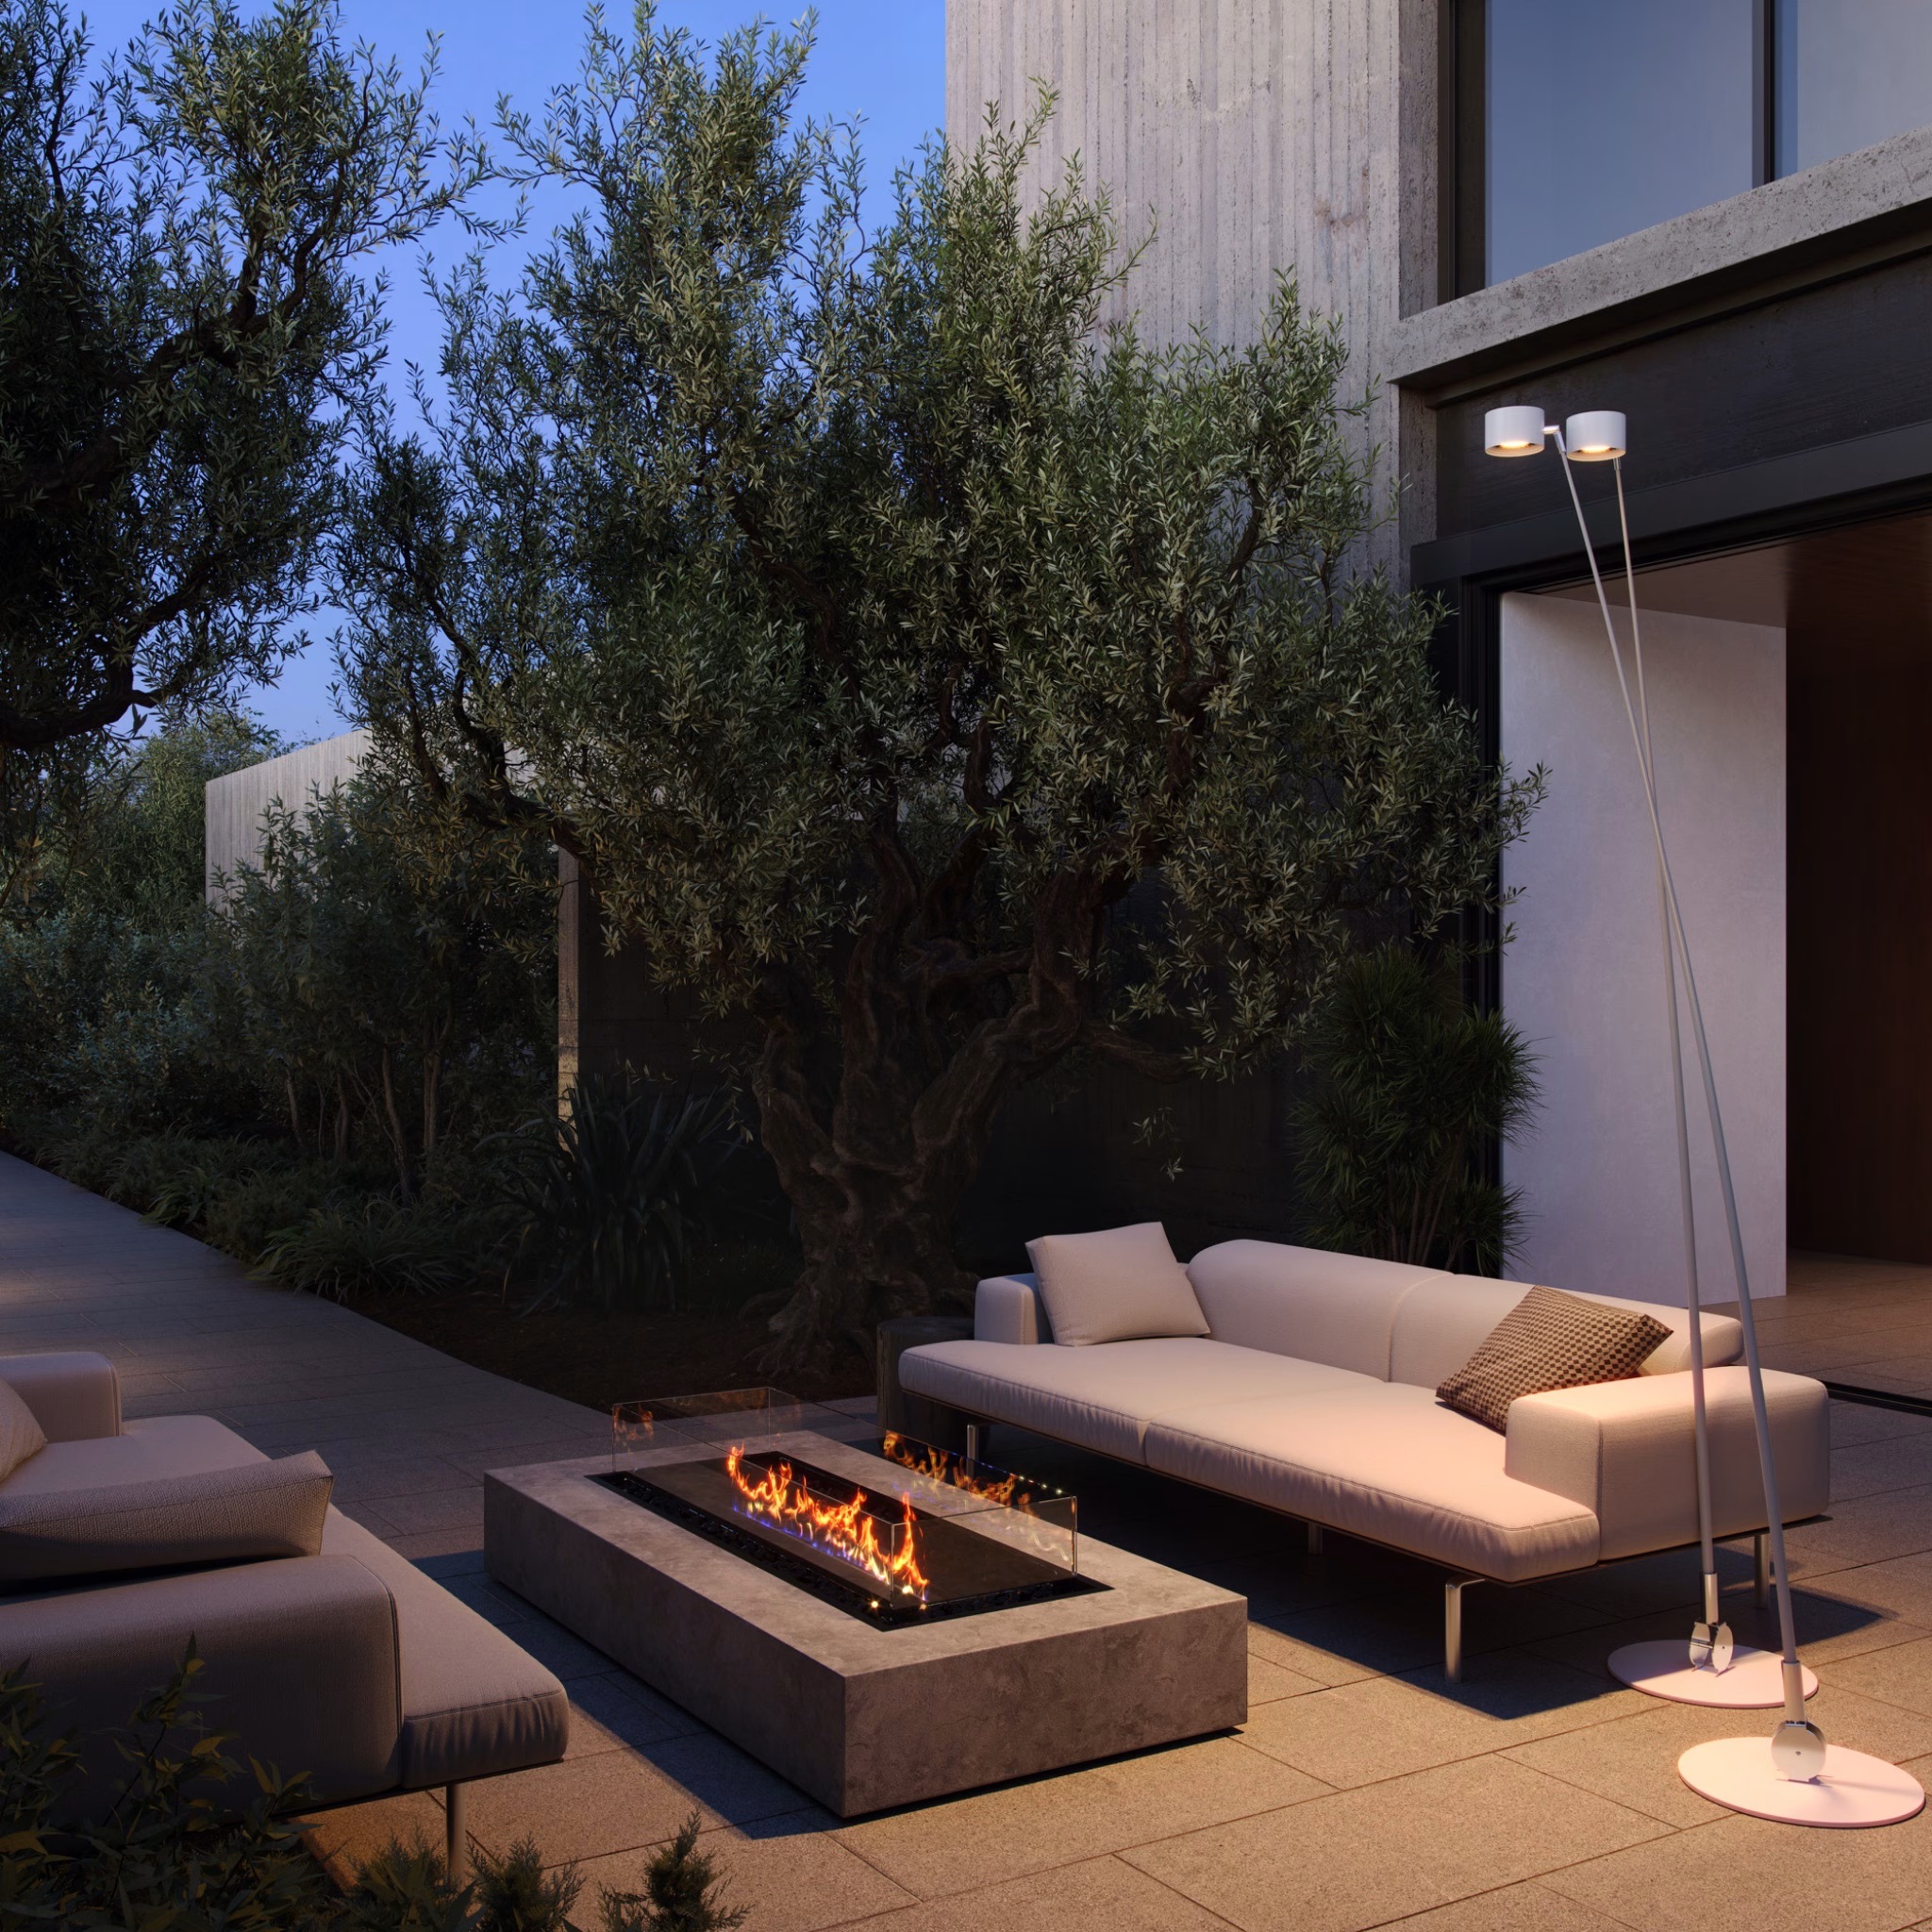
Most projects start with a clay stage: geometry, cameras and composition are approved before final materials and product lighting are set up. Neutral technical light can already be used here to judge the form. Then the product light is built on top: CCT, beam, diffusion, glow and reflections, layer by layer, until the fixture reads as photographed.
What IES and LDT files change
IES and LDT files are photometric descriptions of how a specific fixture distributes light. When you have them, we use them to reproduce beam shape and light distribution as closely as the supplied data allows. Without them, the effect is built from product photos, spec sheets and visual references. What we do not promise is a lab-grade photometric report: the goal is an image that behaves like your product, not a substitute for testing.
Light in motion
The same setup extends to video: dimming ramps, color transitions on smart and RGB products, and, for fixtures with adjustable parts, animations of how the distribution changes as a head tilts or a diffuser slides. We animate the functions your product actually has, not generic effects. These run on product pages and social media from the same 3D asset as the stills. The full list of formats lives on the 3D rendering for lighting products page, and the photography comparison is in Lighting Product Photography vs CGI.
What to Send for a Switched-On Render
A short checklist that covers most switched-on projects:
- Light source specifications: available color temperatures, lumen output and beam angle
- The diffuser material: glass, fabric, acrylic or silicone, with a sample or close-up photos
- Photos of the fixture, including the switched-on state if a sample already exists
- IES or LDT files when available
- The states you need shown: on, off, dimmed, or specific color temperature options

See Your Fixture Switched On
Send one drawing or a few photos of a fixture, and we will render it lit, with color temperature, beam and glow matched to the specs and references you approve. On your product, not a demo one.
Send One FixtureFAQ
Can you show dimming and color changes?
Yes. Dimming ramps, color temperature shifts and RGB transitions are animated from the same 3D asset used for the stills, and delivered as MP4 for product pages, ads and social media.
Do you simulate exact lumen output?
No. Renders are built for visual truth, not laboratory measurement. With IES or LDT data we match beam shape and distribution as closely as the supplied data allows, but the image is not a substitute for photometric testing.
What input helps most for realistic light?
IES or LDT files when they exist, plus the light source spec (CCT and output), photos of the fixture switched on, and material samples for the shade. The more of these we have, the closer the match.
Can we get the same fixture in warm and cool light?
Yes. Color temperature is a scene setting, so one model can be rendered at 2700K for a cozy interior and 4000K for a workspace without remodeling anything.