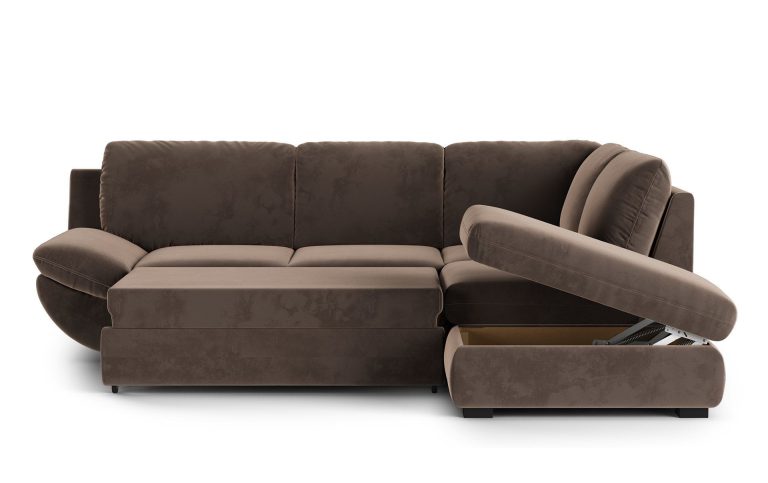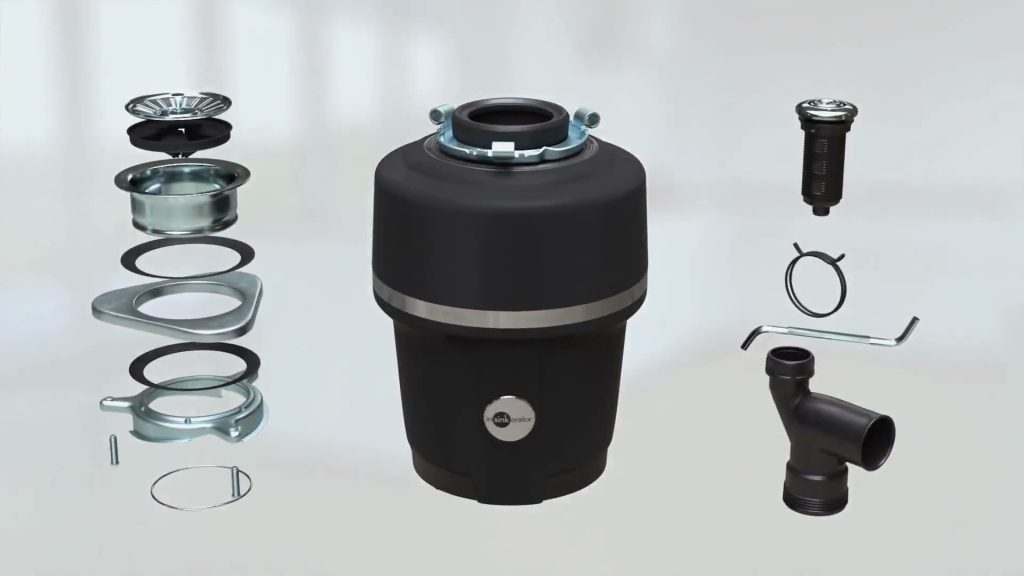
An assembly instructions video shows how to put a product together, one step at a time, in the order the parts come out of the box. For furniture, fixtures, appliances and building products, it does the job a paper manual struggles with: it shows which way a part faces, which way a fitting turns and what a correct connection looks like before anything is tightened.
A clear assembly video saves the customer or the installer an hour of guesswork. It also works before the sale: a shopper who watches the product come together in a minute stops wondering whether they can manage it, and orders. After the sale, it saves the brand a support ticket, a one-star review or a return. This guide covers what to show, which format to choose, how to structure the steps and where to publish the video so people find it at the moment they need it.
We make assembly and installation videos in 3D for furniture, plumbing, ventilation and building product brands as part of our 3D installation animation services. Examples from those projects appear throughout the article.
What Is an Assembly Instructions Video?
An assembly instructions video is a step-by-step visual guide that takes a product from loose parts to a finished, usable item. It usually follows the printed manual: the same part letters, the same hardware bags, the same step numbers. You will also see it called an assembly video, an assembly guide video or a video manual.
It is close to an installation video, but the job is different. Assembly puts the parts of a product together: a bed frame, a desk, a wardrobe. Installation fixes a product into a home or a building: a faucet under a sink, a door in its frame, a fence on its posts. Many brands need both, and the same 3D model can serve both.
An assembly video can be filmed, drawn in 2D or animated in 3D. Each format suits a different product and budget, as the comparison further down shows.
Why Customers Reach for Video Before the Manual
People prefer to learn a process by watching it. In TechSmith’s 2024 Video Viewer study of 929 viewers in six countries, 83% said they prefer instructional or informational content as video; 41% chose reading text. Wyzowl’s 2026 survey asked how people would most like to learn about a product, and 63% picked a short video.
That does not make the paper manual obsolete. In a US consumer survey by D2 Worldwide, 76% said they want the setup guide and user manual printed and in the box. 47% also watch videos when they need help with setup. Customers want both, and they reach for the video when the drawing stops making sense.
So the strongest setup links the two. Wayfair’s instruction sheet for a double trash can, for example, prints a QR code that opens the assembly video on YouTube. IKEA publishes assembly video tutorials next to its downloadable PDF instructions. The customer starts with paper and switches to video at the hard step.
Brands see the effect in support. In Wyzowl’s 2025 survey, 62% of video marketers said video had helped them reduce support queries. That is a self-reported figure, so track your own: tickets per thousand orders and return reasons before and after the video goes live.
What a Paper Manual Can’t Show
Most assembly mistakes happen at the same few points. A printed line drawing is still and flat, and these are the moments where that falls short:
- Orientation. A panel or bracket drawn as a plain outline looks the same both ways. The customer has to guess which edge is finished and which face points inward.
- Direction and force. A drawing can’t show which way a cam lock or a compression nut turns, or when a fitting is tight enough and the next quarter turn will strip it.
- Hidden connections. Dowels, cam bolts, pipe connections and wiring disappear inside panels or behind walls, so nobody sees how the connection is meant to work.
- Order. Some steps must come first, like the back panel before the shelves. Miss one and the customer takes half the build apart.
- Similar hardware. A 30 mm and a 35 mm screw look identical on paper.
- Two-person and safety steps. Lifting a wardrobe upright, fitting an anti-tip kit, or shutting off the water before the old faucet comes off.
At each of these points the customer stops and guesses, and some guess wrong. A few seconds of motion answers the question before it turns into a support call.
Filmed, 2D or 3D: Three Ways to Make an Assembly Video
The format decides what the video can show, what it costs to update and whether it can be reused.
| Filmed tutorial | 2D motion graphics | 3D animation | |
|---|---|---|---|
| Needs a finished product | Yes, a production unit | No | No, CAD files or drawings are enough |
| Shows parts inside panels | No | As simplified diagrams | Yes, with cutaways and see-through views |
| Looks like the real product | Yes | No, flat shapes and icons | Yes, with real materials |
| Product changes | Reshoot | Redraw the affected scenes | Re-render the affected sequence |
| New language | Reshoot or dub | Swap the text layer | Swap the text layer |
| Reusable for images, AR, 360 | No | No | Yes, from the same model |
| Best for | Presenter-led demos, products that need hand technique | Simple products on a small budget | Catalogs with many SKUs, pre-launch products, complex hardware |
Filming is the right choice when a person is the point. In TechSmith’s study, 87% of viewers preferred a real person on screen over an animated character or an AI avatar. If the video is a founder walking through a handmade piece, or a fitter showing a technique by feel, film it.
Most assembly and installation videos have no presenter, though. The product is the subject, and the viewer needs a clean frame, a steady camera and parts that look exactly like the ones in front of them. That is where 3D animation is strongest.
Why 3D Animation Works Best for Assembly Videos
It is ready before the product ships. A 3D video is built from CAD or STEP files, so it can go live on the product page on launch day. Nobody waits for the first production unit to arrive at a studio.
It shows what a camera can’t. A panel can turn semi-transparent so the viewer sees the cam bolt lock onto the dowel. Hardware can fly out in an exploded view and drop back into place in assembly order.
Every frame matches the box. The parts on screen are the parts in the carton: same shapes, same part letters, same finish. If a bracket changes, the team re-renders that one sequence instead of reshooting the video.
One video serves many markets. Step labels and captions sit on their own layer, so a new language is a text swap and a render. With no voiceover, the video also works on mute.
The model keeps working after the video. The same geometry produces silo images, room scenes and AR files. Our guide to the product digital twin explains how one model feeds a whole catalog.
Assembly and Installation Videos Across Industries
The format works for anything with parts and a sequence. The steps and the setting change by industry; the method stays the same.
Furniture
A furniture assembly video deals with flat-pack panels, cam locks, dowels and long hardware lists. For Actiforce, an international manufacturer of furniture fittings, we made an assembly video that shows how a height-adjustable desk is built and how it works. Silo and lifestyle renders came from the same models.
Plumbing and Sanitary Ware
Plumbing is where 3D earns its keep, because most of the product sits behind a wall or under a sink. Chicago Faucets, a US maker of commercial faucets with over 120 years in business, needed installation content for three products in three facility types. Filming real installations in each was not practical.
We produced three 3D videos. The first, about two minutes long, walks through a connected water management system in a hospital room, above and below the sink. The second shows a shower valve being replaced and the old wall opening covered with a conversion plate. The third installs a touchless faucet in a public restroom.
The agency behind the project sent STP files, installation storyboards, assembly brochures and reference photos. Each video went through approval as still frames first, then a low-resolution draft, then the final render. The faucet model built for the hospital video was reused in the restroom video, which cut time and cost on the third one.
Chicago Faucets published the videos on its website as installation guides, and they were ready for the platform’s launch at the 2026 Healthcare Facilities Innovation Conference. Facility managers use them to see what the installed system looks like; installers follow them step by step. One production covered both marketing and technical documentation.
Ventilation and Appliances
For Broan NuTone, we made an installation animation for kitchen ventilation products, along with about 70 silo and lifestyle images from the same models.
Building Products, Doors and Outdoor
Hilti uses our exploded and cutaway views to explain installation in sales and training materials. The same approach covers doors, blinds, fence panels, concrete panels and steel siding: post-setting, panel overlap and fastener placement shown from any angle. The full range is on our 3D installation animation services page.
How to Structure an Assembly Instructions Video
The goal is a video the viewer can follow with a screwdriver in one hand. In TechSmith’s study, “easy to follow along” was the top reason people kept watching an instructional video, chosen by 57%. This structure works for most products:
- Open on the finished product. Three to five seconds, with the build time and the number of people needed.
- Check the parts. Lay out every part and hardware bag with the manual’s letters, so a missing part shows up before step 1, not at step 9.
- Show the tools. Name what is needed and what is not, for example “no drill required”.
- One action per step, numbered like the manual. Step 7 in the video is step 7 on paper, so the customer can switch between them.
- Slow down at the mistakes. Hold on the orientation, the cam lock turn and the two similar screws. Highlight the part and add a short warning label.
- Show the result of each step. A one-second pause on the finished section lets the viewer compare it with their own.
- Include the safety steps. Shutting off water or power, the two-person lift, and the anti-tip kit if the product ships with one.
- End on the finished product in place, with a link to support and spare parts.
A few production rules keep it readable:
- Keep on-screen text to a few words per label and add captions, so the video works on mute.
- Hold one camera angle per stage and move it only when a step needs a new view.
- Color the part being fitted so the eye goes straight to it.
- On YouTube, add chapters that match the step numbers. A third of TechSmith’s respondents (33%) left a video once they had what they needed. Chapters let a customer stuck at step 9 jump straight there.
How Long Should an Assembly Video Be?
As long as the build needs, and no longer. The length comes from the number of steps, not from a target. Most brands get the most value from two cuts of the same footage:
| Cut | Length | Job | Where it runs |
|---|---|---|---|
| Overview | 15 to 30 seconds | Proves the build is easy before purchase | Product page, ads, social |
| Full guide | Every step, with chapters | Gets the customer from box to finished product | YouTube, QR code in the manual, support center |
The short cut matters more than it looks. In TechSmith’s study, half of viewers preferred a video of 30 seconds or less when learning about a product in general. The overview can be edited from the full guide’s rendered footage, sped up into a time-lapse, so it does not need a separate production.
Where to Publish Your Assembly Video
An assembly video only helps if the customer finds it at the hard step. Put it in every place they might look:
- Product page. Place the overview near the gallery with a label like “See how it assembles”. It answers the “will I manage this?” doubt before the order.
- The manual and the box. Print a QR code on the first page of the manual and on the carton flap, pointing to the full guide.
- YouTube. Title it with the product name and “assembly instructions”, the way customers search. Put the parts list and step timestamps in the description: 54% of TechSmith’s respondents picked a video because its description matched what they wanted to learn.
- Amazon and other marketplaces. Add the video to the listing. Our guide to 3D content and video on Amazon covers placement rules.
- Retail partners. Send the file with the rest of the product content, so stockists can host it too. For products fitted by professionals, add it to spec sheets and dealer portals.
- After the sale. Link the full guide in the delivery email and the help center, where support agents can send it in one click.
- Social. The 15-second time-lapse works as a post or an ad on its own.
How We Make a 3D Assembly Video
Our process runs in five stages, and you approve each one before the next starts:
- Brief. You send CAD files, the manual and product photos. We agree on the steps, the length and the formats.
- 3D modeling and technical check. We build every part, down to the fasteners and fittings, and check it against your drawings before animating.
- Storyboard. A simple draft shows camera angles and step timing. You approve it before final rendering.
- Materials, light and render. The product gets its real finishes, and the full sequence is rendered.
- Post-production. We add step labels, sound and optional voiceover, then deliver MP4 or MOV in 16:9, 1:1 and 9:16.
Animation starts from $15 per second of finished video. 3D modeling is quoted separately, and if you already have usable models, that part shrinks or disappears. Two revision rounds are included. For what moves the price up or down, see our breakdown of explainer video cost.
What to Send Us
- CAD or STEP files for every part (photos and drawings work if you have no CAD)
- The current printed manual, so the video matches its steps
- The hardware list with sizes
- The finishes or colors the video should show
- The languages you need
- Where the video will run, so we render the right aspect ratios
Turn your manual into a video
Send us one product’s manual and CAD files. We’ll storyboard the steps and quote a full assembly guide plus a short overview cut.
Book a demoFAQ
What is an assembly instructions video?
A step-by-step video that shows how to put a product together from its parts, usually following the steps of the printed manual. It can be filmed, drawn in 2D or animated in 3D.
What is the difference between an assembly video and an installation video?
An assembly video shows how to put a product’s own parts together, like a desk or a bed frame. An installation video shows how to fit a product into a building, like a faucet, a door or a ventilation hood. Many products need both, and one 3D model can produce both.
How long should an assembly instructions video be?
As long as the steps require. Most brands publish a full guide with chapters for each step, plus a 15 to 30 second overview for the product page and social media.
Can you make a furniture assembly video without a physical product?
Yes. A 3D furniture assembly video is built from CAD files or technical drawings, so it can be ready before the first unit is manufactured.
Should a video replace the printed manual?
No. Most customers still want printed instructions in the box. The video works best alongside the manual, linked by a QR code on its first page.
How much does a 3D assembly video cost?
Our animation starts from $15 per second of finished video, with 3D modeling quoted separately. Existing CAD files or 3D models lower the modeling cost.
Do assembly videos reduce returns?
They can reduce returns caused by failed or frustrating assembly. They do nothing for transit damage or a sofa that is too big for the room. Track the “difficult to assemble” return reason and assembly-related support tickets before and after the video goes live to see the effect on your own catalog.