Chapter 15
How is a 3D Model of a Product Made?
A manufacturer greatly benefits from understanding the 3D model creation process, since its pipeline largely defines the project workflow. While the workflow can be customized, 3D model production usually follows the same steps. Let’s examine the typical workflow of 3D modeling for a silo 3D visualization service.
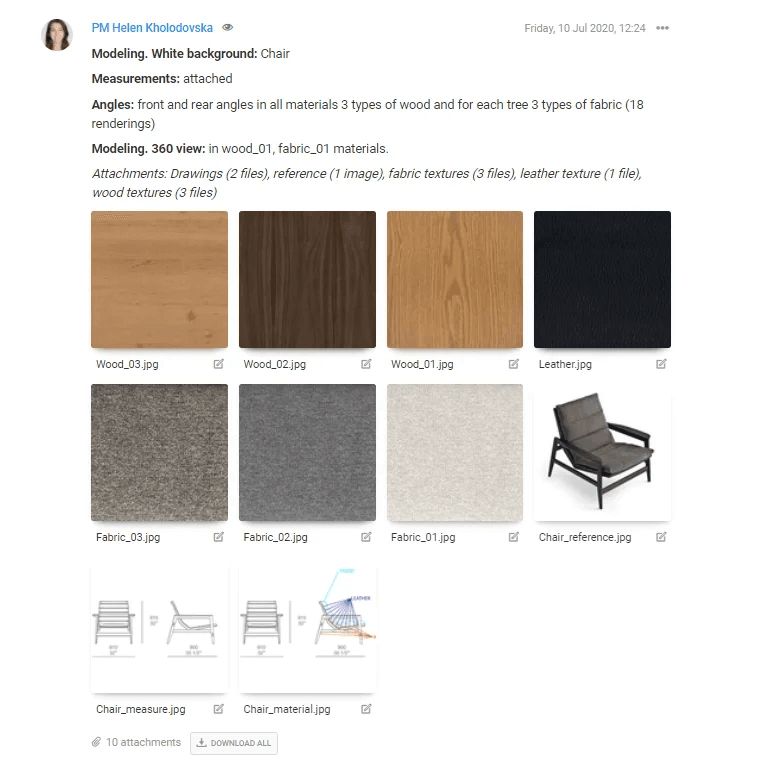
1. Studying the Assignment

The first step is for the project manager to look at the files and information submitted, and estimate the time and cost of the 3D model creation. Once we have all the details, the manager approves the scope of work, assigns a dedicated team to the project, and the process starts.
2. Building Geometry of a 3D Model
At this stage, a grayscale model of the product is created, often referred to as the “clay” model as well. It doesn’t show colors, materials, or textures. The main goal at this stage is to get the geometry, proportions, and shape of the product right.
So the 3D artists make silo renders showing the grayscale 3D model from different sides, and send them to the client. The latter gives their feedback, the 3D artists make the necessary updates, and submit new renders. Once the results are approved, the next step of 3D model creation begins.
3. Applying Textures and Materials
When the shapes and proportions are established, textures and materials are applied. UV mapping is the first step here.
Basically, the 3D specialists divide the surface of the 3D model into separate elements, and then “unwrap” the latter to get 2D planes. After, the artists apply the texture map to each and project them onto the model.
This allows making sure that the materials will be laid evenly and thus have realistic patterns and no unnecessary seams. The result looks like the 3D models in the renders above.
Next, it’s time to apply materials to the surface of the model. The process happens like in the 3ds Max screenshots above and is vital to the creation of a highly realistic CG asset.
4. Rendering the 3D Model on White Background
When the textures are in place, the 3D artists send the client renders with the 3D model on the white background. The client views the 3D model and gives feedback. Once the results of this stage are approved, the 3D model creation process is essentially over. The only thing left is to enhance the asset’s visual impact through post-processing.
5. Post-production
At this stage of the 3D model creation process, the CGI artist makes creative adjustments such as hue and contrast. The result is a photorealistic 3D model that looks crisp and vibrant. The CGI team delivers it to the client in the file format specified in the Scope of Work. Once approved, the 3D model is ready for use in commercial 3D rendering services.
The 3D model creation process takes the idea of a product to a photorealistic three-dimensional result. The pipeline usually follows the same steps — geometry building, texture and material application, silo rendering, and post-production. As for the workflow, it can be adjusted to fit a specific working process.
Need to see how product rendering and modeling can help your business process optimization? Request a demo, and our manager will answer your questions and consult you on how you can benefit from different CGI solutions.

Get the Commercial CGI & Product Rendering Guide for Marketing Directors
Everything you need to scale product content with CGI.
Get expert insights, real project examples, and strategies with proven ROI.
Fill out the form to receive the guide directly in your inbox.