Chapter 16
How to Write a Brief for a Product 3D Rendering Project?
The best way to ensure that the 3D rendering company understands everything is to support the brief with visuals. This way, there won’t be additional questions like “what exactly do you mean by a Mid-century modern chair? Could you send us a link to the model you’d like to see in the lifestyle rendering?” If there are no definite answers yet, the 3D artists will gladly help figure things out. But if there are exact aesthetics requirements, it’s better to convey them through illustrations. A strong reference pack also reduces revisions, keeps the workflow predictable, and helps specialists from product visualisation services match the concept from the start.

Consider adding the following materials to the brief:
1. Sketches, shop and millwork drafts, wireframe model drawings.
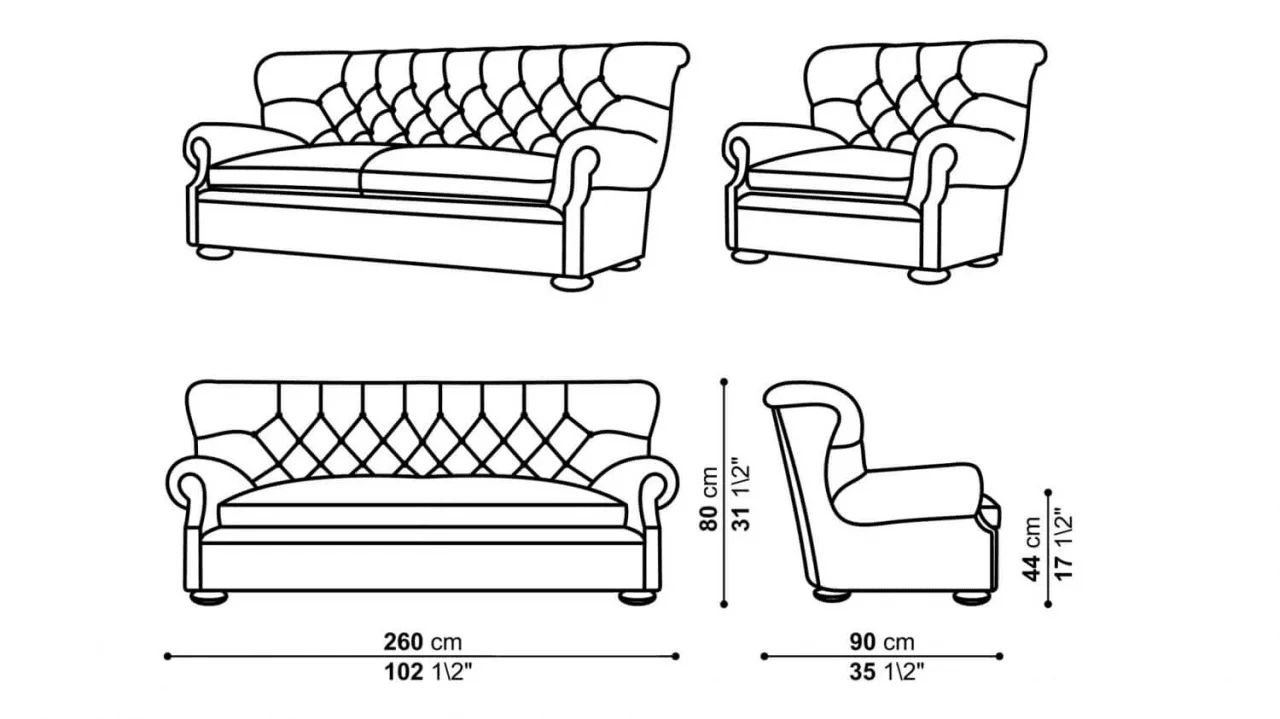
They convey the technical information about the product and thus help 3D artists achieve the required accuracy. This data is especially useful when the project includes 3D product modeling, since the team can confirm proportions, construction logic, and key measurements early. CAD drawings are particularly indispensable for bespoke 3D furniture modelling projects where the product has only existed as an idea before — drafts can guide design development and help create visuals even before manufacturing begins.
2. Photos of the furniture item or similar pieces from the same collection.
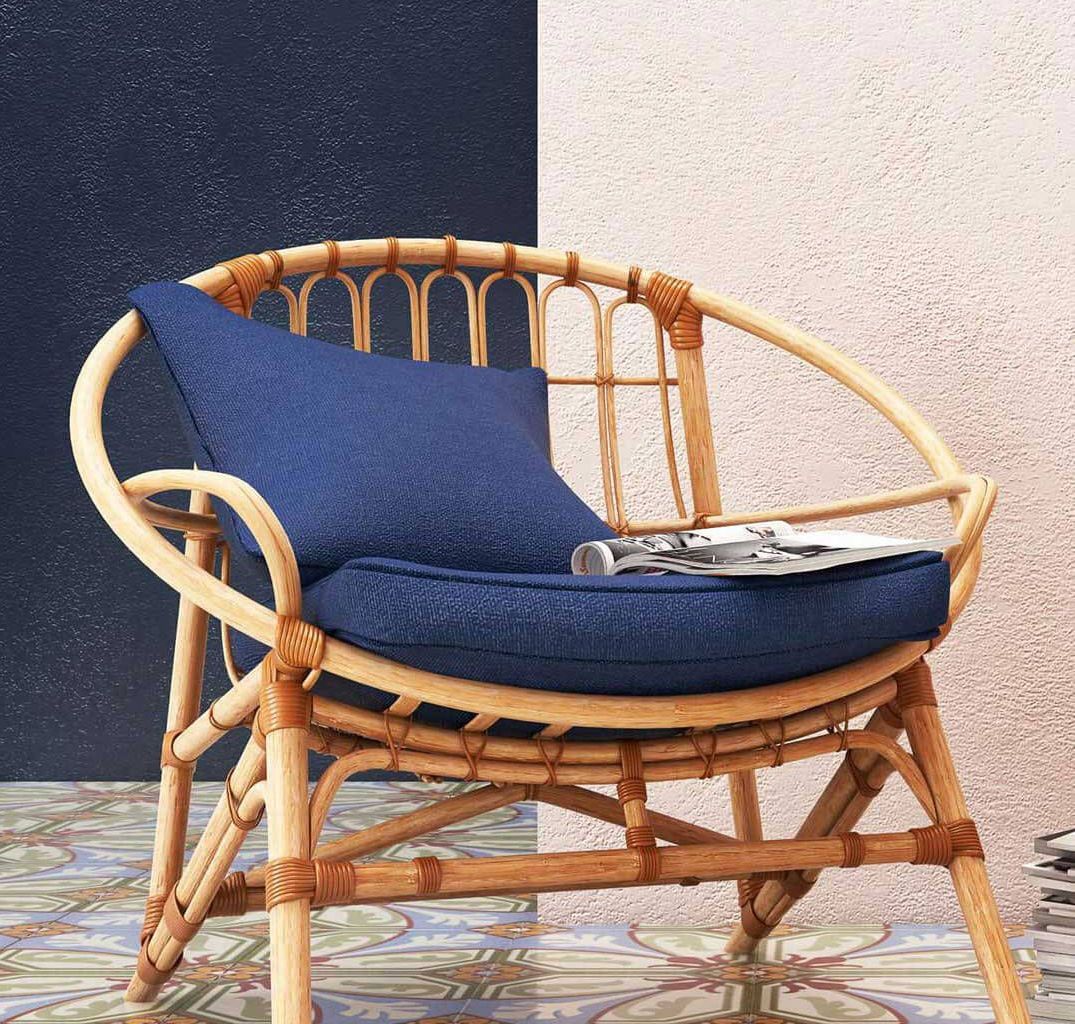
These may be non-professional, smartphone-made pictures. Their purpose is to help the 3D artists to examine colors, materials, fixtures, seams, and details. Even partial references help when no finished 3D model is available yet, since artists can still recreate the product based on real-world details and build quality. Front, side, and back views will give a better idea of the proportions and form, adding more dimension and detail to a 2D drawing.
3. Description of details and special features.
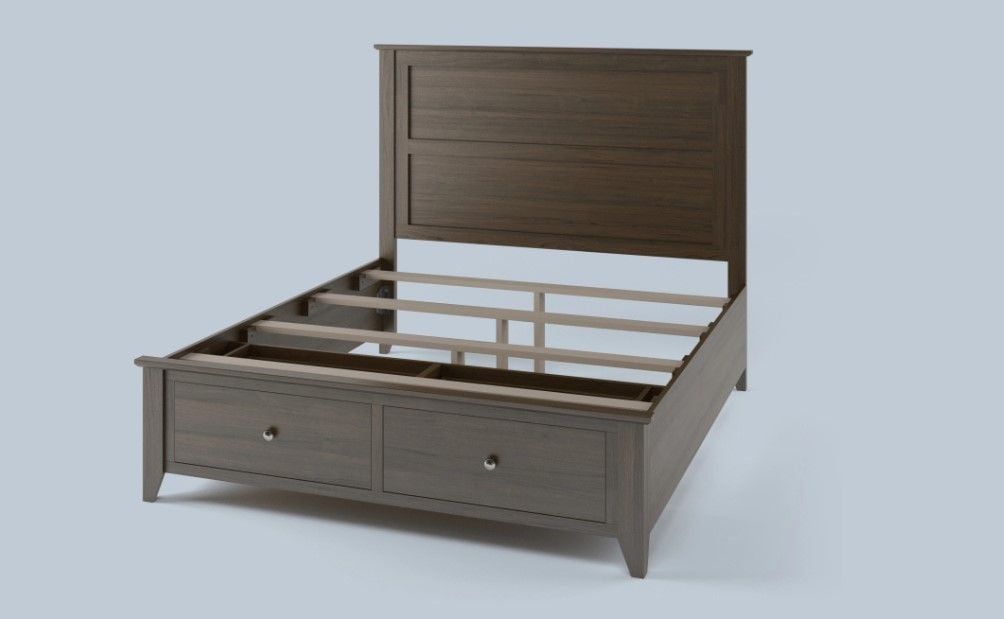
Every product has its own special features — something that highlights an item among many others on the market. Some hidden features may not be obvious to a 3D artist unless the manufacturer points them out. Sharing close-up photos, drawings, and even written descriptions of special details helps the team build compositions that demonstrate these features thoroughly.
For animation projects, include explanations of how furniture functions work and a scenario for showcasing them — this ensures the team understands what movements or transformations to capture.
4. Mood references, or inspiration photos.
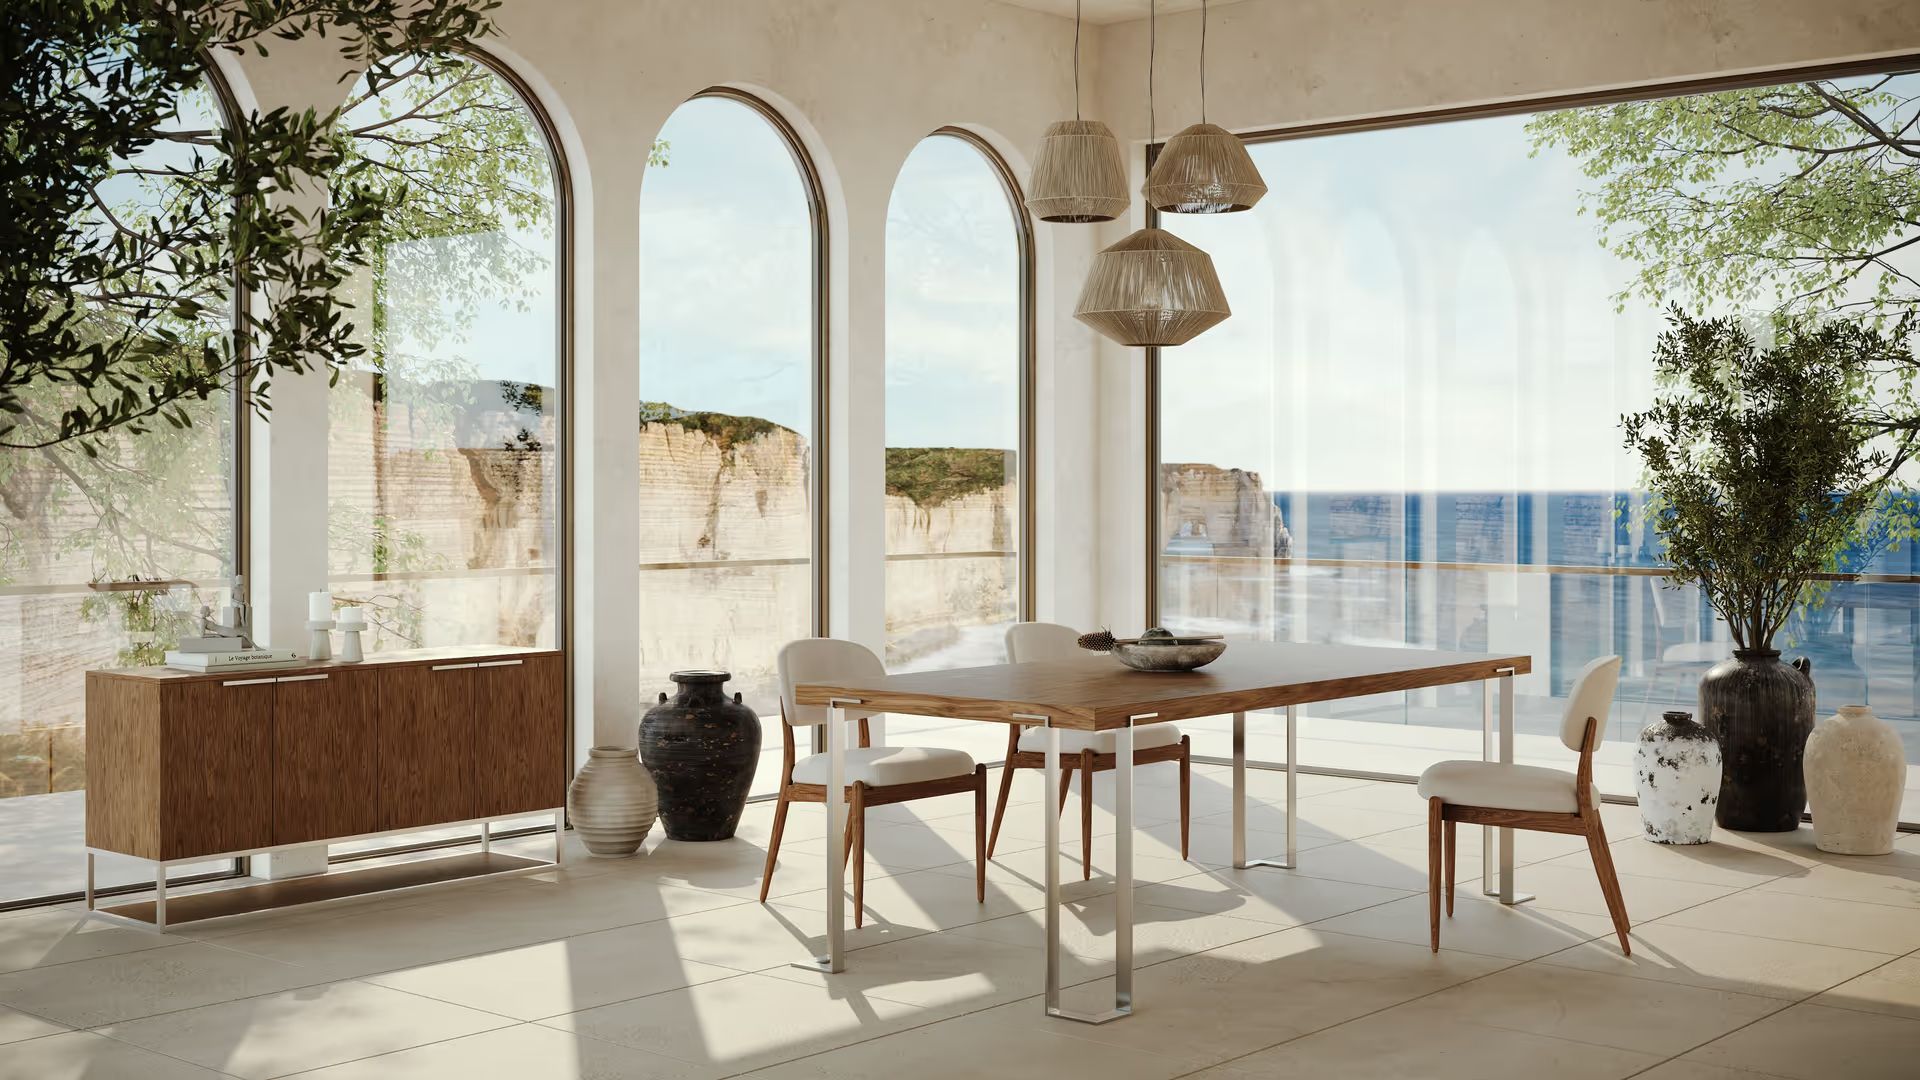
No words can describe the interior lighting or color so that everyone has the same picture in mind. To make sure that the scene has the right atmosphere, it’s easier to send reference photos showing the things that set the mood, like the lighting, colors, decor items, or textiles. As for the interior design, one can use our guide with 35 examples of roomset styles for references or even scenes. For lifestyle rendering, these references also help define the setting type and styling level, which impacts how much environment work is needed beyond the product itself.
5. Close-up photos or swatches of materials.
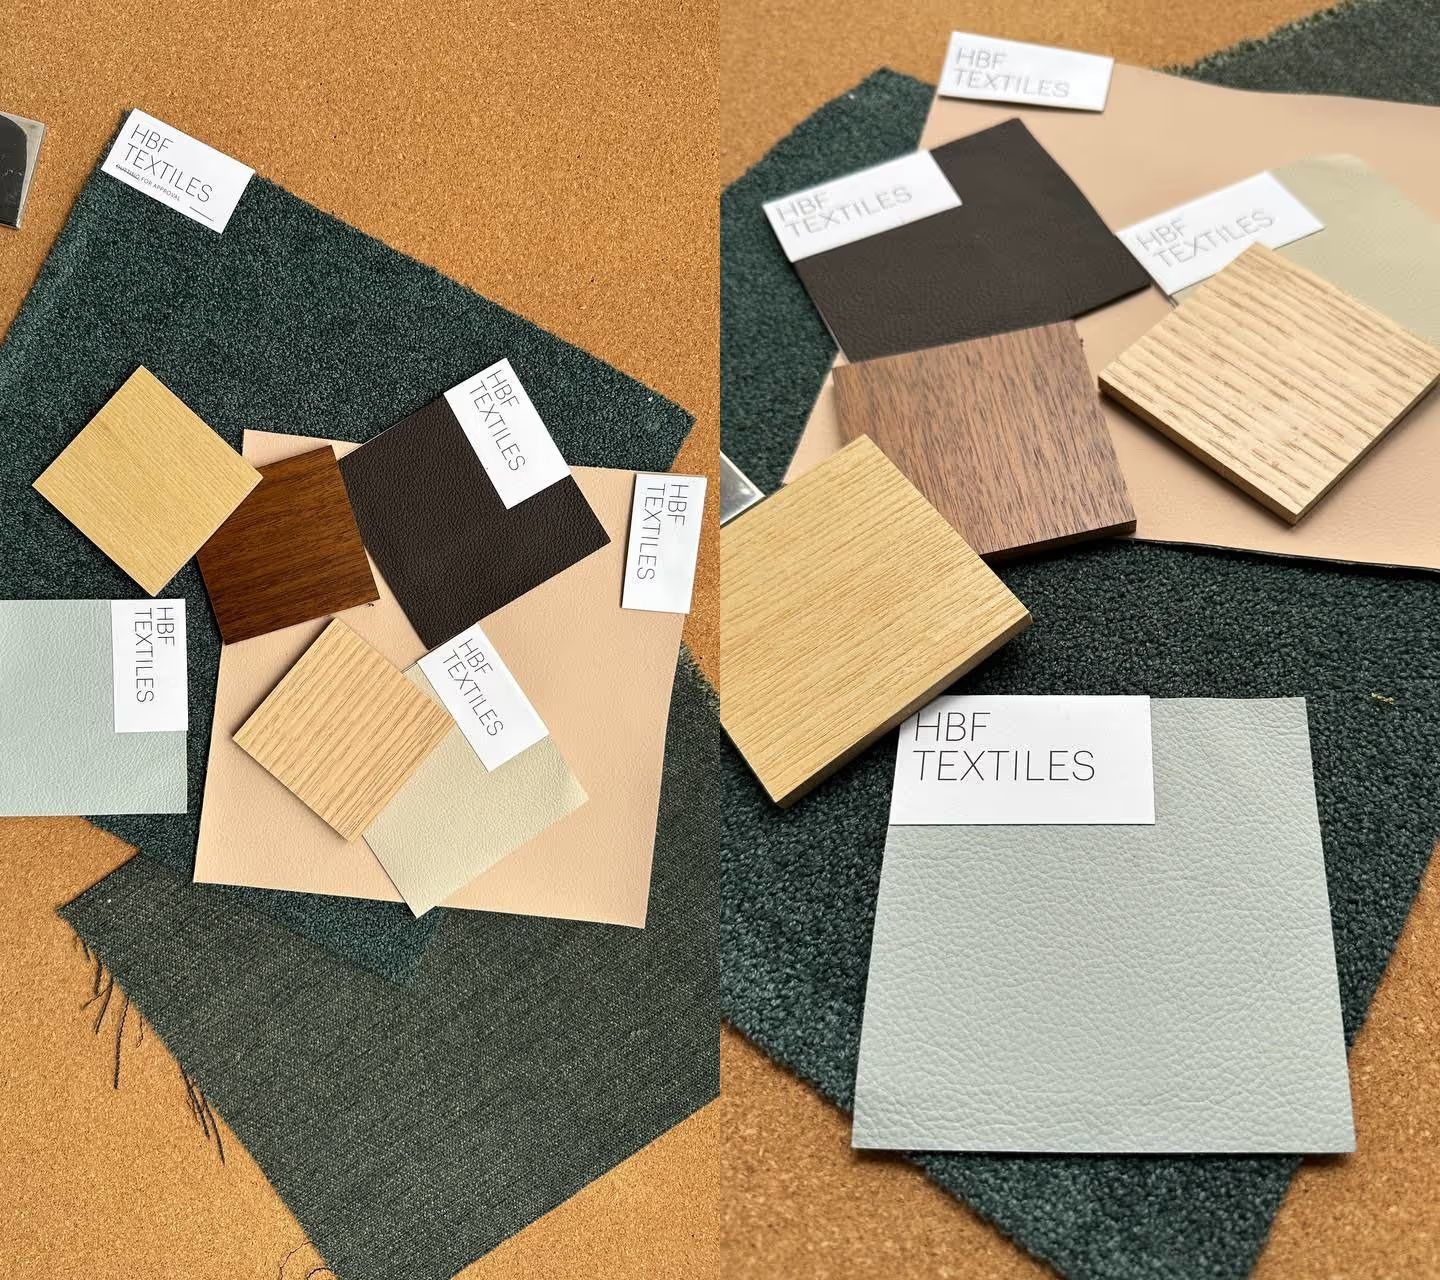
These are essential for photorealistic product 3D modeling. Photos can be taken with a smartphone, provided that the materials can be read on the screen. This can be achieved with a few basic rules of photographing furniture materials for 3D modeling. If ready texture files exist, they can be added as well, since they speed up material work and reduce color mismatch across the set.
Hardwood or velvet, tinted glass or brushed steel — these words describe thousands of possible colors and tones. The team never knows exactly what kind of veneer or finish a designer has in mind unless they see visual direction. It can be small sample pieces, images with material applied to other products, or links to selected finishes.
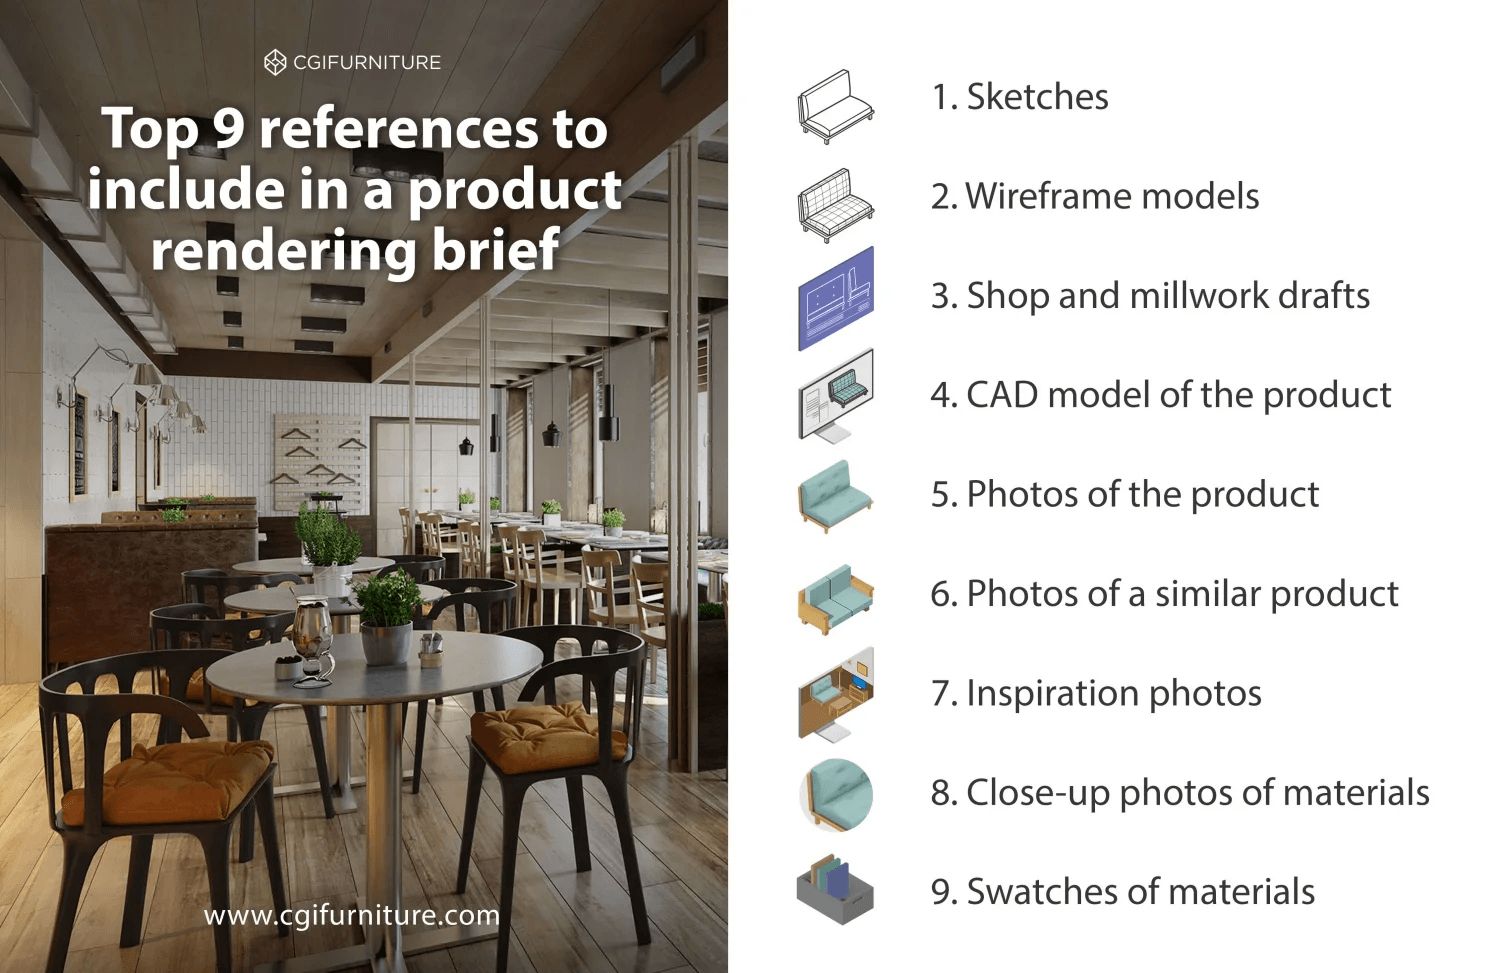
These references complete a product 3D rendering brief and help 3D visualizers understand the goal from the first read. This speeds up production and improves accuracy from the earliest stages. It also helps the team plan the right camera angles and number of views, since close ups, eye level shots, and top views require different framing and levels of detail. To avoid rework later, the brief should also define the required output specs, including where the visuals will be used and what technical properties they must meet.
General information about image
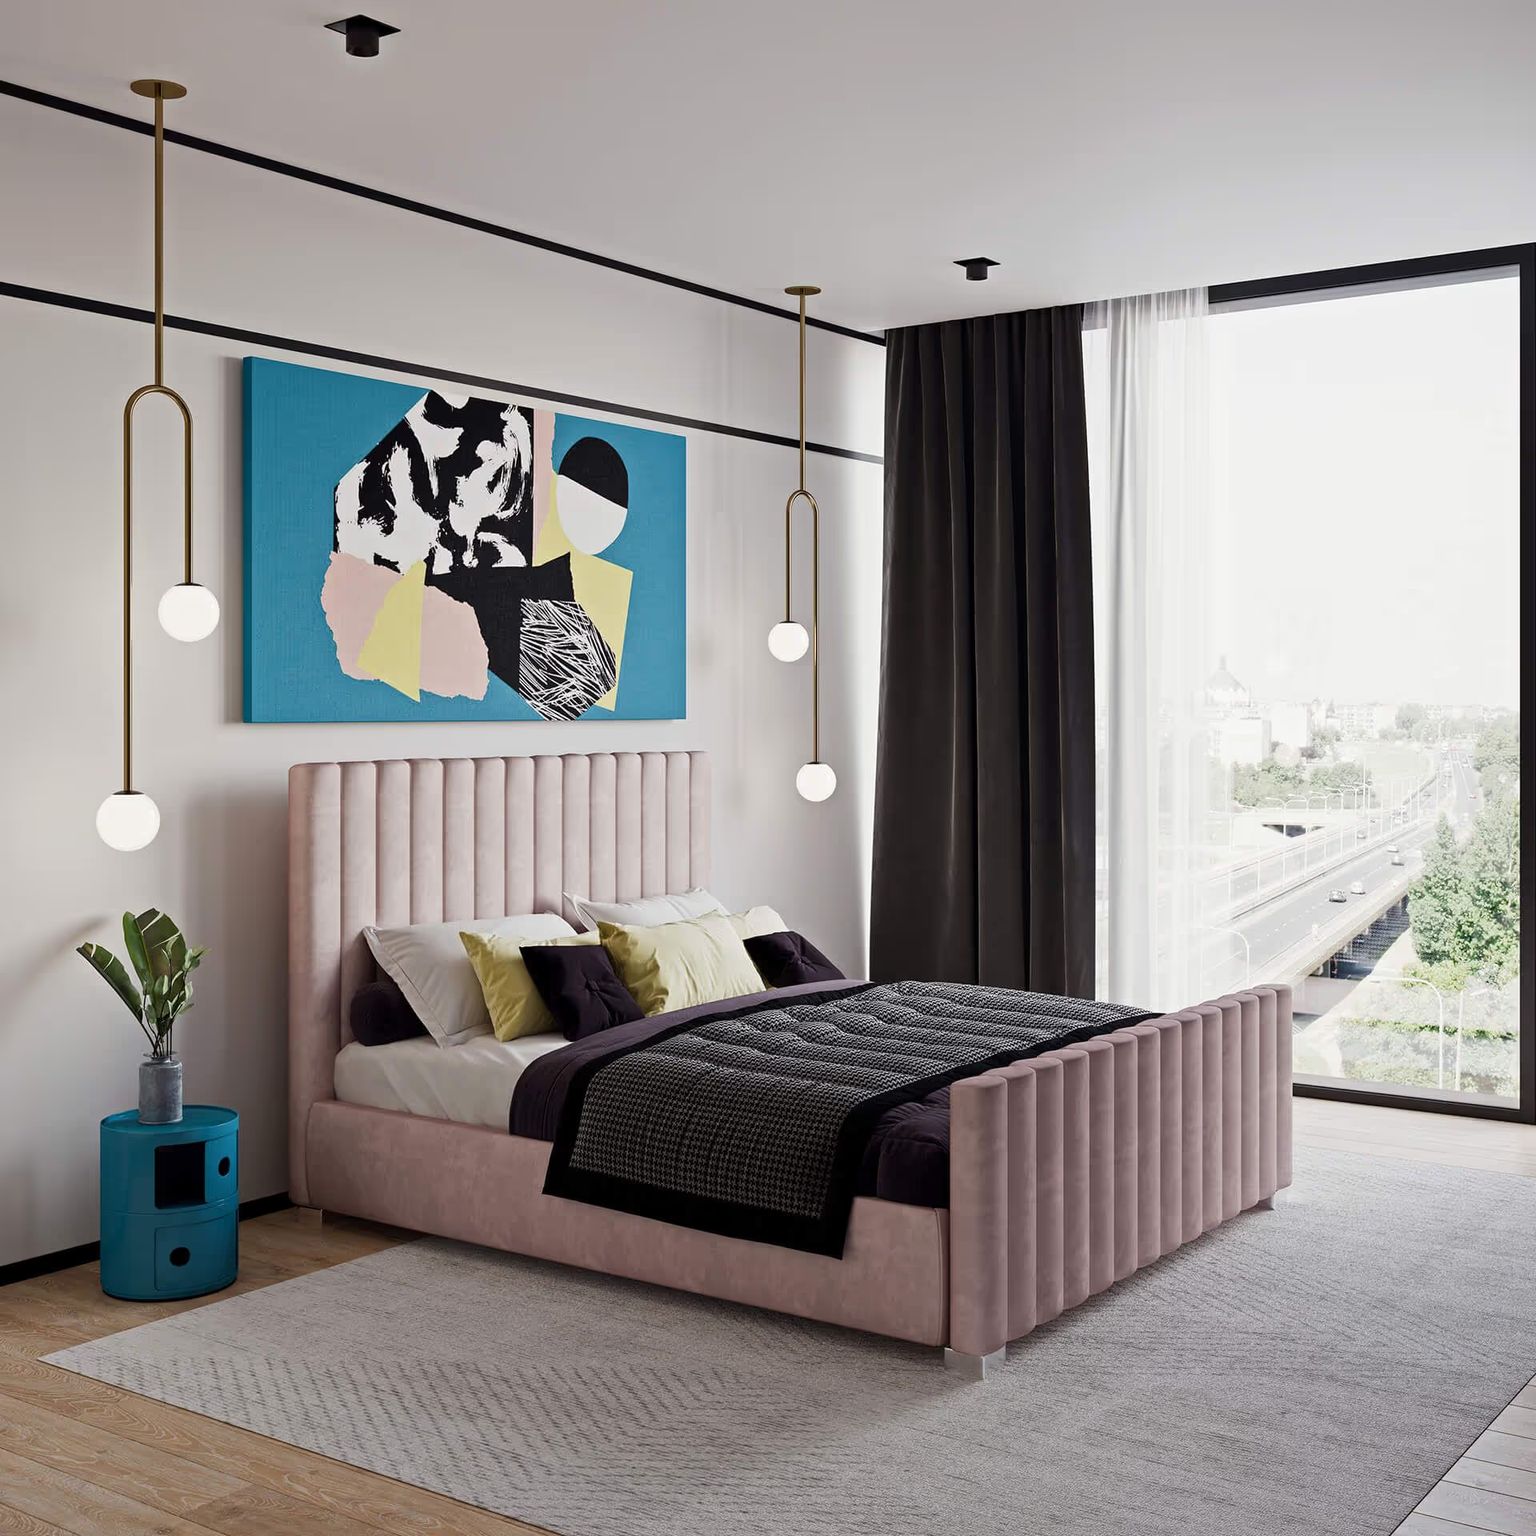
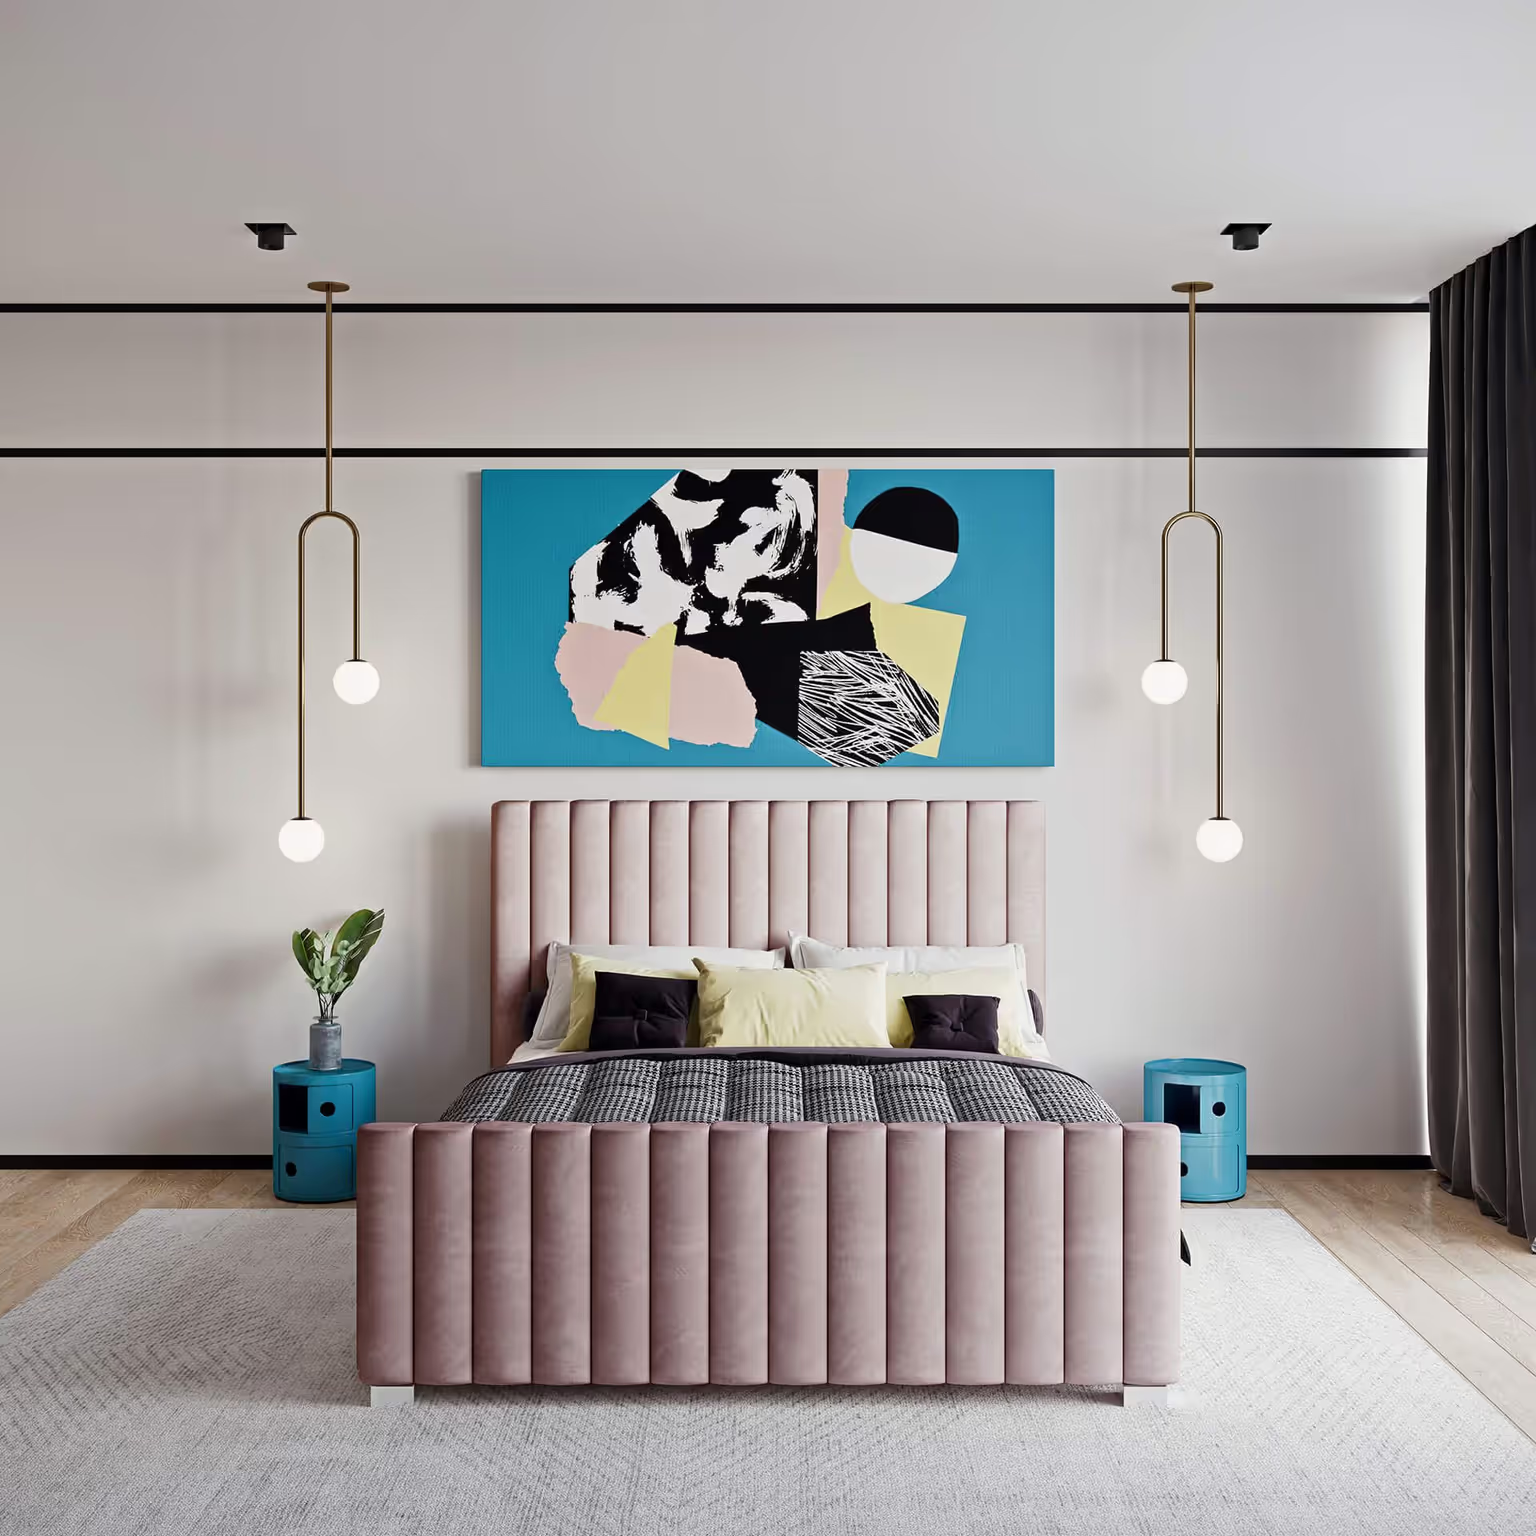
Before production starts, define the technical specs of your product visualization. Print assets often need 4K or 5K resolution, while Full HD usually works well for most websites. These small settings affect quality, usability, and how easily your team can deliver final-ready files.
Here is what to confirm upfront:
- Resolution
Choose resolution based on where the visual will be used. Web and print need different levels of detail.
- DPI (for print)
DPI affects print clarity and real-world size. Most brochures and flyers need 300 DPI. Large-format assets use lower DPI. A billboard viewed from around 30 ft can work with about 20 DPI, while posters usually need at least 100 DPI.
- File format
TIFF is easiest to edit but creates large files. JPEG and PNG are common choices for web and can also work for print when prepared correctly.
- Number of views
Confirm how many angles or variations you need for the same product. More views mean more production time and higher cost.

How to speed up a project with a 3D rendering brief
Cooperating with CGIFurniture includes communication with a team of 3D artists and project managers, file exchange, and financial transactions. All these processes take place on our online CRM platform called Archivizer. In this system, you can store data, interact with the team and monitor the project at any time and place. Archivizer works from both a computer and a smartphone and can be downloaded as an iOS app.
Before starting a project, you have to create a profile in our CRM — it only takes a few minutes — and fill in all the project details. Once it’s all done, take the next step!
- Establish an Effective Decision-Making Process
- Use Our Standard Technical Assignment
- Send Us A Detailed Product Rendering Brief
- Add Other References
- Try Our 3D Library to Speed Up the Project Even More
So how to speed up a project using a rendering brief? First, create it based on the example of our standard technical assignment, then add as many high-quality visual materials and other references as possible. And last but not least, use ready 3D models and scenes from the CGIFurniture library to make 3D artists’ jobs easier and save time for yourself.
A well-prepared brief is one of the easiest ways to get better 3D renders faster. Whether it's a standard catalog shoot or bespoke 3D furniture modelling for a custom piece, clear visual references and confirmed specs help your CGI team meet expectations from day one. That means fewer questions, fewer revisions, and a smoother approval process.
Before you start production, take a few minutes to check that your brief covers both sides of the project. The creative direction, including style and mood. And the technical requirements, including resolution, formats, and number of views. This simple step keeps the workflow clear and predictable. It also helps your CGI team deliver accurate and consistent visuals that are ready for marketing and ecommerce.
Now that we’ve discussed the procedure, what about the cost? How much do CGI studios charge for 3D projects? Let’s check out the main factors influencing the price of CGI.

Get the Commercial CGI & Product Rendering Guide for Marketing Directors
Everything you need to scale product content with CGI.
Get expert insights, real project examples, and strategies with proven ROI.
Fill out the form to receive the guide directly in your inbox.