How to Create a 3D Model from Photos
Step-by-Step Guide
Modern eCommerce requires advanced marketing solutions and first-class product imagery. Furniture manufacturers and retailers simply can’t use the same photos of goods all the time — they don’t impress buyers anymore. What customers want is engaging and immersive commercial visual tools such as 360° spins, 3D animation, AR/VR, and 3D configurators. All these solutions are based on 3D models, hence, manufacturers have to figure out how to create a 3D model from photos if product pictures are all they have.
When ordering 3D objects from a 3D modeling company, oftentimes, manufacturers don’t understand the process nor what kind of information they have to provide. But in fact, the proper preparation and detailed scope of work (SoW) would help reduce the time for creating 3D models and save furniture makers a lot of money.
In this article, we break the whole 3D modeling process into 5 easy steps to put manufacturers and retailers in the way of things and help them prepare the correct SoW. Let’s get into it right now!
#1. Collect All the Input Data About the Product

Professional CG artists know how to create a 3D model from photos but they need a SoW with additional information about the product. These are the most common materials to include:
- product photos/videos shot from different angles;
- 2D drawings of a piece;
- precise measurements;
- texture references or photos of the samples.
The more additional materials SoW contains, the better CG specialists can understand the task and deliver accurate 3D models. In the end, detailed SoW is a win-win for both parties because it helps reduce the number of edits.
#2. Create the Geometry
-
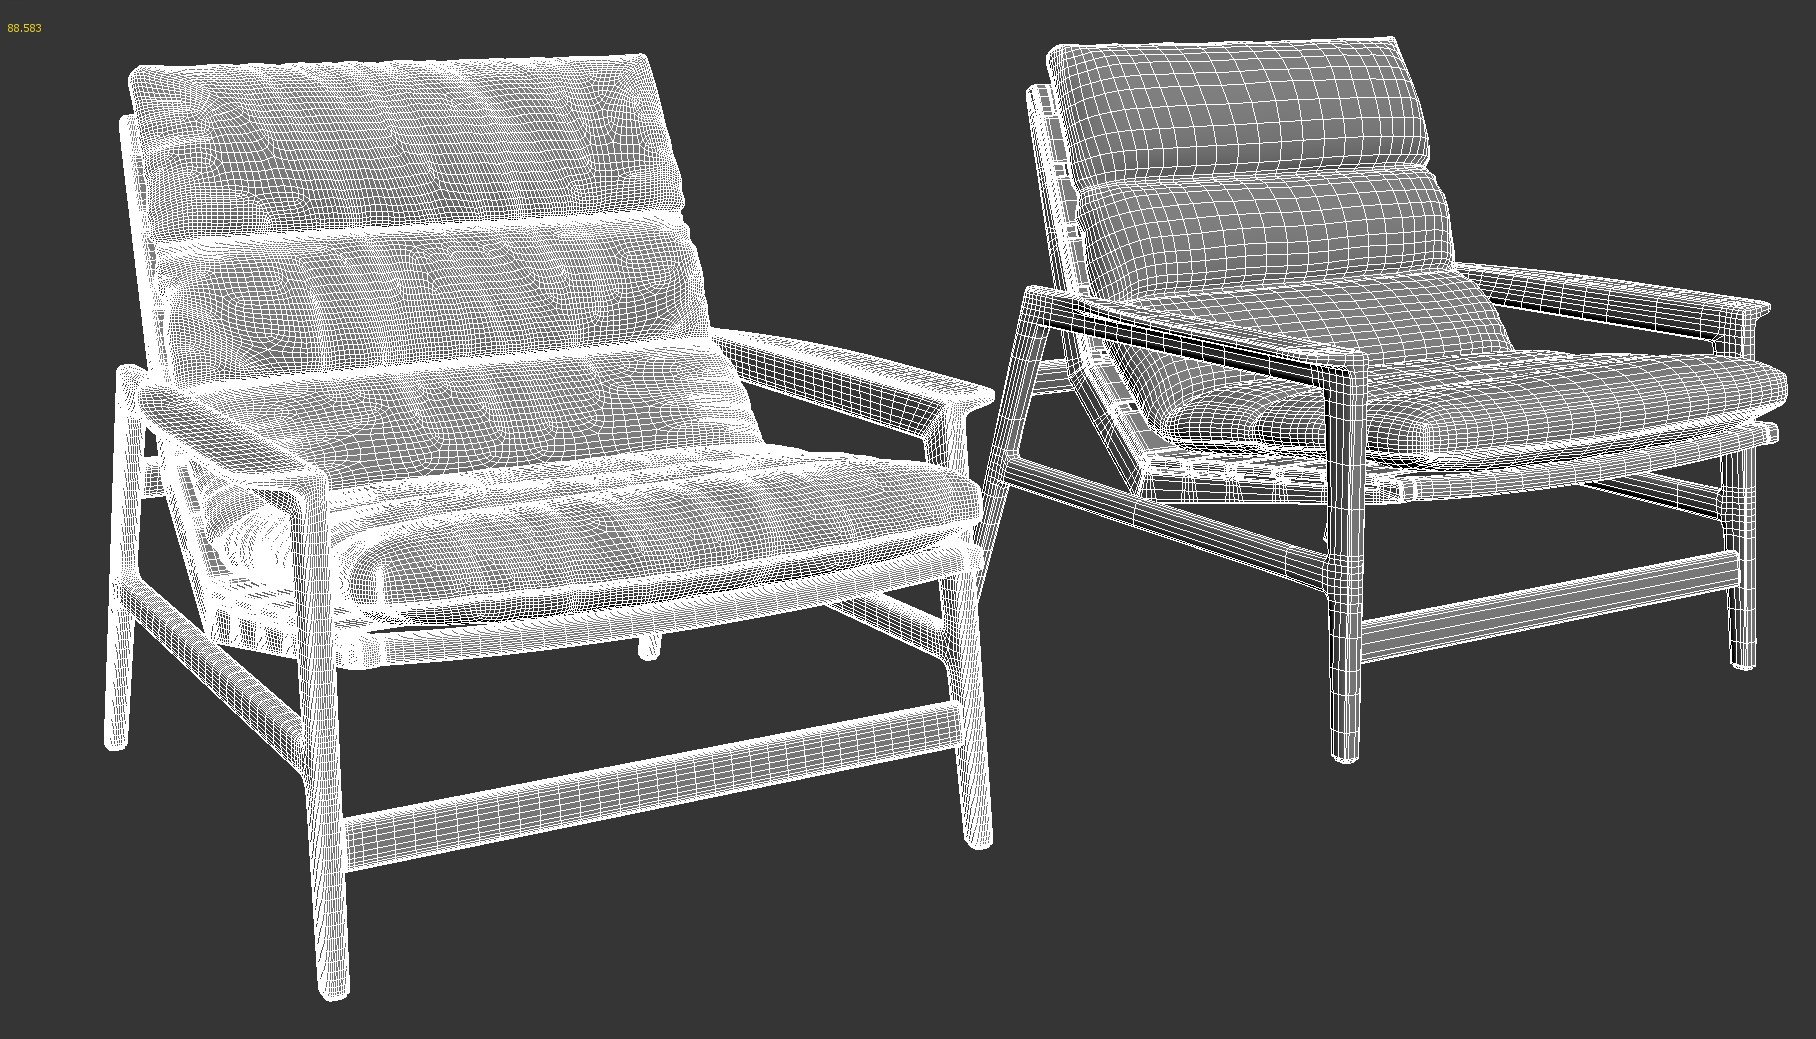
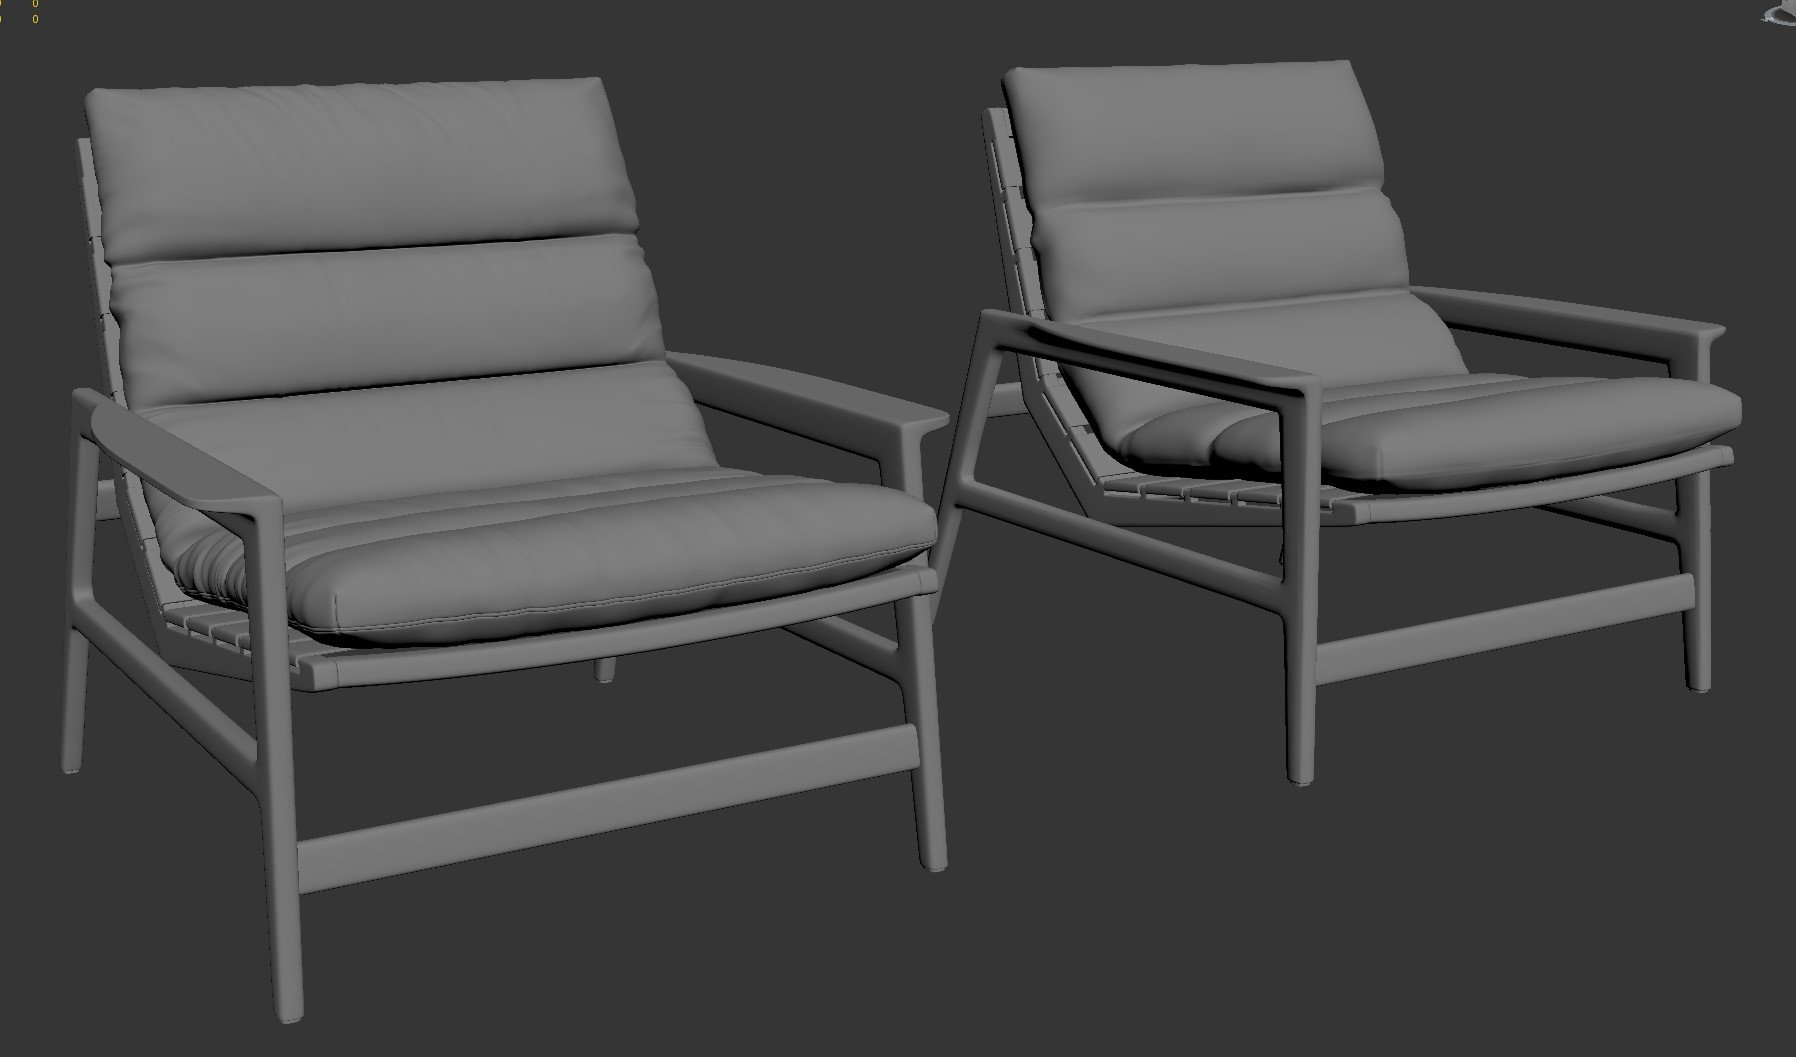
High poly 3d model Product 3d modeling Low poly 3d model
To answer your question “how to create a 3D model from photos” — it all starts with building up the geometry of the object in 3D software. There are different 3D modeling methods that CG artists use depending on the project. Traditionally, they opt for a polygonal 3D modeling for furniture pieces. In our blog, we have an article explaining what polygons are in 3D modeling, so click on the link to learn more about it.
When creating a polygonal 3D model, CG experts usually start with building basic structures and larger parts. Then they gradually add smaller ones, such as fittings, and polish them. For top-notch 3D modeling, it is extremely important to maintain realistic proportions and scrupulously elaborate the details.
#3. Apply Materials and Textures

One of the best tips on how to create a 3D model from photos is to pay special attention to texture references you add to the SoW. Based on them, CG artists select materials and textures from their library which contains tons of ready textures. However, when manufacturers go for complex or unique materials, CG specialists have to create them from scratch which takes time and costs extra.
To apply materials and textures to a 3D model, CG artists use texture maps — a 2D picture or photo of samples. But to achieve photorealism, they also set up the main properties of the materials such as relief, density, smoothness, transparency, reflectivity, etc. For that, they tweak the digital values of the material properties in special software.
#4. Do Revisions and Adjustments

If you’re wondering how to create a 3D model from photos without corrections, the answer is — it’s impossible. Adjustments are an integral part of the working process. At this stage, a client is shown an intermediate rendering of the 3D model created from photos. And until they approve it, an object is not considered ready.
A client makes corrections and leaves comments so CG artists can adjust a 3D model. They keep polishing it until the manufacturer is 100% satisfied with the result. At CGIFURNITURE, we make adjustments for free up until they make up 60% of the project workload. If a client wants edits that exceed this limit and lead to significant changes in a 3D model, we consider it a new project.
#5. Export a Final 3D Model

After the 3D model is corrected and approved, CG artists save it in the required format and send the file to the client. There are many 3D file formats that serve different purposes. Depending on the manufacturer’s tasks, we can export the object in stl, obj, 3mf, 3ds, stp, fbx, dae, and so on. Just let us know in advance!
Moreover, we can do 3D rendering of the finished 3D model at the request of the client. For this, our CG artists render an object on a monochrome background or in a room set, then export the image using the most common formats — jpeg, gif, png.
Download CGIFURNITURE price guide and learn the costs of top-tier 3D visualization projects of different scales!
Leave a Reply
Want to join the discussion?Feel free to contribute!
Hello,
We’re looking for a company that can turn images into 360 models that can be used in Sketchup / AutoCAD for retail space planning. Is this a function CGI Furniture can do?
Hello! That is absolutely something we can do.
I will give your email to our client manager and they will contact you soon to give more details.