Once you’ve chosen a 3D rendering agency, it’s time to start work. The process may vary from company to company, but the core pillars remain the same.
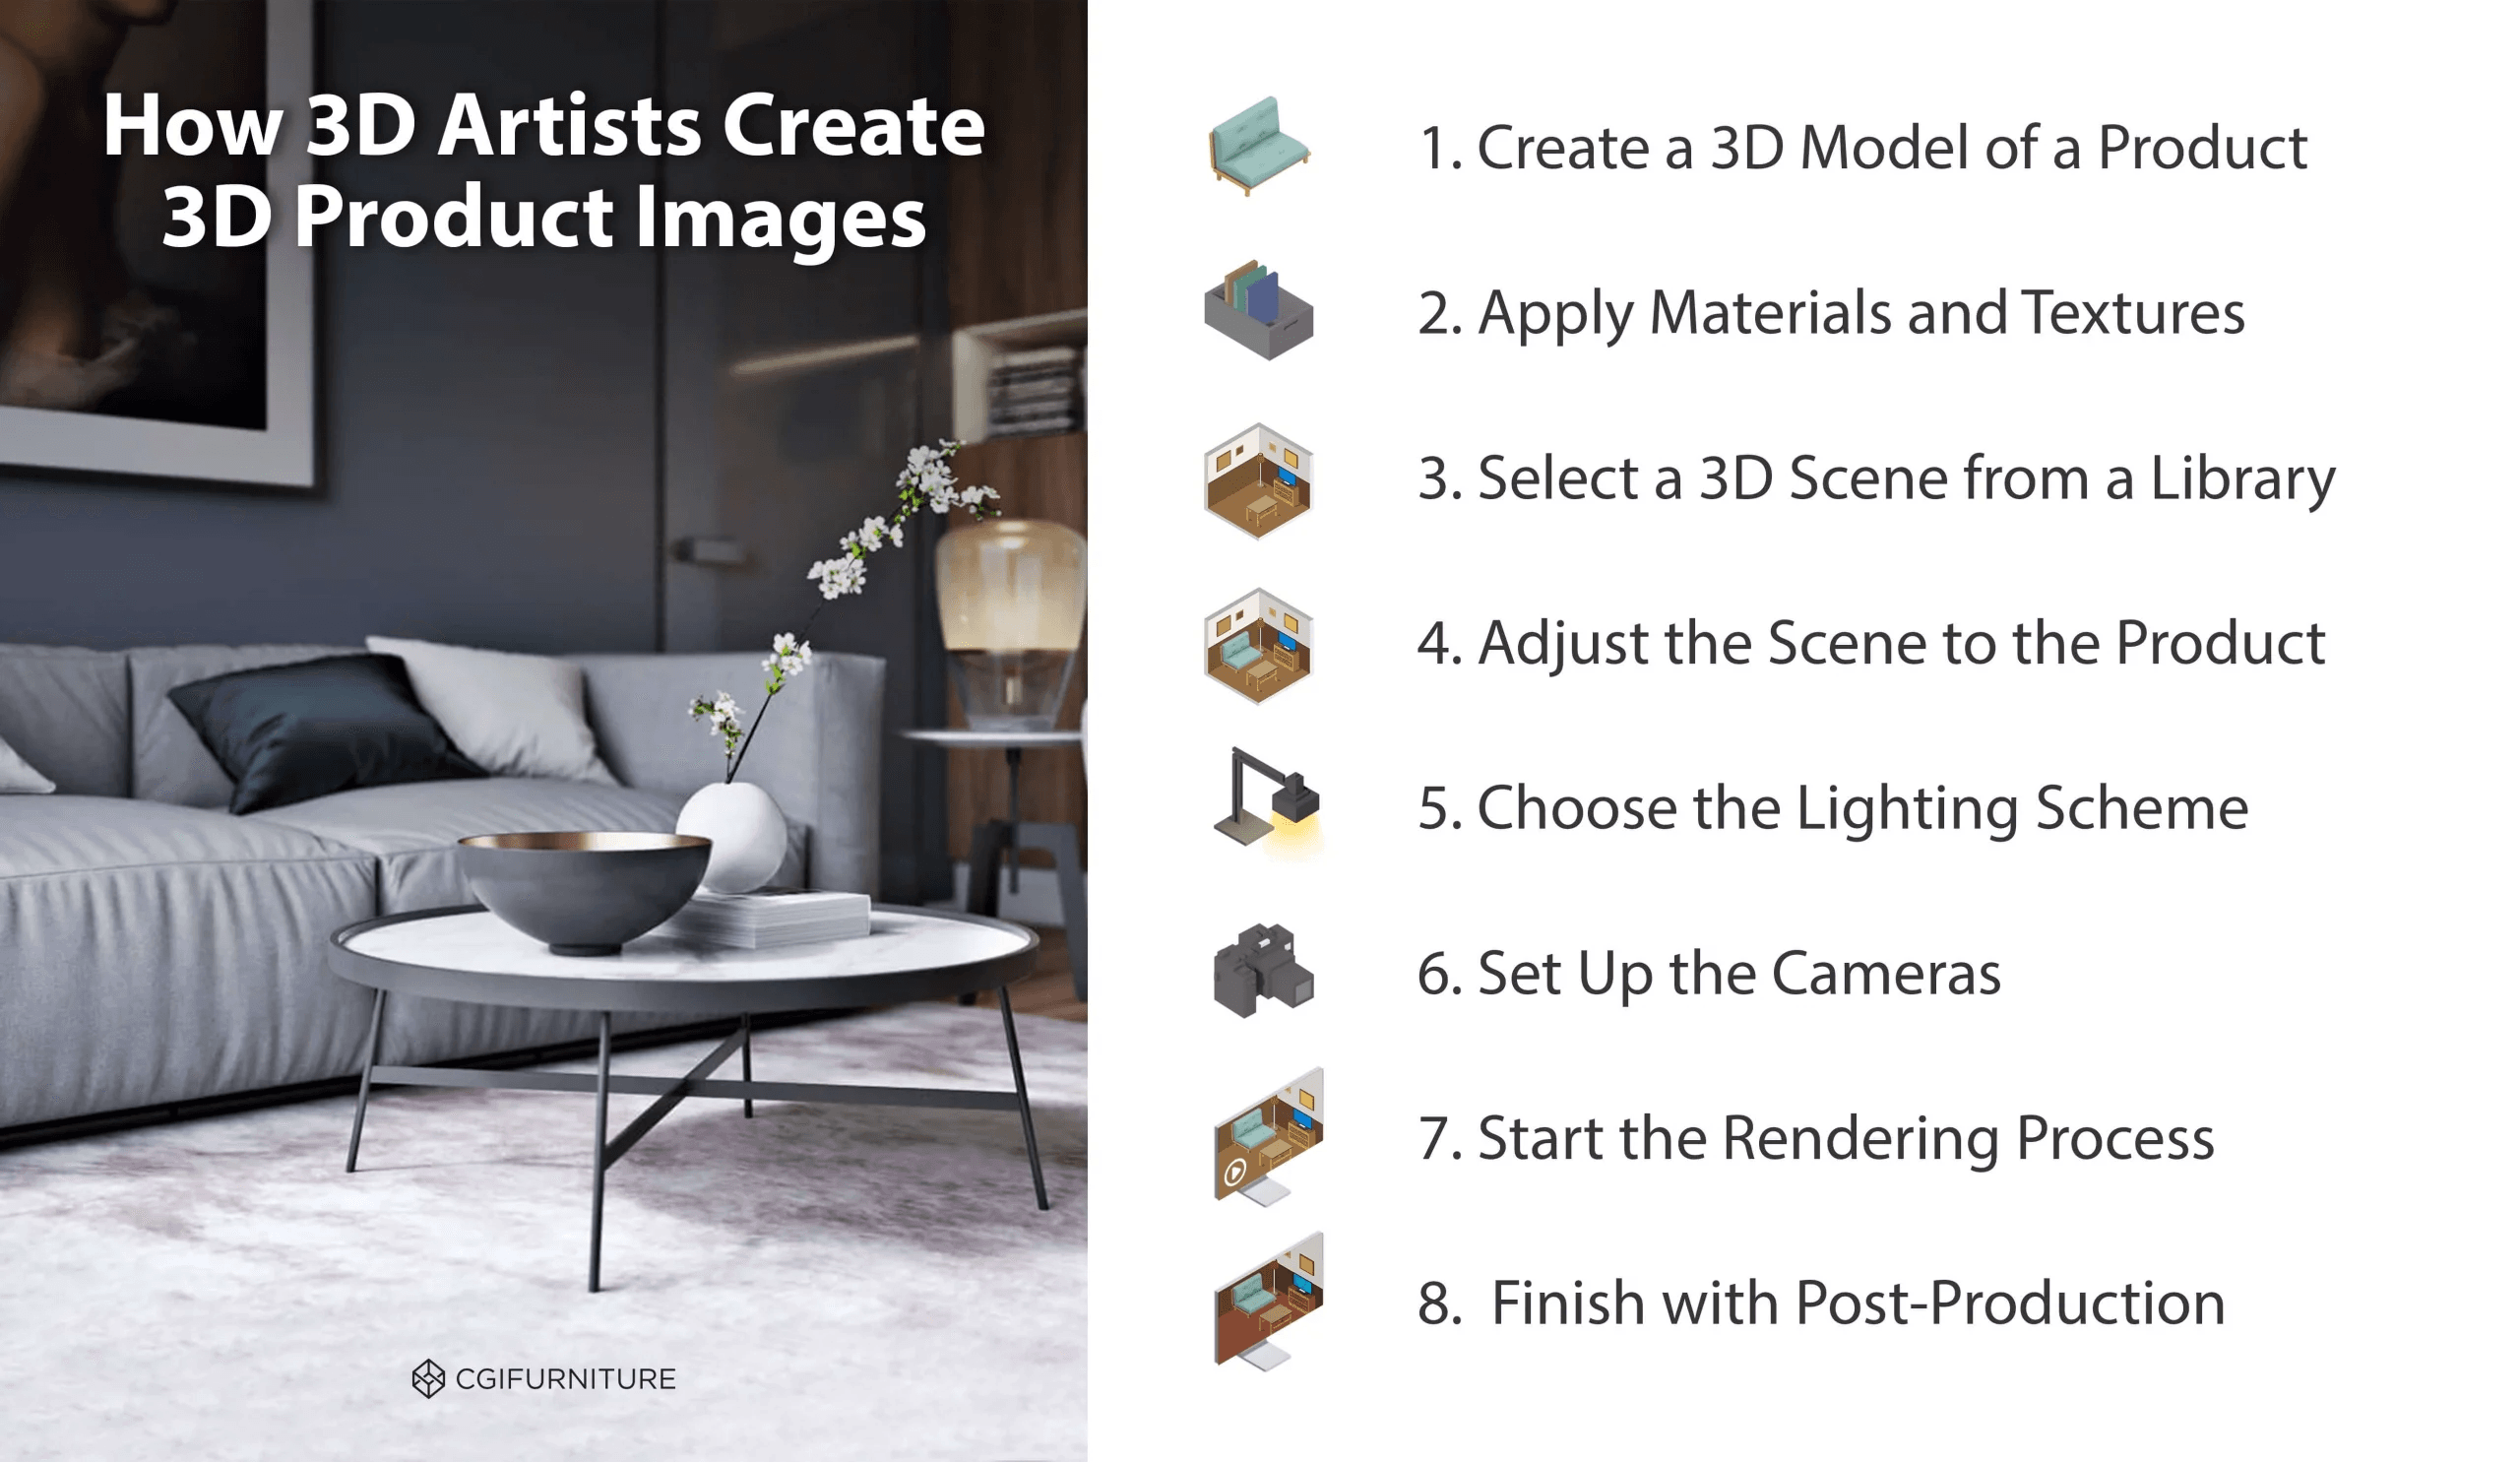
Let’s check out the stages of a typical product rendering workflow at CGIFurniture.
1. Studying the Assignment
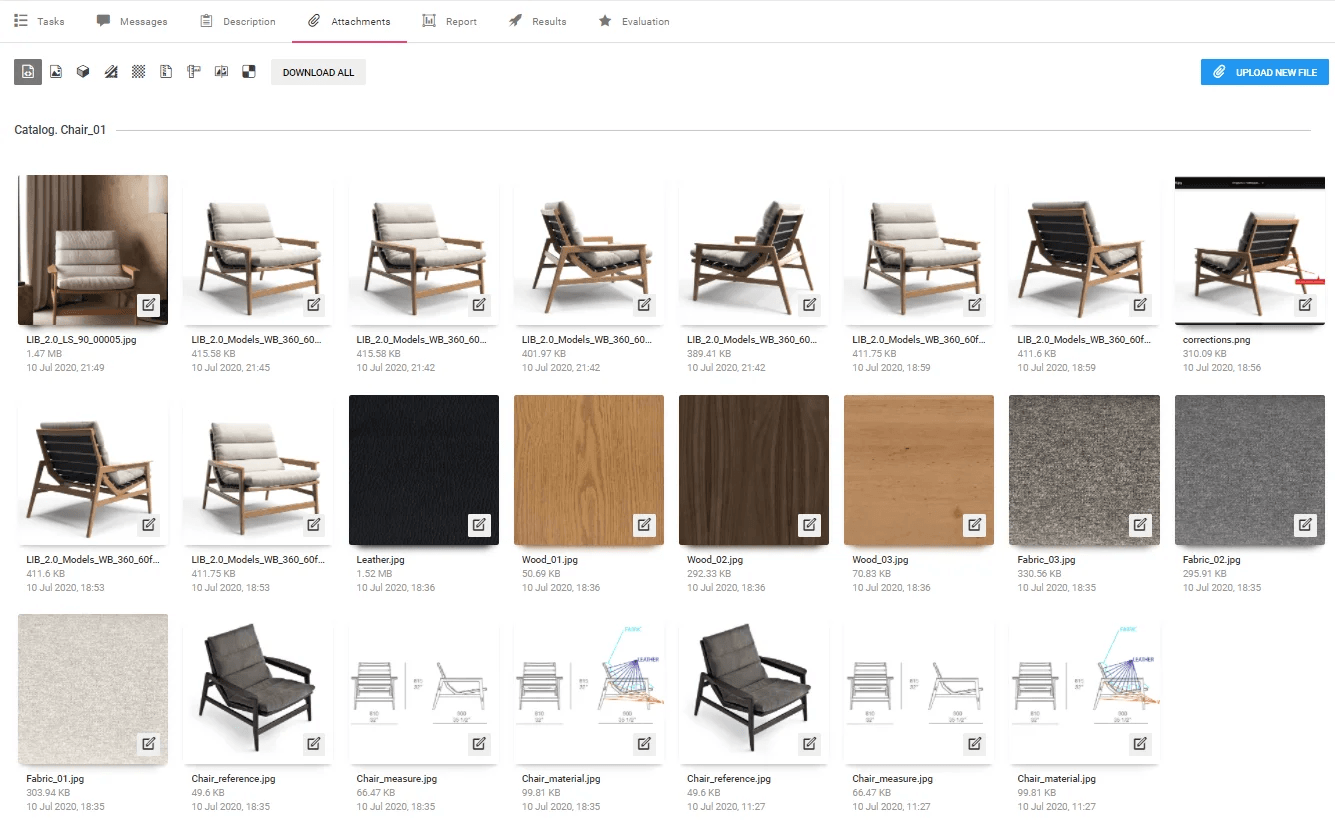
The CGI team examines the task description and documents attached, including references, drawings, CAD models. The more detailed a brief they get, the faster and smoother the project goes. Our guide on how to write a brief for a 3D project lists what to include.
What to Send with the Brief
The brief can be a text description or a short video walkthrough, as long as it makes the expected result clear. Attach the full reference package: product photos, sketches, drawings or CAD files, photos of material samples, and a mood board for the scene. Recheck every dimension before sending. A wrong measurement found after rendering means rebuilding the model, not a quick fix.
Agree on Milestones at the Start
For a new collection or a large batch, start with a short online call. The project manager and 3D artists answer questions on the spot and agree with you on the milestones: which intermediate results you will see and at which stage. If the materials include unreleased designs, sign an NDA before sending them, and settle who holds the rights to the finished models and images.
2. Building the 3D Scene
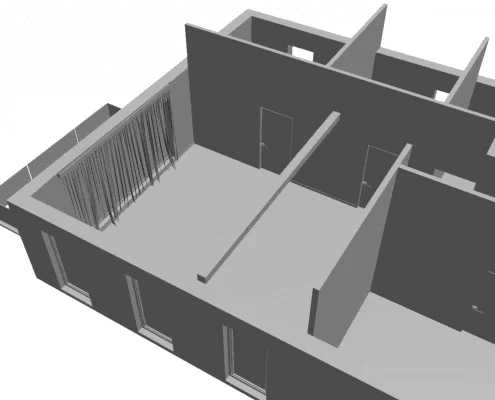
At this point, it’s time to work on the surroundings. When there’s a need for a brand-new custom scene for a product lifestyle rendering, we build it from scratch and then fill it with necessary objects. Lifestyle scenes are one of several 3D product visualization services, alongside white-background images, 360 spins, and animation.
Alternatively, we can use a ready-made scene from our CGI library. In that case, we’ll adjust the scene to fit the project’s requirements at later stages.
What to check at this stage: the scene should match the product’s style and the purpose of the image. For an outdoor scene, the location, the season, and even the weather need to fit the product. Small props such as a rug fold or an open book make a room feel lived in, but must not pull attention from the product.
3. Main Product 3D Modeling
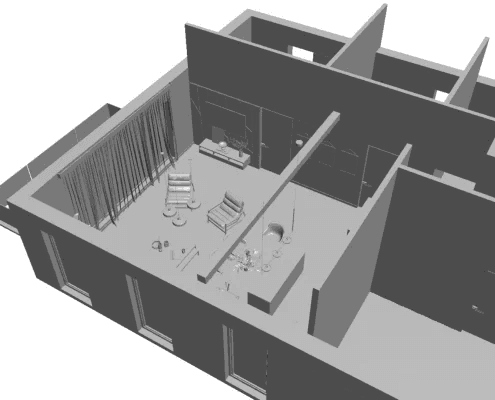
The next stage is 3D product modeling services. CGI specialists build a 3D model of the product and place it into the scene. At this stage, the model only has grayscale geometry, which makes it possible to see the shape and details of the object.
What to check at this stage: the grayscale model is the cheapest moment to catch mistakes. Compare the proportions with your drawings and your product page, and look for gaps, floating objects, and parts that cut through each other. Fixing geometry now is a small edit. After materials, lighting, and rendering, the same fix means redoing several stages.
4. Setting Camera Angles
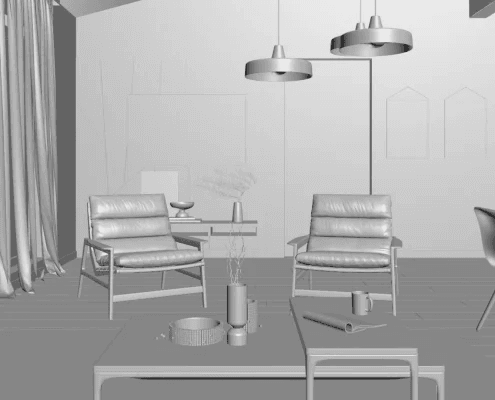
The CG artist chooses angles and composition. The task is to find the most flattering views for the main product and establish framing, symmetry, and other compositional elements.
What to check at this stage: most product shots work best at eye level, with vertical and horizontal lines kept straight. Watch the focal length too. A very wide lens stretches the edges of the frame and distorts the product’s proportions, and buyers read that as a wrong size or shape.
5. Adjusting the Lighting
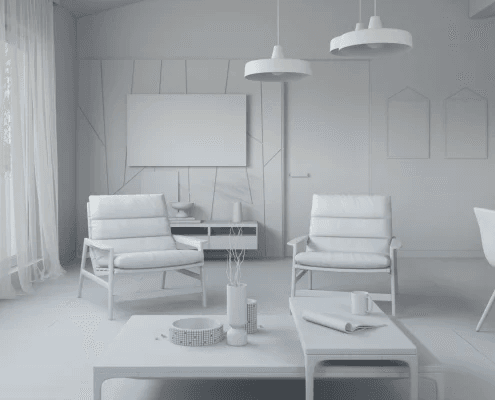
Now, it’s time to develop and implement the lighting strategy. The 3D artist sets the time of day, chooses light sources, arranges them, pre-renders the image, and looks at the result. If needed, he improves on something and pre-renders the image again and again. The goal is to help make the most of lifestyle rendering services. This means achieving the desired mood, ensuring ultimate realism, and presenting the main product at its best.
What to check at this stage: name the mood you need up front, for example a night scene with a lit fireplace for a cozy feel, or an evening set that shows how a lamp spreads its light. Realistic lighting mixes sources of different color temperature and strength: daylight reads cooler, lamps warmer, a ceiling fixture brighter than a pendant. If the light on the preview feels flat, say so now, before the final render.
6. Applying Materials and Rendering
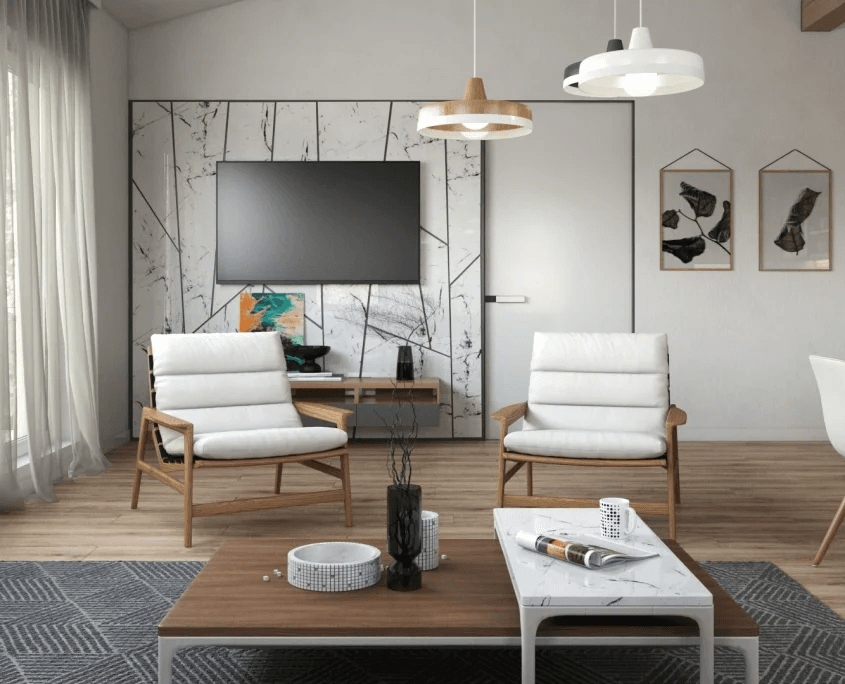
CG artists can create custom textures based on references or download the ready ones if they find exactly what the client wants. To understand how the materials will look, they set some basic lighting in the 3D rendering scene.
Then, it’s time to choose the resolution, format and click “render”. The duration of the rendering process depends on the settings, complexity of the scene, and the required quality. To speed the rendering up for large-scale projects, 3D artists at CGIFurniture use our studio’s render farm. The full pipeline described here is part of our 3D rendering services.
What to check at this stage: compare each finish with your references or physical samples side by side. Texture resolution should match the final image resolution, otherwise wood grain or fabric weave turns blurry in close-ups and zoom views.
7. Post-production
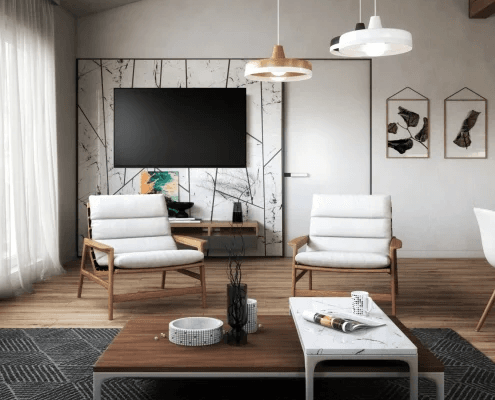
When the product rendering is ready, the 3D artist can decide to enhance its impact. Using Adobe Photoshop, a 3D visualizer can add visual effects, apply filters to the image, adjust contrast, sharpness, brightness, and so on.
All that’s left at this point is to send the marketing-ready result to the client. You can learn more about every stage in our article about the product 3D rendering process. And now, let’s check out how to fill out the brief to get these amazing results faster.
How to Keep the Project on Track
In a product rendering project, most delays come from late or scattered feedback, not from production itself. Two habits help.
- Review every intermediate result. The grayscale model, camera previews, lighting tests, and material drafts are all checkpoints. Adjusting a preview is much easier than re-rendering a finished lifestyle image.
- Send comments early and in one place. Feedback can go through an online meeting, written comments in the project platform, or both: a call to agree on direction, then written notes so nothing gets lost.
At CGIFurniture, this runs through Archivizer, our project platform. It works on any device, so clients can send extra materials, comment on previews, and ask the 3D artist questions directly. That matters most when the client and the studio work in different time zones. See how to use this 3D project management platform step by step.

CGI Furniture Services Catalog
All CGI services in one place: rendering, 360/AR, motion, specs, deliverables
Download CatalogA product rendering workflow depends on many factors, like a CGI studio’s pipeline and the working process of a manufacturing or retail company. Generally, it includes 8 following steps: studying the brief, 3D modeling of the main product, building the lifestyle scene, application of the textures and materials, setting the lighting, camera angles, rendering, and post-production. When all those stages are completed, and the product render fits all the requirements, it can be used for marketing and sales materials.