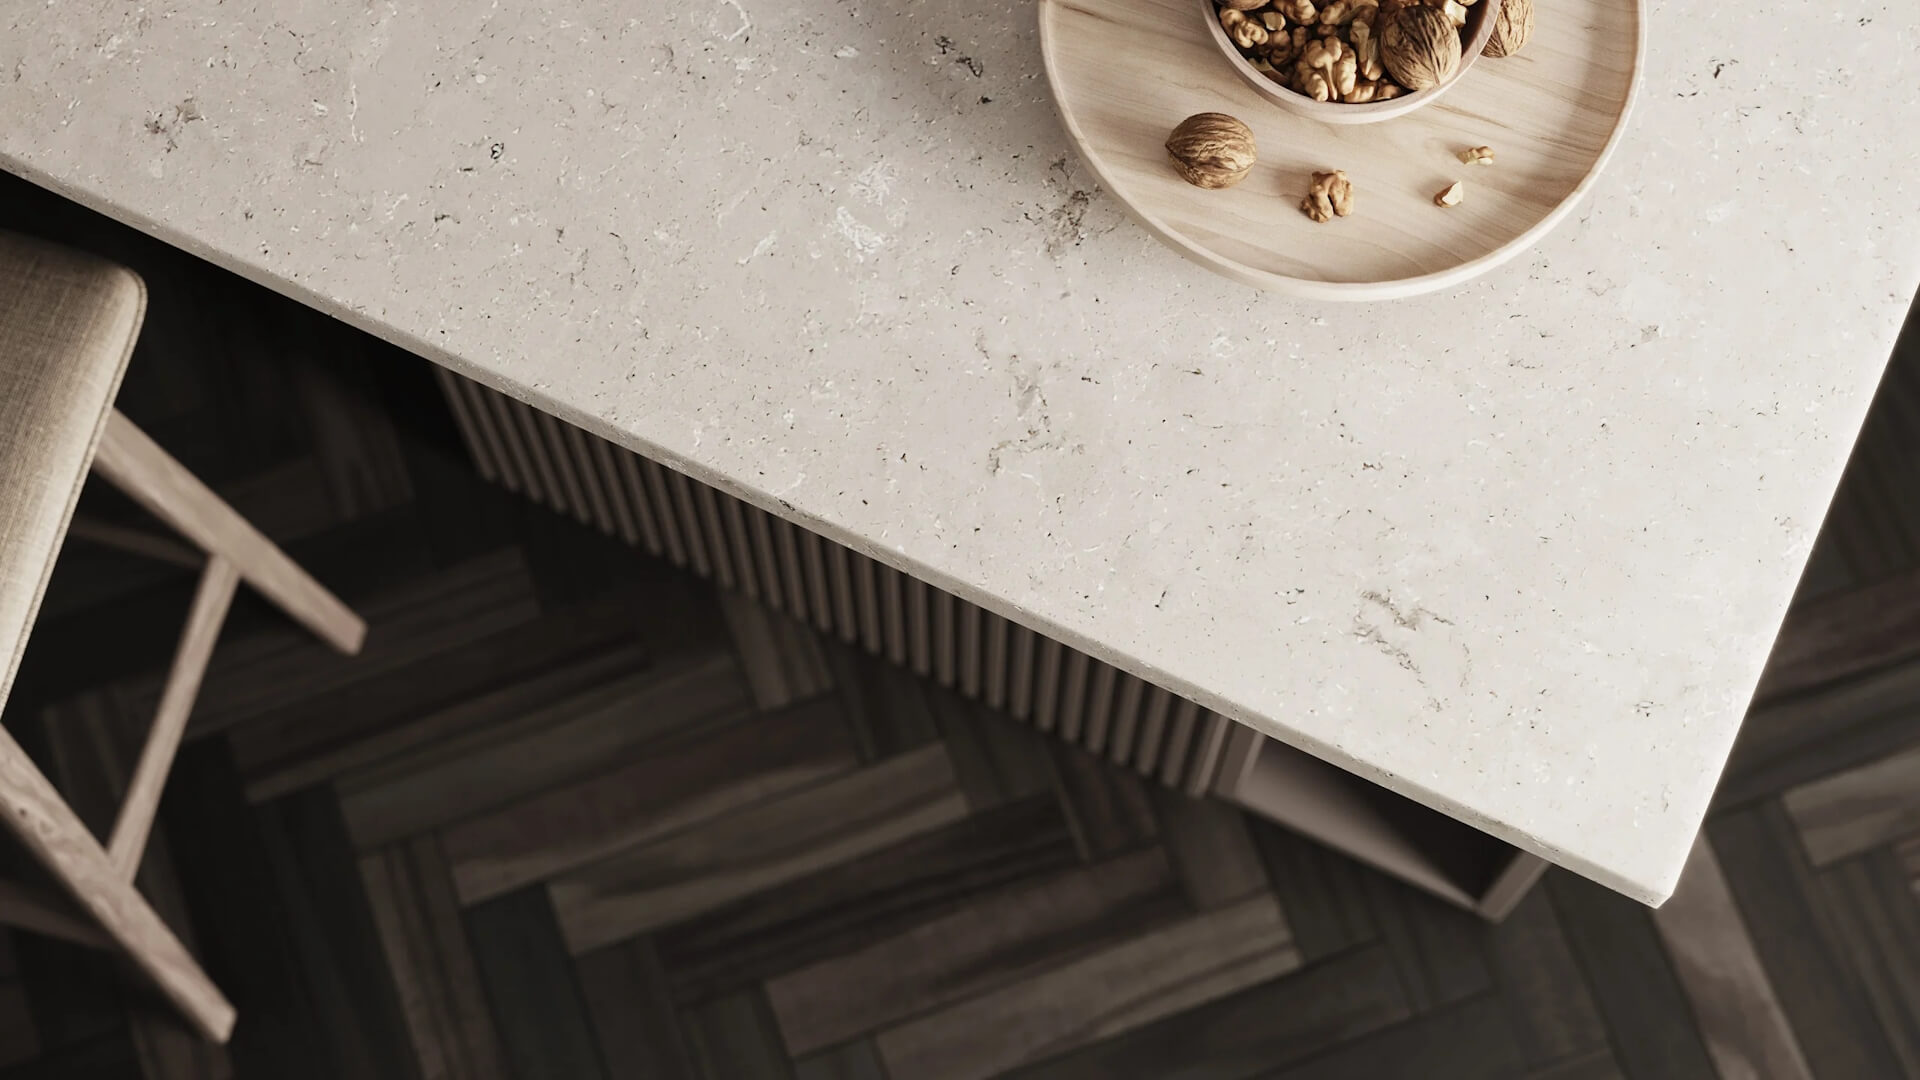
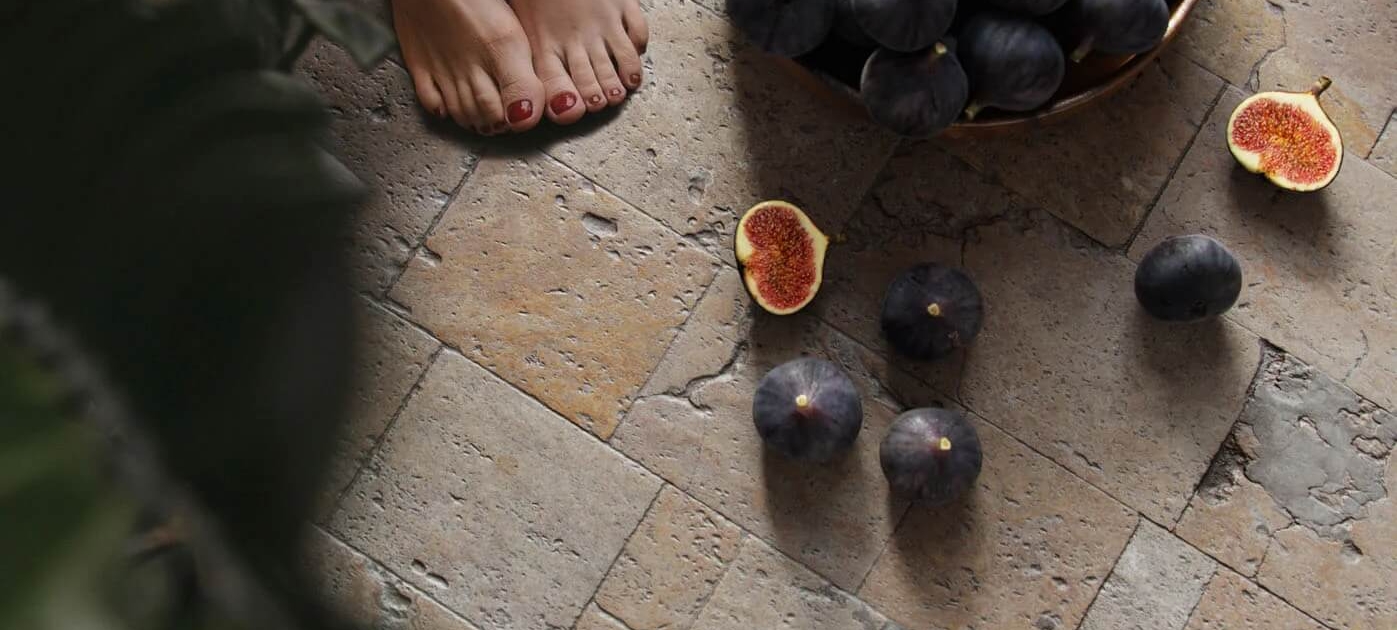
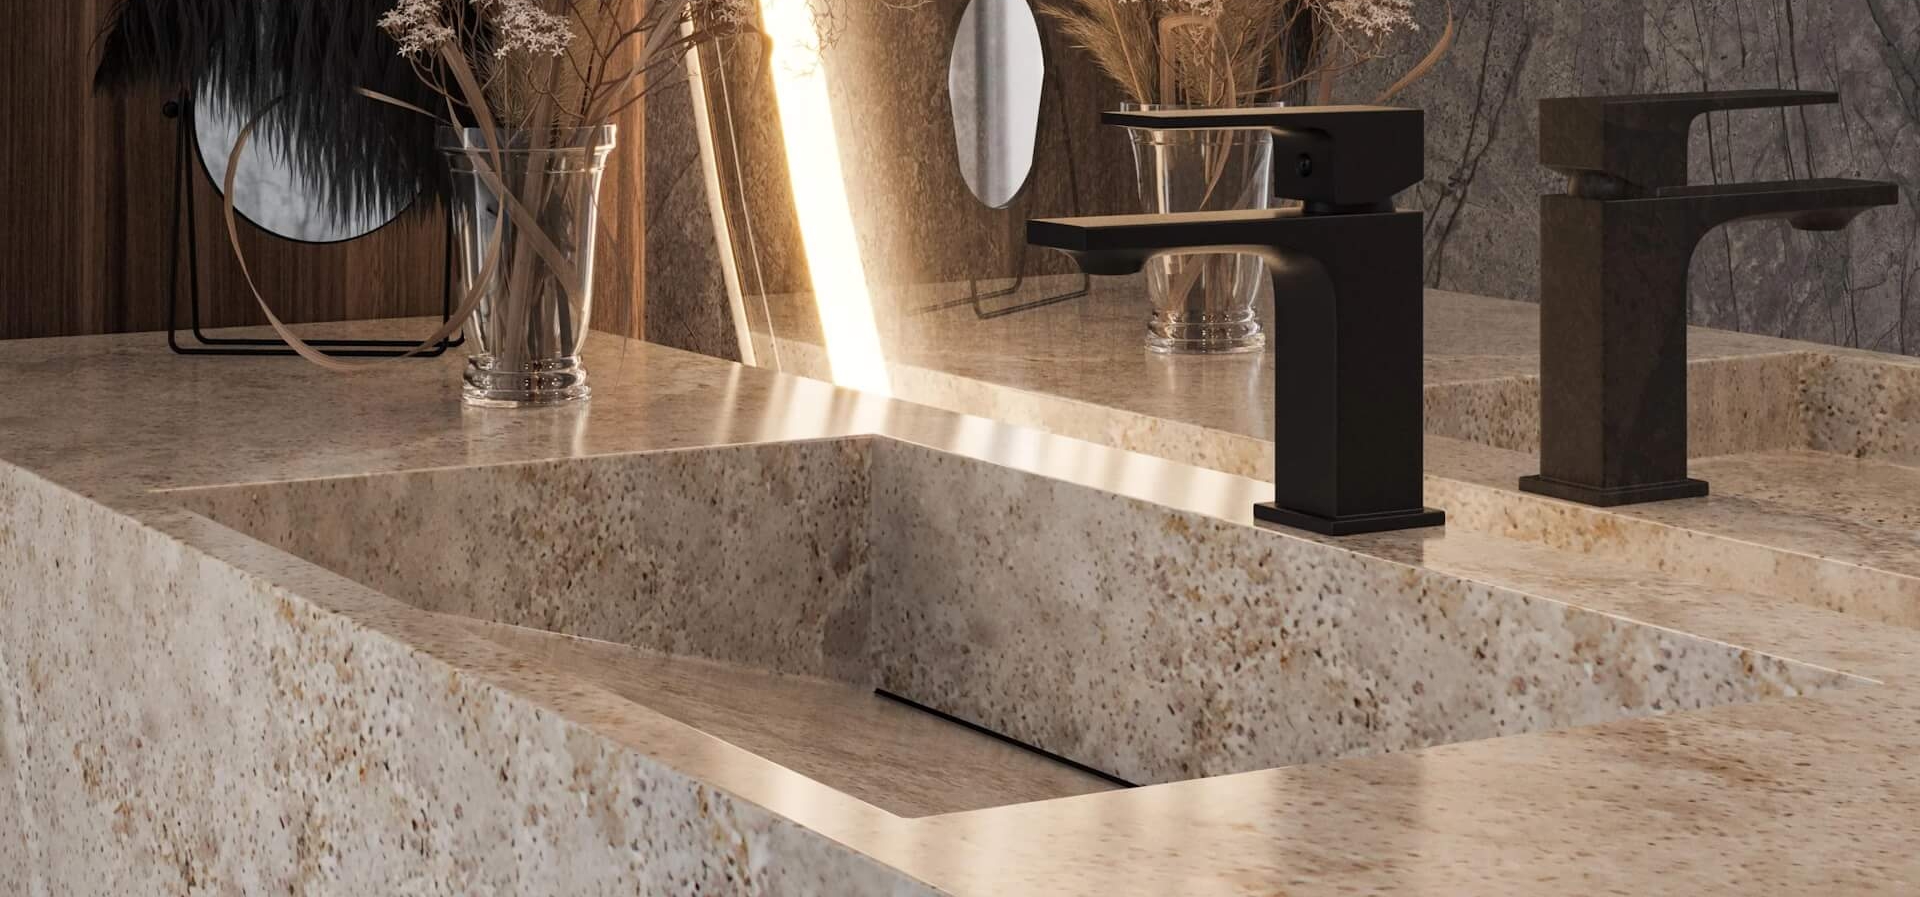
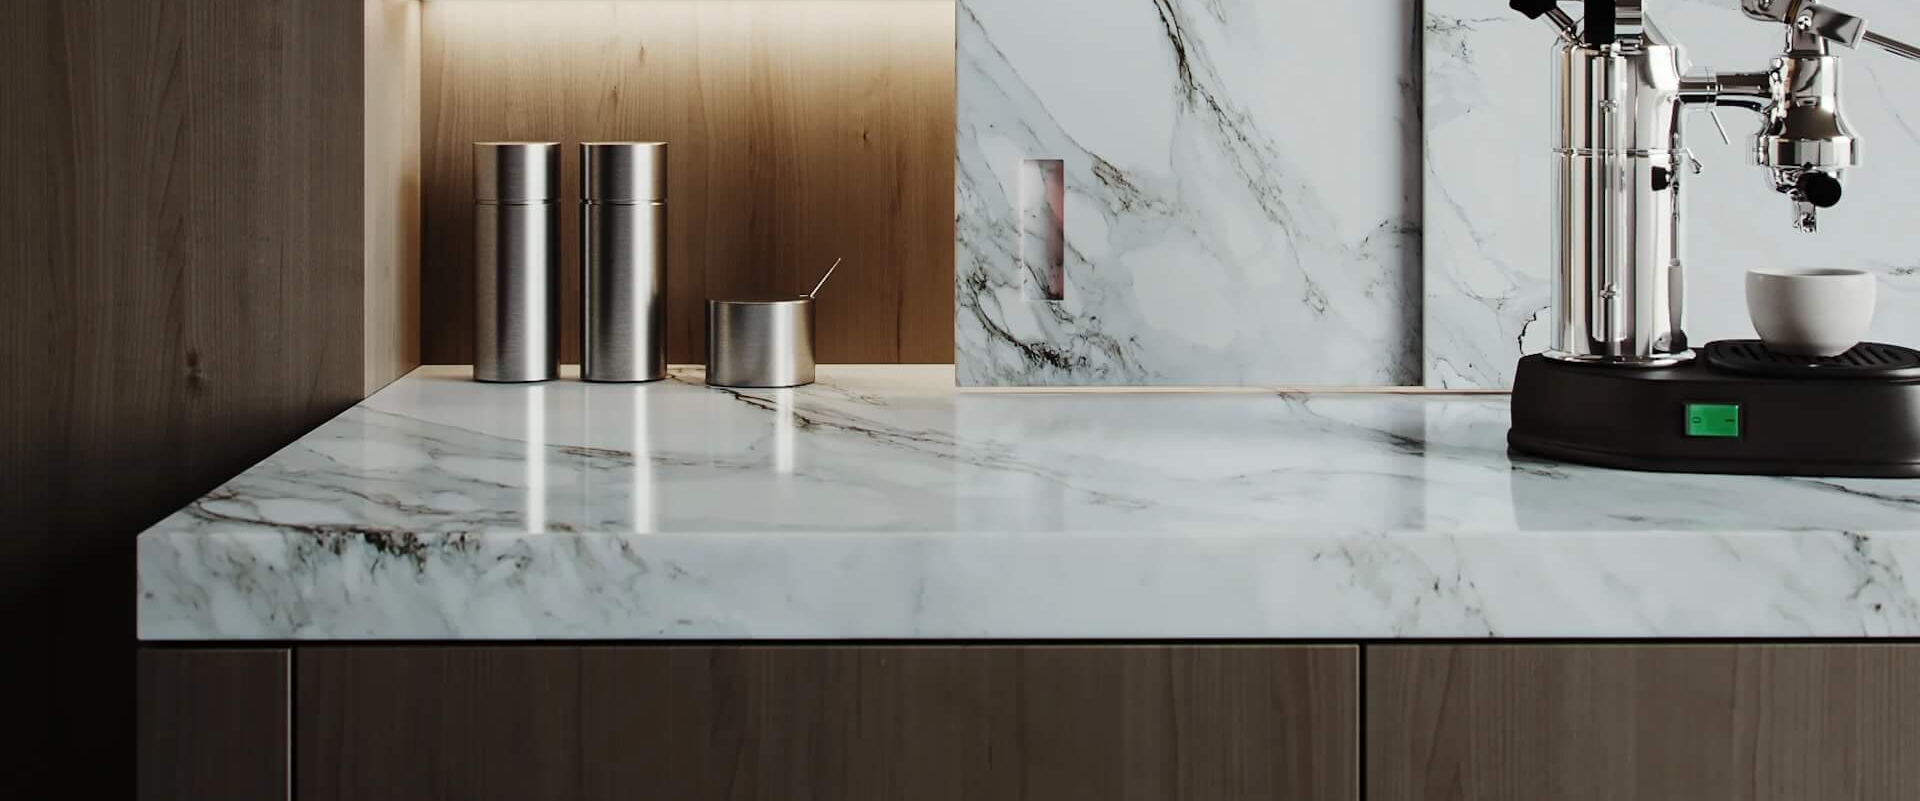
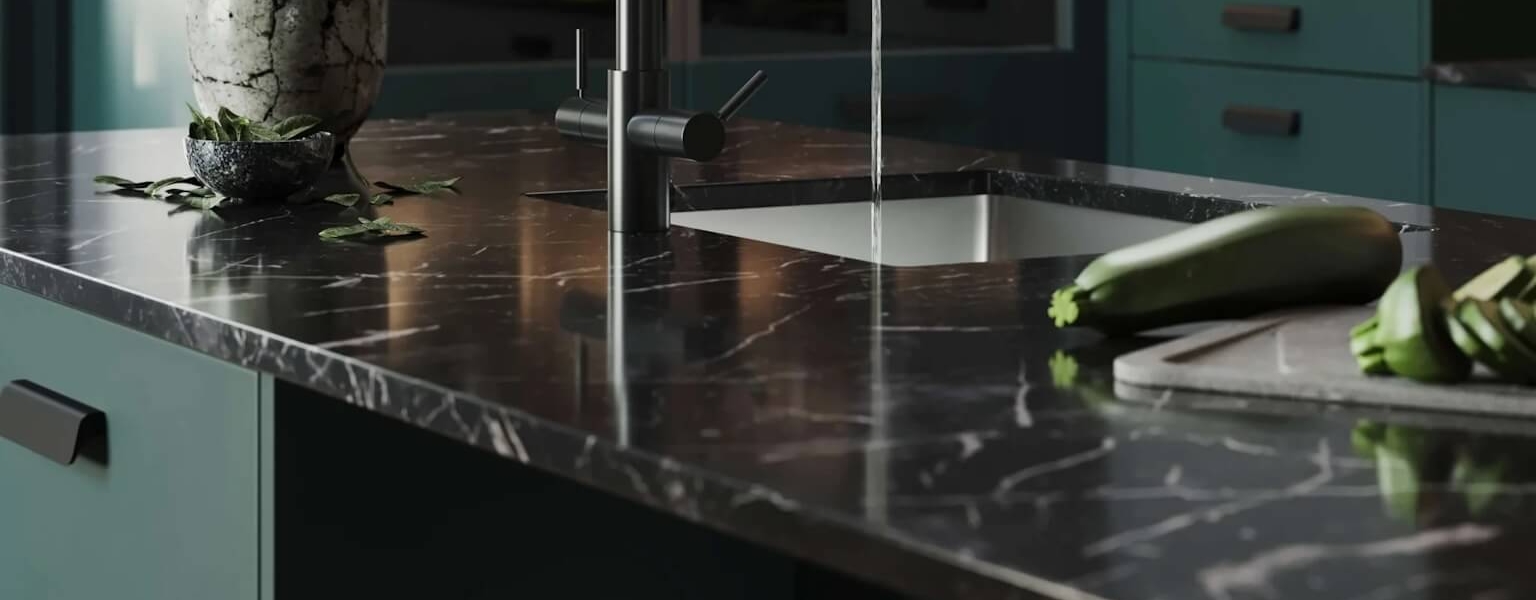
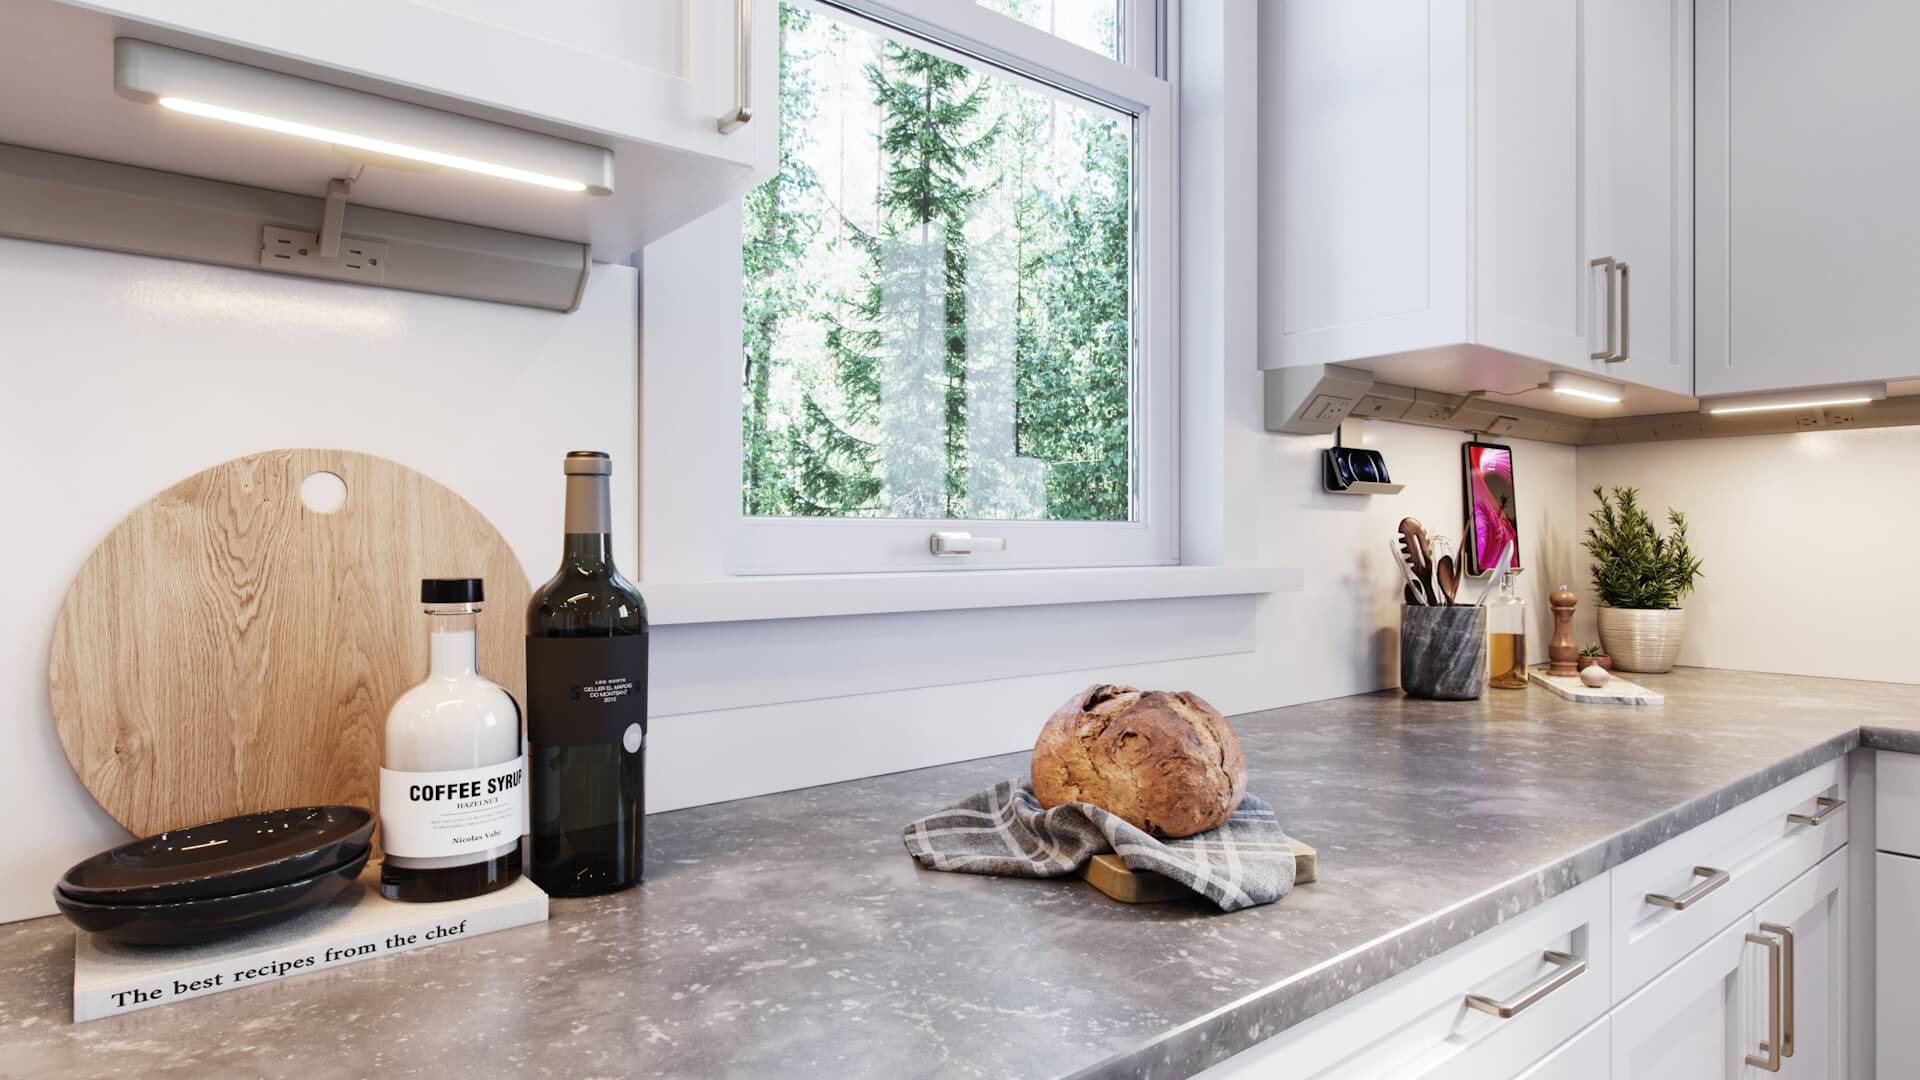
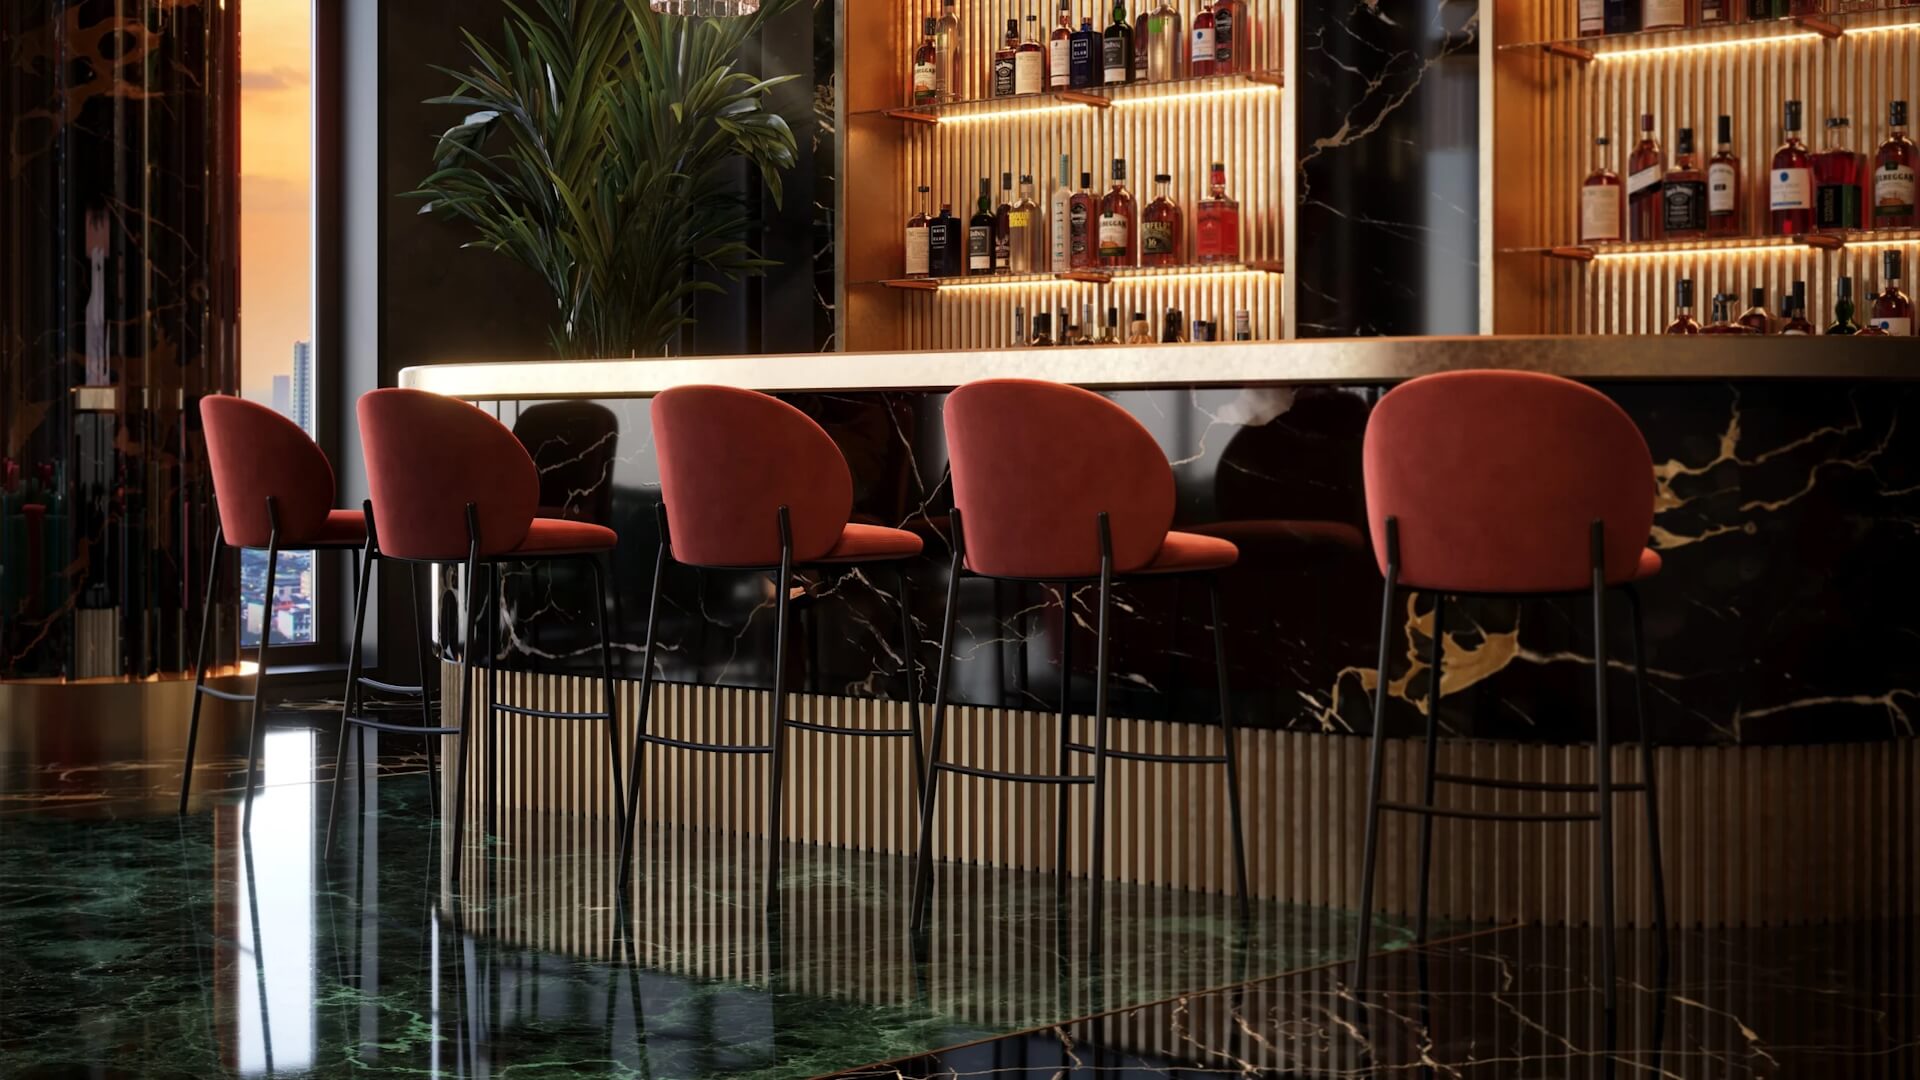
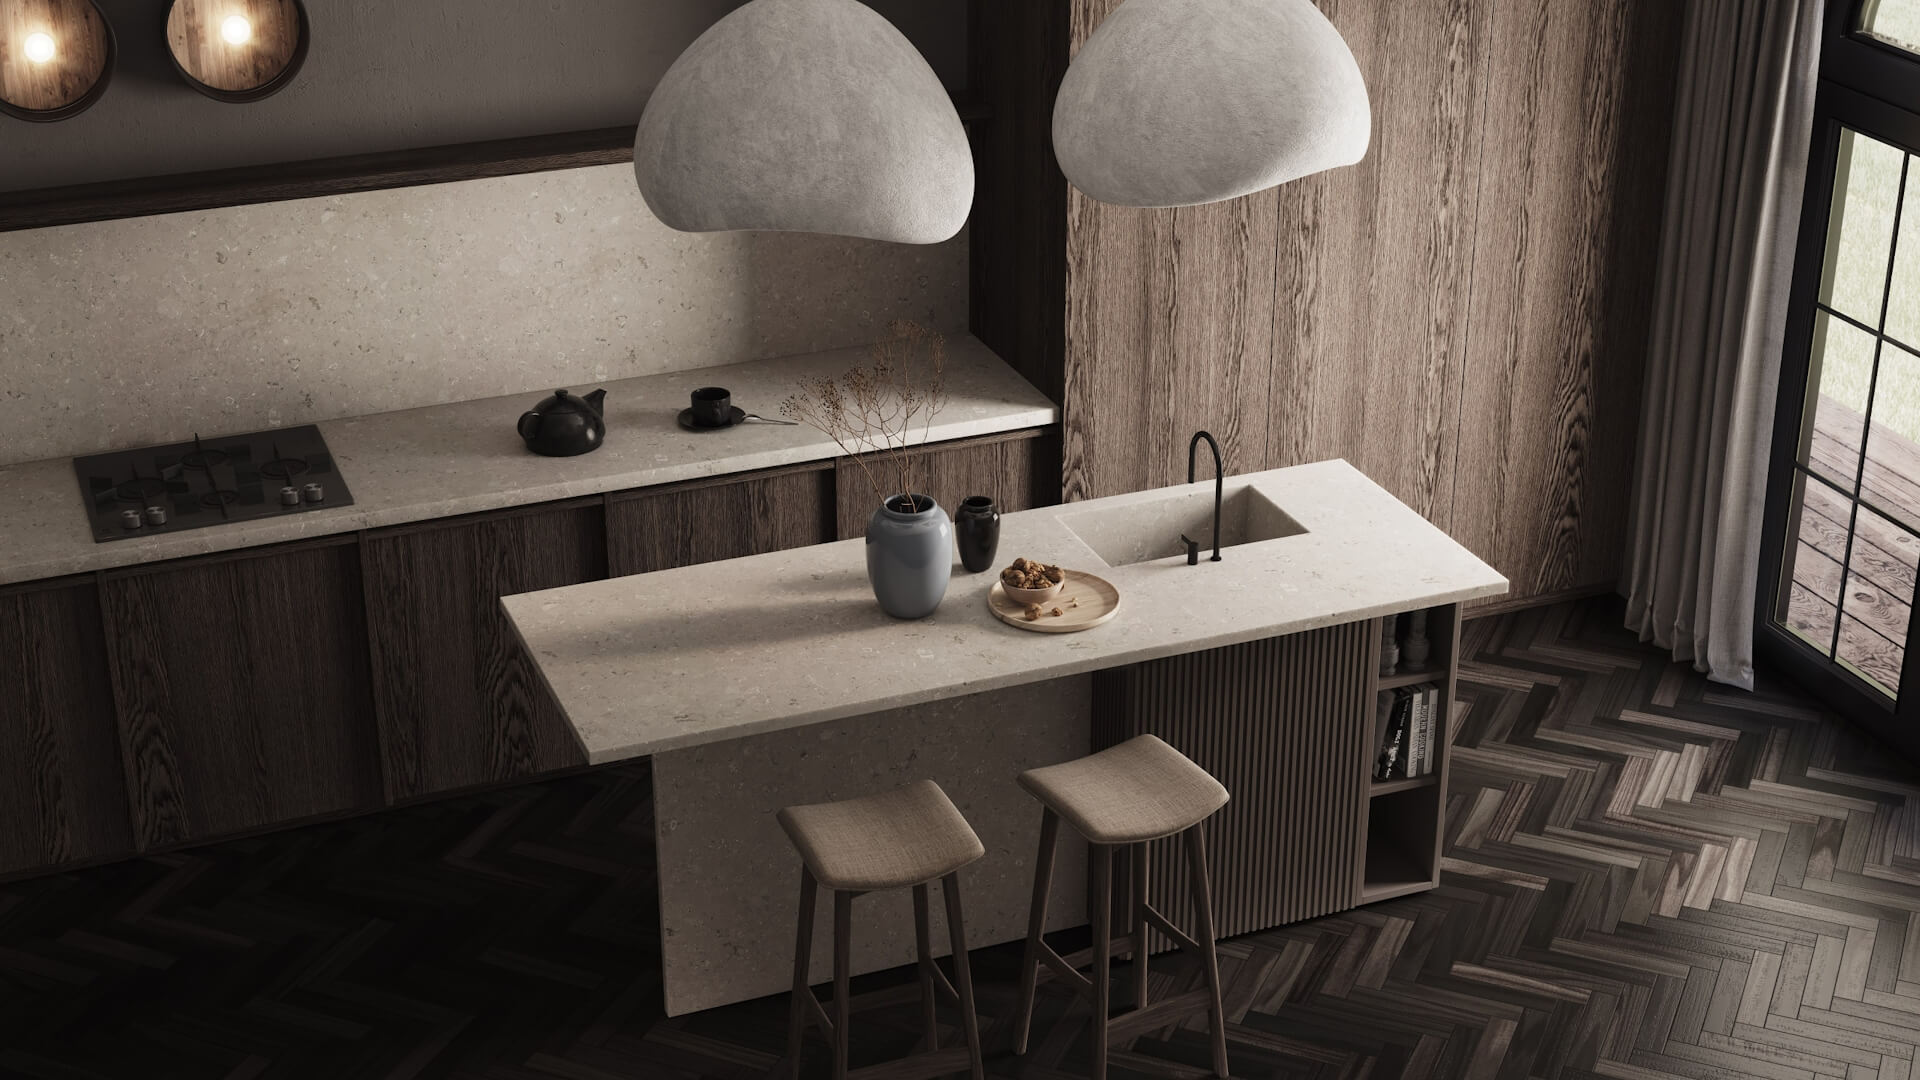
The role of texture in interior design is crucial — it creates depth and dimension. A great way to introduce it to spaces is by using high-end materials like granite, marble, and slate. Interior elements made of these stones are a truly versatile and timeless addition that brings a sense of luxury and elegance to interiors. Whether it’s a granite kitchen island or a marble bathroom basin, showcasing these products has never been easier than with natural stone 3D visualization.
Wondering how CGI manages to convey natural materials in a photorealistic way? Our 3D rendering studio prepared an article diving deep into what makes 3D images of natural stone practically indistinguishable from real photos. Read on to find out the details about our intricate process!
#1. Research and Reference Gathering
The first essential step in the 3D artist’s workflow is thorough research. They begin by collecting high-quality images of a stone type to use as a reference. These usually include photos from various angles, close-up shots, and pictures in different lighting conditions. Using these visual references, a specialist studies the texture, color variations, and patterns to understand the material’s unique characteristics. With this comprehensive information at hand, a 3D artist is ready to make textures for the photorealistic natural stone 3D visualization.
#2. High-Resolution Texture Creating
The next stage is creating the textures of the stone’s surface. There are multiple techniques for this task, each with its unique benefits and drawbacks. Let’s check out the three primary methods.
Photogrammetry is the process of taking multiple overlapping photos of the material and combining them. Here, 3D artists use specialized software to create precise 3D models of natural stone. They cross-reference multiple photos, using mathematical algorithms to blend them into a cohesive, realistic texture.
3D scanning, on the other hand, relies on professional equipment to bring information about physical objects into the digital world. The most common types of this method are laser scanning and white light scanning. The former uses laser beams to measure the surface by calculating the time-of-flight of the laser pulse to each point of the object. The latter technique uses a projector and one or more cameras. Light is projected onto the natural stone, and the cameras measure how it deforms around the material.
The third way to create texturing is manually. It’s a painstaking process used in cases where photogrammetry or 3D scanning is unavailable or not feasible. This method involves drawing textures by hand with the help of programs such as Photoshop or Substance Painter.
#3. 3D Modeling
After the textures are ready, it’s time to create a 3D model of the interior element to which they will be applied. Regardless of the object, the workflow begins with creating a basic geometric model of the natural stone using one of the 3D modeling techniques. Then, a 3D artist adds fine details to the surface, such as cracks, chips, and other imperfections, with the help of the references collected earlier. As a result, they get a realistic model ready for texturing.
#4. Texture Mapping
The following stage of natural stone 3D visualization is texture mapping. The integral part of this process is UV unwrapping, which involves creating a UV map. Essentially, it is a 2D coordinate grid that maps each vertex of the object to the texture image. Proper UV unwrapping is incredibly important because it ensures the correct application of textures. Then, a CG artist applies the textures to cover the 3D object. Here, the specialists pay special attention to aligning the natural stone textures seamlessly to achieve impeccable realism in the final visualization results.
#5. Material and Shader Development
Now, it’s time to bring the model to life. For this, 3D artists develop shaders that mimic the physical properties of natural stone, including:
- Diffuse reflection, which is the way lighting reflects from the surface;
- Specular highlights, which are the bright spots that appear on the materials under illumination;
- Subsurface scattering, or how light is absorbed or scattered across the object.
To simulate them, specialists employ PBR (Physically Based Rendering) workflows. This approach involves using 2D images containing information about the object to control various material properties in the natural stone 3D visualization. Here are the most used PBR maps:
- Albedo maps represent the base color of the stone.
- Normal maps simulate the small surface details like dents and bumps.
- Roughness maps control how light scatters across the surface.
- Displacement maps physically displace the surface to which they are applied to add depth.
- Specular maps define how much light the object reflects.
- Glossiness maps, on the other hand, control how clear the reflection will be.
#6. Lighting and Rendering
Finally, it’s time to prepare the scene for rendering. It begins by setting up realistic lighting with the help of HDRI (High Dynamic Range Imaging) environments. These are 360-degree photographic scans created using a specialized camera that captures both visual information and lighting data. HDRI environments are necessary to provide natural light in digital scenes.
Then, a specialist sets up global illumination — a system that simulates how natural light bounces off surfaces. It ensures realistic shadows, color bleeding, and ambient occlusion in the scene.
Before creating the final natural stone 3D visualization, it’s also important to make a few test renders. It helps artists fine-tune the lighting in the scene, materials, and other details to create the perfect photorealistic 3D scene.
#7. Post-Processing
After the rendering comes the final step of 3D visualization — post-processing. This stage enhances the visual impact of the imagery, making it ready for effective marketing. It usually involves adjusting color balance, contrast, saturation, sharpening, bloom, and other filters and effects. Besides, the post-processing phase also involves combining rendered layers with diffuse, specular, and ambient occlusion to achieve the final polished look in the rendering.
#8. Quality Assurance
Last but not least is the review stage. Even the most skilled 3D specialist can make mistakes. To guarantee the quality of the results, an artist typically sends over the natural stone 3D visualization to their colleagues for suggestions. Someone who hasn’t been working on the renders can more easily spot small areas needing adjustments.
Then, an artist sends the final images to the client for approval and makes any necessary final corrections based on their feedback. After that, the photorealistic 3D images of natural stone are finally ready to incorporate into catalogs, websites, social media posts, and other marketing channels.
That’s it! Now you know how the artists at our studio achieve such stunning and realistic CG images. We hope these details have clarified our natural stone 3D visualization workflow and encouraged you to try our services. Our team will make sure that you receive top-quality visual content for the items made of these high-end materials.
Need outstanding visualization for your natural stone products? Use our 3D rendering services to get exceptional photorealistic imagery, perfect for marketing!


Leave a Reply
Want to join the discussion?Feel free to contribute!