A reference photo is a picture that provides an image for use as a roadmap for creation. They help in producing accurate and precise 3D models that resemble real-life products. If you are a newbie in this field, it can be a difficult task to take a good reference photo. There are various factors to consider.
This guide by our 3D modeling company will help you learn how to take reference photos for 3D modeling easier by avoiding some of the most common mistakes.
#1. Prepare the Space
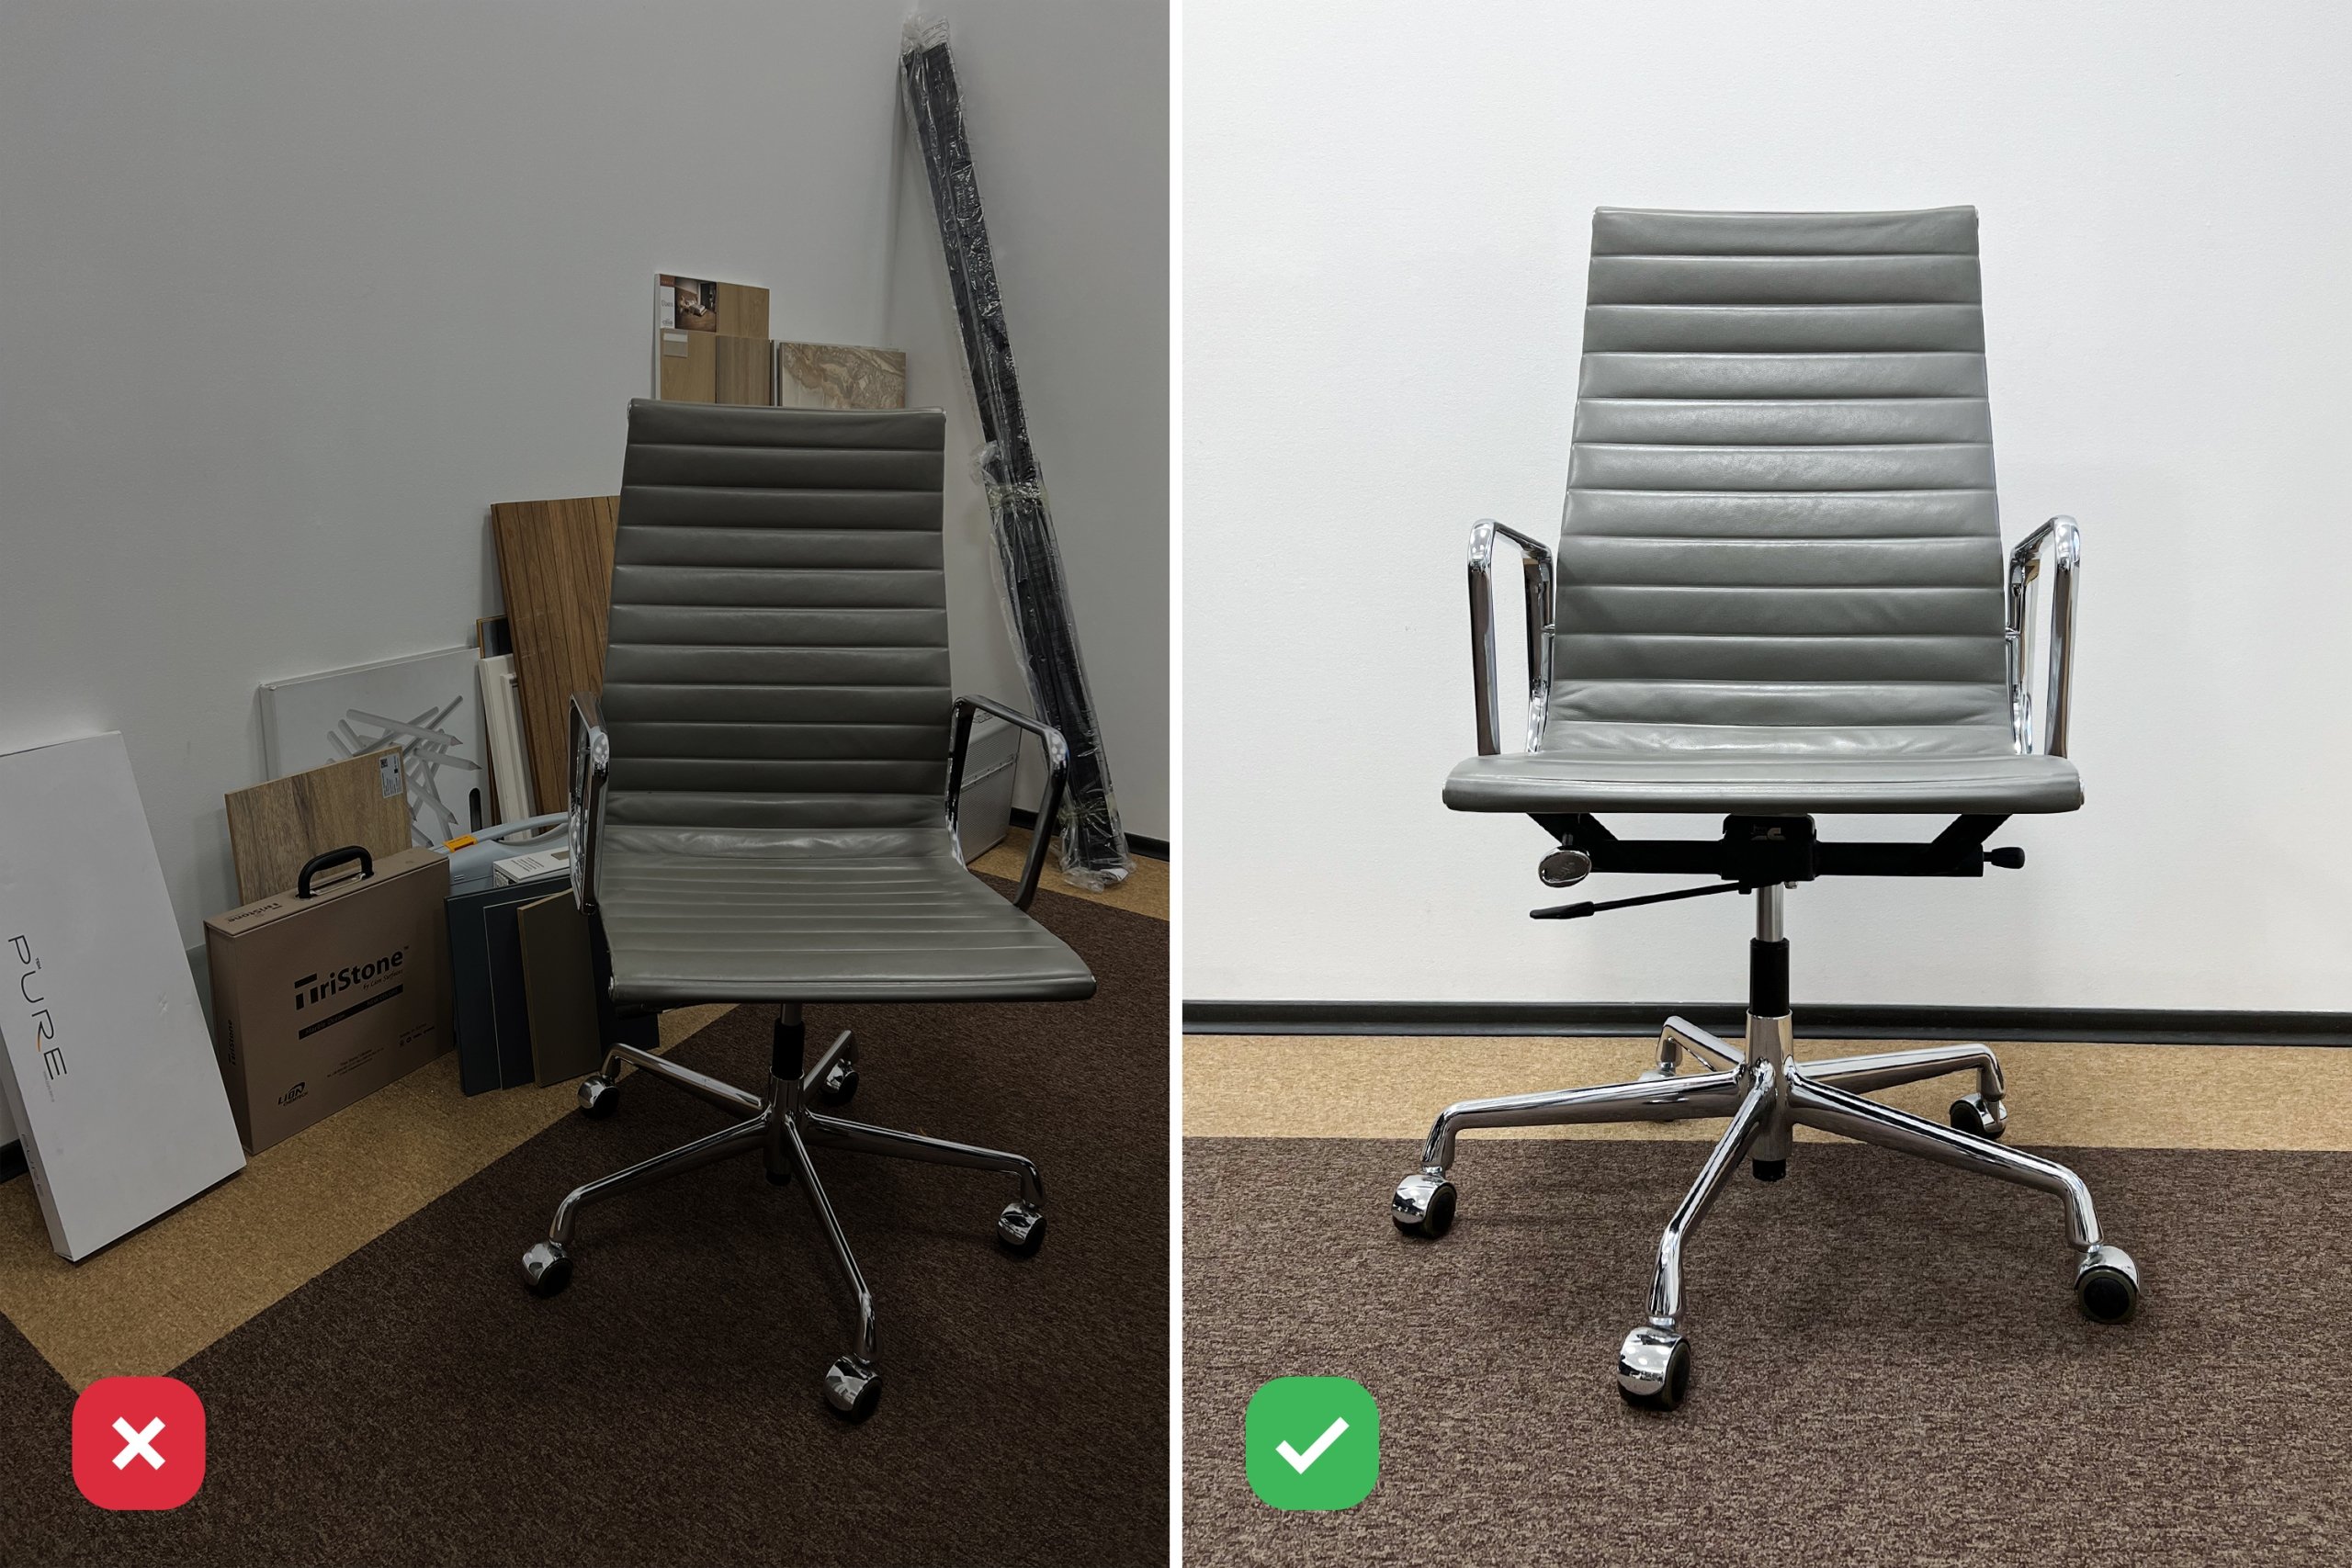
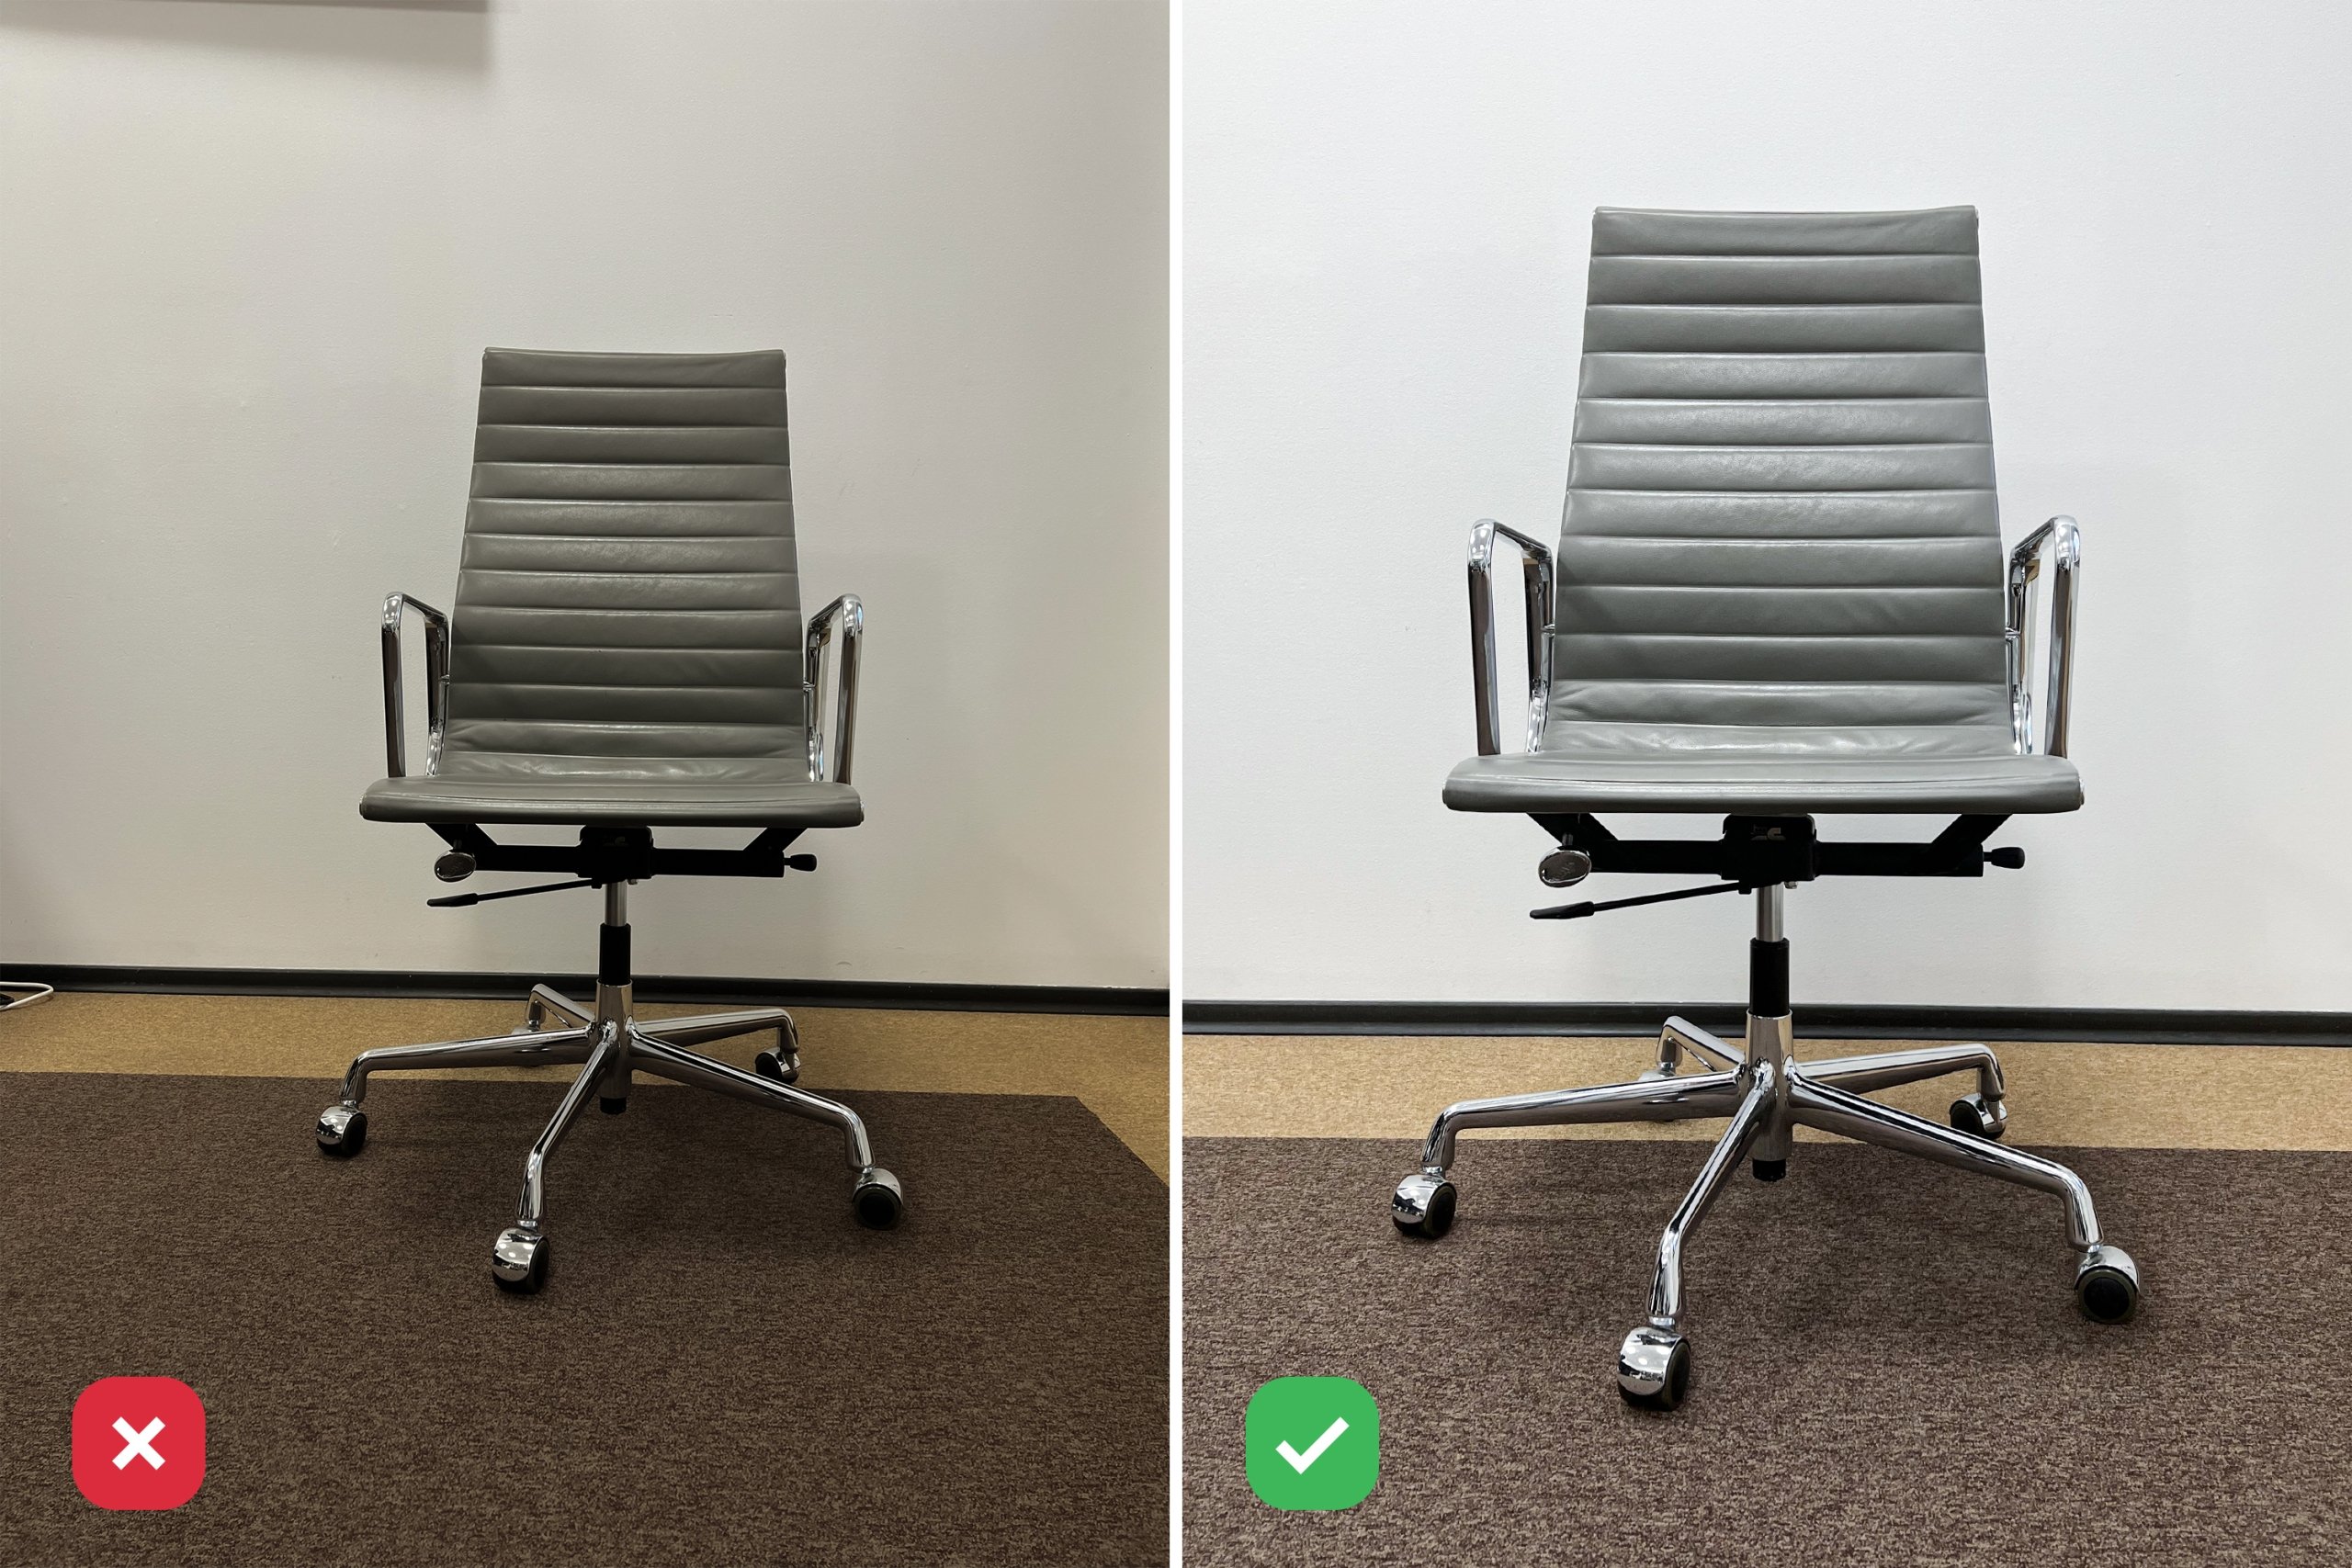
Clear the area around the furniture. Remove any items that may interfere with your shot. Minimize distractions and clutter so that there is nothing to catch the viewer’s eye or distract them from seeing the piece of furniture in its entirety.
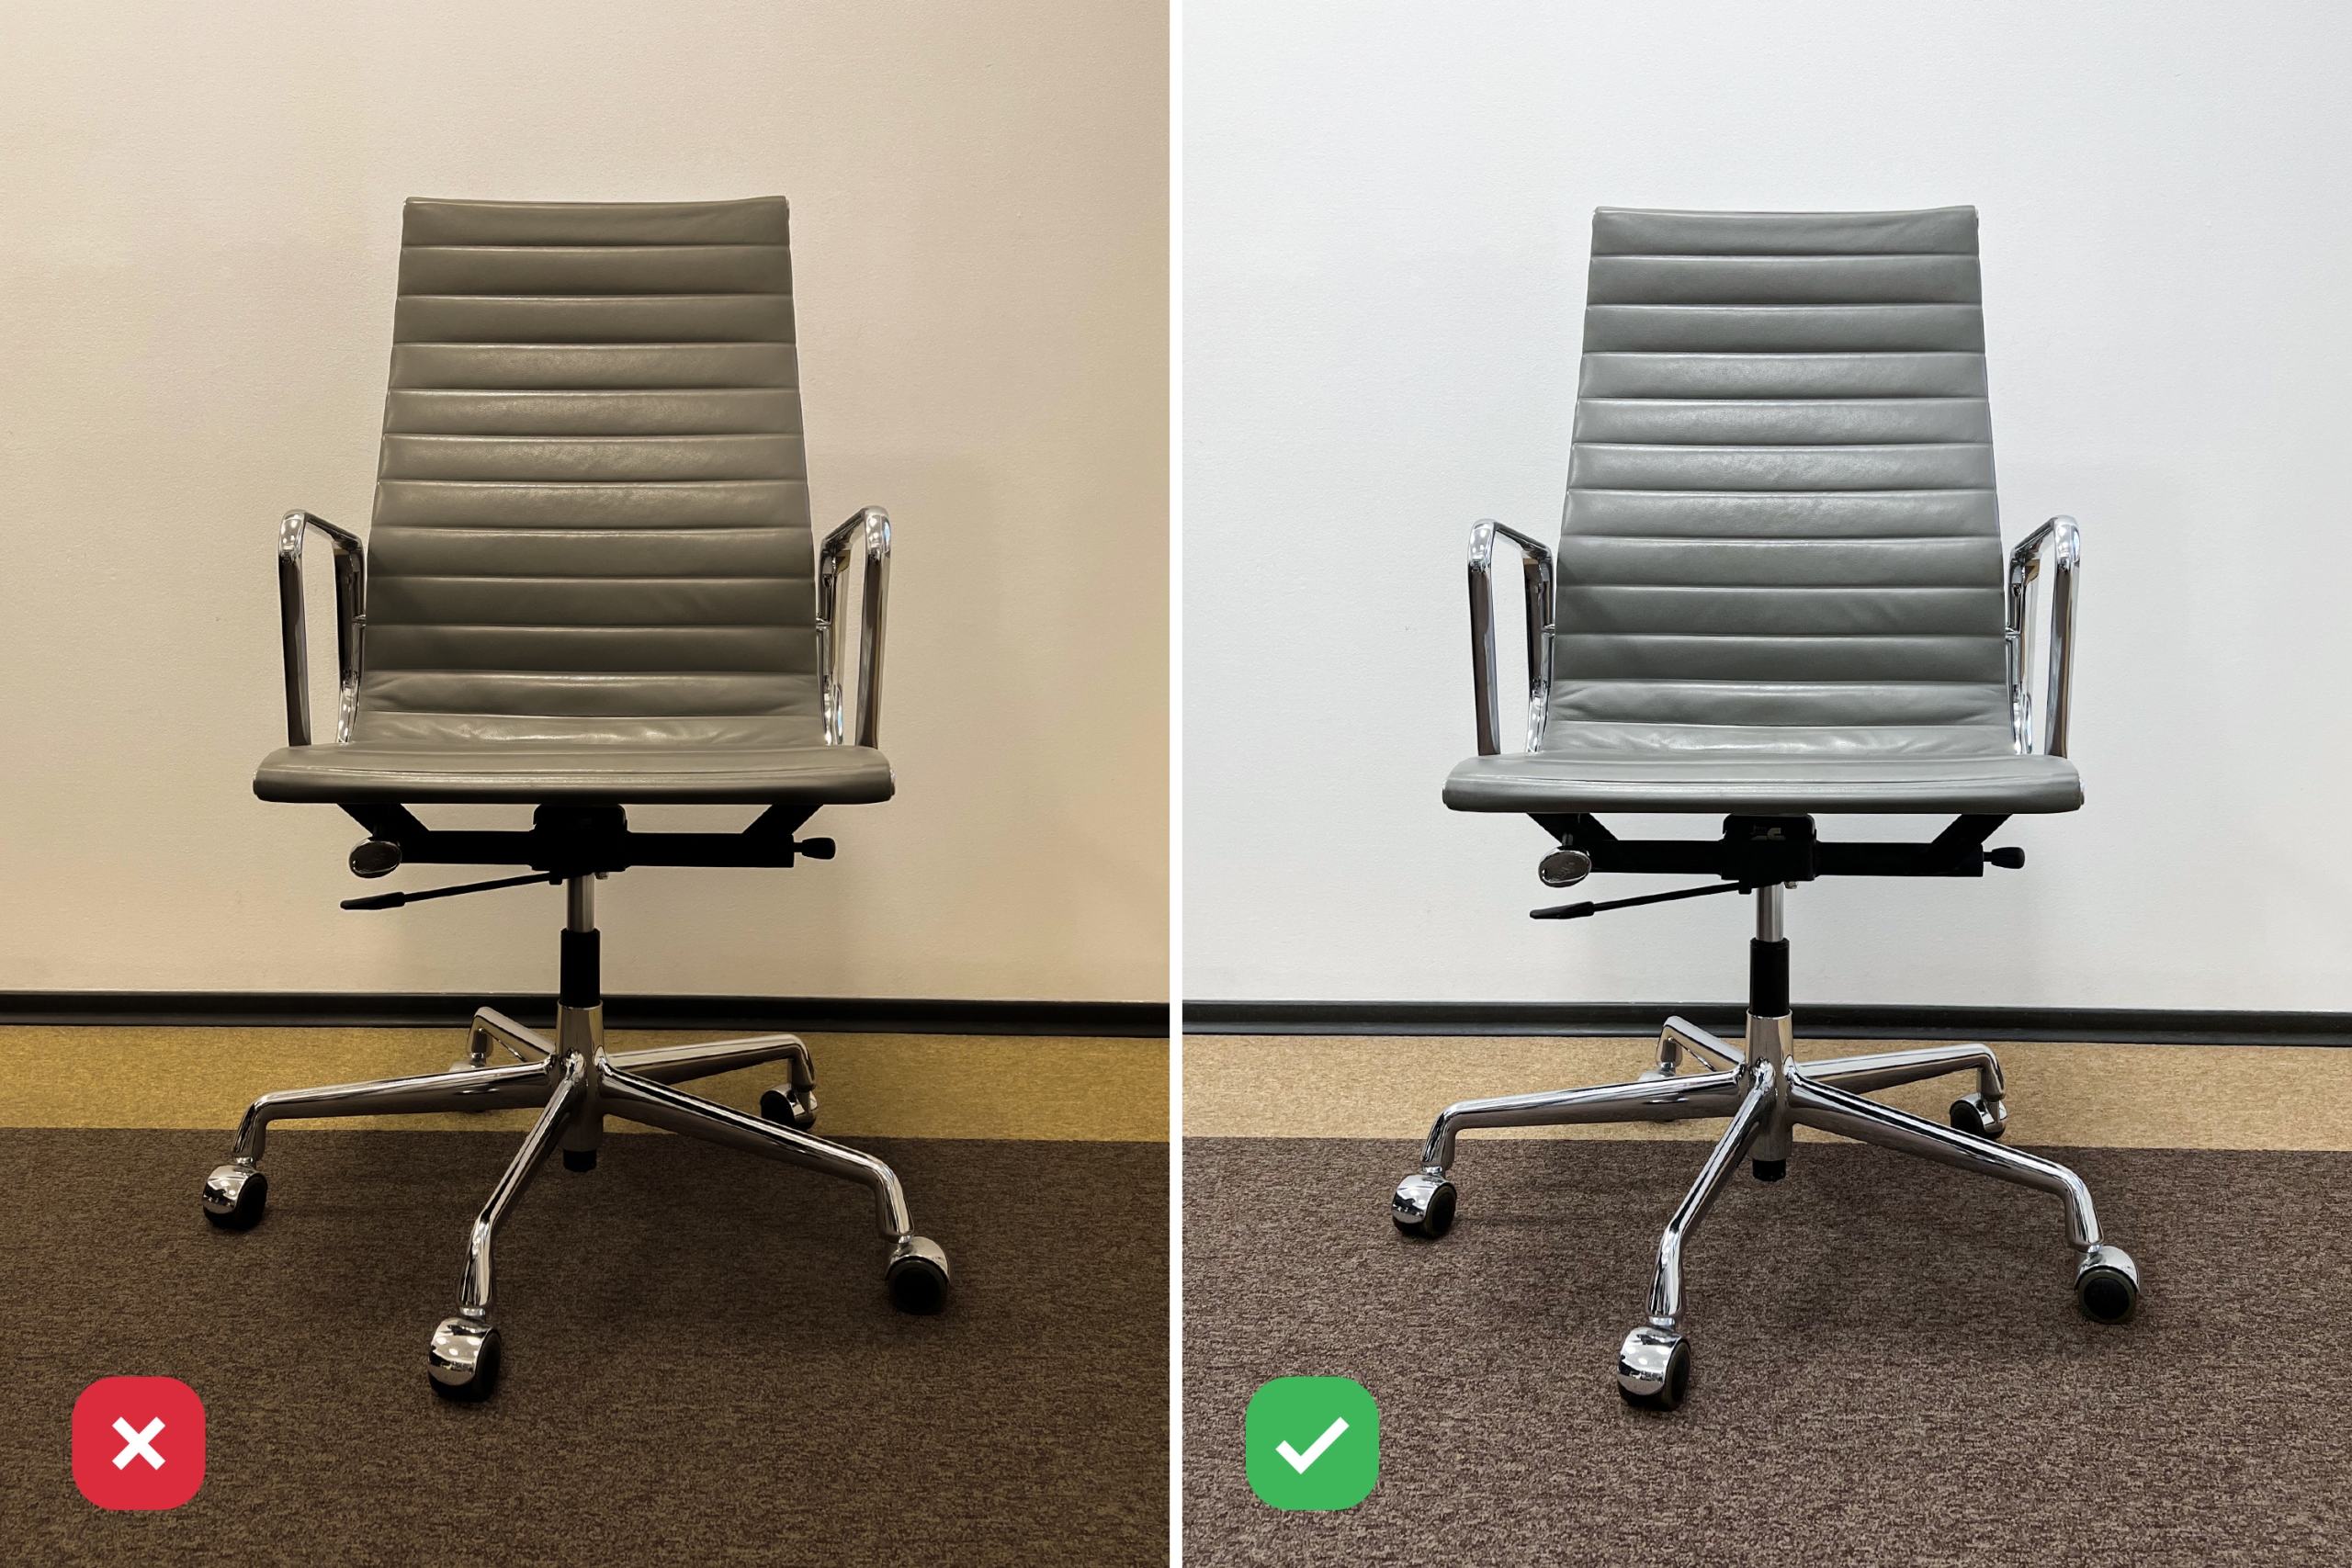
The light should be even across. Avoid spotlights, which will create shadows and highlights. The best way to achieve even lighting is with natural light. If you are using artificial light, be sure that it is diffused so that there are no harsh shadows.
#2. Choose the Right Camera and Settings
It doesn’t matter if you’re using a smartphone or DSLR—the quality of the camera has a huge impact on the quality of reference photos for 3D modeling. If at all possible, use a high-resolution camera (or high-resolution setting on your phone) for the best results. Try taking some test shots with each camera at different resolutions and details until you find one that works well for your needs.
Make sure that your camera is set to manual mode. Set the ISO at 100 and the aperture at f/8. If your camera supports shutter speed, set it to 1/250. In the case of using a smartphone, set it to manual mode and use the physical controls to set the focus and exposure.
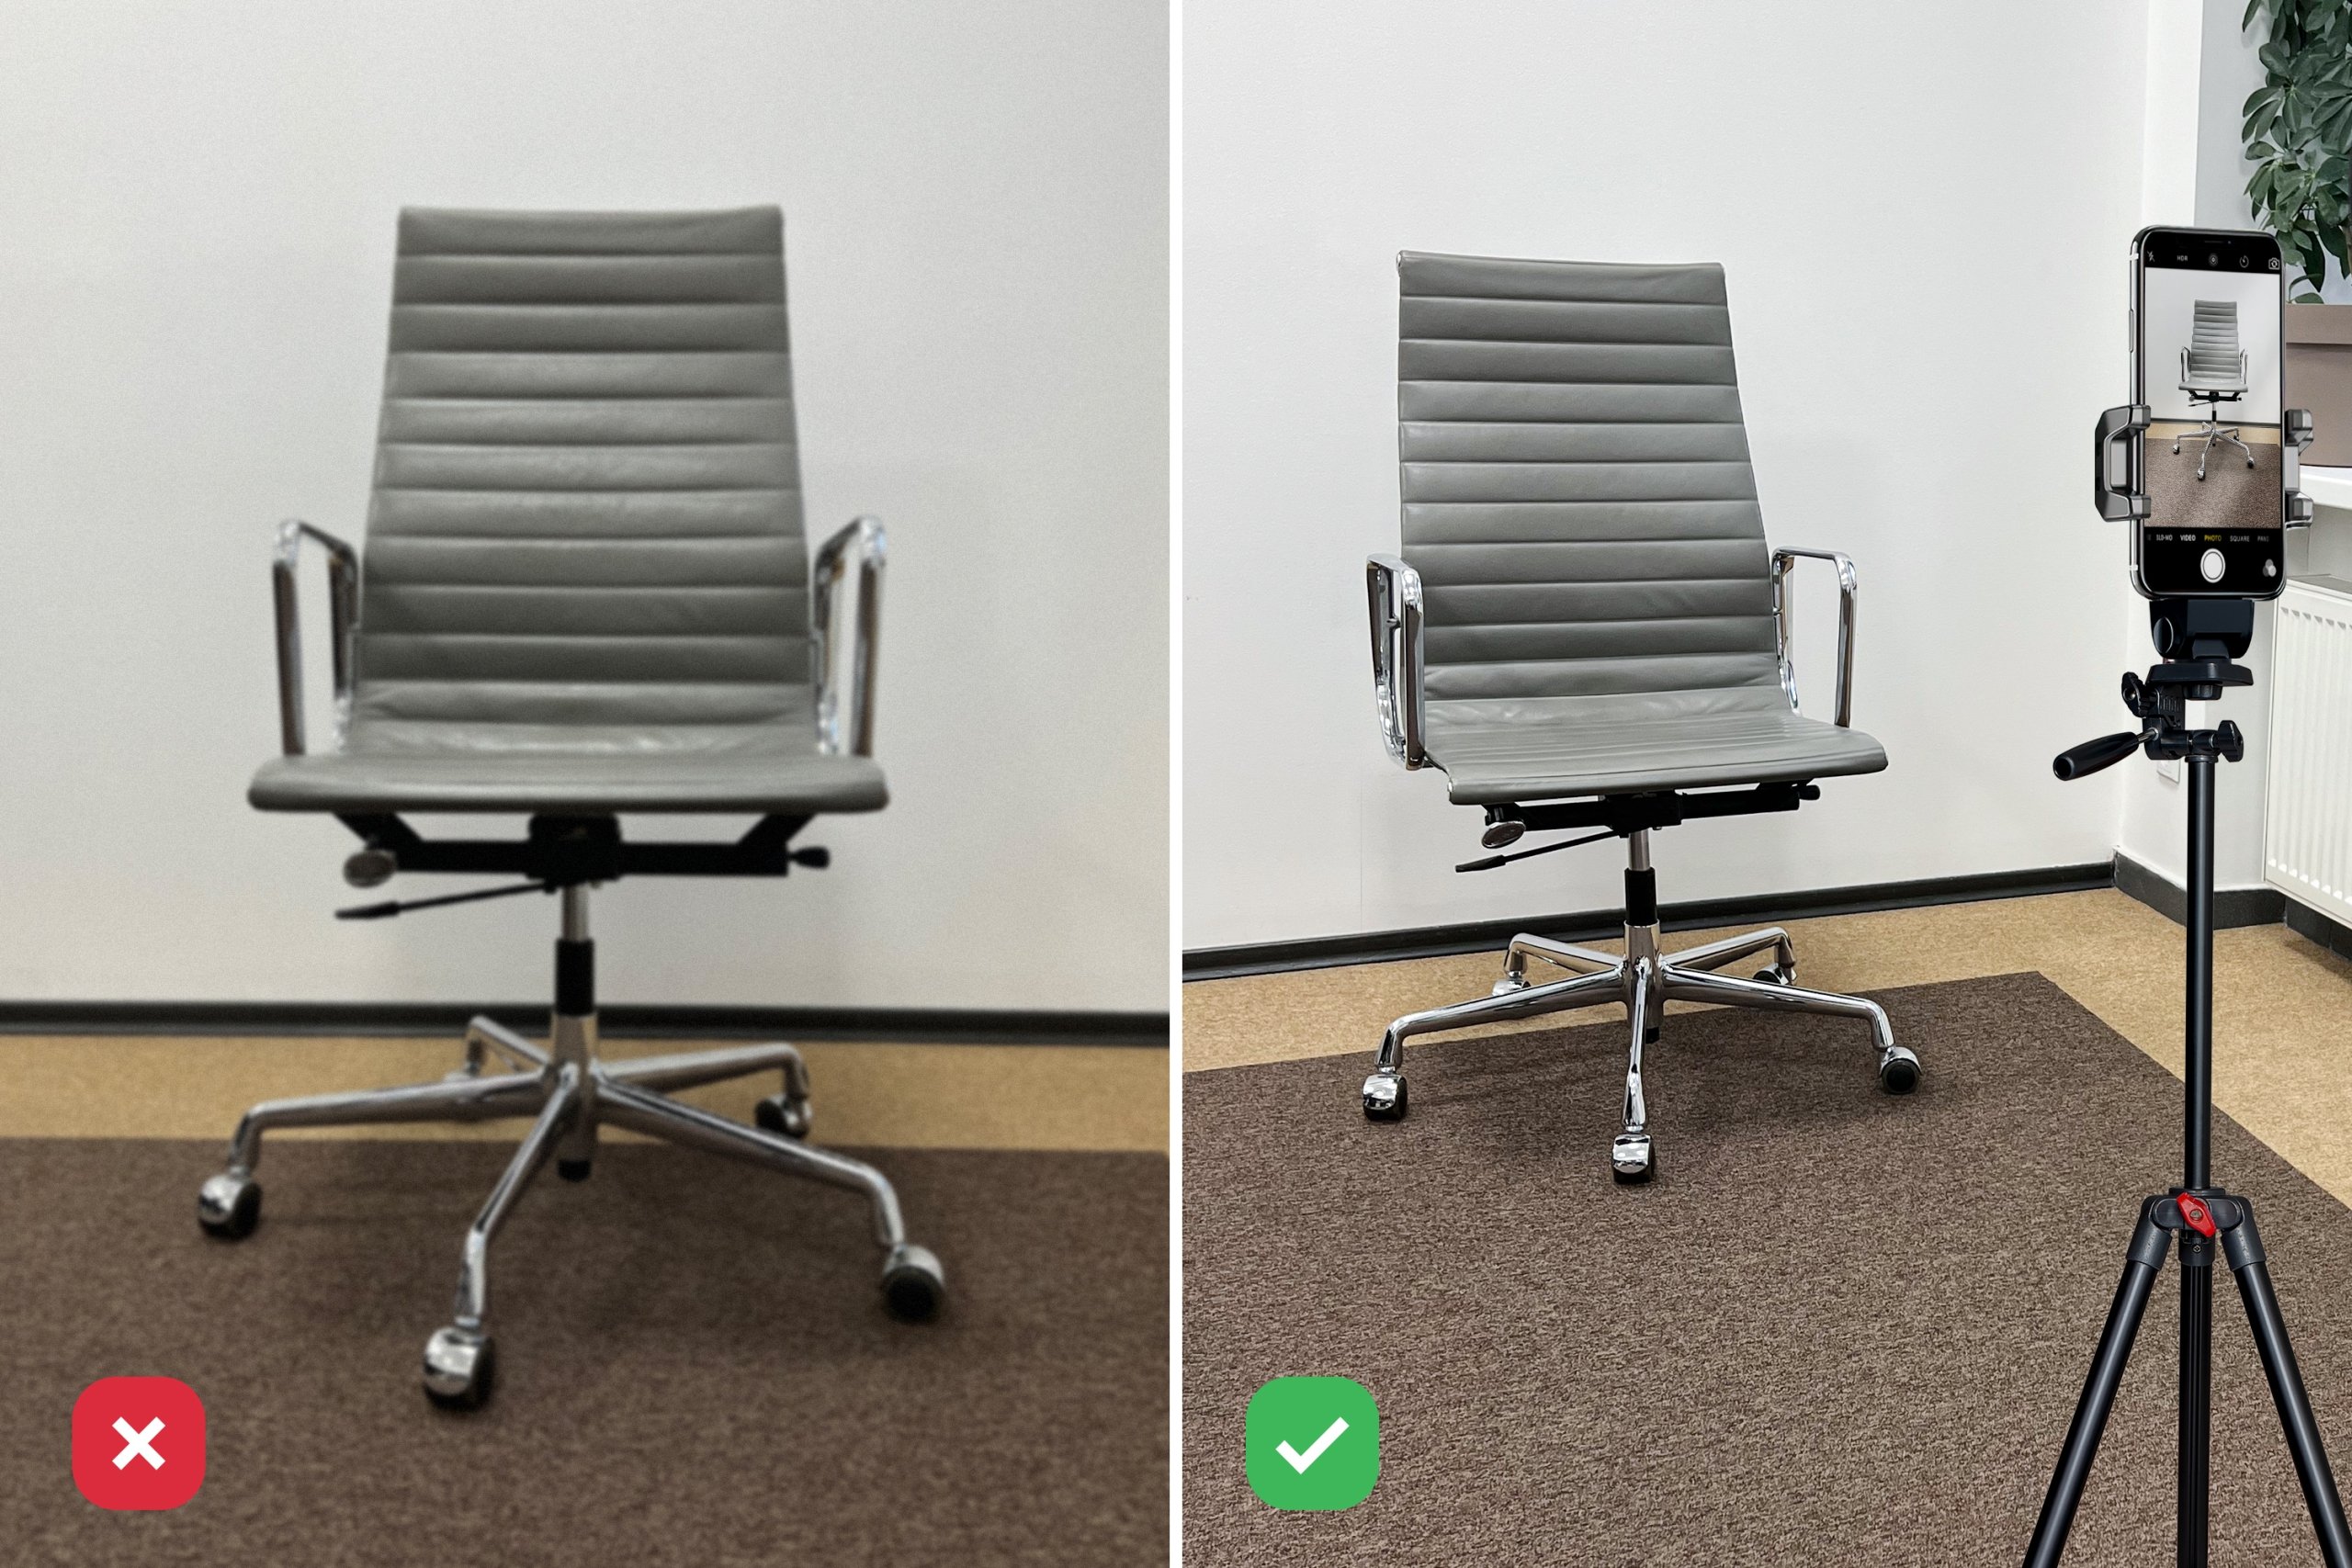
Many photographers use a tripod for stability, but if you want to take photos without one, try propping your camera against a wall or table to give it a bit more stability.
#3. Pick the Best Suited Lens
Choosing the right lens can help you to get a unique perspective on your subject.
If you are using a wide-angle or standard lens (18-50mm), try shooting at around 15-20 feet from your subject. If you’re taking pictures with a telephoto lens (70-200mm), shoot from around 50 feet away. This will help to create a more dramatic effect when combined with the motion blur effect in post-production.
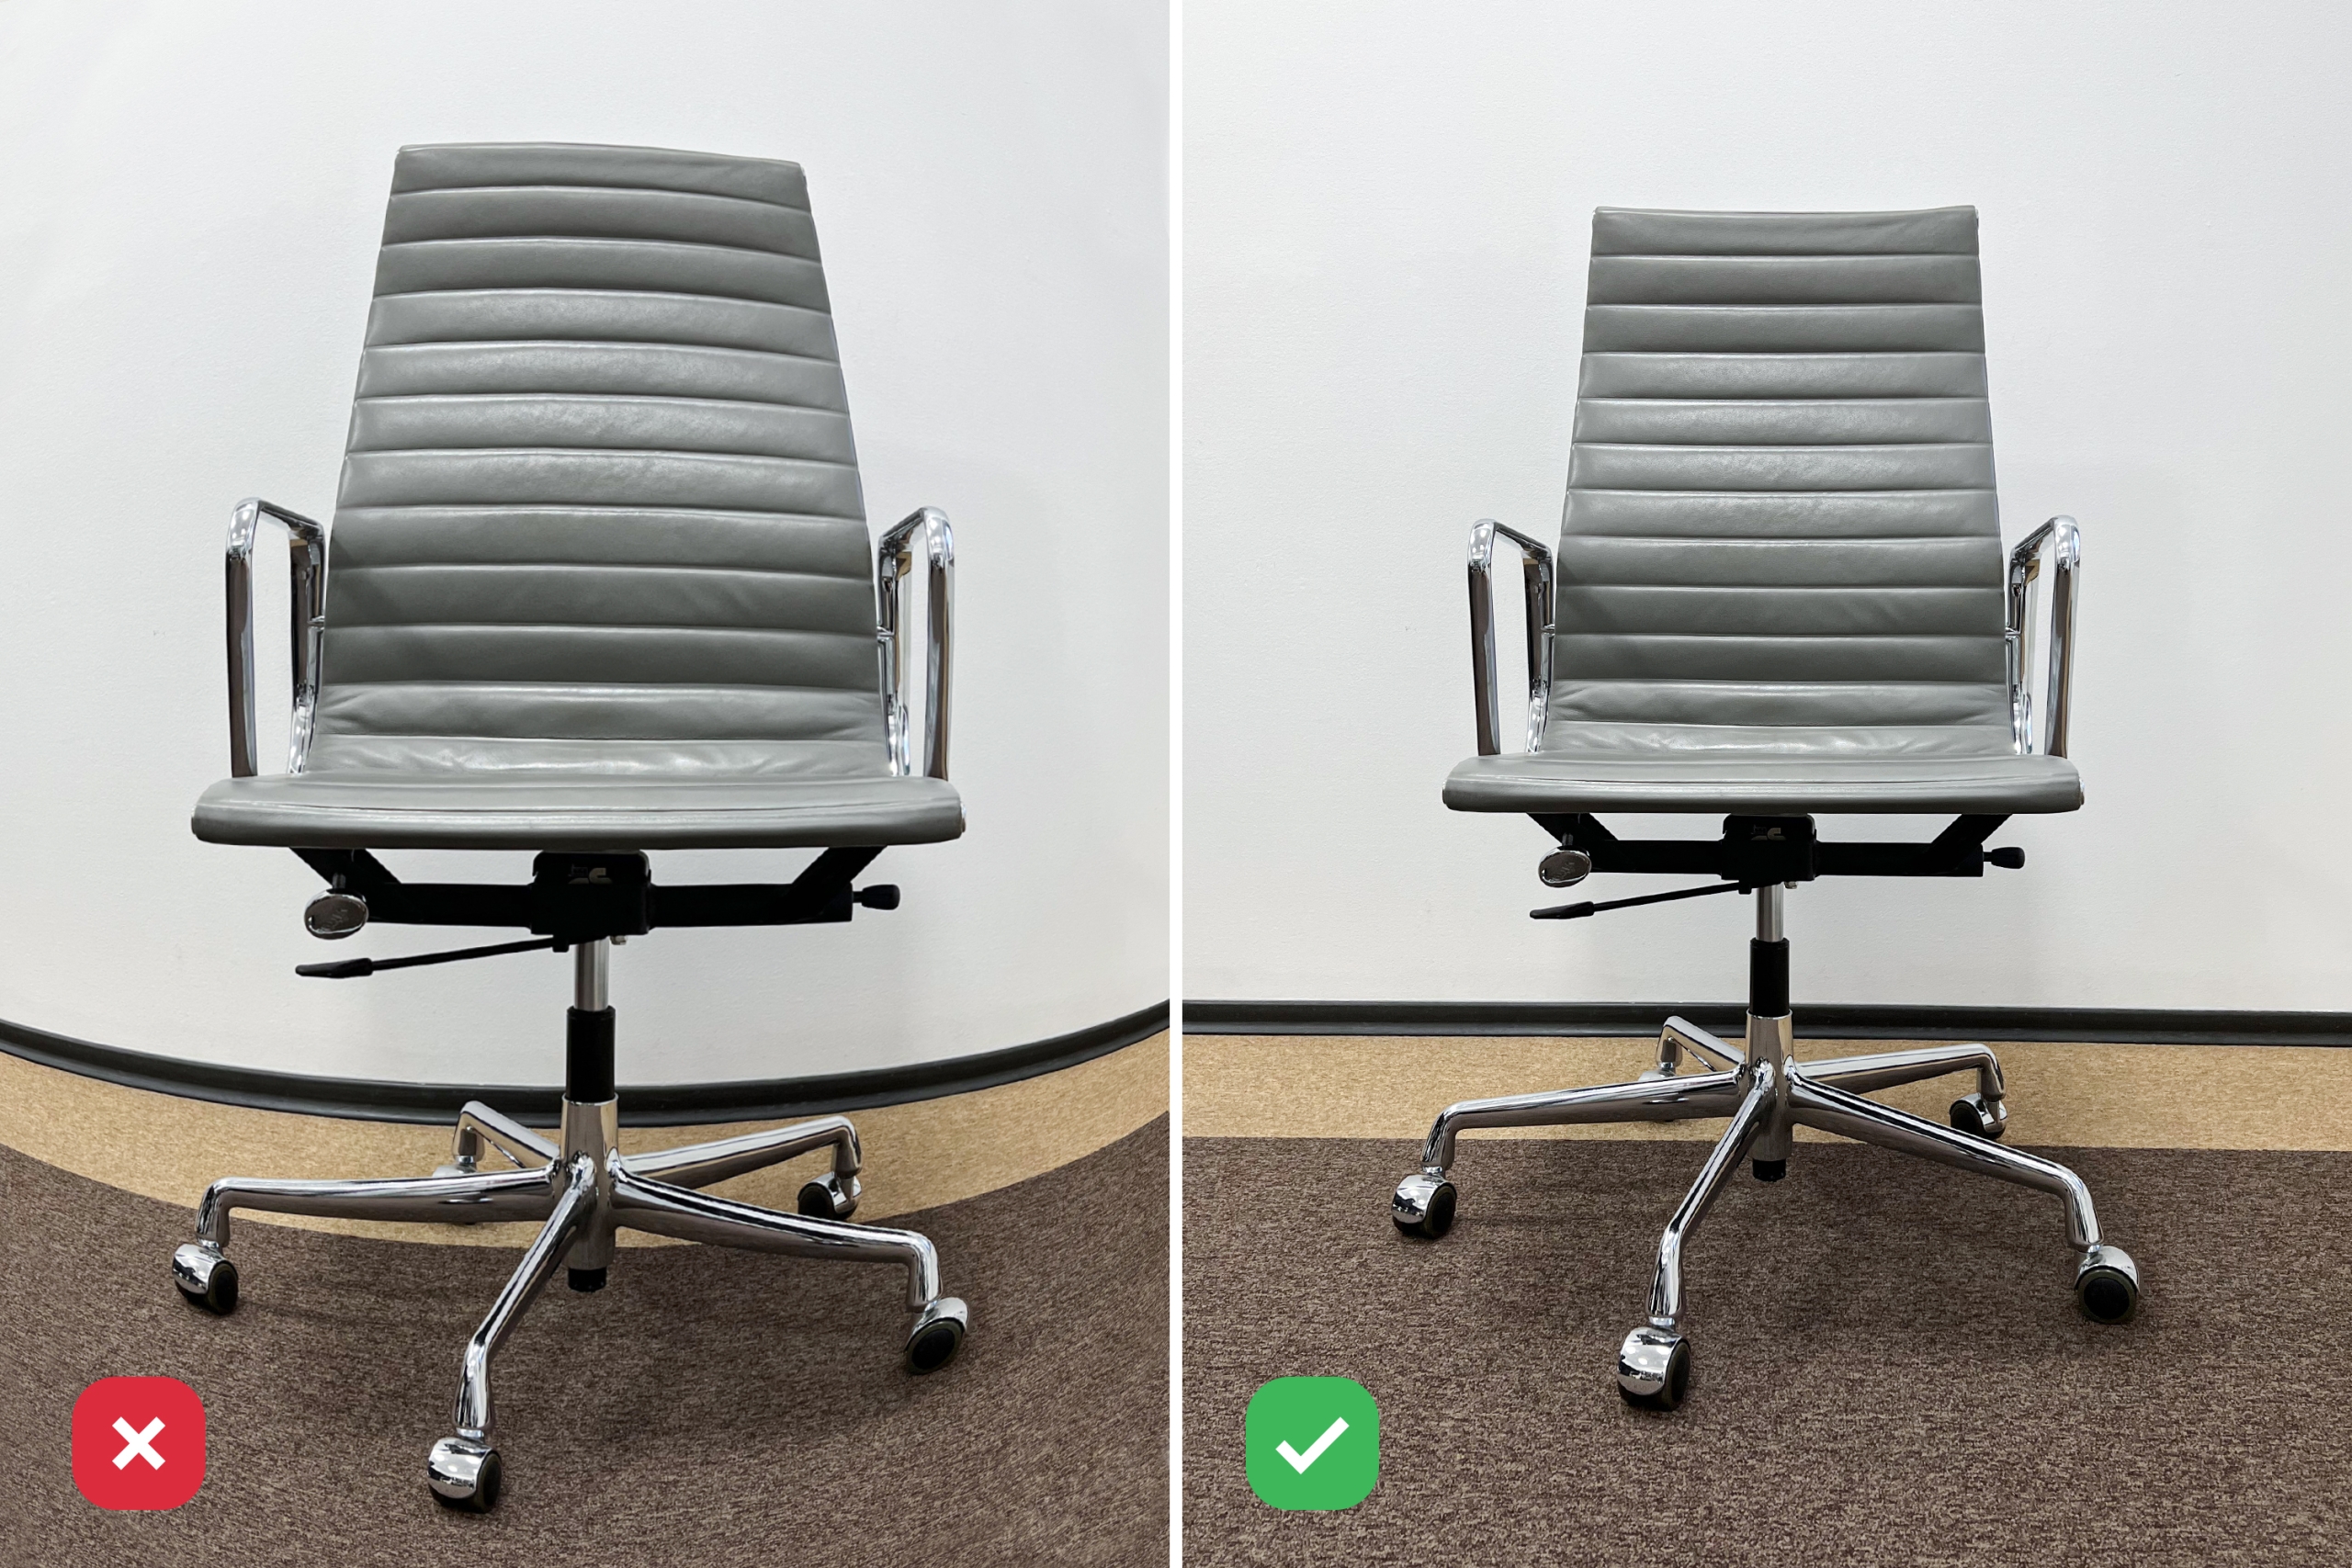
Avoid fisheye lenses, which distort the image and the product’s proportions.
#4. Pay Attention to the Lighting
Avoid direct sunlight and harsh artificial light; use natural or diffused sources instead. You can try a lightbox for small, detailed items if necessary.
If you have an SLR with a pop-up flash, use it to illuminate your subject from the side or above — this will avoid harsh shadows.
Always give preference to natural light, if possible, and move around your object instead of trying to adjust the lighting sources around it.
#5. Capture Multiple Angles and Perspectives
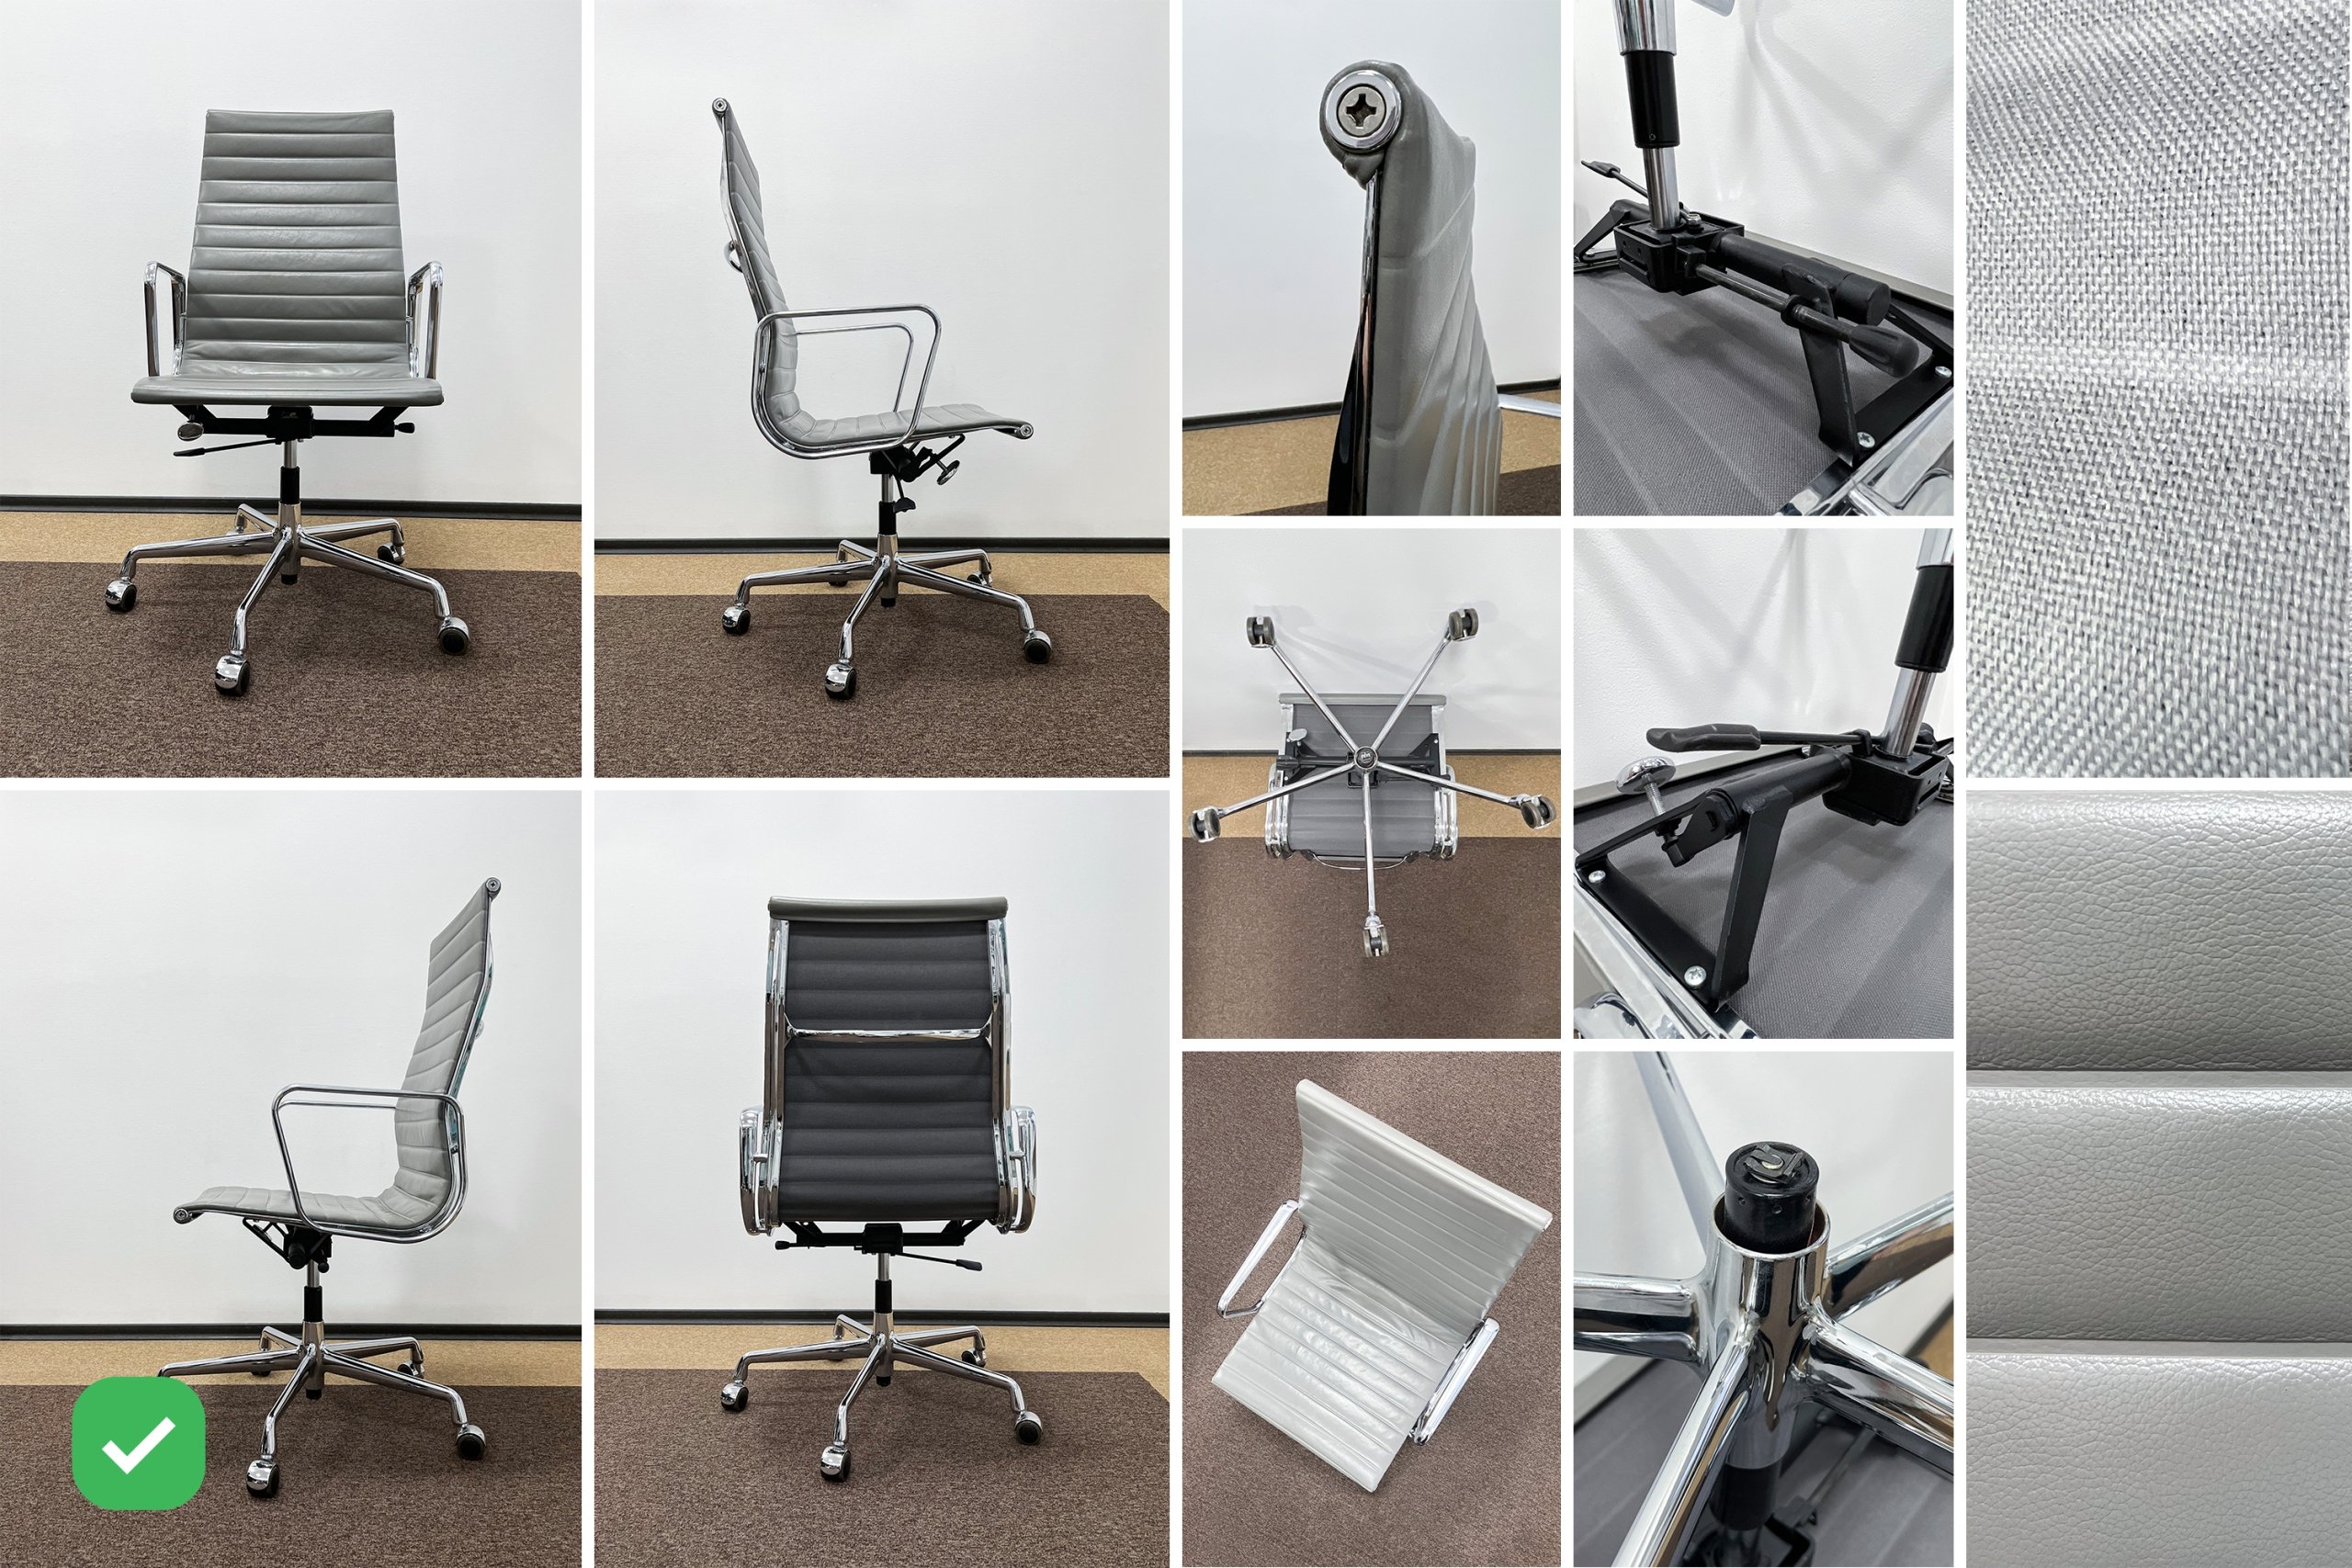
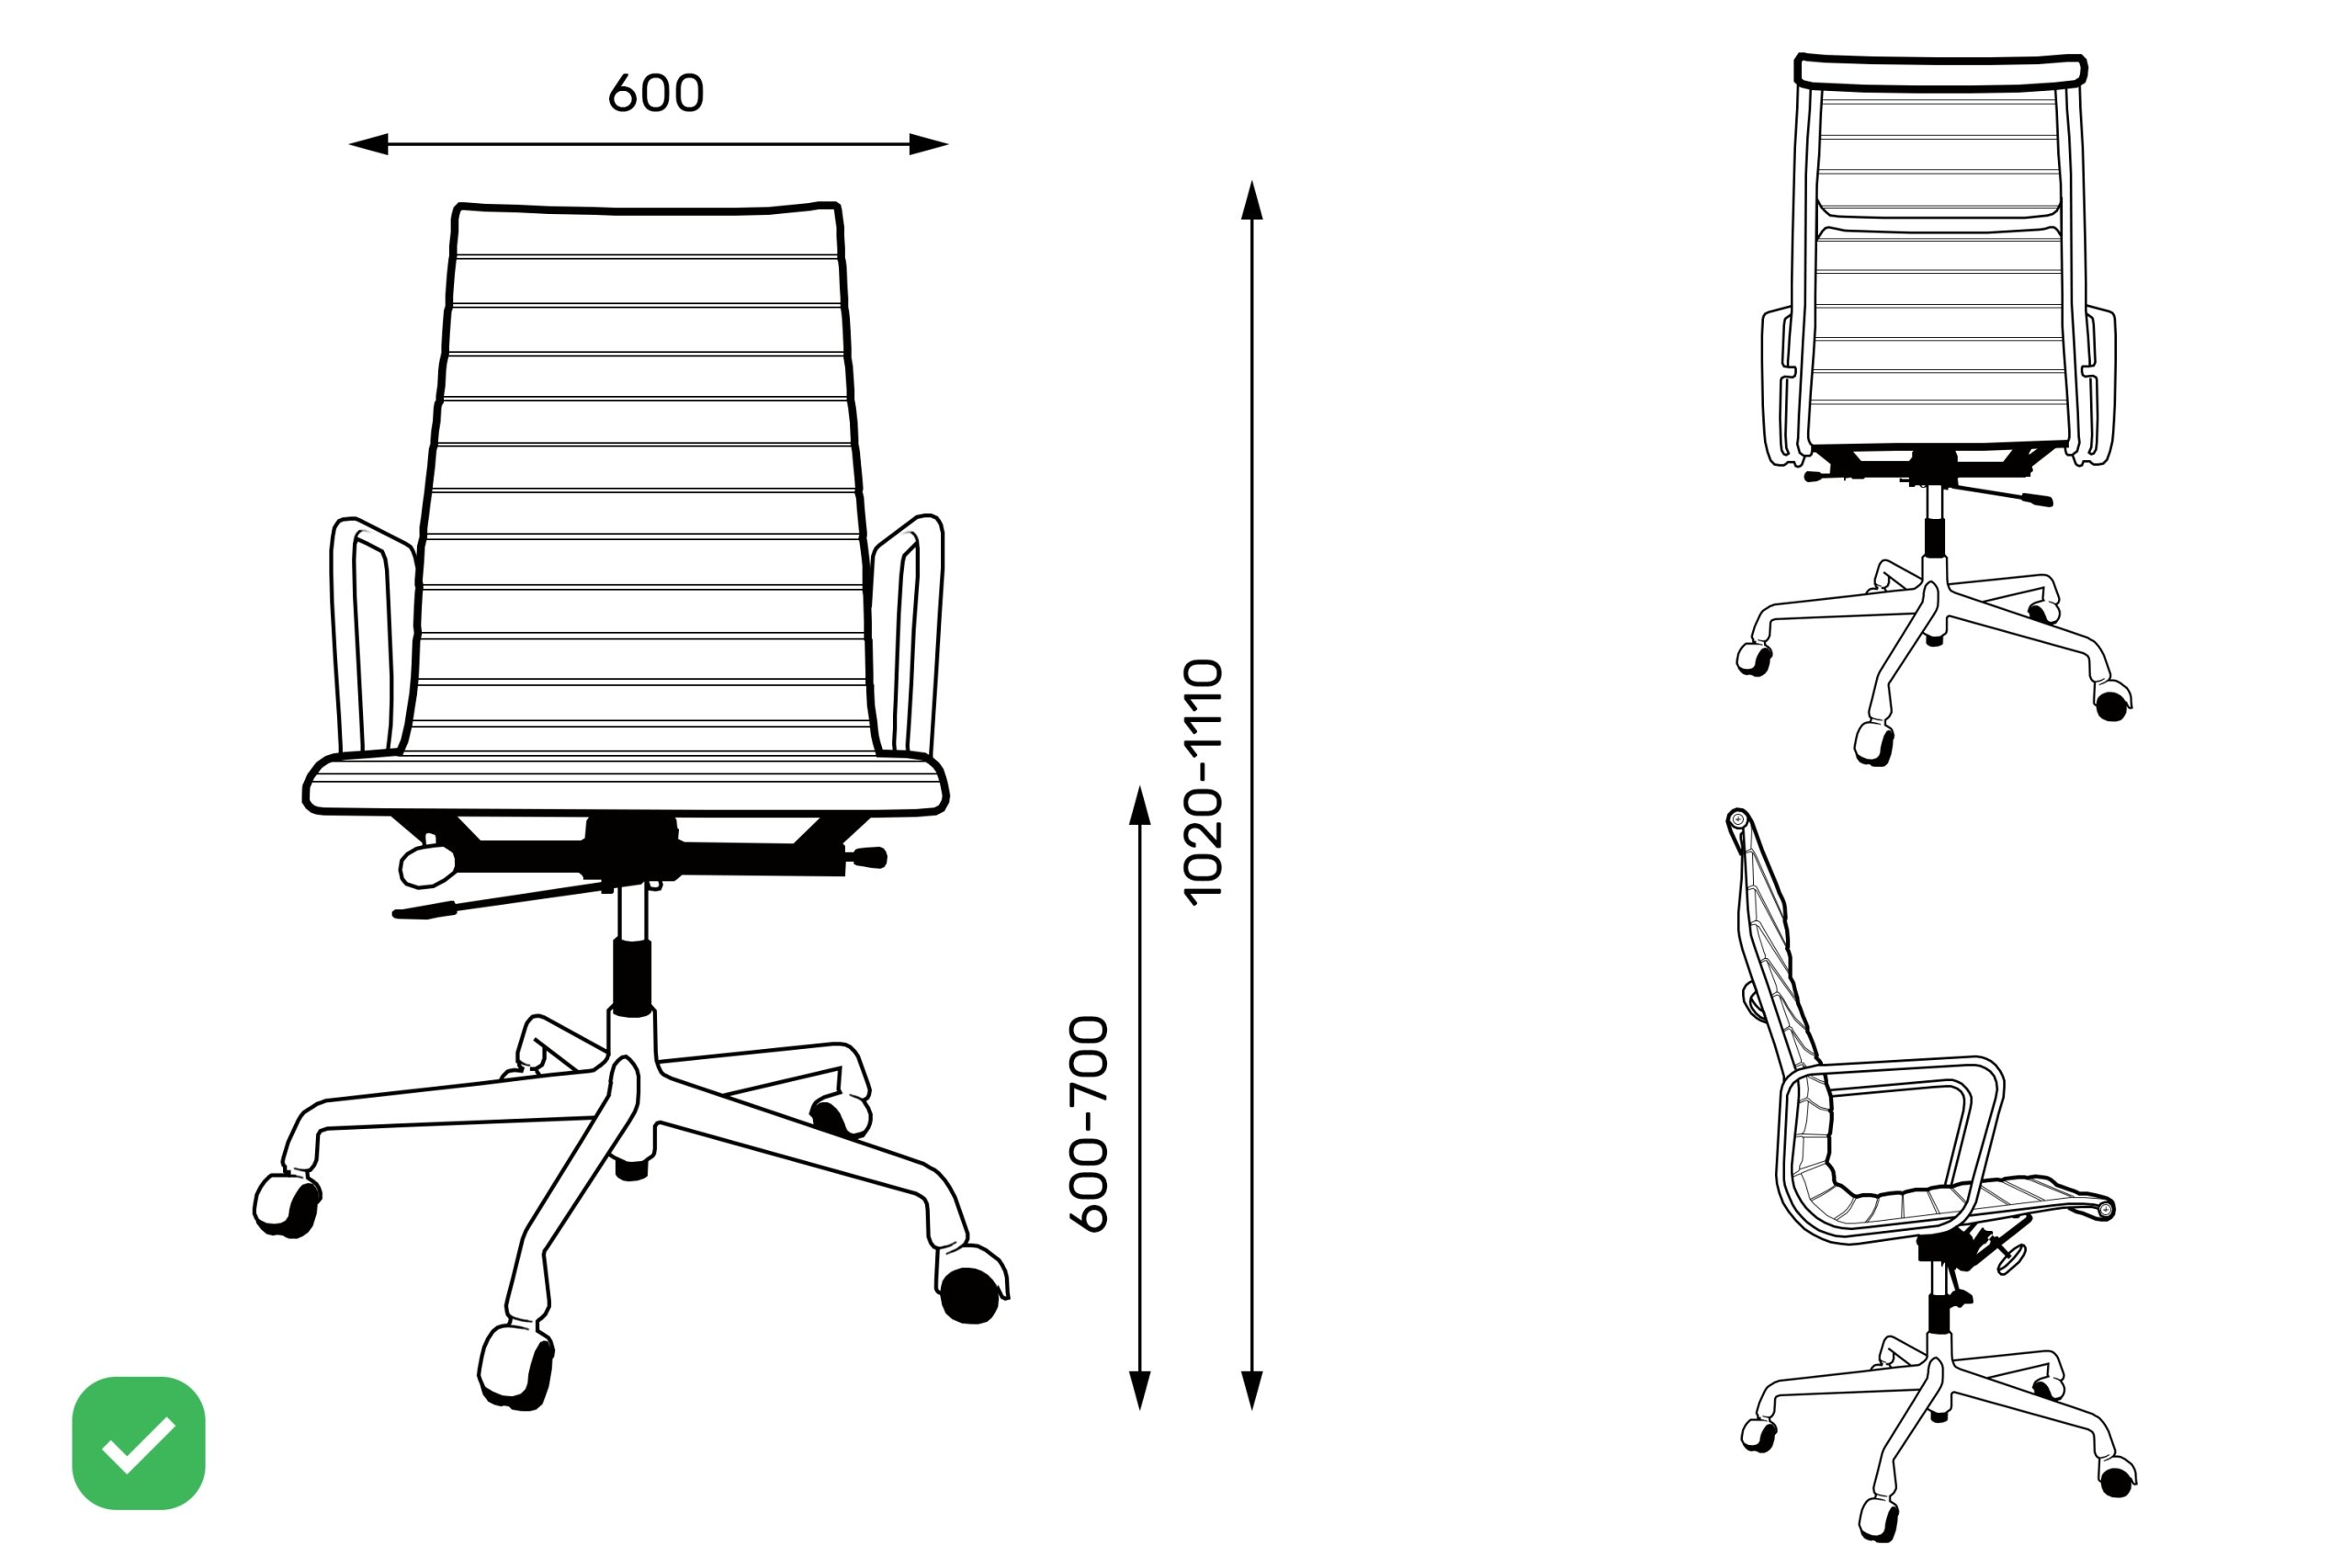
If you’re taking reference photos for a project, take lots of them! Cover all sides (front, back, left, right) and from the top and bottom views if possible.
You can also take photos from the same angle but with a different perspective; this will give the 3D artist more to work with when creating your model.
Doing these reference photos for 3D modeling will eliminate any guesswork when creating the final product and save you a lot of time in the process!
#6. Maintain Consistency
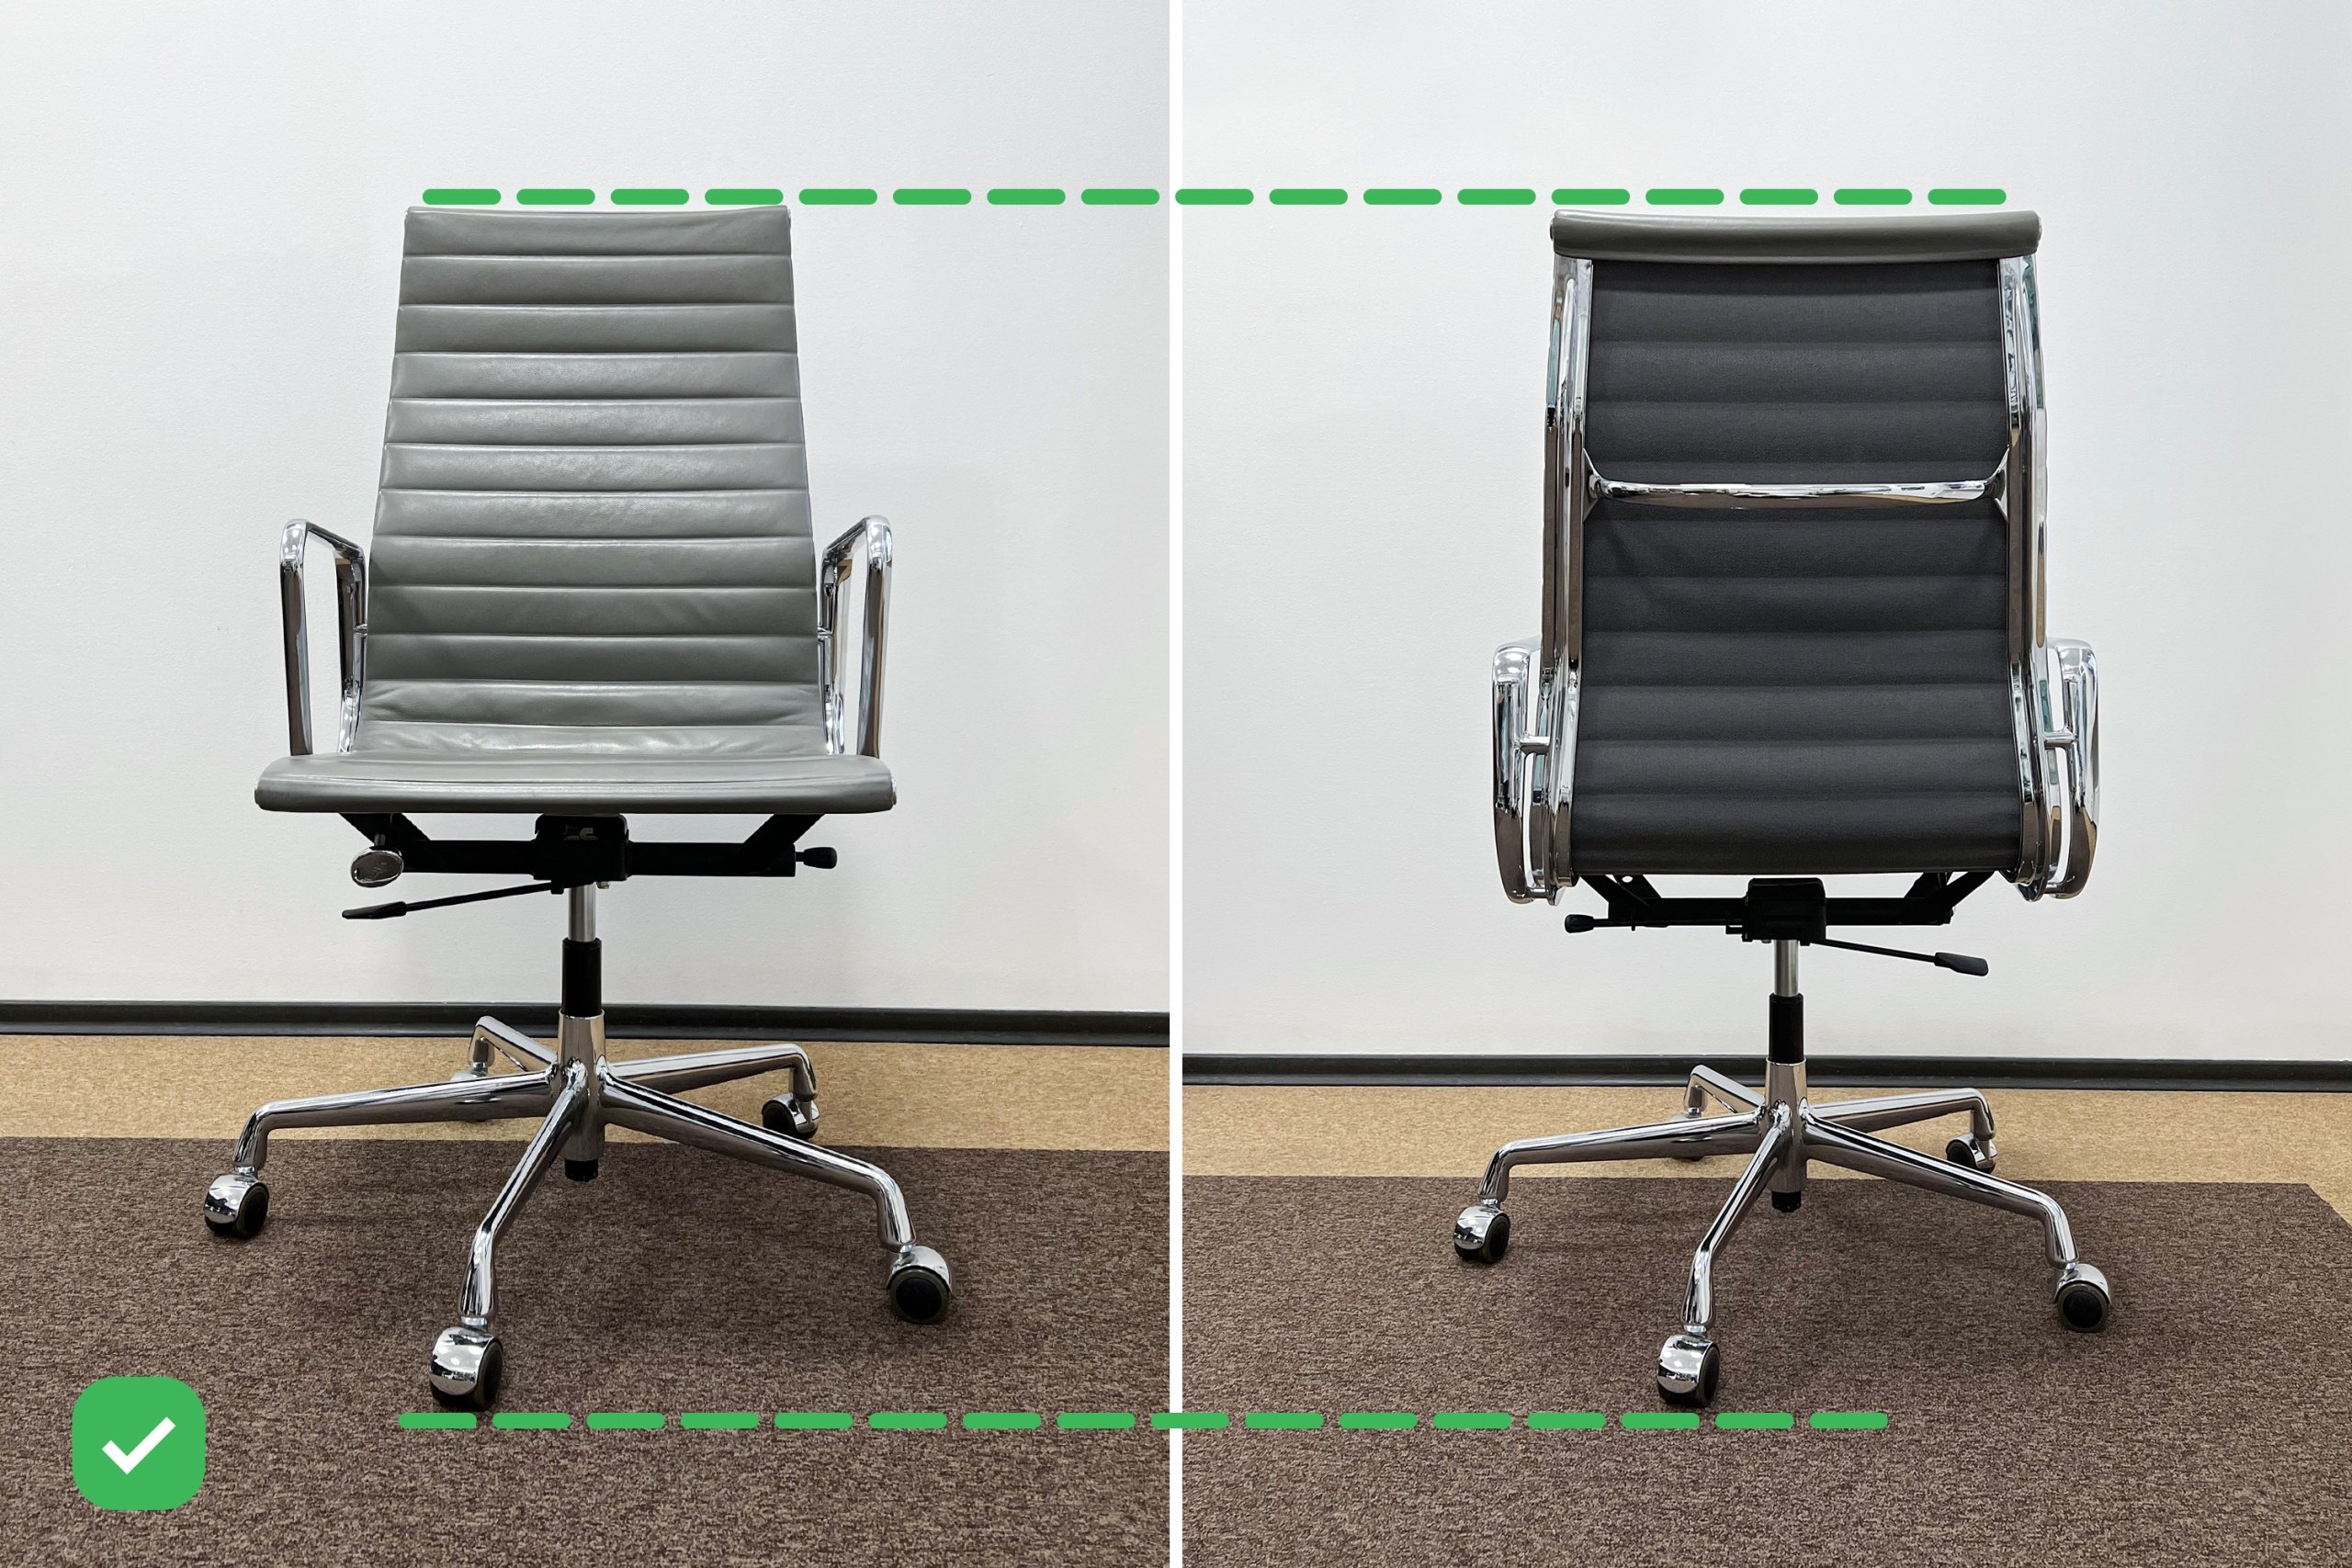
In addition to keeping an object at the same height in all of your shots, make sure you don’t change proximity from the subject too much so that each photo maintains consistency with the other in terms of how much furniture is visible in each shot.
You’ll also want to maintain consistency from shot to shot regarding camera angle, which will help keep proportions accurate between images. Use an object of known size to determine scale if needed.
#7. Consider Post-Processing
The first step in post-processing is to adjust the exposure and contrast of the images. These steps are necessary to ensure that all images in the scene have an appropriate exposure so that the lighting is consistent between all photos. The contrast is also increased to make sure that the details of the model are visible in any shadows or dark areas of the photo.
The next step is to correct lens distortion, which can be obtained by using a lens correction filter like Adobe Photoshop’s Lens Correction Filter. This will help remove any unintentional curving or warping due to distortion from your camera lens. It’s also important to note that images should be kept at their original resolution, otherwise you’ll lose image detail when reducing them in size.
Once your reference photos for 3D modeling have been adjusted for exposure and distorted for a better view of the object, it’s time to crop them. Crop as much excess as possible. Another helpful tip is to rotate your image slightly so that the subject is looking straight at you—this will help make it easier to import it into a 3D modeling and rendering program.
#8. Organize and Label Photos
Once you’ve collected reference material for your next 3D project, it’s time to get everything organized. Make a folder or project file for all of your reference material, and put all of the images in it.
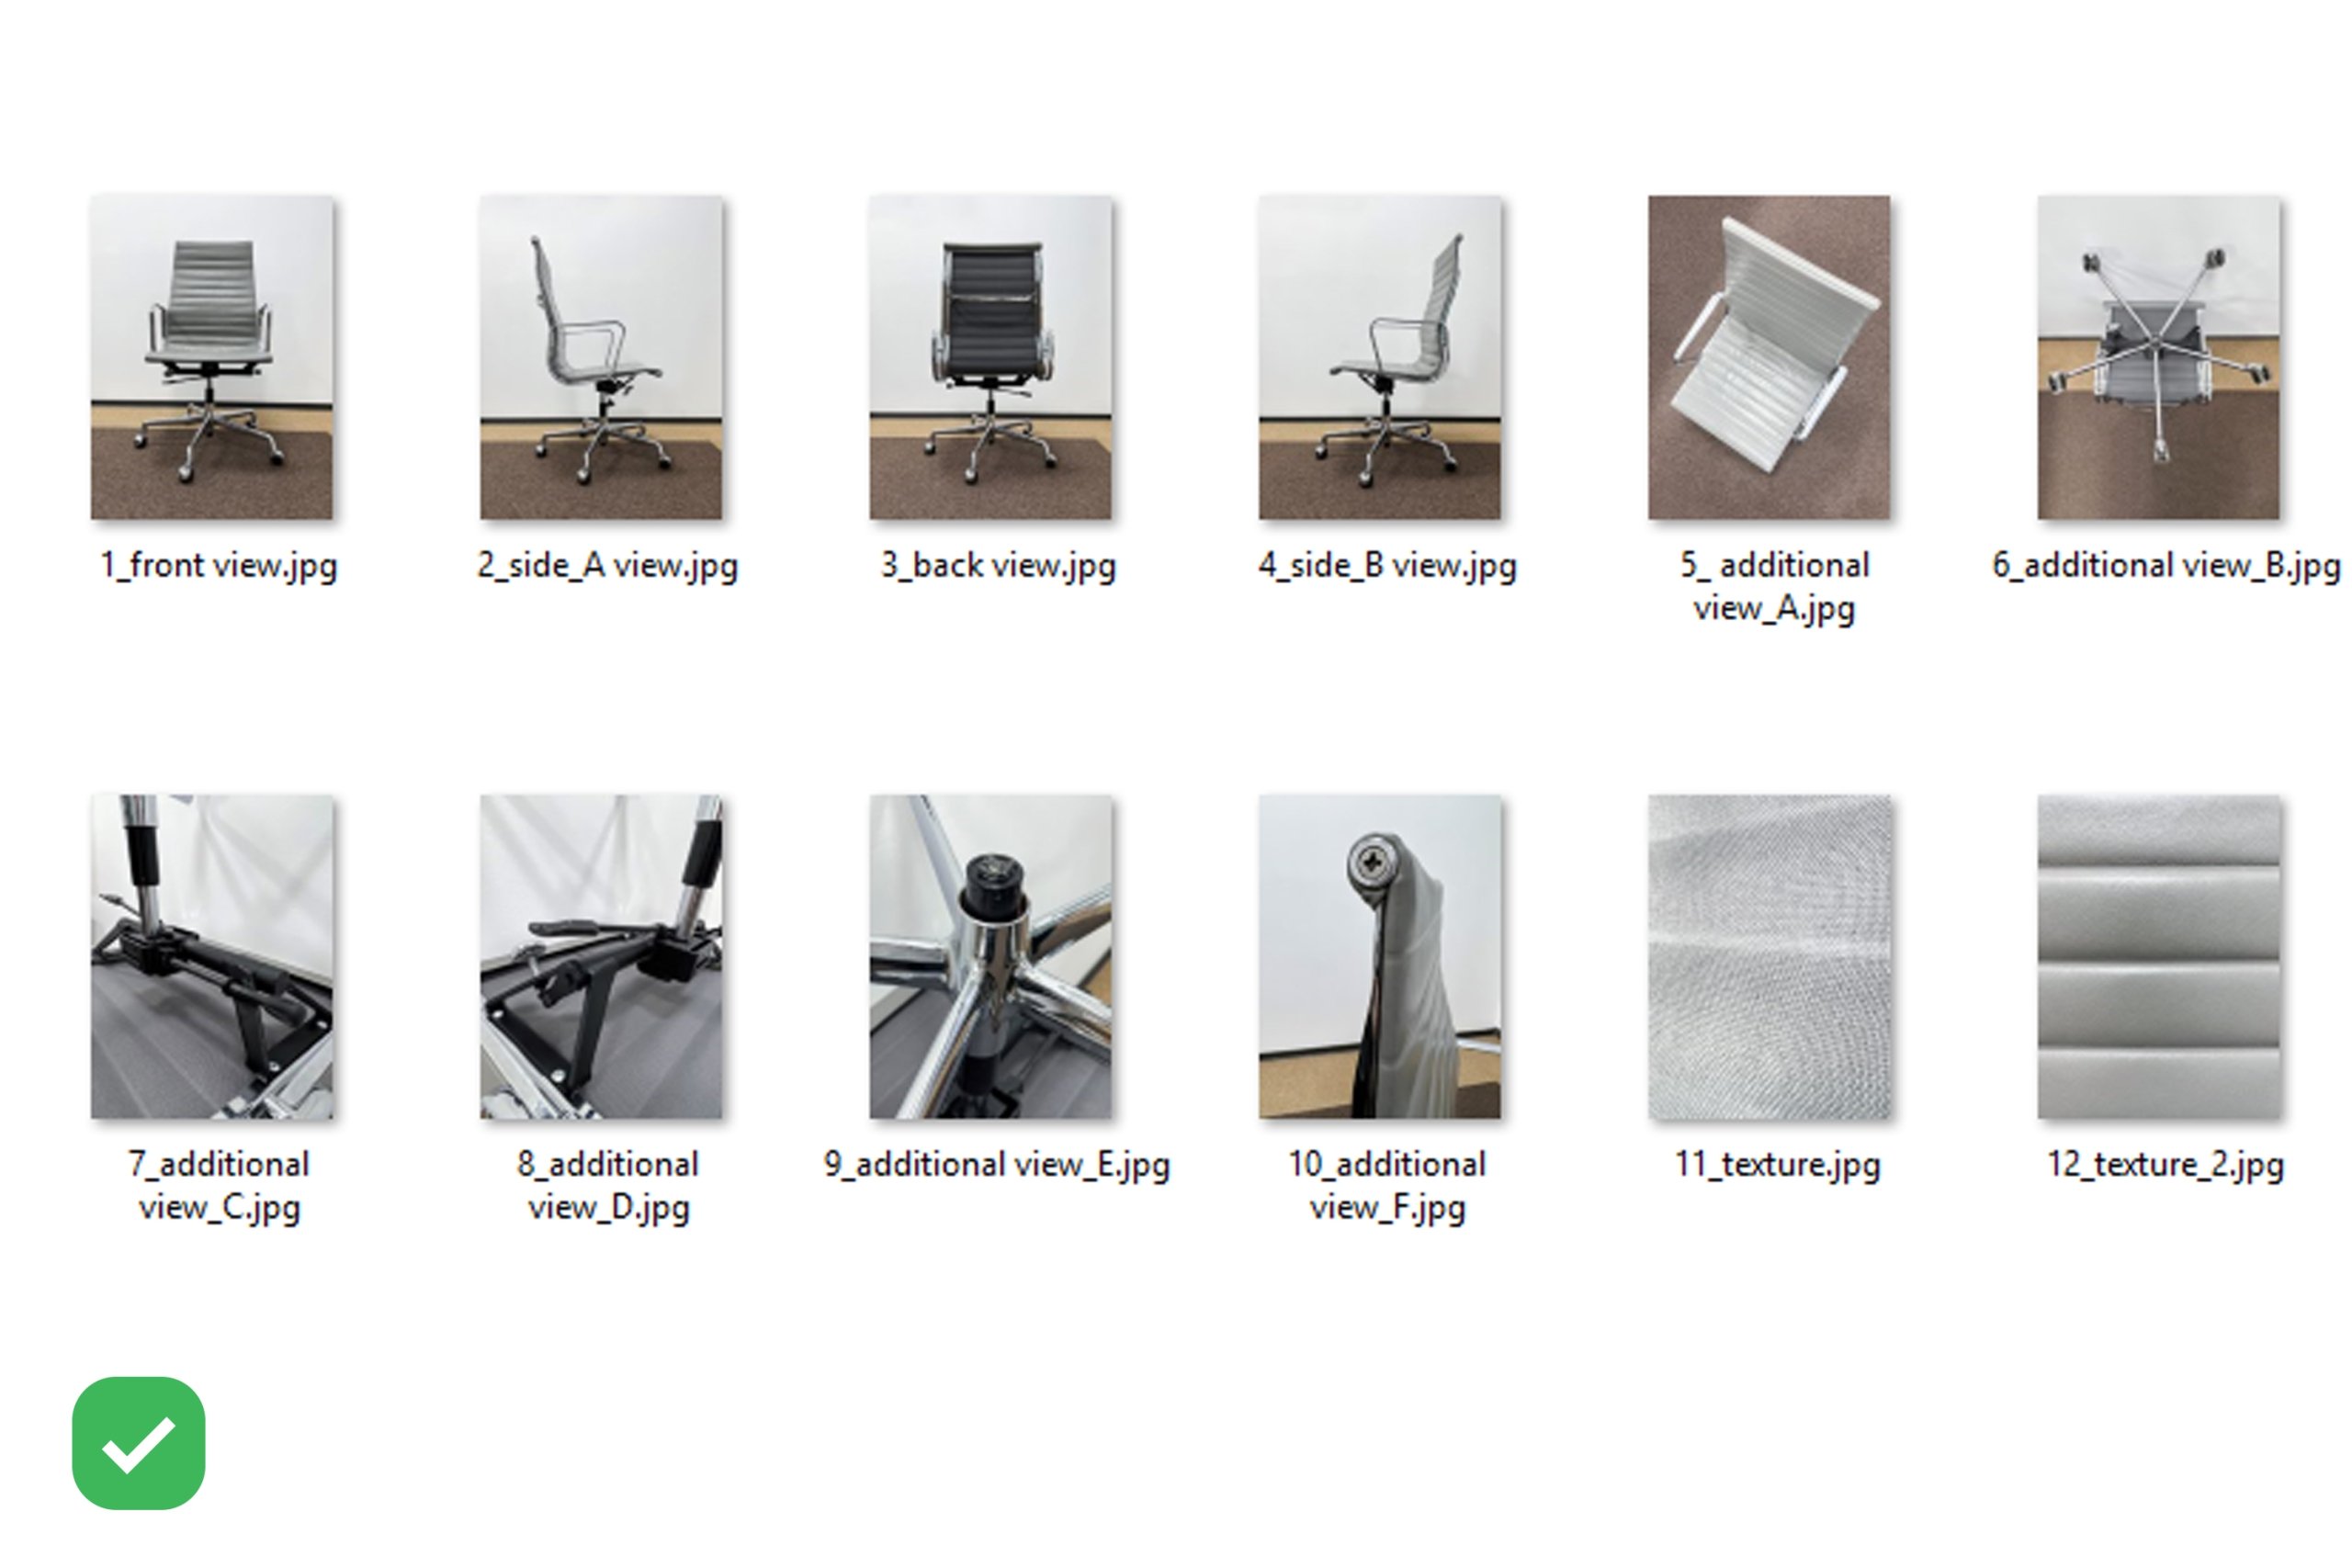
Name and tag images clearly so they can be easily located later. Put them in a folder with consistent naming conventions such as “FrontView_001” and so on.
You can also organize your images into folders based on their type. It might be helpful to have separate folders for line art (which may be used as a guide when modeling), texture maps (which provide information about lighting and shading), and high-quality reference photos (which help you capture the realism of the product).
#9. Provide Additional Data
If you have any drawings or CAD files, attach them to the scope of work. This can significantly decrease the working time by eliminating back-and-forth discussions about proportions and materials. If not, give approximate measurements in centimeters on each photo or other attachment (e.g., annotated sketch).
When you’re done adding all of the information, you should have a comprehensive visual guide that includes everything from the materials used to color schemes to where items are placed. The more detail and clarity in your reference photos for 3D modeling, the easier it will be for the outsourced provider to meet your necessities.
#10. Specify Requirements for the Result
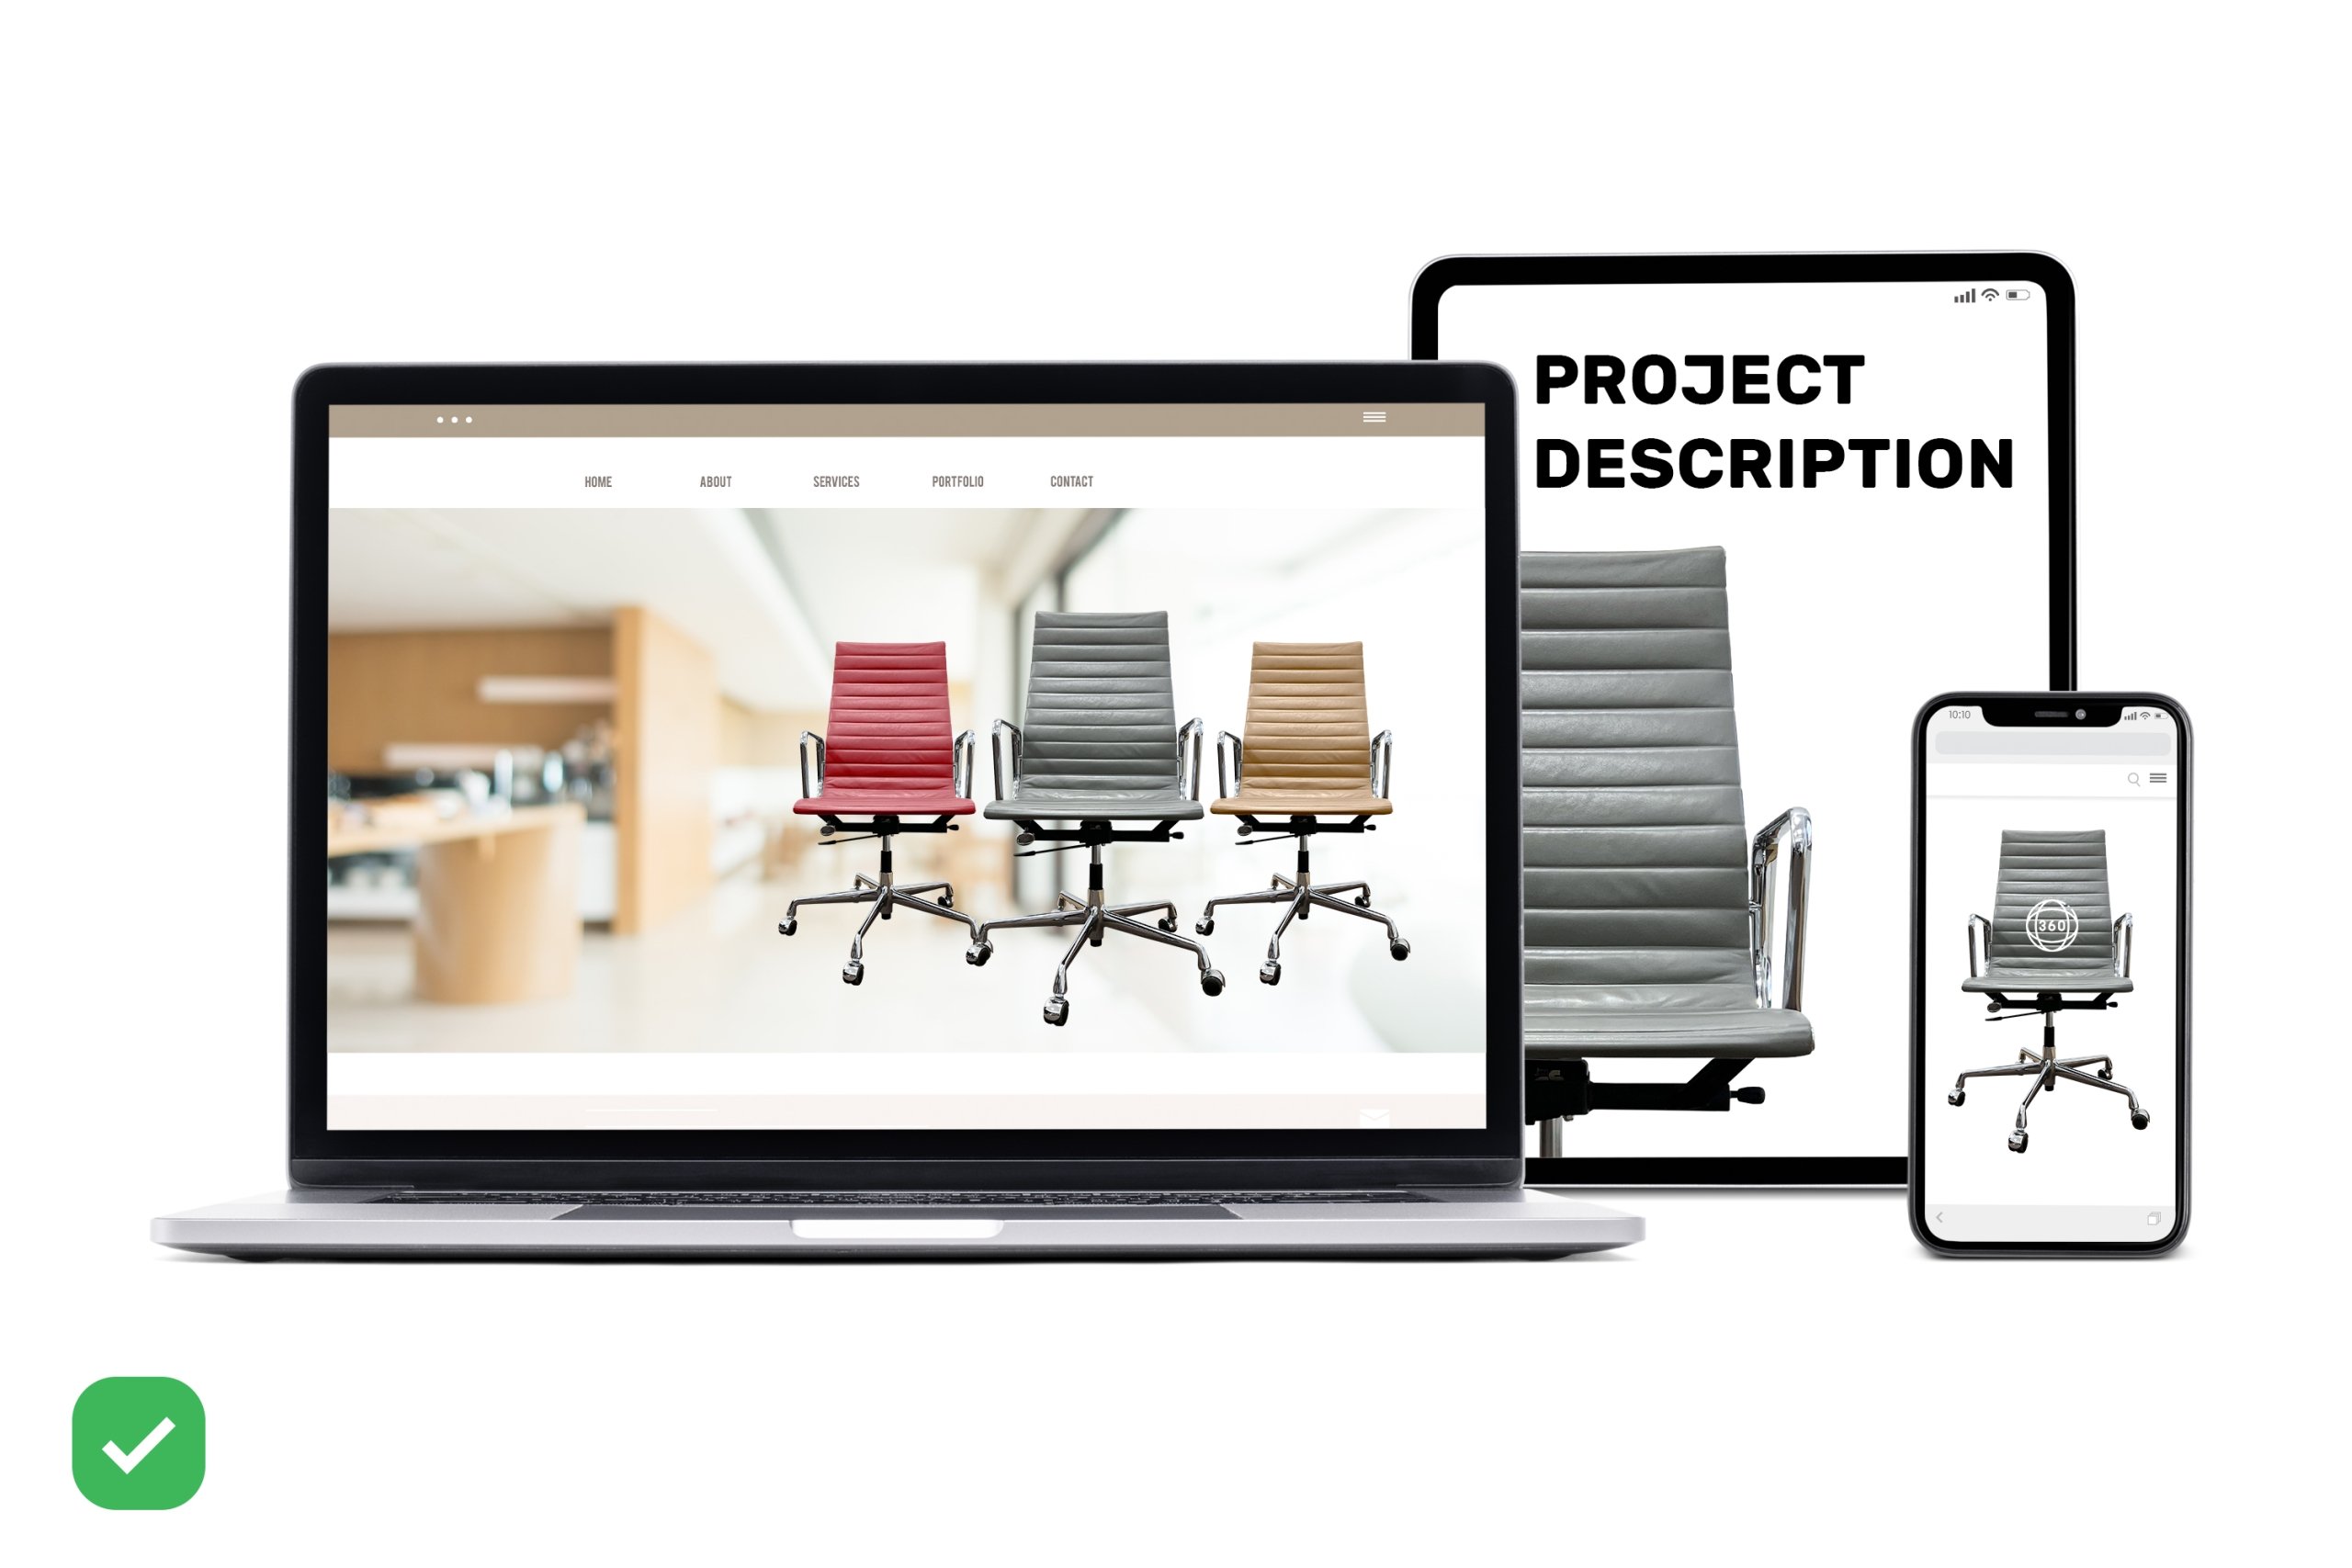
While there are many ways to approach 3D modeling, one of the most important parts of the process is having a good idea of what the finished product should look like. It’s important to think about its purpose and what it will be used for, as well as preferred software — for example, creating models for photorealistic images in 3ds Max, in a web or mobile application, or for creating an interactive model in Unreal.
Specify any requirements for the final model such as file formats, polygon limitations (maximum vertices/polygons per object), and size restrictions in MB. Consider how detailed textures and design elements should be.
If you’re creating a 3D model for an AR experience, such as an application that uses a smartphone camera to display augmented content on top of real-world objects, indicate what kind of environment is required (for example, indoor or outdoor). The more detail you provide about the scene and its use, the better a 3D artist can meet your expectations.
Now you know how to take reference photos for 3D modeling. This 10-step guide will help you take a professional-level reference photo for your next project so that you can save time and create precise models that are true to the source.
CGIFurniture can help you with your 3D modeling needs. We offer low-poly and high-poly 3D modeling services, as well as CG modeling for Augmented Reality. Request a free demo consultation today! We’ll provide you with a simple price, turnaround time for your project, and a dedicated team of experts.
Leave a Reply
Want to join the discussion?Feel free to contribute!


Multiple angle and consistency are great point