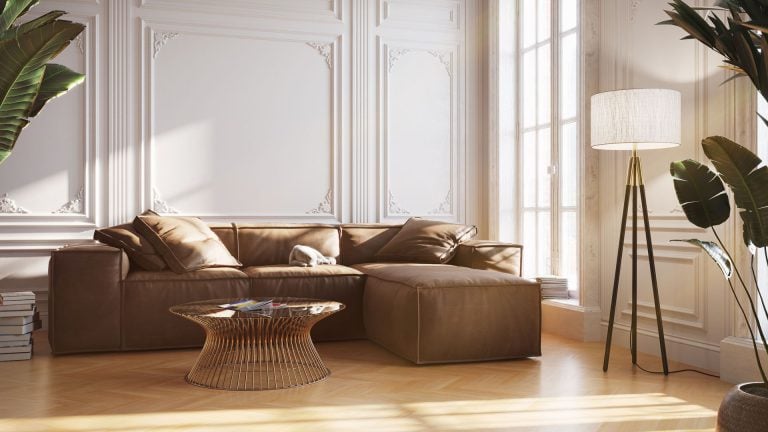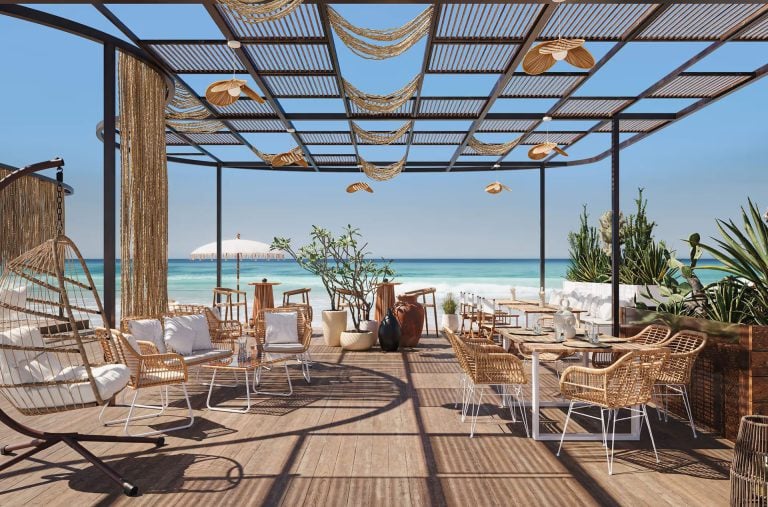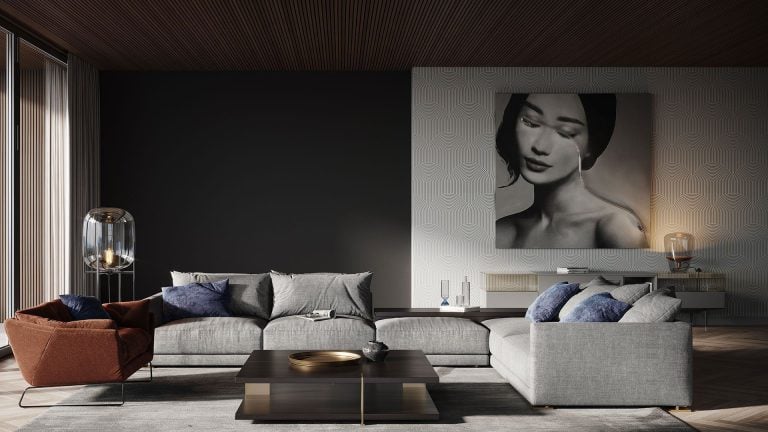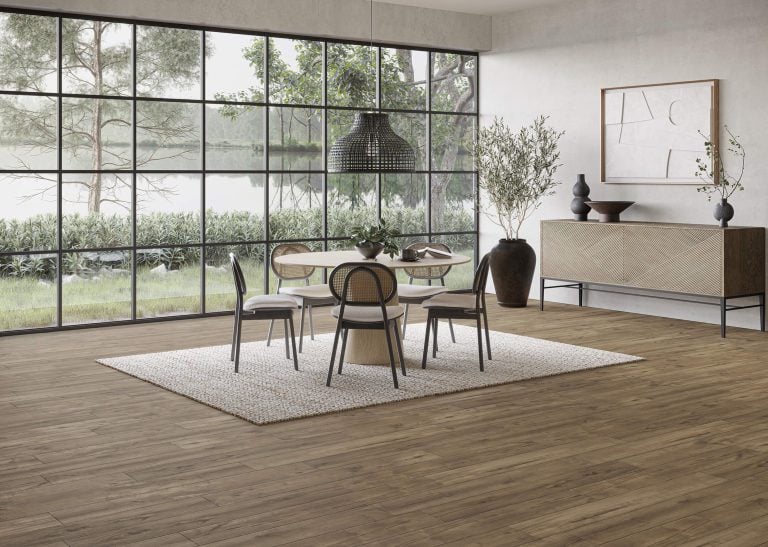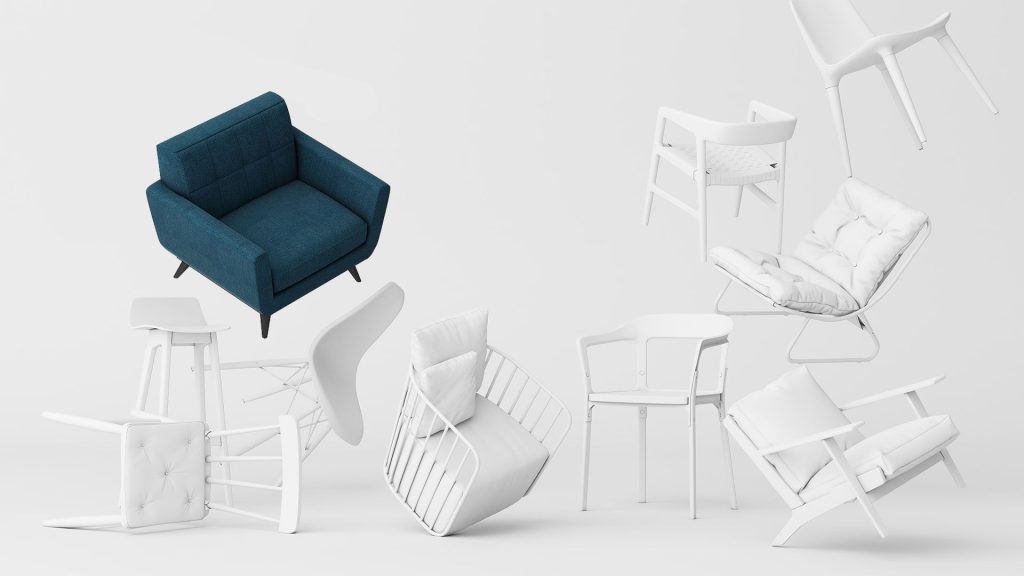
In terms of product images for furniture promo and marketing, old-school photography has to give way to 3D furniture rendering. First and foremost, photo sessions are expensive because of ordering prototypes, renting a studio with backdrops, hiring stylists and a photographer. Also, such an endeavor is very time-consuming and tiring, so marketers simply don’t want to waste human and financial resources on it.
On the other hand, not every CG artist can guarantee a 100% realistic 3D rendering. Often, when trying to save on CG contractors, manufacturers and marketers hire freelance 3D artists and end with low-quality visualizations. Such furniture renders look cheap and amateurish. And one of the main problems with furniture rendering that looks bad is unrealistic textures that make a piece look fake.
Is texturing so hard? And if so, how do professionals from a 3D texturing services studio create lifelike materials in 3D? Here are 5 ways our CG artists deal with finishing materials to achieve realistic furniture rendering.
1. Smooth the Surface of a 3D Model
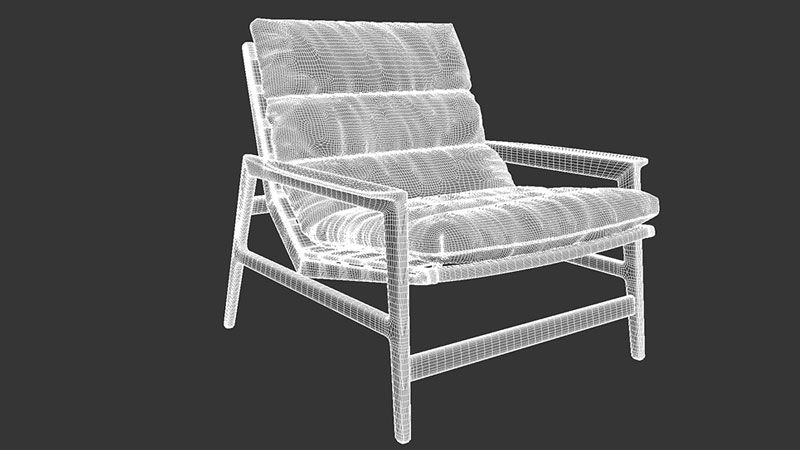
Realistic furniture rendering starts with accurate 3D modeling. Often, CG artists use polygonal modeling for furniture 3D models. This type of 3D modeling is based on creating the object out of polygons, i.e. small 2D geometry shapes combined into one mesh.
If a CG artist makes mistakes while working with polygons, it leads to distortion of the general structure of the object and the mesh. That is why a low-quality 3D model has visible seams, gaps between polygons, as well as overlap or protrusion of the polygons. Such flaws not only visually distort the surface of the 3D furniture model. They prevent the texture from being smooth and realistic.
CG professionals, of course, pay special attention to the geometry when working with a surface until they are sure it is perfect. Only then, they prepare realistic texture maps to be applied to 3D furniture. See our product 3D modeling guide for full process details.
2. Select the High-Quality Texture Map

A high-quality texture sample is a foundation of realistic furniture rendering . The perfect sample is a flat color 2D picture of the material of high resolution. To get it, you need to take a frontal shot of an evenly lit texture sample so that it conveys the color and the main pattern without distortion. Surely, there are plenty of free textures for furniture renderings on the Internet but their quality is far from perfect.
CG professionals don’t use low-quality free textures from some suspicious websites. They either find the realistic sample they need from the studio’s library or create a custom complex material for furniture rendering from scratch. For better sources, see our roundup of resources for 3D textures.
3. Add Relief with a Bump Map
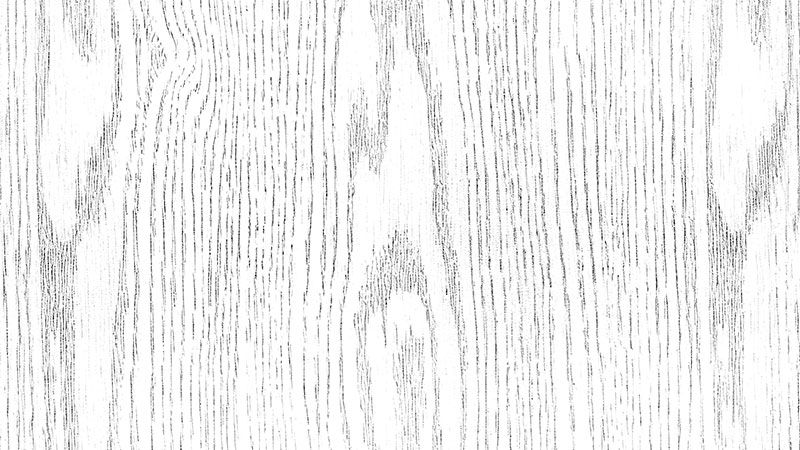
Applying a 2D color picture to the surface doesn’t make it look three dimensional. In fact, you have to add one of the texturing maps to make it look realistic. For example, there are special maps for metalness, glossiness, roughness that mimic real-life materials in furniture renders. Together, these maps define how materials respond to light in 3D product rendering.
But one of the most common maps for realistic furniture rendering is a bump map that gives 3D objects a relief. A bump map is a black and white picture of the color sample that shows how the surface interacts with the light.
By changing the digital parameters of a bump map, CG artists can add depth to the texture. For instance, they can deepen the relief by tweaking the black parts of the sample. The white ones, on the contrary, become more convex. As for grayscale, it adds smoother transitions in between.
4. Assign the Texture to the Object
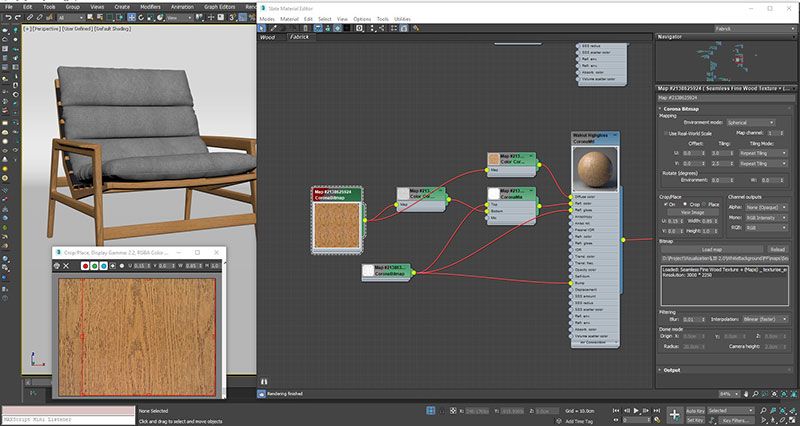
You can’t just apply the texture onto the furniture 3D model and expect it to look realistic. Hence, CG professionals always manually adjust the position of the pattern. For a better and natural-looking effect, specialists individually assign maps to every element of the 3D model. This manual work is the core of professional 3D texturing services.
For example, if you work on a realistic furniture rendering of a chair, the wood on all the parts of the framework should be different because this is how it naturally goes with a real furniture piece. Therefore, CG artists stick to the logic of the organic texture and tweak patterns so they are seamless, well-scaled, and look 100% realistic.
Realistic also means not perfect. A material that is spotless everywhere reads as fake. Artists add a little wear where real use would leave it, such as slightly crushed pile on the arms of a velvet armchair, faint scratches on a tabletop or softer edges on oiled wood. A small amount goes a long way.
5. Set Up Realistic Material Properties
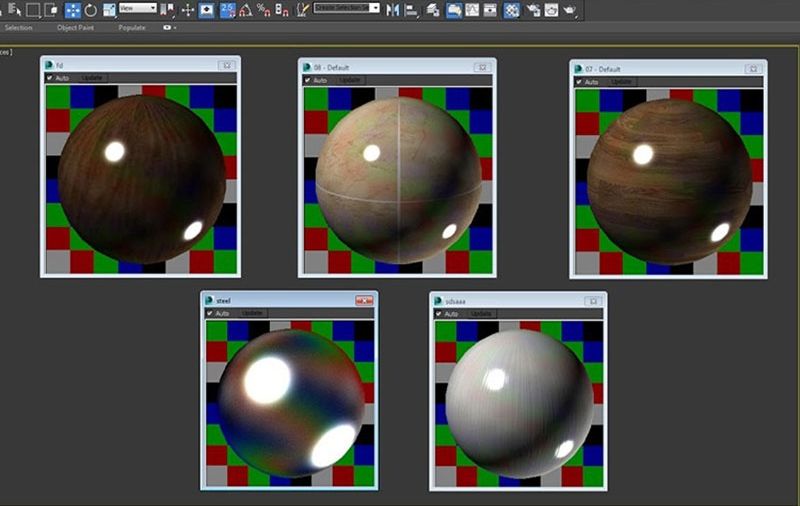
To finish a photo realistic furniture rendering, CG artists set up the material properties – opacity, reflection, density, and so on. At this point, a CG specialist must be experienced and well versed in the materials in order to correctly set up all parameters for furniture rendering. These parameters are set in 3D texturing software or directly in the render engine.
For example, although leather is a dense organic material, nevertheless, it has its own reflective properties. It’s not shiny but has a certain gloss to it. Of course, professional CG artists take into account all the aspects of such complex material and carefully apply various maps to get highly realistic furniture rendering in the end.
Using Finish Renders in Marketing
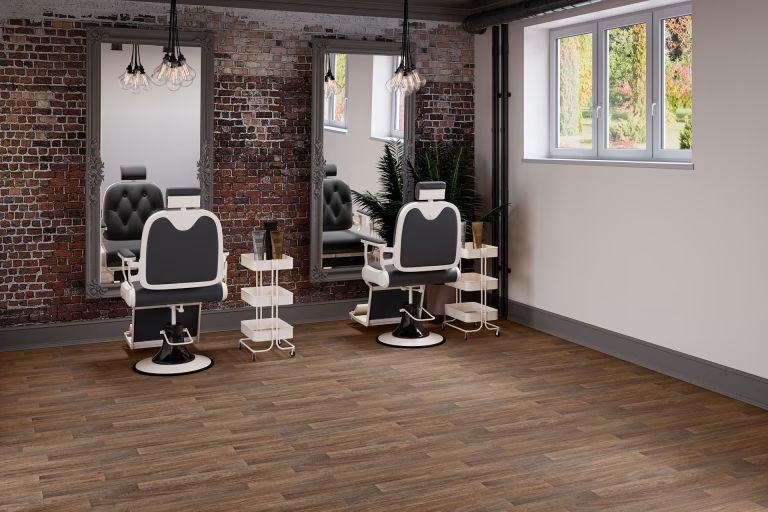
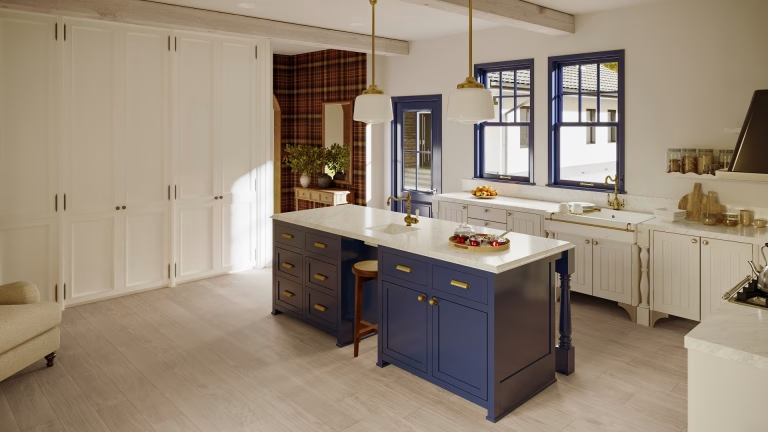
Once a finish looks right in 3D, the same material can do more than illustrate one product. Manufacturers of wall coverings, tiles, flooring and other finishes use it in four ways.
- Ready-made sets. Combine floor and wall finishes in one room design, test the combinations in 3D, and sell the ones that work as sets. Designers get a solution they can show clients without installing samples first.
- The buyer’s own room. Working with a 3D studio, a manufacturer can offer customers renders of their actual rooms with the finish installed.
- Every option in context. Each color, pattern and texture variant can appear in a finished interior instead of a swatch grid. These scenes work as lifestyle product images for each variant.
- Partner brands. Tile, flooring and furniture makers can combine their 3D models into complete rooms and use the images on both brands’ websites, social channels and print. In a magazine, callouts can name each brand and where to buy it.
Beyond Materials: Light, Camera, and Scale
Even perfect textures look flat under bad light or a careless camera. Our artists work in 3ds Max with V-Ray or Corona and finish every scene with three checks.
- Lighting. Shadows must match where the light comes from, and the image needs a full tonal range from near white to deep shadow. Daylight, lamps or both set the mood. A classic three-point setup (key, fill and back light) shapes the form and brings out grain, weave and gloss.
- Camera. Angles are chosen like a photographer would choose them, to show the product’s strongest points, usually with more than one view. Walls or nearby furniture frame the piece, and a shallow focus keeps the eye on it.
- Scale. Buyers judge size by comparison, so the product is placed next to objects everyone knows. A kitchen cupboard next to a standard fridge tells its height better than a line of dimensions.

Download CGIFURNITURE price guide and learn the costs of top-tier 3D visualization projects of different scales!
See our pricingProfessional CG artists know exactly how to create photorealistic renderings for the furniture industry, starting with smooth geometry and ending with precise material settings. Firstly, they make sure that the surface of a 3D model is smooth and even. Then, they apply texture maps or even create ones from scratch. The last step is to set up all the material settings such as density, opacity, refraction for a life-like effect. As a result, thanks to professional texturing, you can get realistic furniture rendering of a 3D model of any complexity.
Need terrific-looking renderings for your product? Try our 3D texturing services now and get photorealistic pictures for any marketing purpose!