CG Renders for Furniture:
5 Tips for Making Texture Photos for the Rendering Brief
CG renders for furniture have become a great replacement for traditional product photography. With modern 3D technologies, you don’t need to make a furniture prototype, rent a studio, and hire a photographer to get product pictures. To get photorealistic furniture renders, it’s enough to just send 3D studios a brief with references on style and materials.
The importance of good texture references can’t be overstated. Without them, 3D artists won’t be able to recreate the exact textures and materials. As a result, CG renders for furniture won’t look photorealistic whatsoever. Therefore, when manufacturers and marketers prepare a brief with textures, they have to take images properly. So how should you do it?
As a 3D rendering studio, we have a lot of experience in working with textures and materials for furniture renders. So, if you want to take high-quality photos for a rendering brief, use our 5 professional tips below.
#1. Take Two Shots of the Sample
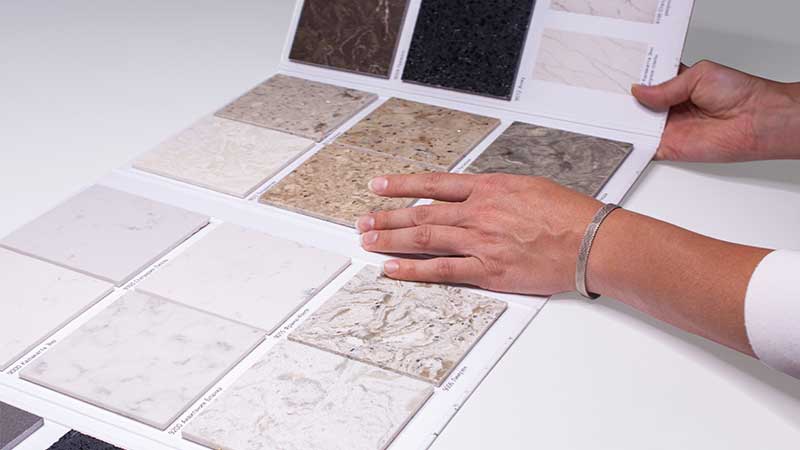
We recommend sending two types of texture photos to a CG studio — a front and corner view. The frontal image conveys the color of the material and its patterns without distortion of the perspective. Therefore, CG artists can use it as the basis for the texture map and make it look photorealistic later.
In turn, a corner or ¾ view helps artists to better understand the capacities of the material — its gloss, relief depth, reflectivity and other important parameters that can be seen only from a corner view. As a result, CG artists can set up the precise characteristics of the fabric so the final renders of the furniture piece will convey the product with exact detailing and jaw-dropping realism as product photos.
Having two views is extremely important for recreating complex furniture materials such as some types of stone, silk and especially leather and weaving. For example, every leather material is different depending on its nature and processing. Therefore, the more accurate photos 3D artists have, the better they will be able to recreate its complex surface in CG renders for furniture pieces.
#2. Mind the Lighting
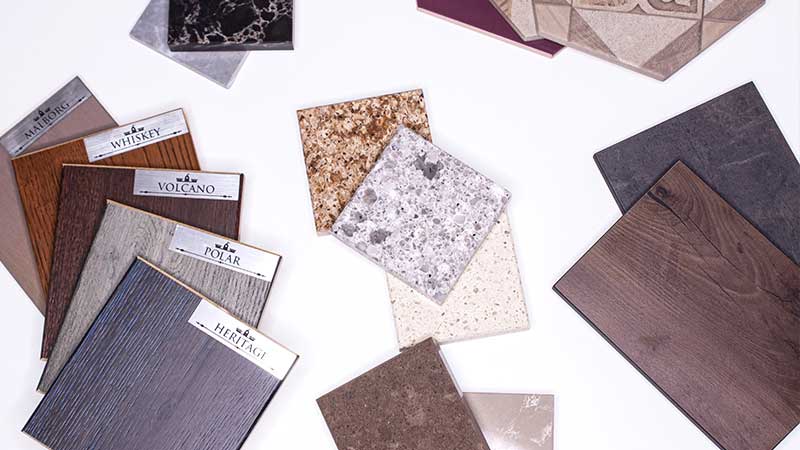
When a marketer takes pictures of materials for furniture renders, they have to set up the correct lighting. First and foremost, a photo shouldn’t be too light. Too much lighting causes flares and glares on the surface, which makes the whole pic look flat and unrealistic.
Dark images, on the other hand, make the structure indistinguishable — the relief disappears and the color of the material doesn’t match actual samples. Thus, CG artists simply can’t use such a photo for furniture renders.
One of the right lighting options is to shoot furniture samples in soft natural light without direct sunbeams. For this, take pictures in the morning or on a cloudy day, using a white backdrop. This will help to distribute the light all over the surface in a very delicate way without causing overlighting.
Another effective way is to rent professional lighting equipment to take photos. Using it, you can easily adjust the lighting sources to convey the exact colors and relief of the sample. The resulting photos provide top-quality texturing and will work perfectly for furniture CG renders.
#3. Avoid Shadows
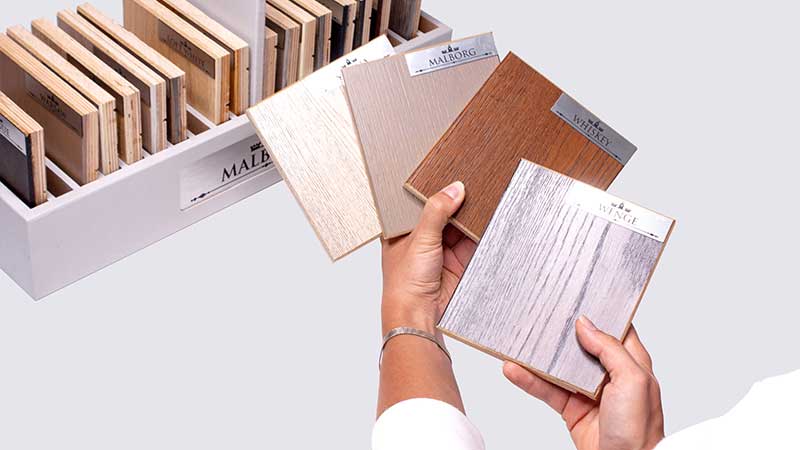
While fixing the lighting settings, you should carefully monitor if there are any shadows on the material. Most often, there’s a shadow from the person who is taking the picture and overlapping the light source. Of course, if there’s even a small shadow on the pic, CG artists simply couldn’t use it as a texture map for CG renders for furniture.
To avoid shadows, manufacturers or marketers should remove all extra objects that cast shadows on the sample and not overlap the main object with their body or hand. Another great option is to use a tripod. This way, you can take a pic without blocking a light source and it will look equally lit without any shadows.
#4. Get Rid Of Distracting Elements
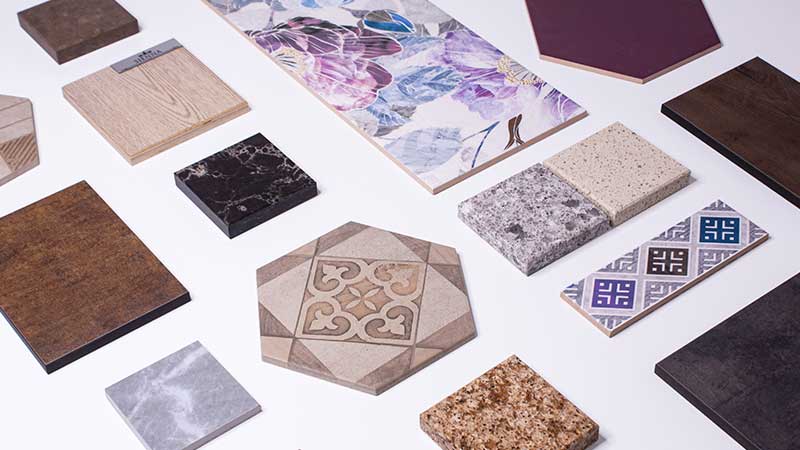
Make sure that there are no other objects in the frame that overspan the material – it should be visible entirely. The most common mistake is to take a photo exposing fingers holding the sample. To avoid this, you can place it vertically and use a tripod when shooting. In such cases, the texture will be properly arranged and cleared from any distracting elements in the frame.
In addition, it’s vital for pictures to convey the true color of the material without influences from objects nearby. If there is a bright item next to the sample, it can distort the original color of the material. Let’s say you take photos of white fabric while wearing red clothes. Then, most likely, the white texture will get a red tint because you’re standing close to it. No need to mention that such a picture won’t work for CG renders for furniture and you have to reshoot it because no graphic editor can fix it.
#5. Zoom Carefully
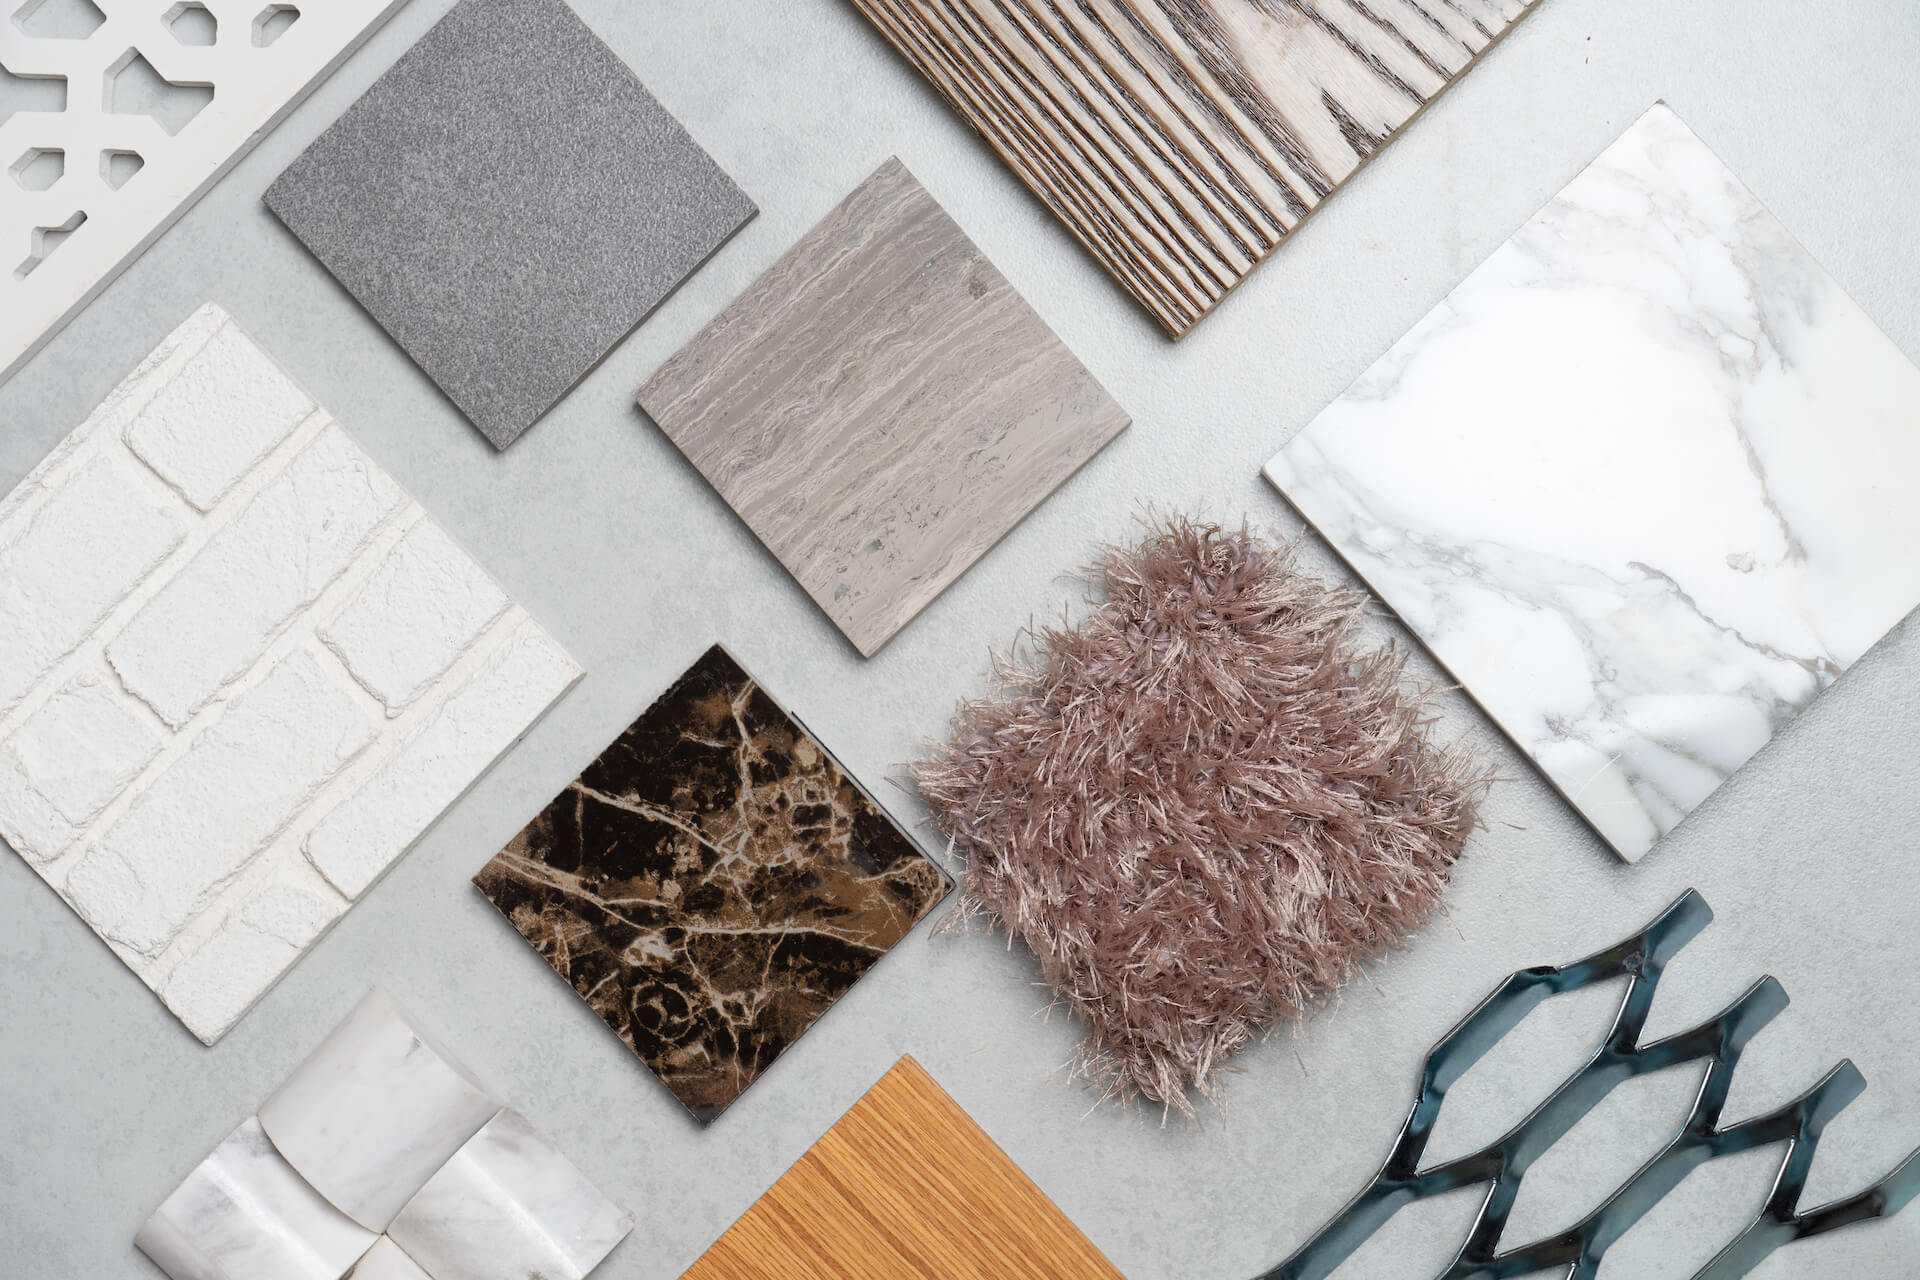
If you need good furniture renders, don’t over zoom the sample while taking pictures. Naturally, a marketer wants to shoot the furniture material in detail with maximum clarity and therefore tries to take pictures as closely as possible. Unfortunately, it makes the structure and relief look blurry and distorted. Therefore, this pic is simply useless for furniture CG renders.
It’s best to shoot the furniture material at a short distance. When you use a photo camera of high quality, the resolution of the picture also remains high, but the distance keeps the texture clear and non-distorted.
As a result, this texture pic can become a great foundation for both 3D modeling and rendering of the product. Send this image to a CG studio, and 3D artists themselves will choose the fragment perfect for texturing a furniture 3D model and making CG renders.
While collecting material references for CG furniture renders, it’s important to keep an eye on the lights and shadows, avoid unnecessary objects in the frame and over zooming of the sample. If well-executed, texture references will allow 3D artists to create photoreal CG furniture renders in a fast and convenient way.
Need photorealistic CG renders for furniture? Choose our digital furniture rendering services and we’ll make top-quality 3D models with custom textures for your product!

