3D Photo Montage in Furniture Visualization:
How It Works
With the help of 3D photo montage, furniture manufacturers can have pictures of their products placed in beautiful interior CG settings. That eliminates the need to build costly sets for live photoshoots and transport heavy furniture between the studio and the warehouse. On top of that, the montage technique makes it easy to produce multiple images of the same item in different surroundings.
To show you what the process of photo and CGI montage looks like, the experts at our 3D rendering company have prepared this article. Here, they’ve described 5 steps that go into the creation of a seamless blend of a photograph and a 3D render. It’s a rather simple process that can save you a ton of money on stylish, high-quality visuals for your marketing purposes. Check it out!
#1. Getting the Photo of Your Product
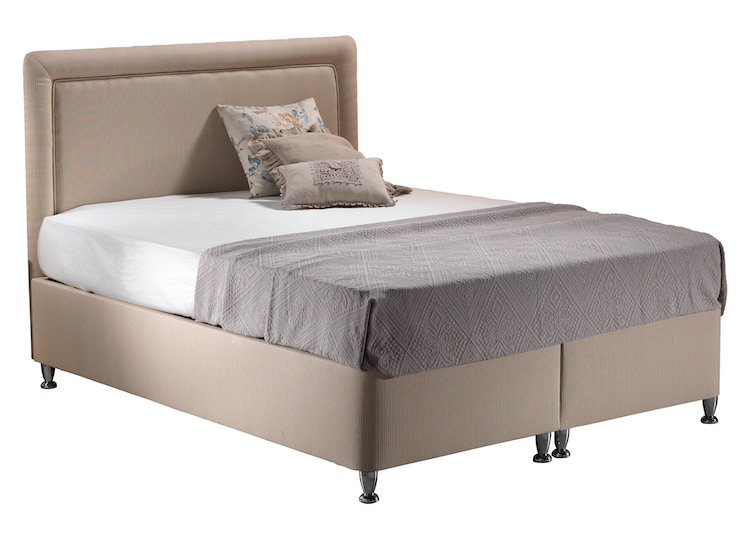
To begin a 3D photo montage project, we need to receive a picture of the product from you. Ideally, you should send several images so that our 3D artist can select the one that works best. The more photos you send, the better.
The pictures have to be high-quality — not blurry, grainy, or pixelated. Their resolution should correspond to the resolution of the final image. For instance, if you want your visual in 4k quality, the photo needs to be 3,5-4k to look crisp and match the scene seamlessly.
#2. Finding Interior Style That Best Suits the Furniture
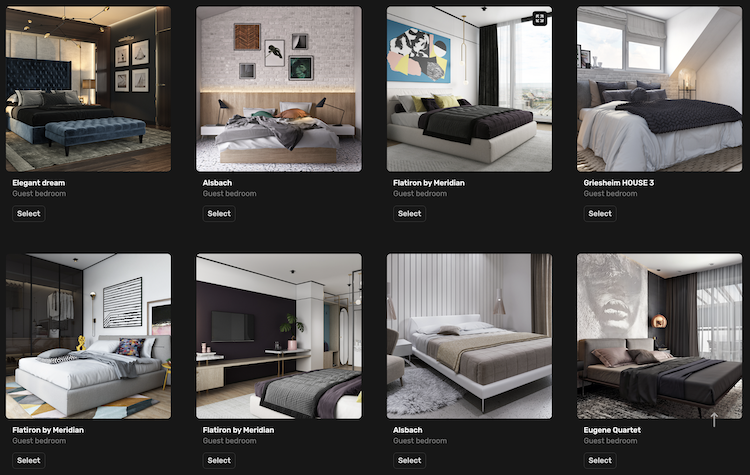
Once the 3D artist has received your photo, they will analyze the style of the furniture and find what kind of setting would suit it best. Another important aspect here is the color scheme. Naturally, the surrounding interior should complement the piece of furniture in every way, making it the real hero of the image.
There are two ways to make a perfect setting for 3D photo montage. The first one is to find a ready-to-use 3D scene in our library of CG assets and customize it, if necessary. You can make the selection yourself or leave it up to the 3D artist. The second way is to create a unique environment from scratch. In that case, you can send us some reference pictures to show us the styles you prefer. Or, again, you can fully entrust the stylistic choices to your CG expert.
#3. Setting the 3D Scene
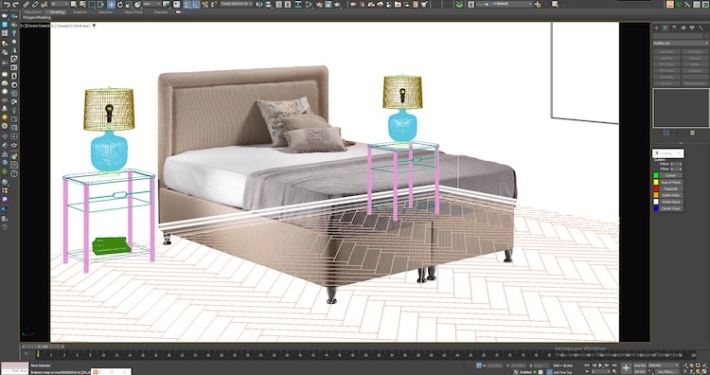
The next step in CG photo montage happens in 3ds Max — the professional product rendering software. In this example, we will explain how things go when the interior is created from scratch. First, the 3D artist imports your photo to the program and sets the perspective in the scene to match the picture exactly. The lighting is also adjusted carefully according to the photo.
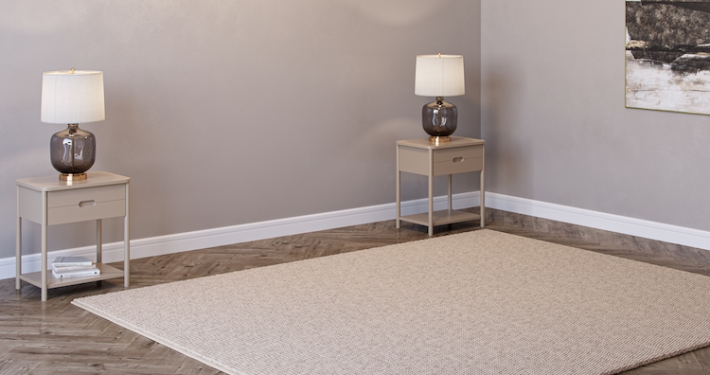
Next, the montage specialist fills the CG space with additional items, such as smaller pieces of furniture and decor. After that, it’s time to add colored textures and adjust material properties to make every object look photorealistic. And then, the stylish environment for your product is complete.
#4. Adding Shadows from the Product
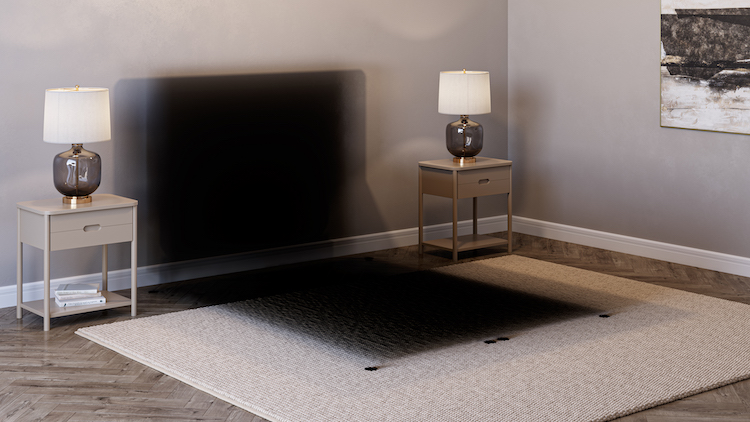
This part of the 3D photo montage process is crucial for achieving a truly life-like look. Here, the CG artist creates a very simple 3D model of the piece of furniture based on its general shape. This model is necessary to generate highly realistic shadows of the right intensity, in the right place. Once those are done, the CGI specialist removes the 3D model and renders an image of the room with shadows only.
#5. Adding Your Photo to the Final 3D Render
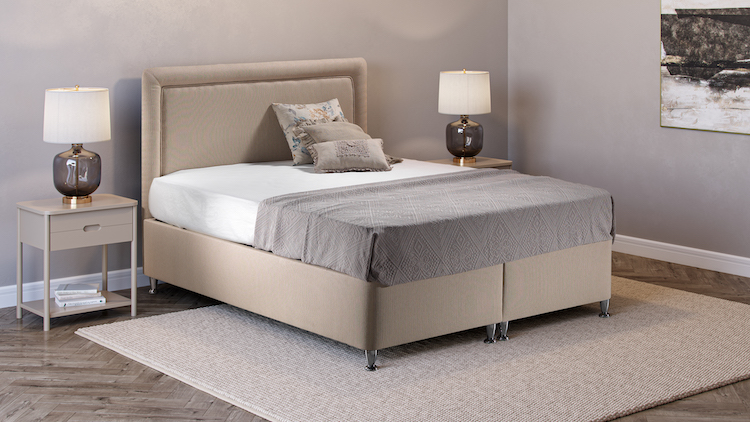
In this final step of CG photo montage, the 3D artist places the picture of the product in the final render using Photoshop. At this point, the lighting and shadows are generally set, but still need a few tweaks. Slight color correction also helps blend the photo into the rendering seamlessly, as if it were always there. Once the montage is complete, you get an image just like the one above, where it’s impossible to tell that those are, in fact, two separate visuals combined in one.
As you can see, 3D photo montage is a rather quick and streamlined process, when done by professionals. It produces amazing results that allow you to create the most stunning product pages, catalogs, ads, social media posts, and so on. And, most importantly, it saves you a lot of time and money, being an efficient alternative to a traditional photo shoot.
Looking for top-notch 3D rendering services? Contact us at CGIFurniture and get ultra-realistic visuals of all kinds for your online store and marketing campaigns!


Leave a Reply
Want to join the discussion?Feel free to contribute!