3D Model Creation
5 Basic Stages of the Process
3D model creation is one of the most popular CG services used in architecture, interior and product design, as well as the automotive and gaming industries.
As for manufacturers, a professional 3D modeling company provides plenty of opportunities for their business. It delivers fast and convenient prototyping, quality motion solutions, as well as top-notch 3D renderings for various purposes — catalogs, listings, online and offline ads, social media, etc. To be honest, today no marketing campaign could happen without jaw-dropping renderings and top-quality 3D models. Indeed, modern problems require modern solutions!
The 3D visualization market is full of offers from both freelancers and CG studios. But all contractors name different prices. To truly understand the situation and make the right choice, marketers and manufacturers first need to understand how 3D model creation happens. After getting a bit deeper into the subject, they will be able to understand what they pay for in terms of creating 3D models — and then, choose the best contractor. So here we go, the 5 main stages of creating a 3D model.
#1. Setting Up the Precise Task

First, marketers and manufacturers must know exactly what are their purposes in terms of 3D model creation. The type and complexity of a 3D object hinge on its future usage whether it’s static beautiful visualizations or motion solutions — animation, 360 product view, VR, and so on.
So a client sets a clear task for a CG studio by sending them an extensive brief with samples, references and product drawings. After that, together with the studio project manager they can discuss and clarify all the details, as well as set a deadline for 3D model creation.
Professional 3D studios know how important this stage is. Since they have extensive experience in 3D modeling, they can tell which 3D model is best for what purposes, then break the process into stages and distribute the tasks between experts in the team. As a result, the clearer the initial brief is, the faster the process goes and fewer adjustments are needed.
#2. Building up Basic Geometry

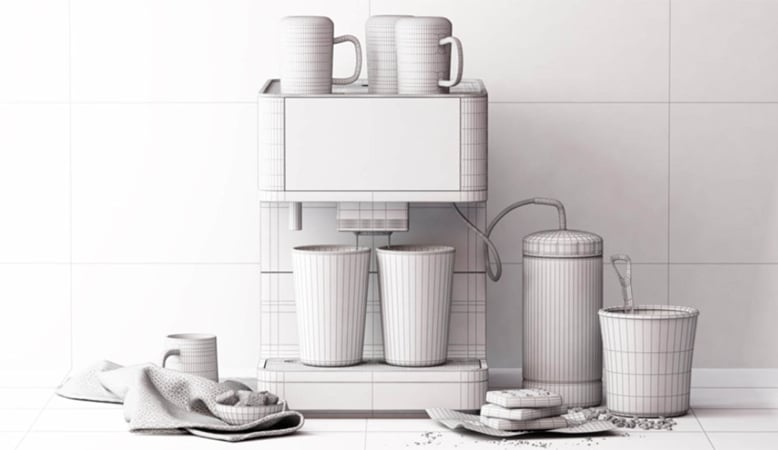
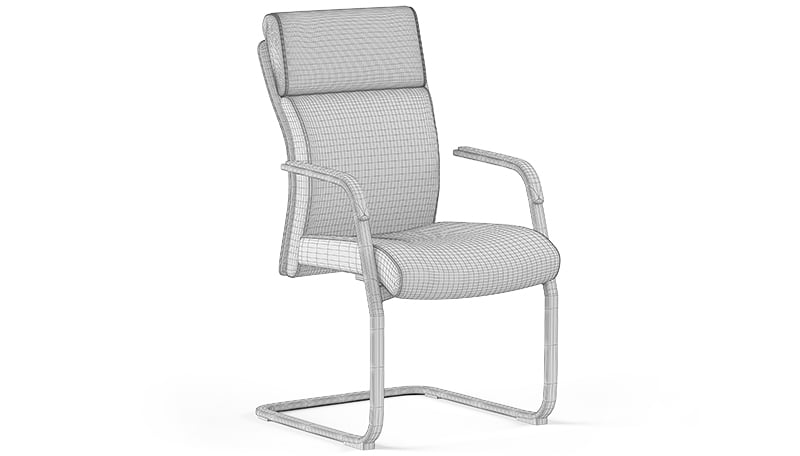
There are different ways to create a 3d model using solid, surface and wireframe types of 3D modelings. Solid relies on creating a new object by transforming basic geometry forms — cubes, balls, cylinders etc. The surface method is based on drawing guiding lines that create a surface. And polygonal modeling means 3D model creation from polygons. Basically, this is the most popular type of 3D modeling for furniture design.
A polygon consists of three points-vertices that are united by common edges. Its basic structure is triangular, and these triangles can be combined into more complex surfaces. The more polygons the created 3D object has, the smoother its surface and higher quality. But such a 3D model itself becomes more “heavy”. “Heavy” in this context means it takes lots of resources to be rendered. Therefore, it’s not working for VR, AR apps and video games. However, this 3D model creation is perfect for beautiful photorealistic 3D visualizations.
#3. Adjusting Polygons and Topology

Often, after creating a basic geometry of a 3D model, it’s necessary to adjust the polygons according to the shape of the object. It’s vital for those kinds of 3D objects that could be too heavy for running in apps, VR, AR or computer games made on the Unity engine. In these cases, such processes as topology and retopology can solve the problem by reducing the number of polygons. If lesser polygons accurately repeat the shape and structure lines, then a 3D model becomes lighter but retains its good quality.
Topology and retopology for 3D model creation also allow reducing system bugs and other kinds of errors. After using them, 3D objects don’t require much computer or smartphone resources but they transmit the image with high quality and realism.
#4. Choosing Materials and Textures

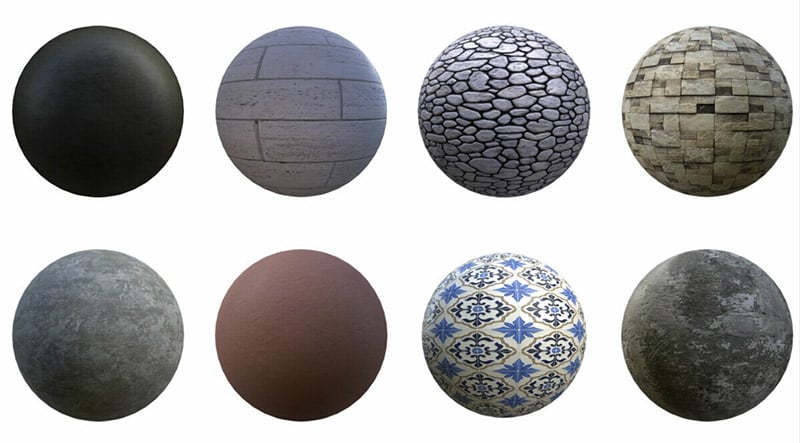
There are tons of various material libraries for 3D software, where you can find any materials and textures starting from stone, wood, metals, fabrics, etc.
Materials define such characteristics of the object as transparency, solidity, reflectivity and so on. However, they don’t have a color or pattern. And the texture is basically a 2D picture of the surface that doesn’t have any beforementioned material features. Applied together, they give 3D model creation both the pattern and surface relief.
Usually, 3D artists use ready textures, but they can always create their own ones at the client’s request. This option is perfect for exclusive materials for custom items with unique designs. The custom texture is a guarantee that no other 3D artist will use it for their 3D model creation. Of course, creating your own texture takes time and money, but this way an experienced 3D specialist can make the exact material that a manufacturer needs.
#5. Mapping and Applying the Textures

Mapping is the process of creating a texture map and overlaying it on a 3D model. While a 3D object is a 3D volume, maps are always made in 2D. It means that they are no more than just a color flat picture without surface relief. Therefore, even having various maps in hand, 3D artists have to put effort to make the texture look realistic.
To get a real-looking material, 3D experts use a black and white image of the texture to create a specific black-and-white bump map. All white spots and lines on this map mean convex, whether black ones are hollows. Using a bump map as a foundation, 3D artists can adjust the texture convexity in 3D software to make it more or less relief and bumps.
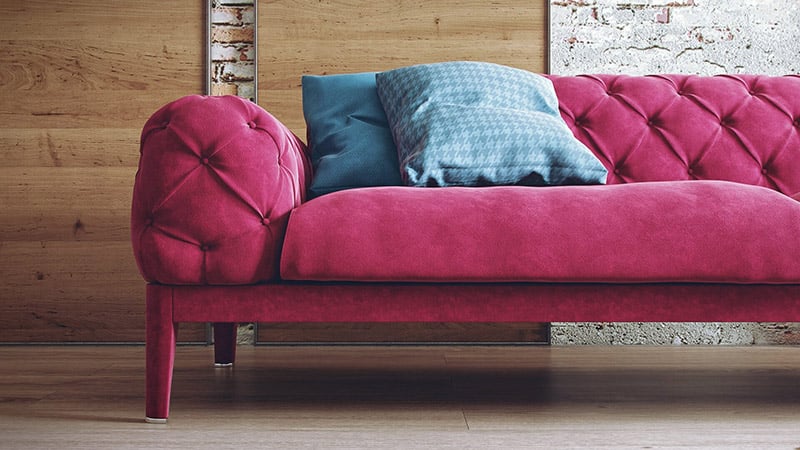
With 3D software, artists can change not only relief but also the transparency and reflection of the material. The best example of how all these characteristics are equally important for photorealism is leather. Mapping the leather material is a high-maintenance process — it has to have an accurate relief, density, and reflections at the same time. But don’t you worry, working with professionals who are skilled and experienced enough even the most complex and detailed materials look 100% real.
At first glance, 3D model creation looks like a simple sequence of steps that is easy to follow. But, due to any error, the project may get stuck at one of the stages, or even return to the previous ones. Therefore, far-sighted 3D specialists always pay due attention to all stages of the work. They properly clarify the task, carefully build the geometry and competently create materials. By being conscious of all the steps, they can avoid rendering errors and give the client a 100% quality model.
Interested in first-class 3D model creation? Choose our 3D modeling services and get accurate 3D objects of photorealistic quality!


Leave a Reply
Want to join the discussion?Feel free to contribute!