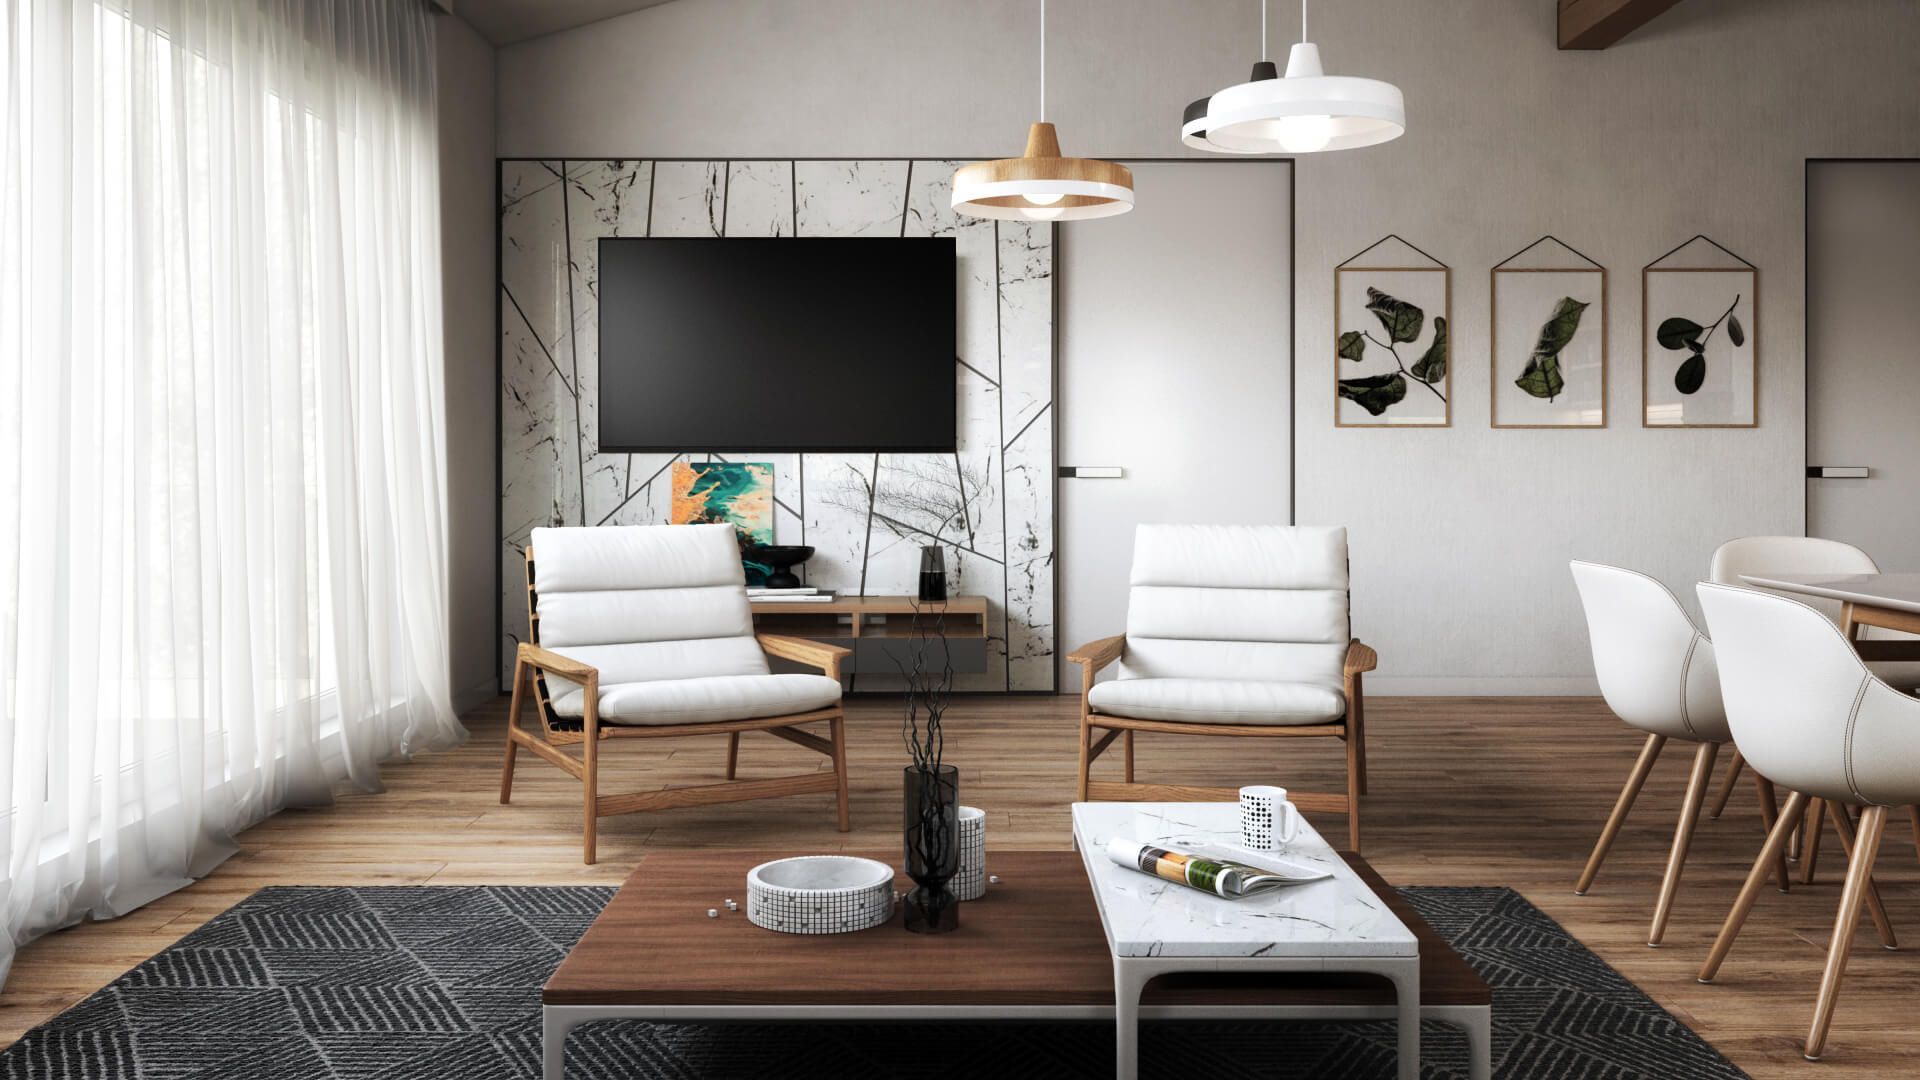
3D modeling is one of the most popular CG services used in architecture, interior and product design, and the automotive and gaming industries. As for manufacturers, a professional 3D modeling company provides plenty of opportunities for their business. It delivers fast and convenient prototyping, quality motion solutions, and top-notch 3D renderings for various purposes — catalogs, listings, online and offline ads, social media, etc. To be honest, today no marketing campaign could happen without jaw-dropping renderings and top-quality 3D models. Indeed, modern problems require modern solutions!
The 3D visualization market is full of offers from both freelancers and CG studios. But all contractors name different prices. To truly understand the situation and make the right choice, marketers and manufacturers first need to understand how the 3D modeling process happens. After getting a bit deeper into the subject, they will be able to understand what they pay for in terms of creating 3D models — and then, choose the best contractor. So here we go, the 10 main steps in modeling process.
Key 3D Modeling Process Steps
The 3D modeling pipeline may vary slightly depending on the project or industry. However, most 3D modeling workflows follow a similar path. It all starts with rough ideas and results in photorealistic renderings. Each step adds new layers of detail and realism. Let's walk through these stages to see how 3D rendering services help turn a simple concept into a digital masterpiece.
1. Concept Design and Strategy

Every successful 3D modeling process starts with model conceptualization before placing any polygons or applying textures. This is the brainstorming phase. During it, designers and clients align around the overall vision. During this phase, the use of mood boards, sketches, references, and product analogs is beneficial.
Whether it’s a sleek piece of furniture, a modern kitchen, or a detailed prototype, the CG team works closely with the client. They define key features, lock in the style, and focus on what the user needs. This early stage blends creativity with strategy, guiding every technical step that follows.
2. Setting Up the Precise Task
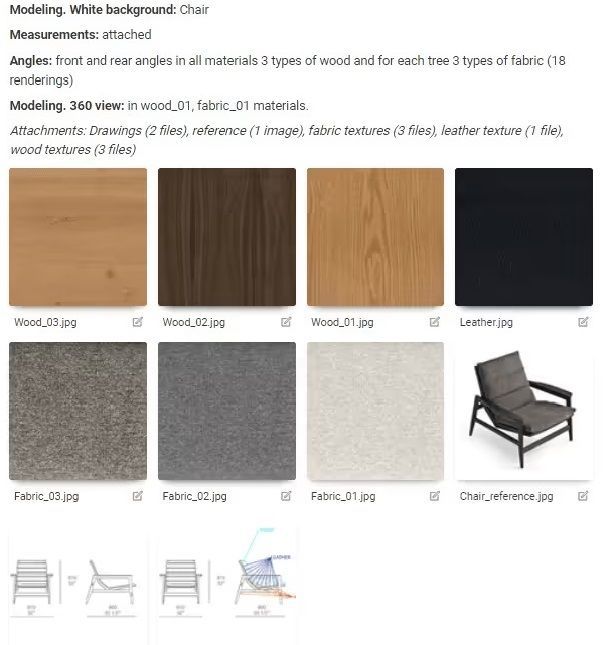
First, marketers and manufacturers must know exactly what their purposes are in terms of 3D model creation. The type and complexity of a 3D object hinge on its future usage, whether it’s static, beautiful visualizations, or motion solutions—animation, 360 product views, VR, and so on.
So a client sets a clear task for a CG studio by sending them an extensive brief with samples, references, and product drawings. After that, together with the studio project manager, they can discuss and clarify all the details, as well as set a deadline for 3D furniture model creation.
Professional 3D studios know how important this stage is. With extensive experience in 3D product model creation, they can tell which model is best for what purposes. They break the process into stages and distribute the tasks between experts in the team. A clearer initial brief expedites the process and reduces the need for adjustments.
3. Basic Shape Creation
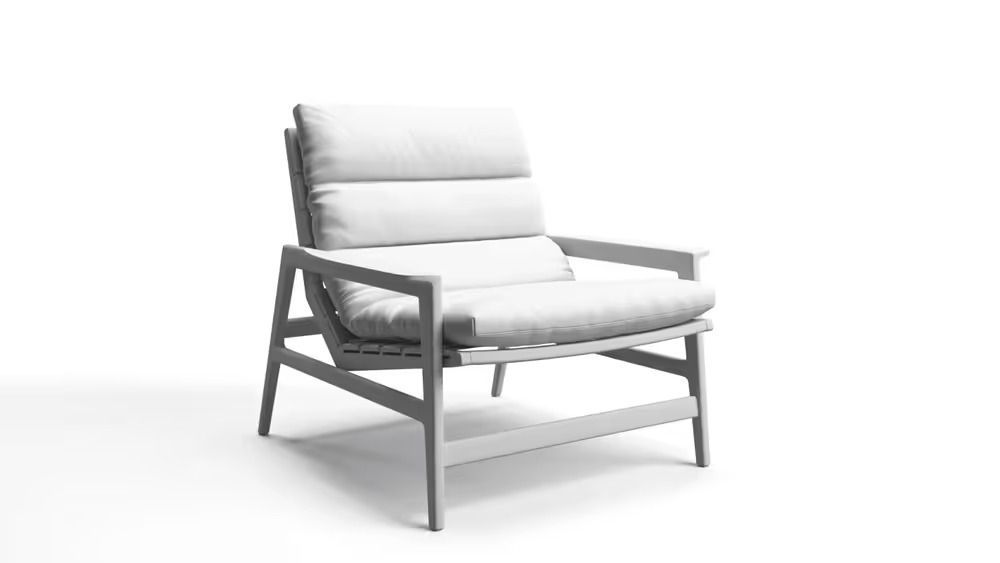
Once the brief is finalized, the 3D modeling process begins. The artist starts by blocking out the object’s base shape using primitive geometry—such as cubes, spheres, or planes — depending on the product’s structure. At this stage, it’s all about proportions and silhouette.
This step is where the object begins to take form, albeit in a very simplified way. Think of it as sketching with 3D shapes — the model might look boxy or rough, but it lays the groundwork for refinement. Getting the base form right ensures that all future detailing fits together perfectly.
4. Building up Basic Geometry
There are different ways to create a 3D model using solid, surface, and wireframe types of 3D modeling. Solid relies on creating a new object by transforming basic geometry forms — cubes, balls, cylinders, etc. The surface modeling method is based on drawing guiding lines that create a surface. And polygonal modeling means 3D model creation from polygons. Basically, this is the most popular type of 3D modeling for furniture design.
A polygon consists of three points — vertices that are united by common edges. Its basic structure is triangular, and these triangles can be combined into more complex surfaces. The more polygons the created 3D object has, the smoother its surface and the higher its quality. But such a 3D model itself becomes more “heavy.” “Heavy” in this context means it takes many resources to be rendered. Therefore, this type of 3D model is not suitable for VR, AR apps, and video games. However, this 3D model creation process is perfect for beautiful photorealistic 3D visualizations.
5. Adjusting Polygons and Topology
Often, after creating a basic geometry of a 3D model, it’s necessary to adjust the polygons according to the shape of the object. This is crucial for certain types of 3D objects that may be too heavy to run in applications, virtual reality (VR), augmented reality (AR), or computer games developed using the Unity engine. In these cases, such 3D modeling techniques as topology and retopology can solve the problem by reducing the number of polygons. A 3D model can be made lighter while maintaining its high quality by precisely repeating the shape and structure lines with fewer polygons.
Topology modification for 3D product model creation also allows reducing system bugs and other kinds of errors. After using them, 3D objects don’t require many computer or smartphone resources, but they transmit the image with high quality and realism.
6. UV Mapping and Flattening
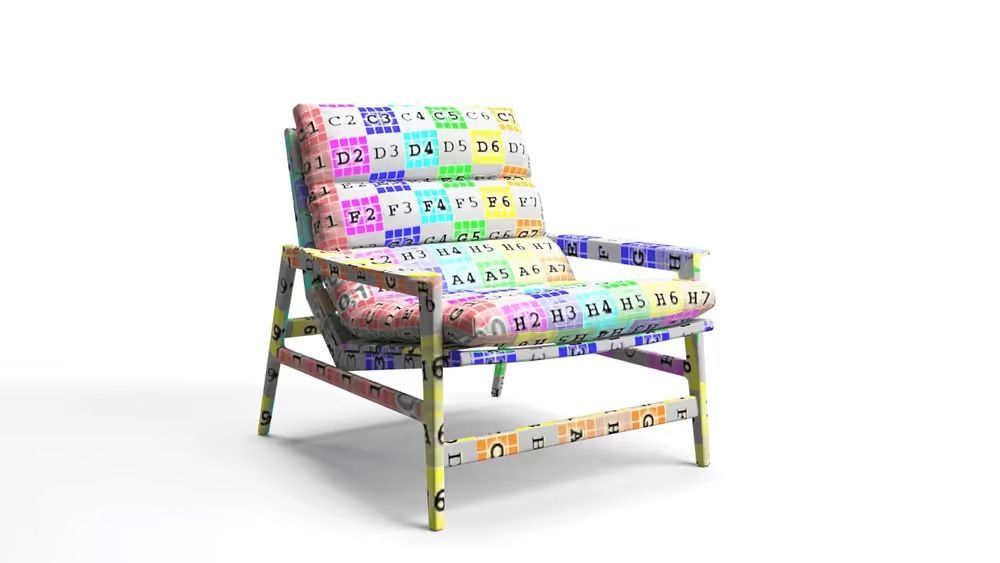
UV mapping is the digital equivalent of unfolding a 3D object into a flat layout—like peeling an orange and laying the skin flat. This step prepares the 3D model for texturing by assigning 2D coordinates to every surface area. Without this, applying a texture would result in stretched, warped, or completely misplaced visuals.
Flattening the model into a UV map allows artists to paint or overlay details with precision. The cleaner and more optimized the UV layout is, the easier it becomes to add textures seamlessly. The process is a meticulous task but crucial for realistic and polished final results.
7. Choosing Materials and Textures
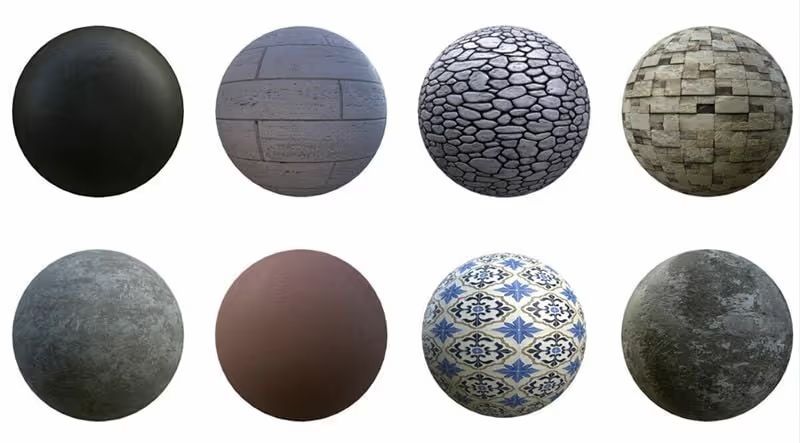
There are tons of various material libraries for 3D model software, where you can find any materials and textures starting from stone, wood, metals, fabrics, etc. Materials define such characteristics of the object as transparency, solidity, reflectivity, and so on. However, they don’t have a color or pattern. The texture is essentially a 2D representation of the surface that lacks any of the previously mentioned material characteristics. Applied together, they give 3D model creation both the pattern and surface relief.
Usually, 3D artists use ready textures, but they can always create their own at the client’s request. This option is ideal for creating exclusive materials tailored to custom items with unique designs. The custom texture is a guarantee that no other 3D artist will use it for their 3D model creation. Of course, creating your own texture takes time and money, but this way an experienced 3D specialist can make the exact material that a manufacturer needs.
8. Mapping and Applying Textures
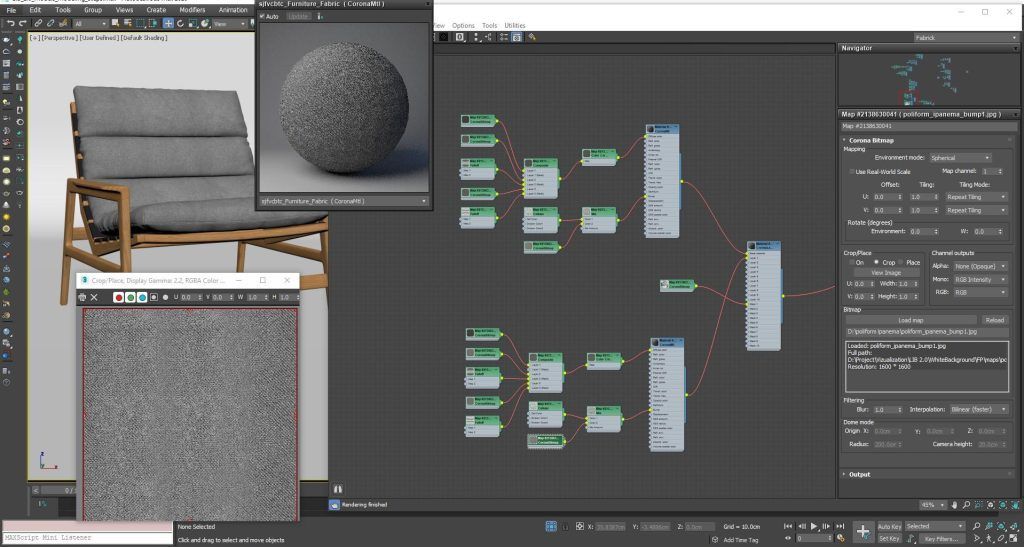
Mapping means creating a texture map and overlaying it on a 3D model. It is one of the final steps of 3D modeling process that brings surface detail to life. While a 3D object is a 3D volume, maps are always made in 2D. It means that they are no more than just a flat color picture without surface relief. Therefore, even having various maps in hand, 3D artists have to put effort into making the texture look realistic.
To get a real-looking material, 3D experts use a black-and-white image of the texture to create a specific black-and-white bump map. In this map, all white spots and lines indicate convex areas, while black spots represent hollows. By using a bump map as a foundation, 3D artists can adjust the texture's convexity in 3D software to create more or fewer reliefs and bumps.
9. Output Rendering
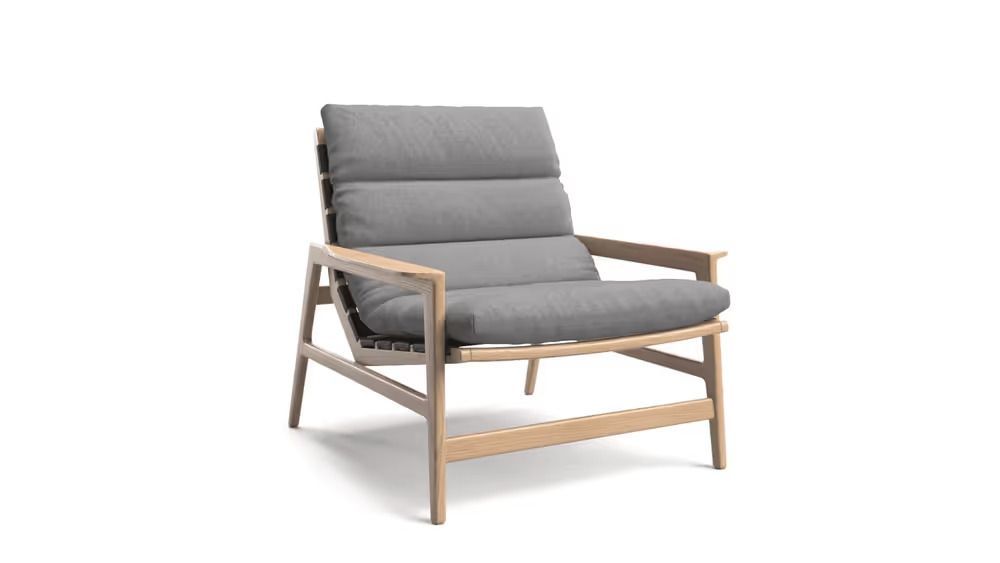
After texturing, the next step is rendering. This means turning the 3D scene into 2D images or animation. Lighting, shadows, reflections, and camera angles are adjusted to make the visuals look realistic and appealing. The settings can change depending on the goal — a product image, a marketing shot, or an animation.
Advanced rendering software adds effects, realistic lighting, and fine details to make the model look its best.
10. Post-Production and Final Check
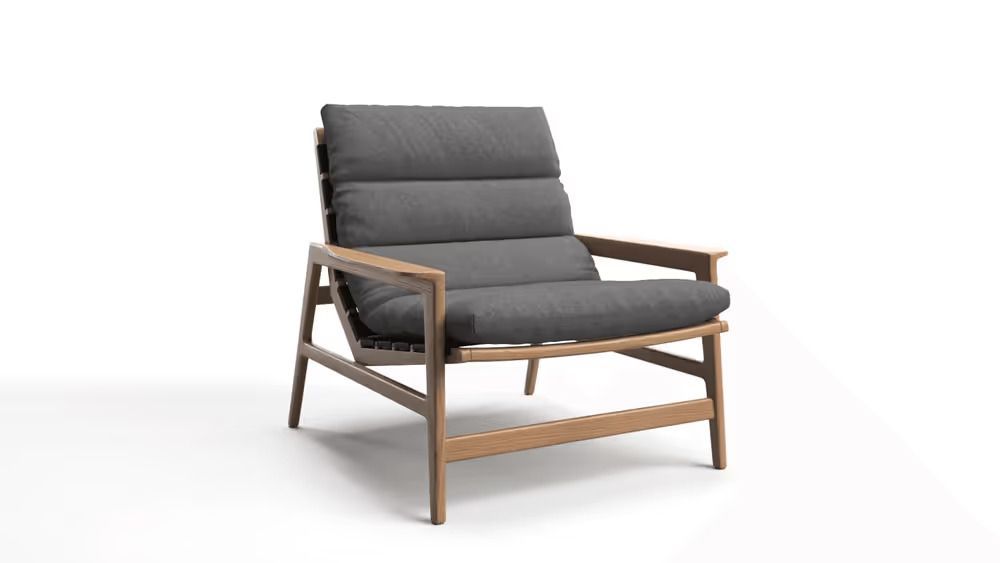
Once rendering is finished, post-processing starts. This means small tweaks like adjusting colors, fixing contrast, changing backgrounds, or adding effects like blur or glow. These final touches make the render look even better.
Then comes a quality check to make sure everything matches the brief — no glitches or mistakes. After approval, the model is sent to the client in the right format, ready for ads, e-commerce, VR/AR, or anything else they need.
Typical Challenges in 3D Modeling
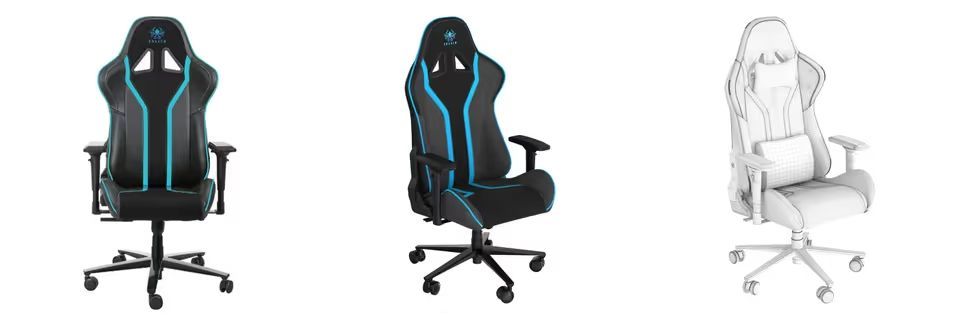
Optimizing Detail for Efficiency
Creating highly detailed 3D models is an art. But keeping them efficient is a science. One of the trickiest aspects of the process of 3D modeling is making sure the object looks detailed and realistic without overloading it with unnecessary geometry.
Adding extra bevels, wrinkles, and details can make a model look nicer. But if they’re not visible in the final shot or slow things down, they’re not worth it. For AR, VR, or games, models need to be optimized. That means using enough detail to look real, but not so much that it hurts performance. Sometimes, less is better.
Preventing Topology Errors
Bad topology is like bad plumbing — it might look fine at first but causes problems later. Messy edge loops, ngons (shapes with more than four sides), and extra vertices make animation, texturing, and rendering harder.
Good topology helps the model move well, work in simulations, and stay easy to edit. It also prevents shading and lighting issues. That’s why skilled 3D artists take time to keep the wireframe clean and efficient, not just good-looking.
Managing Texture Seams and UV Distortion
When it comes to textures, the devil is in the seams. Even if your model is top-tier, poorly managed UVs can instantly ruin the illusion. Seams that don’t align, stretching that distorts fabric or metal, or textures that just don’t sit right can make a polished model look amateur.
To avoid this, 3D artists need to carefully unwrap the model into 2D UV space. It is important to place seams where they’re least noticeable and relax the layout to reduce stretching. It’s a bit like tailoring a suit — if the pattern doesn’t match at the shoulders or sleeves, it doesn’t matter how expensive the fabric is. Proper UV mapping ensures the texture hugs the model naturally, with no awkward surprises.
With 3D creation tools, artists can change not only relief but also the transparency and reflection of the material. The best example of how all these characteristics are equally important for photorealism is leather. Mapping the leather material is a high-maintenance process. The leather material must possess accurate relief, density, and reflections simultaneously. But don’t you worry. If you work with skilled and experienced professionals, even the most complex and detailed materials will look 100% real.
At first glance, the 3D modeling workflow looks like a simple sequence of steps that is easy to follow. However, any error could cause the project to stall at a particular stage or even revert to the previous ones. Farsighted 3D experts thus always give each step of the project the attention it deserves. They properly clarify the task, carefully build the geometry, and competently create materials. By being conscious of all the steps in the 3D modeling process, they can avoid rendering errors and give the client a 100% quality model.
Are you interested in creating a first-class 3D model? Choose our 3D modeling services and get accurate 3D objects of photorealistic quality!
