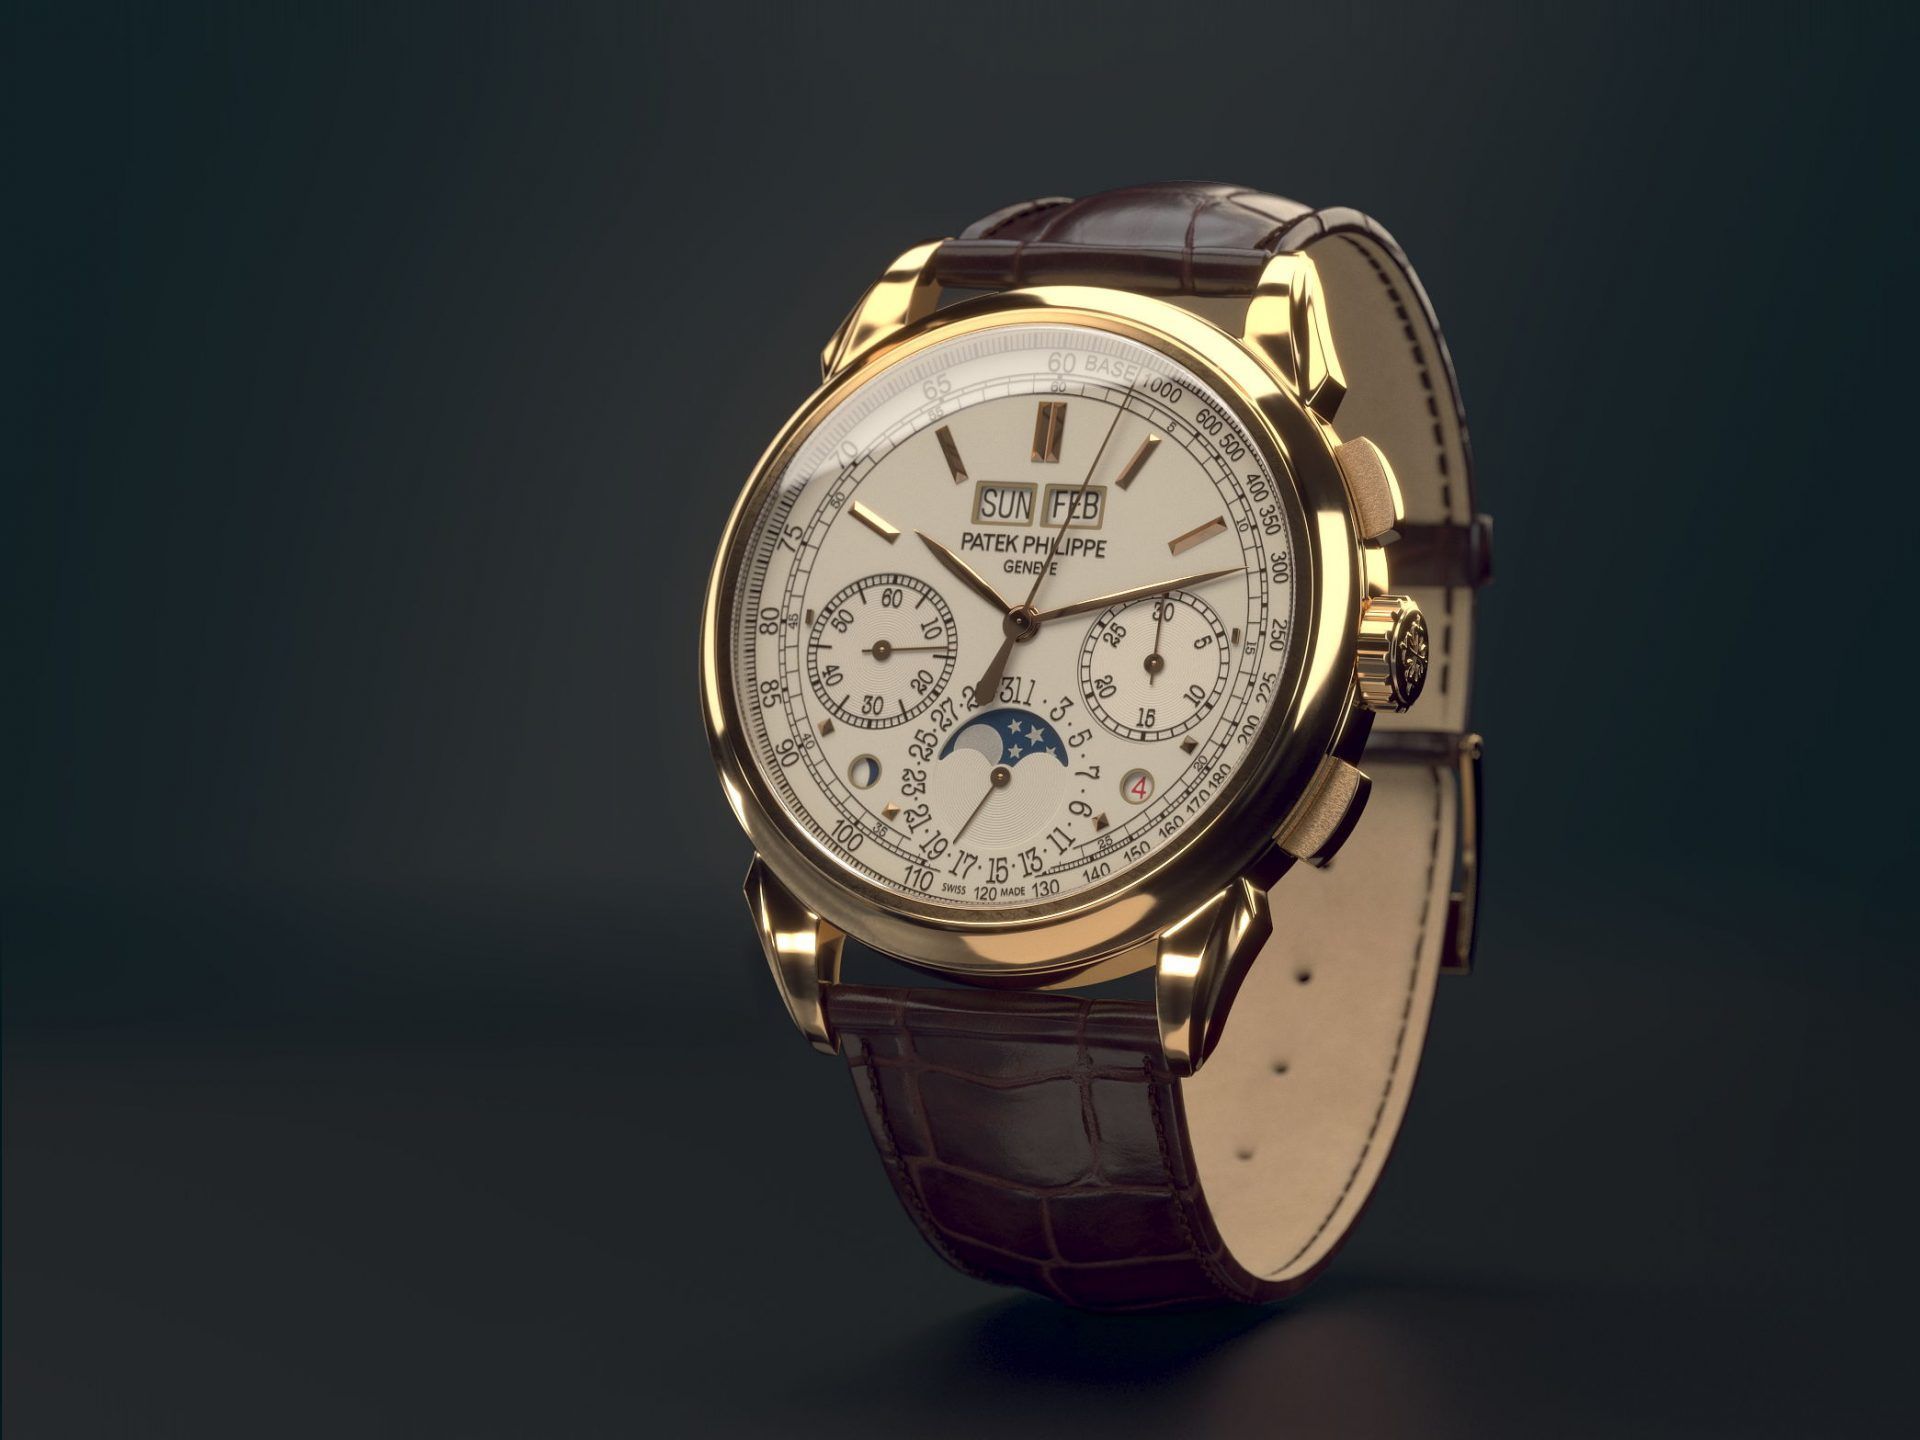
Product design 3D modelling provides stunning visual materials for any kind of marketing campaigns. It can help to implement the most unique concepts and showcase all the benefits of an item.
Organizing large-scale photo shoots in order to get some good images for a marketing campaign requires a lot of financial resources – renting a set, hiring staff and even models, finding the best photographer, etc. Moreover, this option is completely ineffective when it comes to strict deadlines. After all, the complex process of the professional photo shooting takes a very long time, starting from transporting the goods and ending with buying lots of decor item s .
However, all these problems can be easily solved with high-quality product 3D modelling . Manufacturers won’t have to spend much time and efforts using 3D – unlike with photography, which includes lots of organizational issues. In fact, the only thing they have to do is to set the task to 3D specialists and wait for the mind-blowing results. Find it difficult to believe that product design 3D modelling gives just as amazing imagery as photography?
Well, that’s 100% true – we know that for certain, for this is what we do for a living. See how exactly 3D Artists manage to create high-quality advertising imagery that makes gorgeous ads!
1. Recreating Geometry
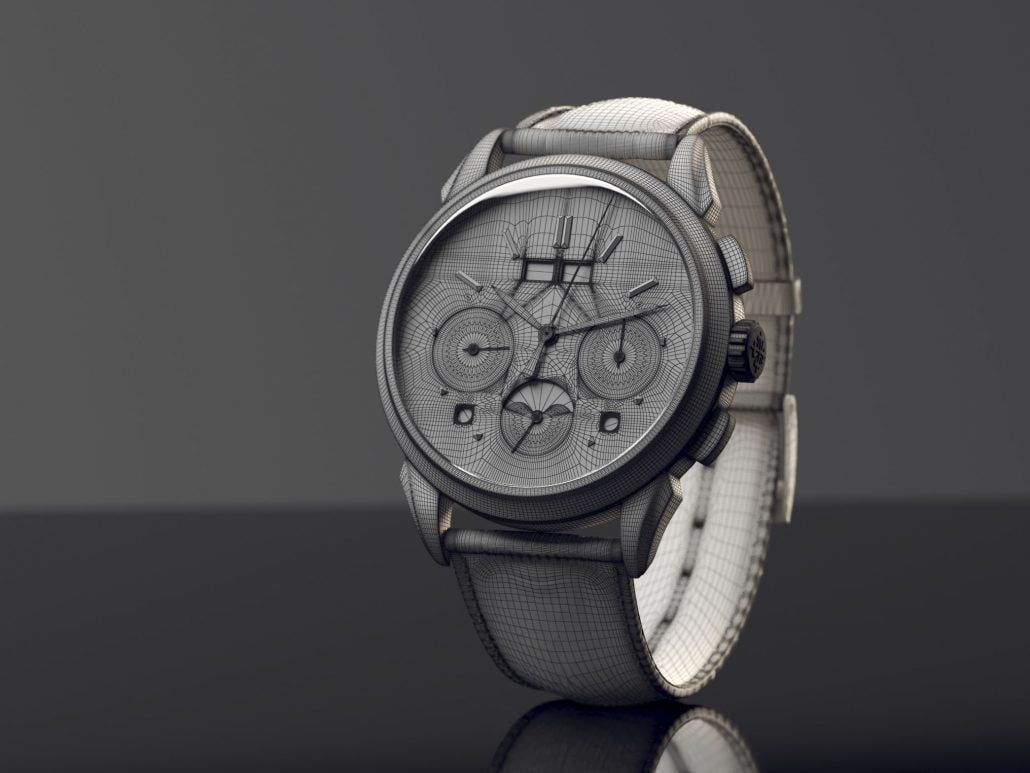
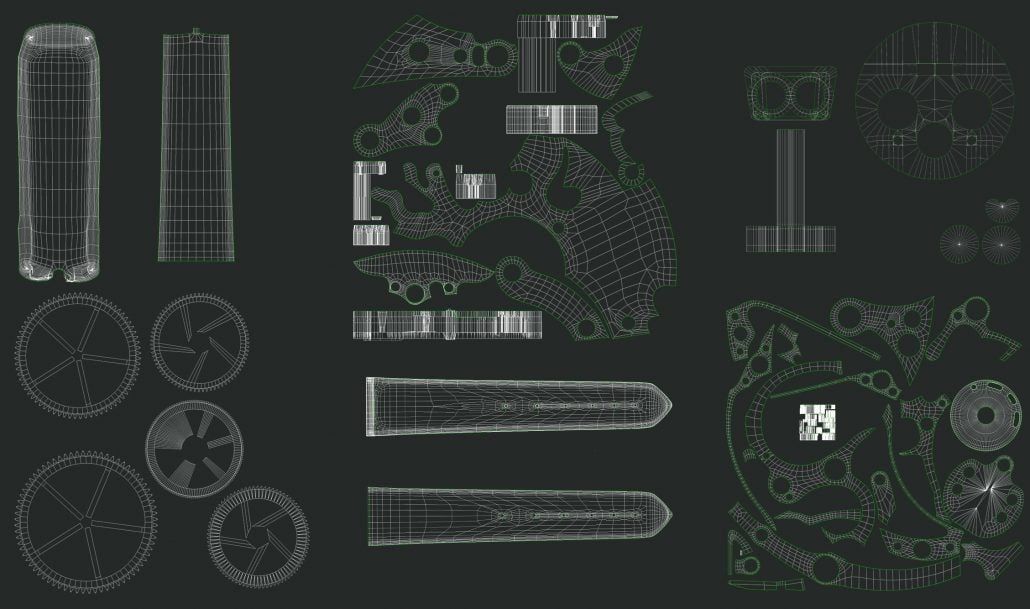
The basis of 3D modeling is the building of a three-dimensional object and recreating all its physical features, in particular, its form, parameters, aerodynamics, and other characteristics. This 3D watch model was sculptured according to all the geometric properties of the references. After creating a solid high-poly 3D object, the 3D specialist checked its geometrical and technical accuracy with the help of the wire version of a 3D model. This function allowed him to detect errors at an early stage of the process and fix them before proceeding to the next step.
2. Applying Textures
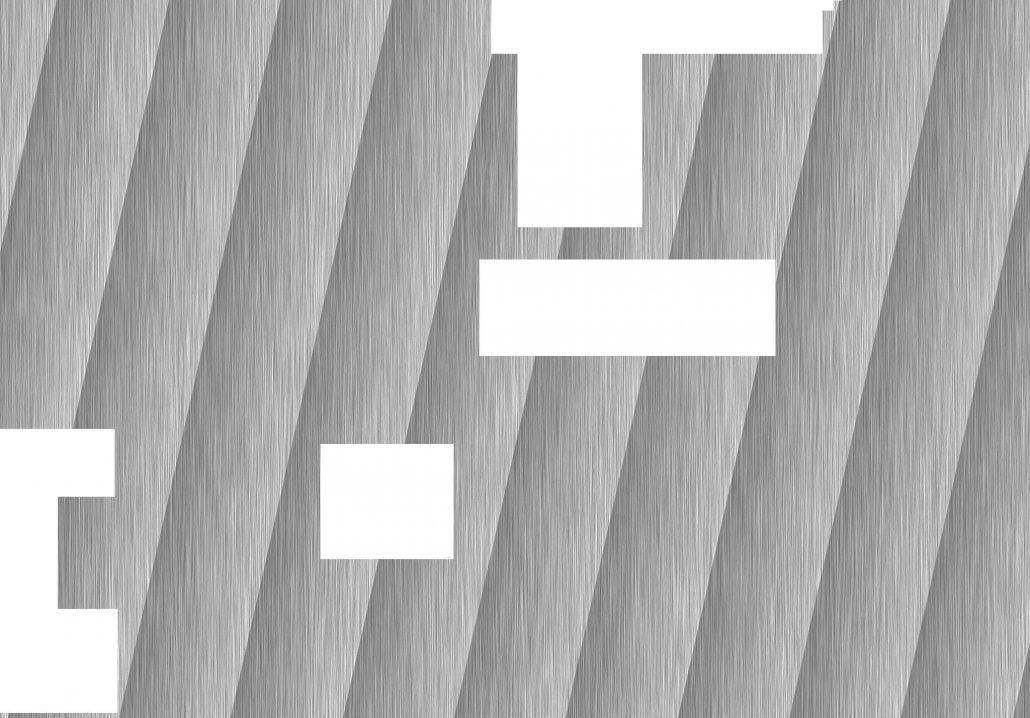
High-quality 3D texturing services give models a realistic look that showcases materials used in watch design in detail. In this case of watch 3D modelling for advertising, the 3D artist found textures for the materials he saw on references and reproduced them with striking realism and detail . For the product design, the main resources were the metal for a case, the leather for a strap and the glass for a dial. Each of these textures was applied and tweaked smoothly in order to make the CG materials look photorealistic.
3. Tweaking the Lighting
Lighting plays a crucial role in achieving the maximum realism of the CG image and presenting the item in the best way. For this product design 3D modelling project, the 3D Artist decided to direct all the light sources on the watch itself as the main focus of the entire picture and the center of the composition. He also adjusted the depth, brightness, and contrast of lighting to highlight the reflections of the watch in accordance with the selected type of light sources. All of these functions are available in 3ds Max plugin Vray 4.1 which is one of the most advanced rendering software a 3D specialist can find today.
4. Choosing A Background
The monochrome dark green background emphasizes the richness of the gold and brown colors of the watch design. This choice enhanced the look of the main object without distracting viewers from it at the same time. Moreover, to make the background even more appealing for the audience, the 3D modelling specialist paid a lot of attention to such subtle details as realistic reflections of the watch on a glossy background surface. These effects made the product look like you could touch it any moment which easily engage the viewers.
5. Setting the Camera
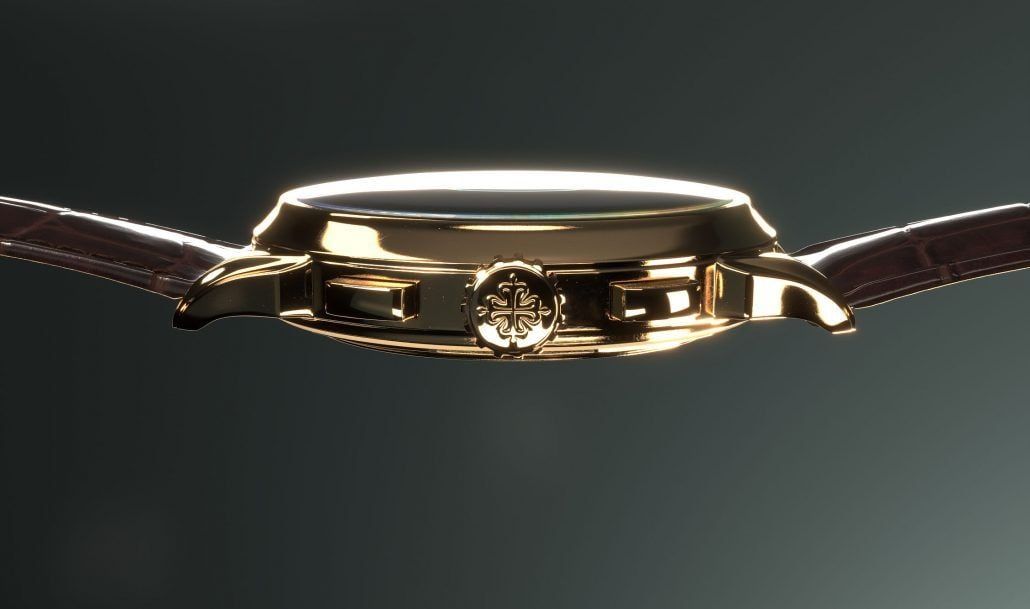
For product visualization , the types of shots largely determine how the main object will be perceived by the target audience. In our watch design 3D modelling case, the 3D Artist chose one of the most winning shot type which is called the hero shot. It’s basically a close-up view with the position of the camera at eye level and the main subject in the center of the frame. This choice of angle and composition allows viewers to see the watch in detail and examine the design to the smallest. For the second image, the 3D modelling Artist picked the side view in order to demonstrate the product look from a different angle.
6. Final Rendering
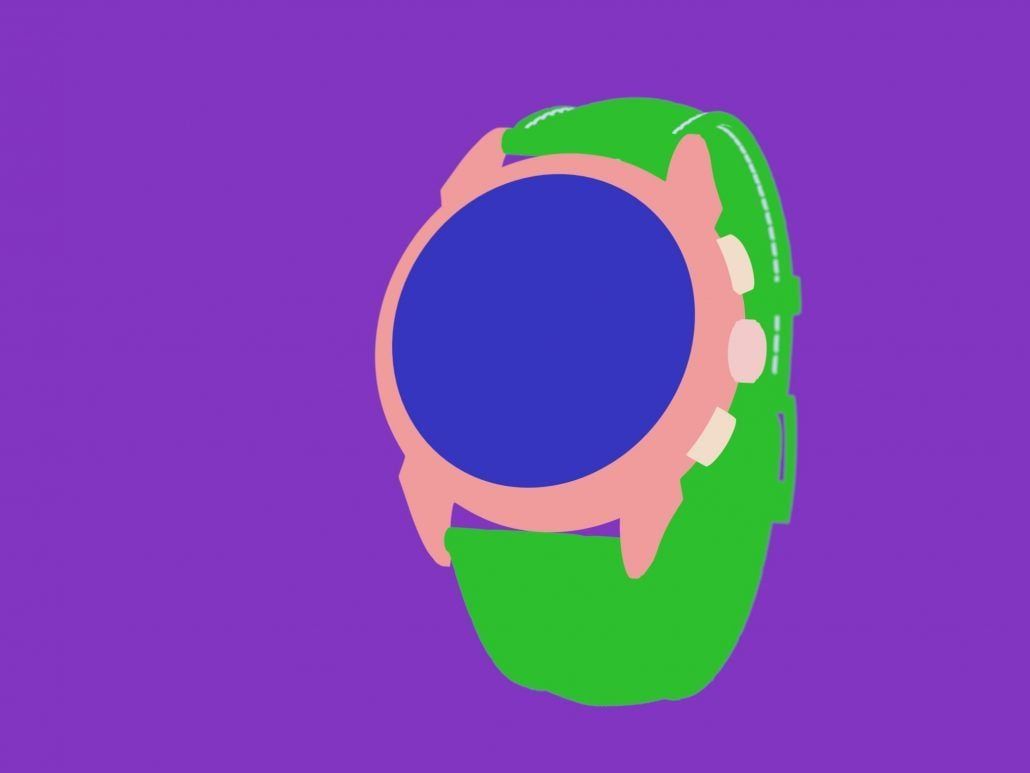
After completing all the previous stages of the process, the 3D specialist made a few test renderings at a low resolution to check the result for possible flaws. Then, he began the final rendering in VRay 4.1 and chose FullHD resolution of 2080×1567 for the main product image as well as 2257×1334 for the side view. The format of the final files was PNG, though any other common option is available for conversion.
7. Post-Production
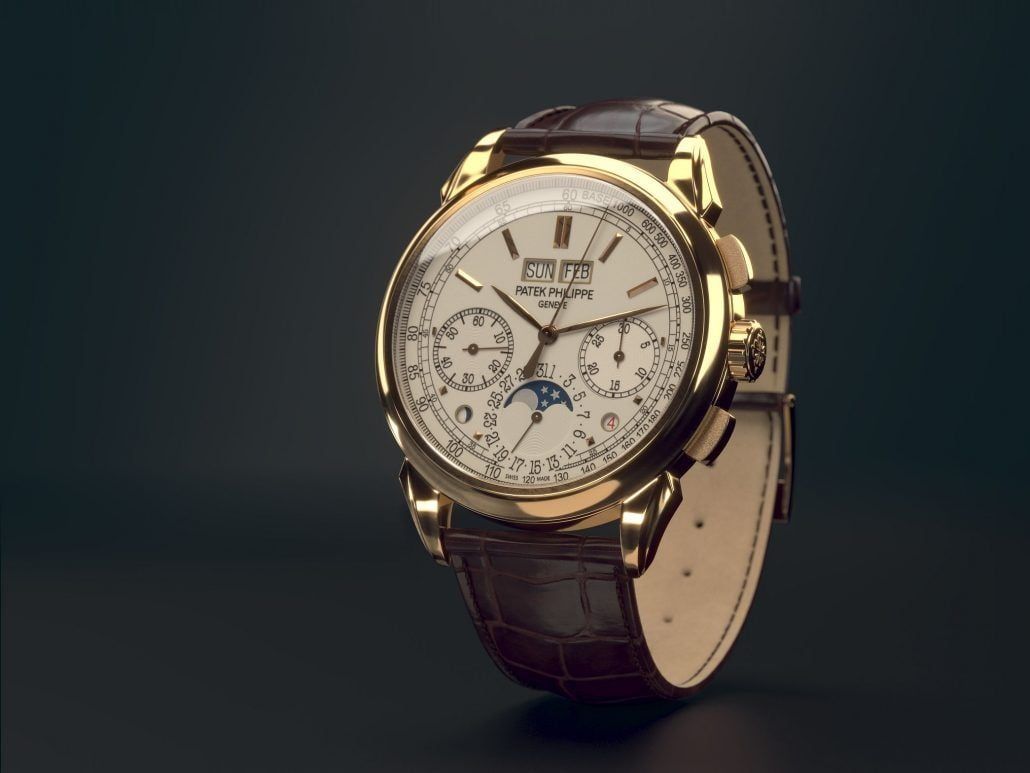
In the post-production stage, the 3D Artist added final touches to the image and refined the result using Photoshop. The CG specialist tuned the color and light balance as well as applied glow and dispersion effects. These 2D graphics functions helped to make all the gleams and reflections on the product design strikingly realistic. The final result is impossible to distinguish from a highly professional real photo.
Product design 3D modeling is one of the most effective ways to get awe-inspiring visual materials of a product within a minimal timeframe. In our case, the 3D Artist created a detailed high-poly model of the stylish watch which after all stages of the process looked like the real item on photos. High-quality texturing, smart lighting, and the right choice of angles – all these 3D modeling and rendering skills affected the visual appeal of the product. In the end, the desirable image for the well-thought-out concept is a crucial element of any type of promotion.
Want to get photorealistic visual materials for your marketing campaign? Use CGIFURNITURE's 3D modelling services and get high-quality product images for various promotional purposes right now.
