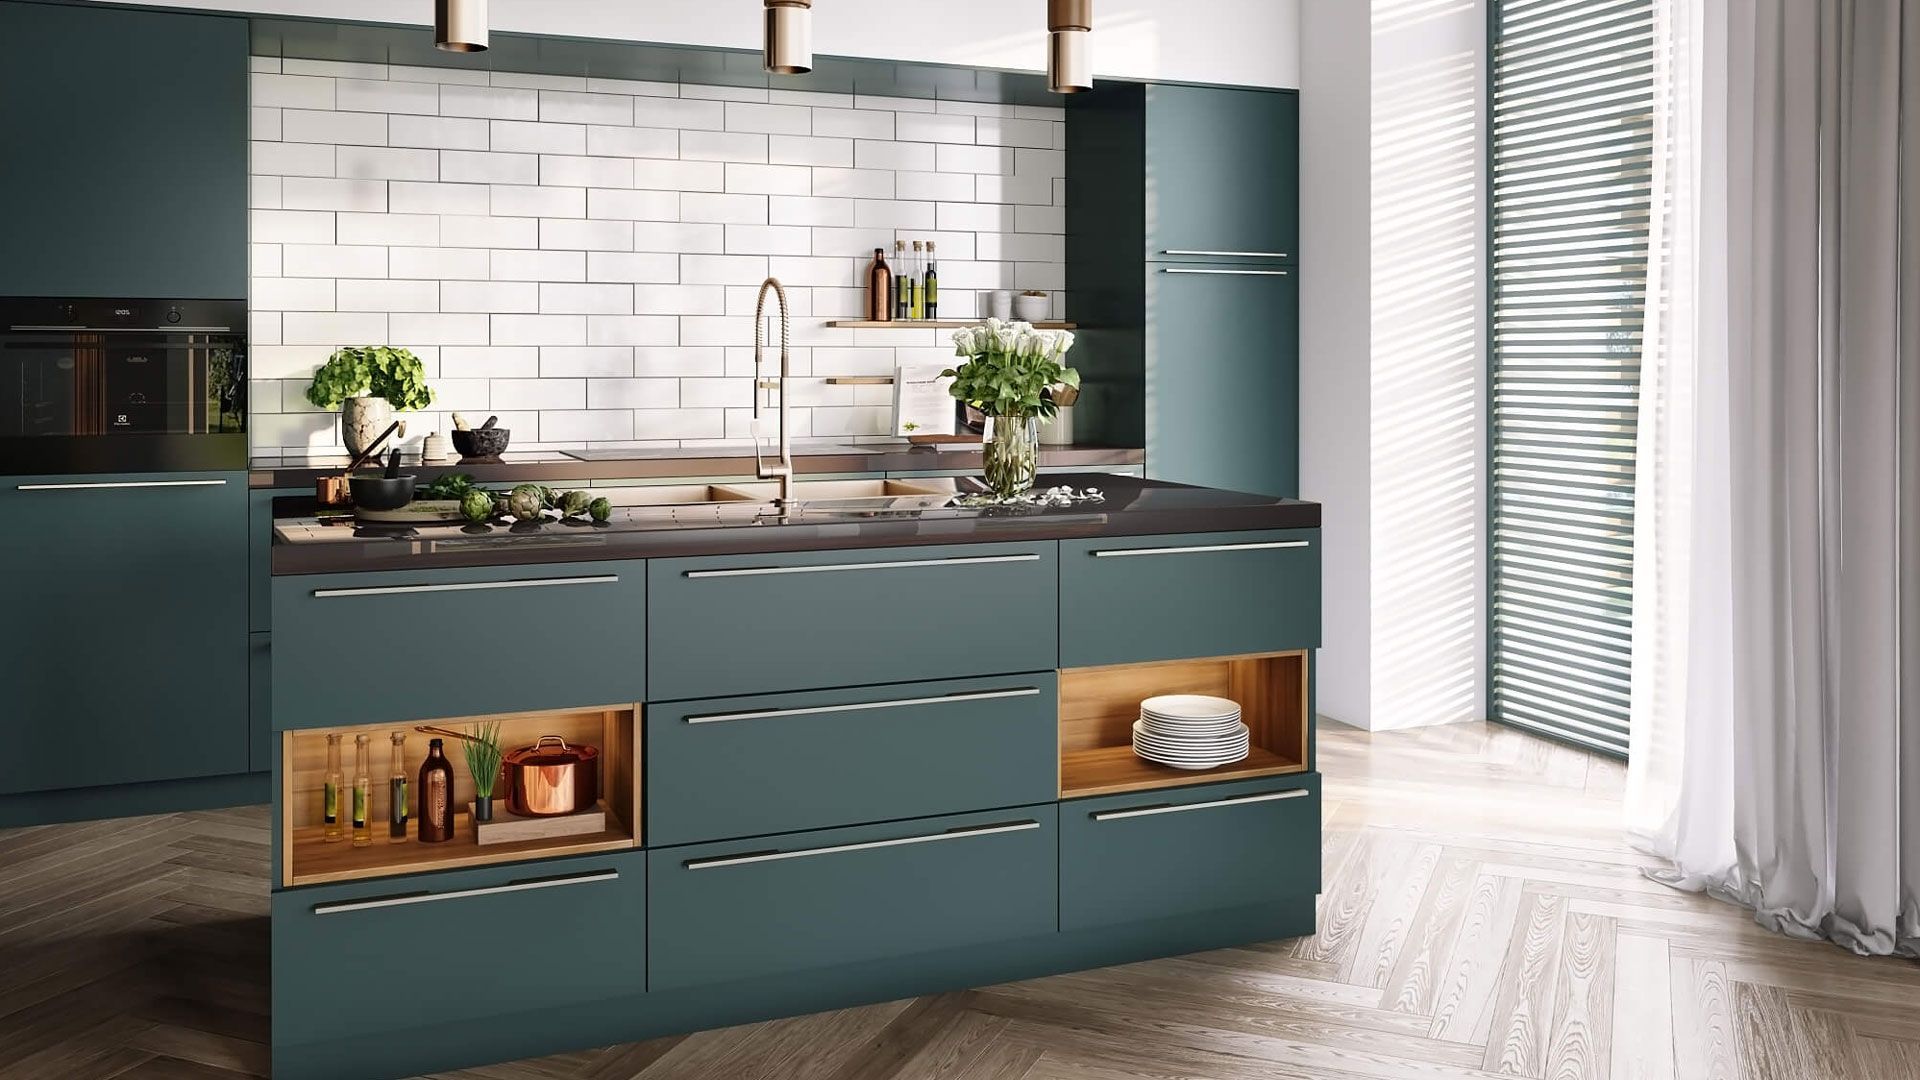
3D furniture visualization is a very effective way of getting enticing visuals for all kinds of marketing purposes. Photoreal 3D rendering company replicates every important detail — material quality, unique design, and utility perfectly so that companies get a powerful tool to attract customers with. But how is this gorgeous furniture visualization created? Today we explore the 3D modeling and rendering process step-by-step, using our recent kitchen counter and sink roomset project as an example. Let’s get into it!
1. Make a Grey-Scale Model
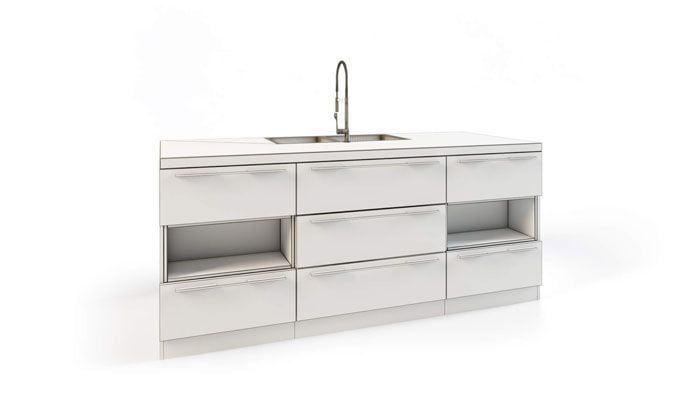
After the studio receives a technical assignment and references, the 3D modeling team gets to work immediately. First, 3D artists create a 3D model, initially a chunk of blank polygons. The next step of 3D visualization of furniture is sculpting 3D objects to look just like real items in the references.
At this point, the 3D artist set a few camera angles to showcase the product from the best POVs. They send screenshots of grey-scale models to the client for feedback before moving to the next stage of the process.
2. Set a Lifestyle 3D Scene
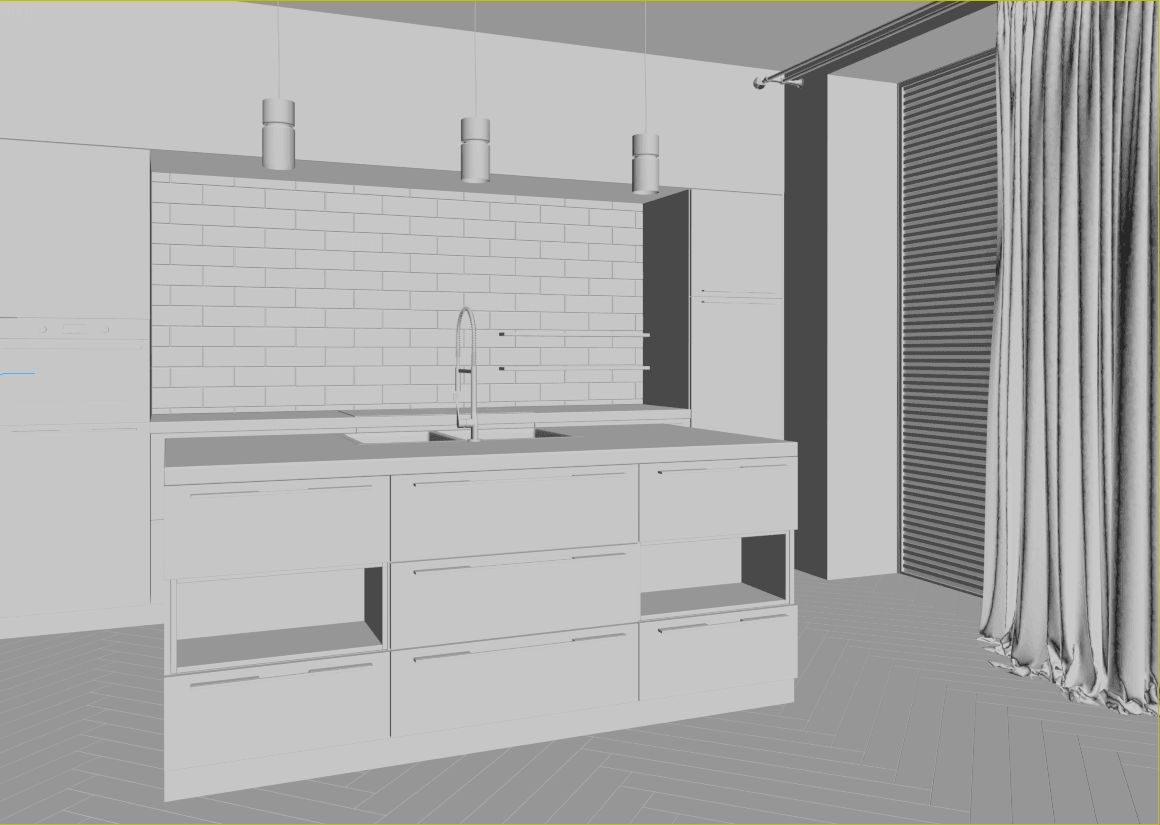
A good lifestyle image is not about the product but also the setting around it. Realistic product rendering allows to create an organic context while keeping the product at the center of attention at the same time.
In this 3D furniture visualization, a kitchen island is the main product but it needs other furniture and interior to truly shine. That’s why the 3D artist added a cooking section, with counters, cupboards and drawers, a fridge, and an oven. The result is a grey-scale kitchen scene that should be approved by the client.
3. Install the Light Sources
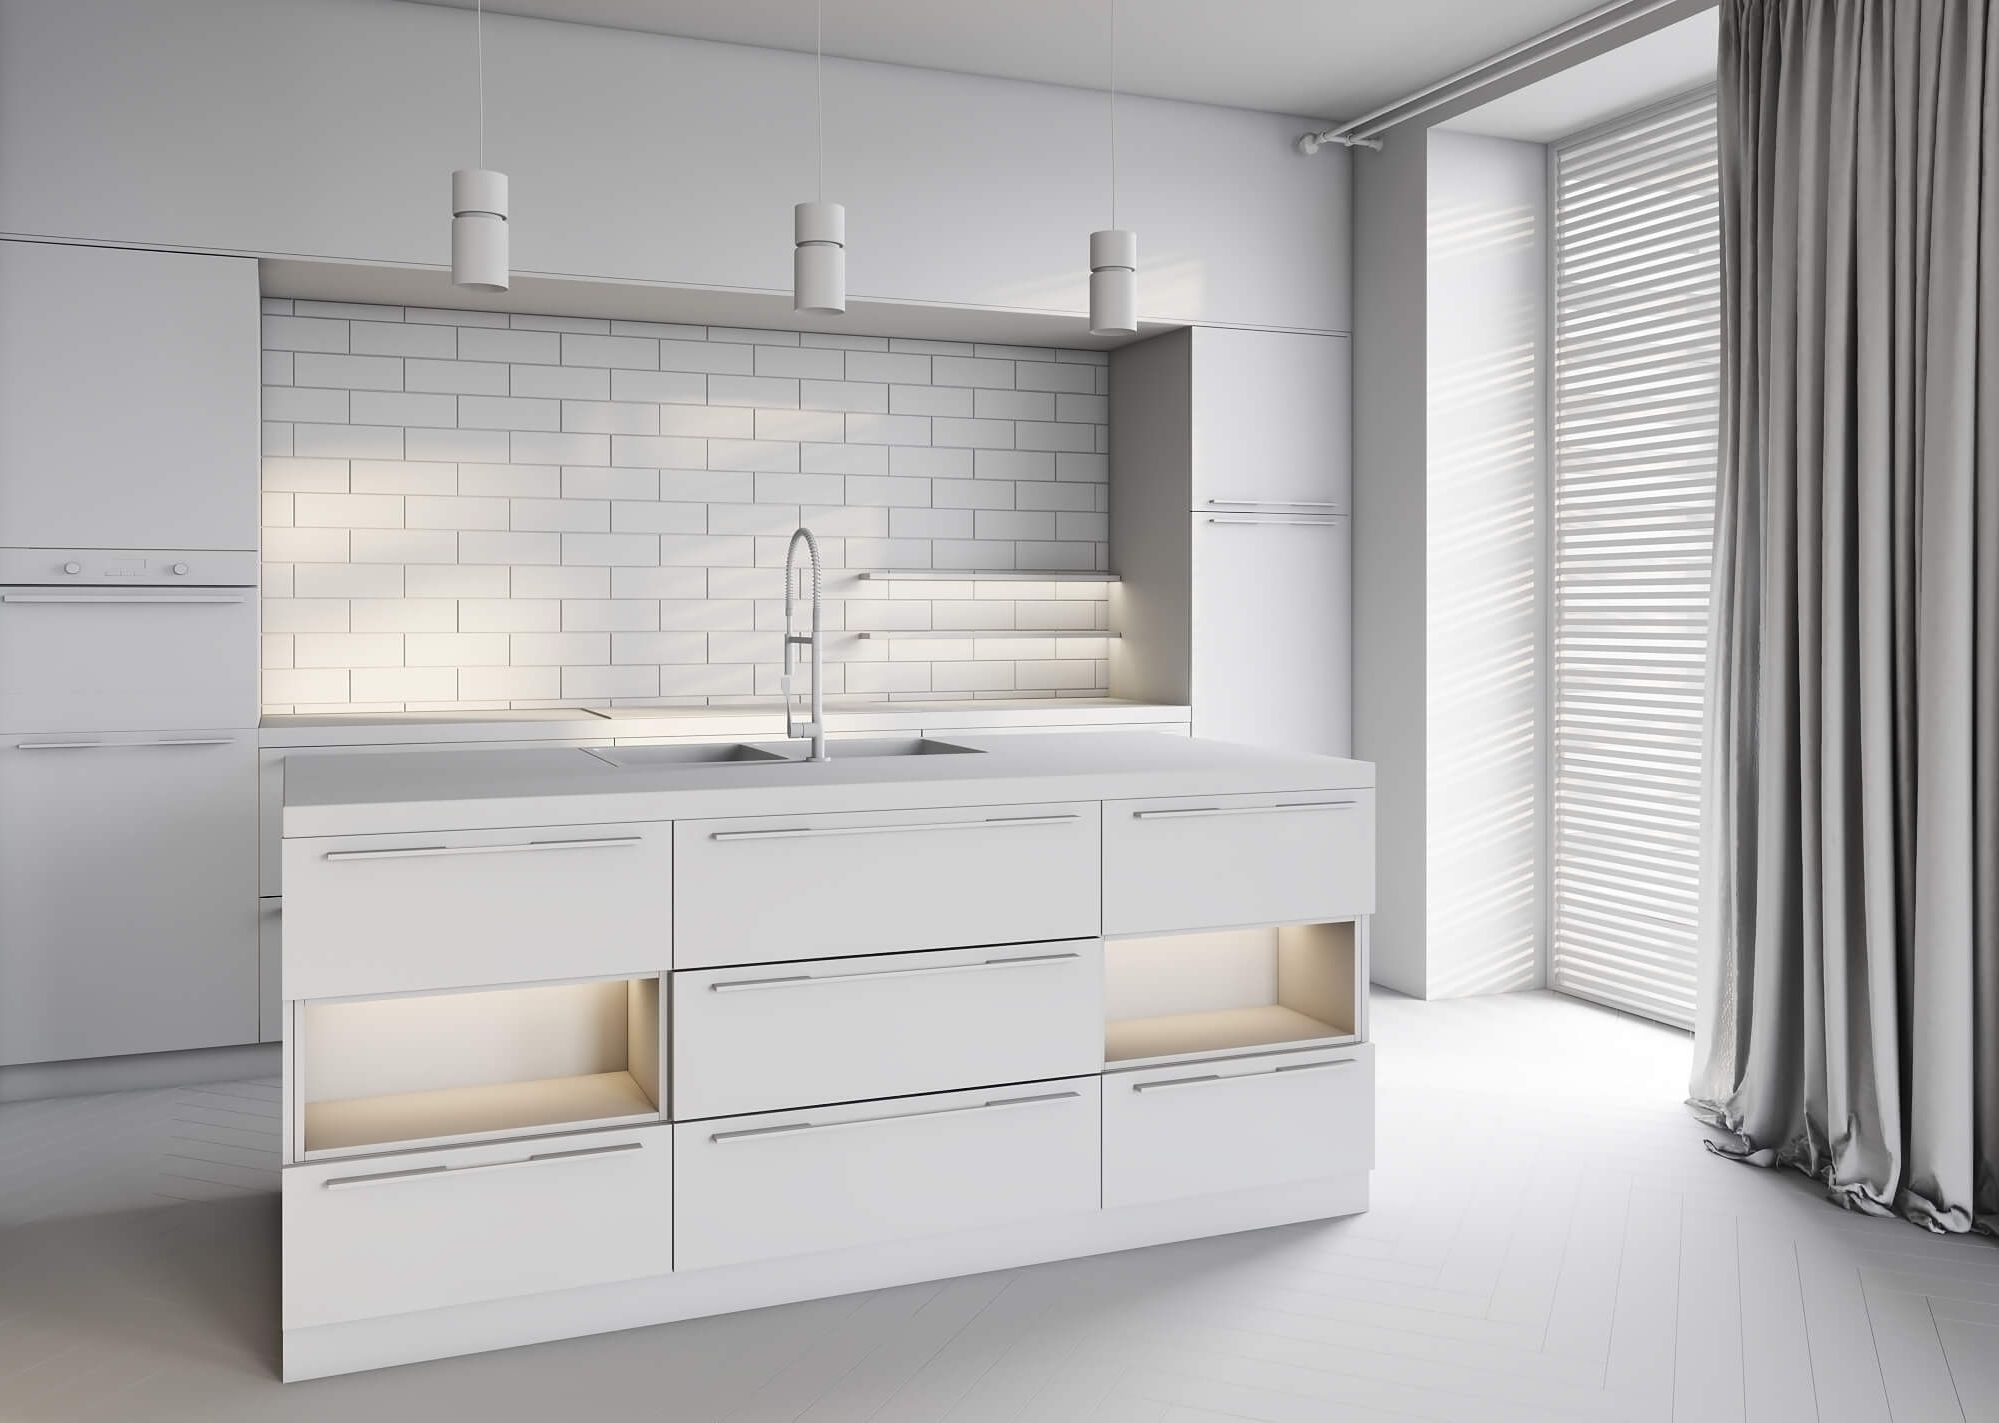
After creating the 3D model of the product and the scene, the next important step of 3D furniture visualization is placing and adjusting light sources. Lighting is very often the key element of roomset composition which makes or breaks a picture, so it requires careful placement.
A lot depends on the type of furniture and what kind of room it is located in as well as the client’s requirements. Should light be warm or cold, natural or artificial, direct or dispersed? Less prominent secondary lighting is also tweaked to perfection — everything should look organic and realistic in a professional 3ds Max furniture rendering.
4. Texture All 3D Objects in the Scene
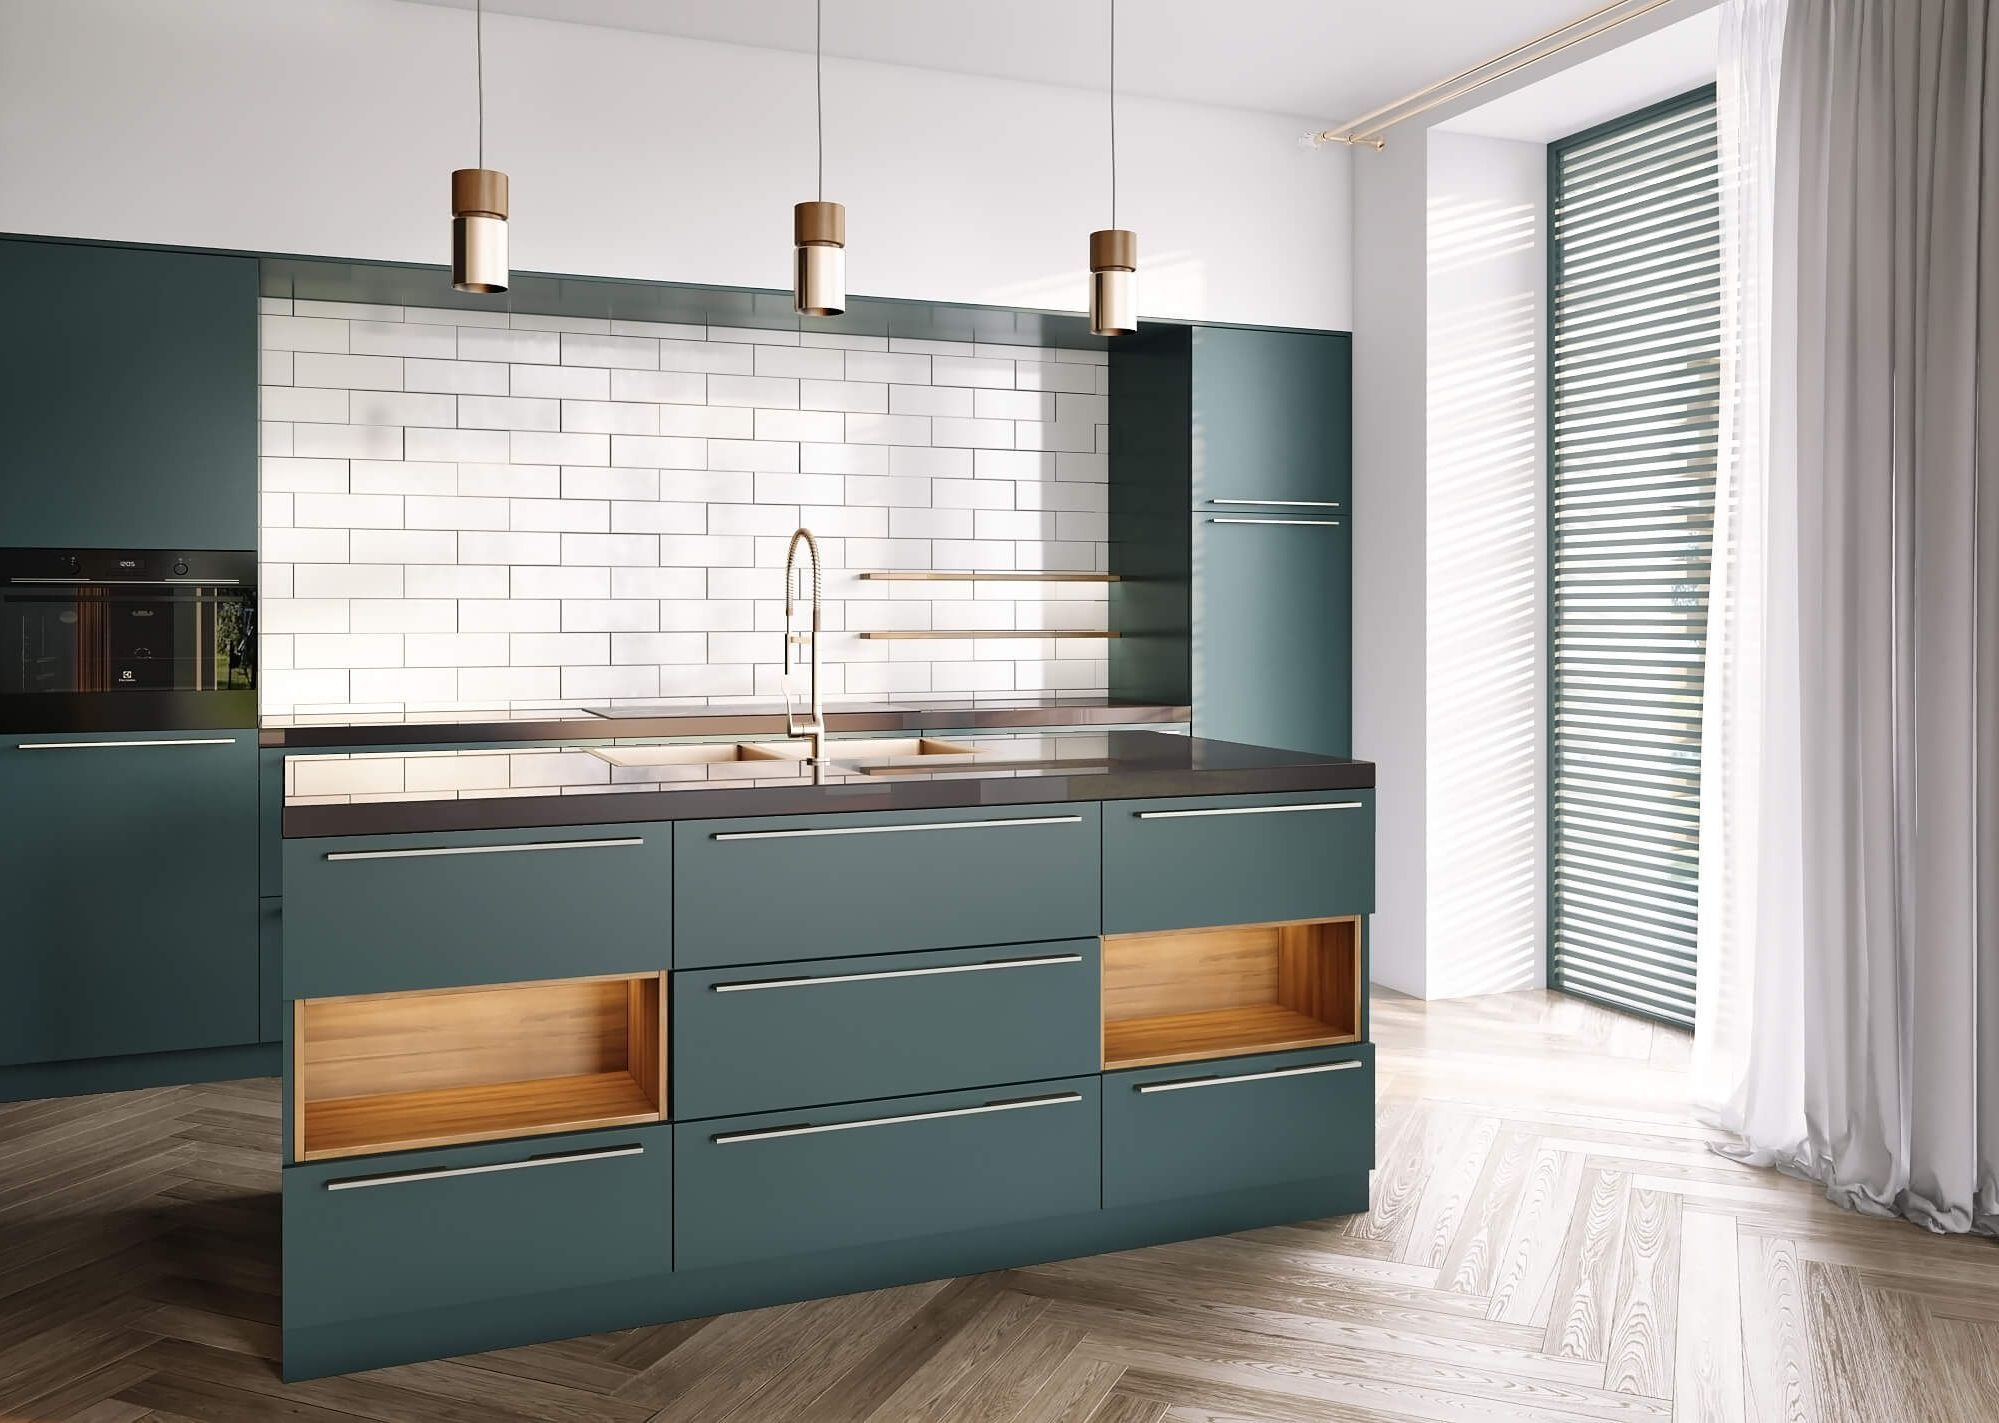
In the next step white “skeletons” are given “skin”. 3D texturing services are another crucial part of the 3D furniture visualization services since every detail has to look natural and accentuate the material quality of items.
Surfaces like countertops or glass objects can be reflective, which also factors in the meticulous tweaking of the visualization. The same can be said about imperfections — there is nothing perfect in the real world so it’s important to add folds, bumps, cracks, and other details on the surfaces of 3D objects.
5. Add The Finishing Touches to Renders
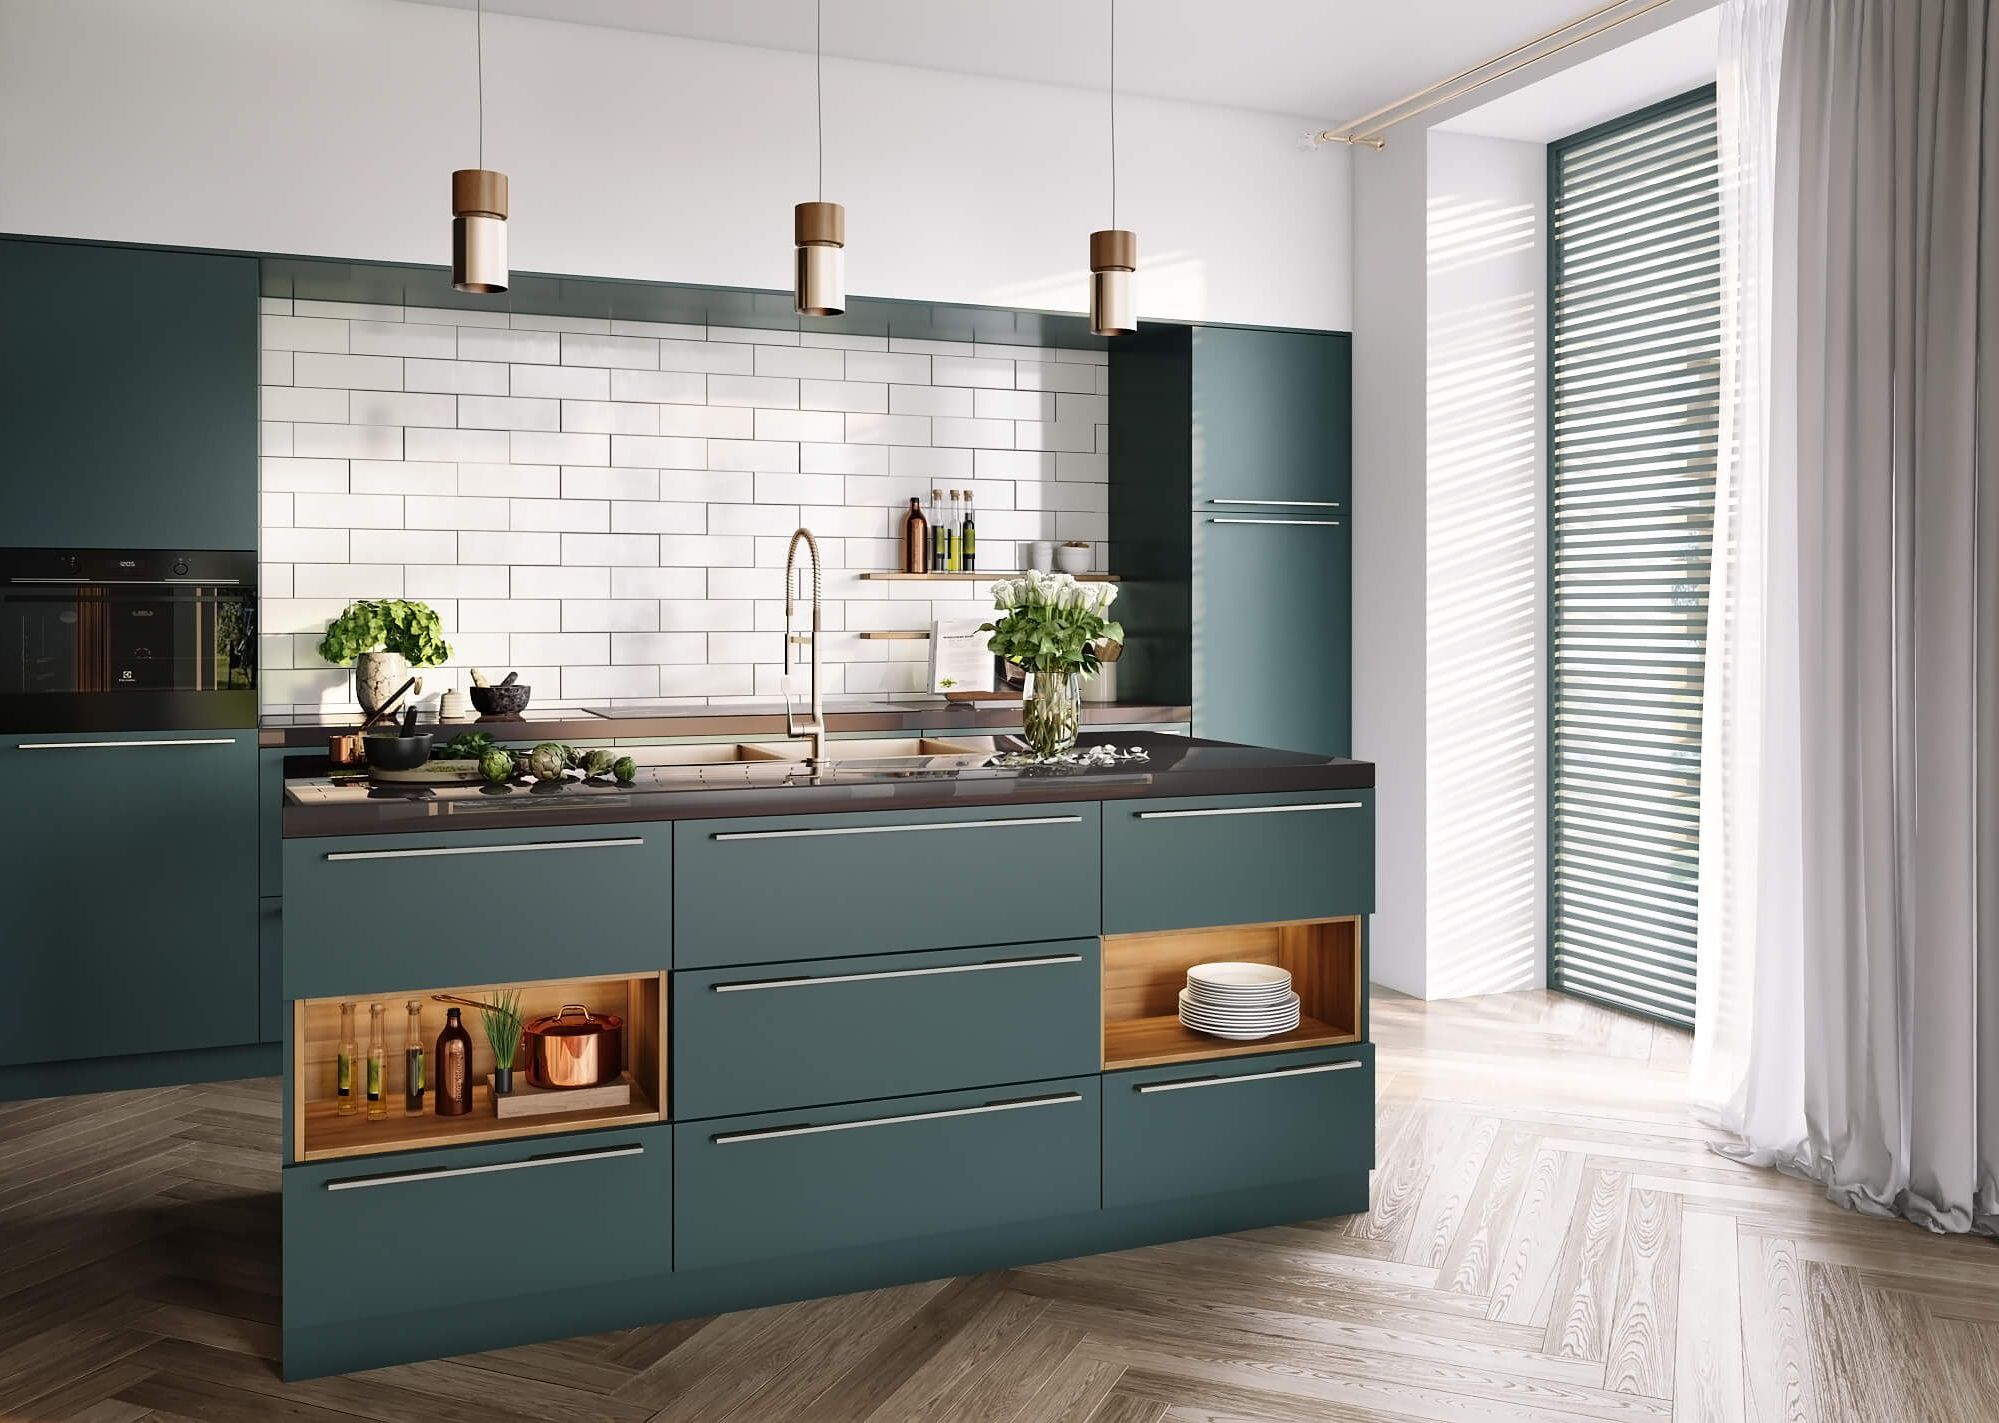
The majority of the 3D furniture rendering process is done, so 3D artists add some decor elements to solidify the context for visual storytelling purposes and set the scene to render. Things like flowers, pictures, tableware, and so on are details that make 3D renders more lively and atmospheric.
After the renders are approved and processed in the required resolution, they are sent to Photoshop specialists who apply the final touches. Usually, it includes running the images through color and brightness correction as well as incorporating a few special effects to create an eye candy of a 3D visualization.
This is how 3D furniture visualization is done — no magic, just pure skill and hours of hard work of 3D artists. The result is always impressive — impeccable CG images that are waiting for you to use as customer magnets.
Want to learn how you can get your visual masterpieces for an impactful marketing campaign? Check out product modeling services and contact our managers via the CGIFURNITURE website.
